How to Stretch a Boot Instep
Tight boots that pinch across the top of your foot can ruin an otherwise perfect pair. Learning how to stretch a boot instep targets the upper section of the boot, called the vamp, where pressure builds for people with high arches or thicker feet. Unlike toe box or width issues, instep tightness requires focused methods that lift the leather upward rather than just widening it. With the right combination of heat, moisture, and mechanical pressure, you can reshape stiff leather at home without causing damage. This guide walks you through proven techniques, tool recommendations, and critical mistakes to avoid.
Target the Vamp Area First
Before stretching, confirm your discomfort is truly in the instep. Misidentifying the problem leads to wasted effort and potential damage.
Identify Instep Pressure Points
Put on thick socks and slide into your boots. Walk for 5 to 10 minutes and pay attention to specific sensations. Pinching across the top of the foot, restricted flexing when you step, or visible bulging in the vamp leather all signal an instep fit issue. Use a marker to dot the exact pressure spots inside the boot so you can focus your stretching efforts precisely.
Avoid Mistaking Arch Support for Instep Tightness
A high arch sits on the bottom curve of your foot, while a high instep covers the top. Adding arch support insoles to boots with tight insteps makes pressure worse. Remove insoles temporarily during stretching to reduce internal resistance and let the leather expand freely.
Use Heat to Soften the Leather

Heat opens leather fibers and makes them pliable for reshaping. Applied correctly, it serves as one of the safest first steps.
Warm the Instep Safely with a Hairdryer
Set your hairdryer to low or medium heat. Hold it 6 to 8 inches from the boot’s instep and move in slow circles for 30 to 60 seconds until the leather feels warm but not hot to the touch. Test with your hand first. Overheating dries out leather and causes cracking, especially on suede or nubuck.
Flex While the Leather Is Warm
While the boot stays warm, wear it with two pairs of thick socks. Flex your foot up and down and press the instep area outward with your hands. This mechanical force helps the leather expand while soft. Walk around for 10 to 15 minutes to lock in the new shape as the leather cools.
Apply Stretch Spray for Better Results

Stretch sprays penetrate leather fibers and allow deeper expansion than heat alone. They work especially well on stubborn materials.
Choose the Right Spray for Your Boot Material
Match the spray to your boot type for safe results:
- Leather boots: Bickmore or FOOTMATTERS spray works well
- Suede or nubuck: Pick a formula labeled safe for these materials to avoid water spots
- Stiff riding boots: Cherry Blossom or JobSite sprays handle tough Spanish leather
Spray generously inside and outside the instep area. Wait 2 to 3 minutes for absorption before stretching.
Combine Spray with Wear or Stretchers
After spraying, wear the boots with thick socks until dry, or insert a stretcher and leave it for 24 to 48 hours. The leather stretches as it dries and remembers the expanded shape.
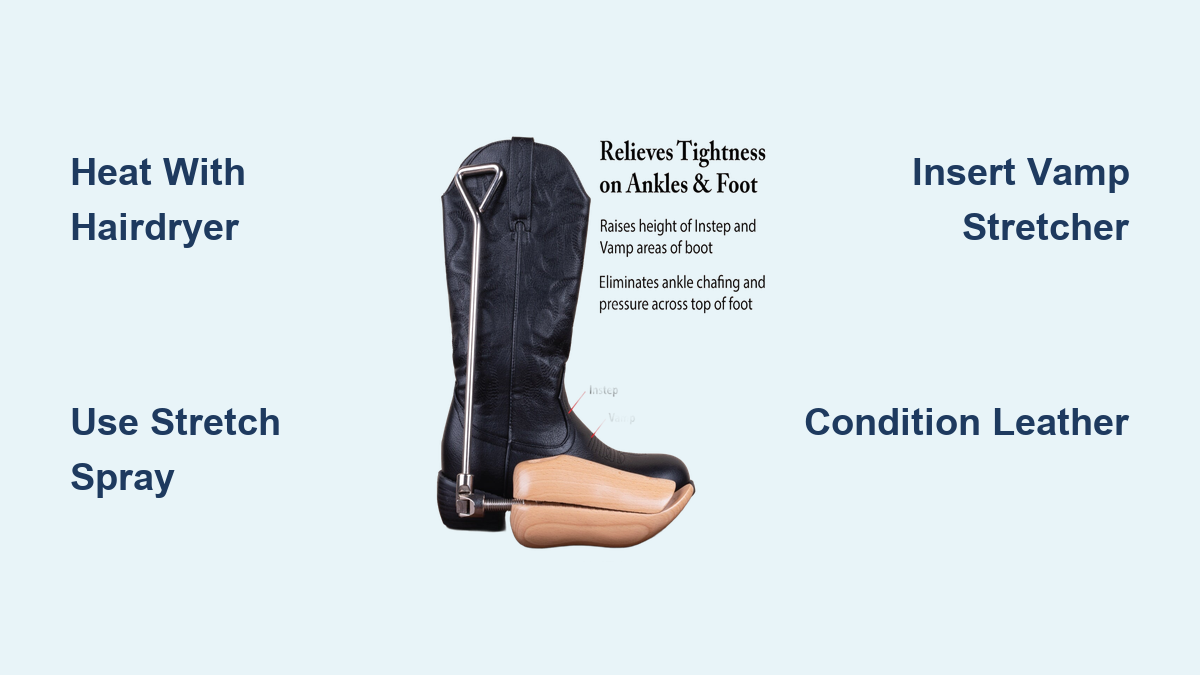
Insert an Instep-Specific Stretcher
Generic shoe stretchers widen the ball of the foot but do little for instep height. You need a vamp-raising stretcher to lift the top of the boot.
Pick a Metal Vamp Raiser for Stiff Boots
For cowboy, work, or thick leather boots, cast aluminum stretchers deliver strong, adjustable upward pressure. Popular models include:
- FootFitter Cast Aluminum Instep & Vamp ($179.95)
- Leather Hero Metal Instep Stretcher ($149.95)
- Heavy Duty Metal Instep Stretcher ($116.99)
These tools feature a vamp raiser knob that pushes directly into the tight instep zone when turned.
Use the Stretcher Correctly
- Spray the instep or apply light steam.
- Insert the stretcher fully into the boot.
- Turn the width and length knobs until snug.
- Engage the vamp raiser by turning the top knob to lift the instep plug upward.
- Leave in place for 24 to 72 hours and check fit afterward. Repeat with slight tension increases if needed.
Avoid plastic or wooden stretchers for severe instep issues because they lack the force required for stiff leather.
Try the Freezing Method for Mild Cases
If you don’t own tools, the freezing method creates gentle, even expansion using items already in your kitchen.
Freeze Water to Expand the Boot
- Fill a double-bagged ziplock with water shaped to cover the instep.
- Insert into the boot and seal the top.
- Place in the freezer overnight.
- As water freezes, it expands and pushes the leather outward.
- Let ice thaw completely before removing.
This method works best for general tightness rather than targeted instep relief. It won’t lift the vamp like a dedicated stretcher.
Avoid Dangerous Stretching Mistakes
Even effective methods can ruin your boots if done incorrectly. Protect your investment by steering clear of these errors.
Never Soak Leather Boots
Wet leather loses strength. Soaking can cause glue to fail, insoles to warp, or linings to separate. If using moisture, dampen lightly with a cloth rather than soaking or spraying heavily.
Don’t Use Boiling Water or Open Flame
Some DIY guides suggest pouring boiling water into boots. This risks melting glue, shrinking leather, and warping the sole. Stick to hairdryers or professional steamers and never use direct heat sources.
Skip Stretching Gore-Tex or Lined Boots at Home
Boots with waterproof membranes resist stretching. The outer leather may expand, but the lining won’t, leading to internal bunching or seam failure. For these boots, see a cobbler who can assess whether safe stretching is possible.
Know When to See a Cobbler
Not every boot can be fixed at home. Professionals have industrial tools and experience that protect valuable footwear.
Signs You Need a Professional
- Boots are expensive or vintage
- Made with stiff, structured leather
- Have waterproof linings
- Previous DIY attempts failed
A cobbler uses steam tables and heavy-duty stretchers to soften and expand boots precisely. Cost runs approximately $60 to $65 per pair with a one-week turnaround. They’ll also spot risks before damage occurs.
Maintain the Fit After Stretching
Once you’ve achieved a comfortable instep, preserve the shape and condition of the leather.
Condition to Prevent Cracking
Heat and stretching dry out leather. After any method, apply a leather conditioner like Bick 4 or Lexol to restore oils. This keeps the vamp soft and prevents cracks from forming along stretch lines.
Store with Shoe Trees
Use non-expanding shoe trees to help boots hold their new shape. Cedar trees also absorb moisture and odors, extending boot life.
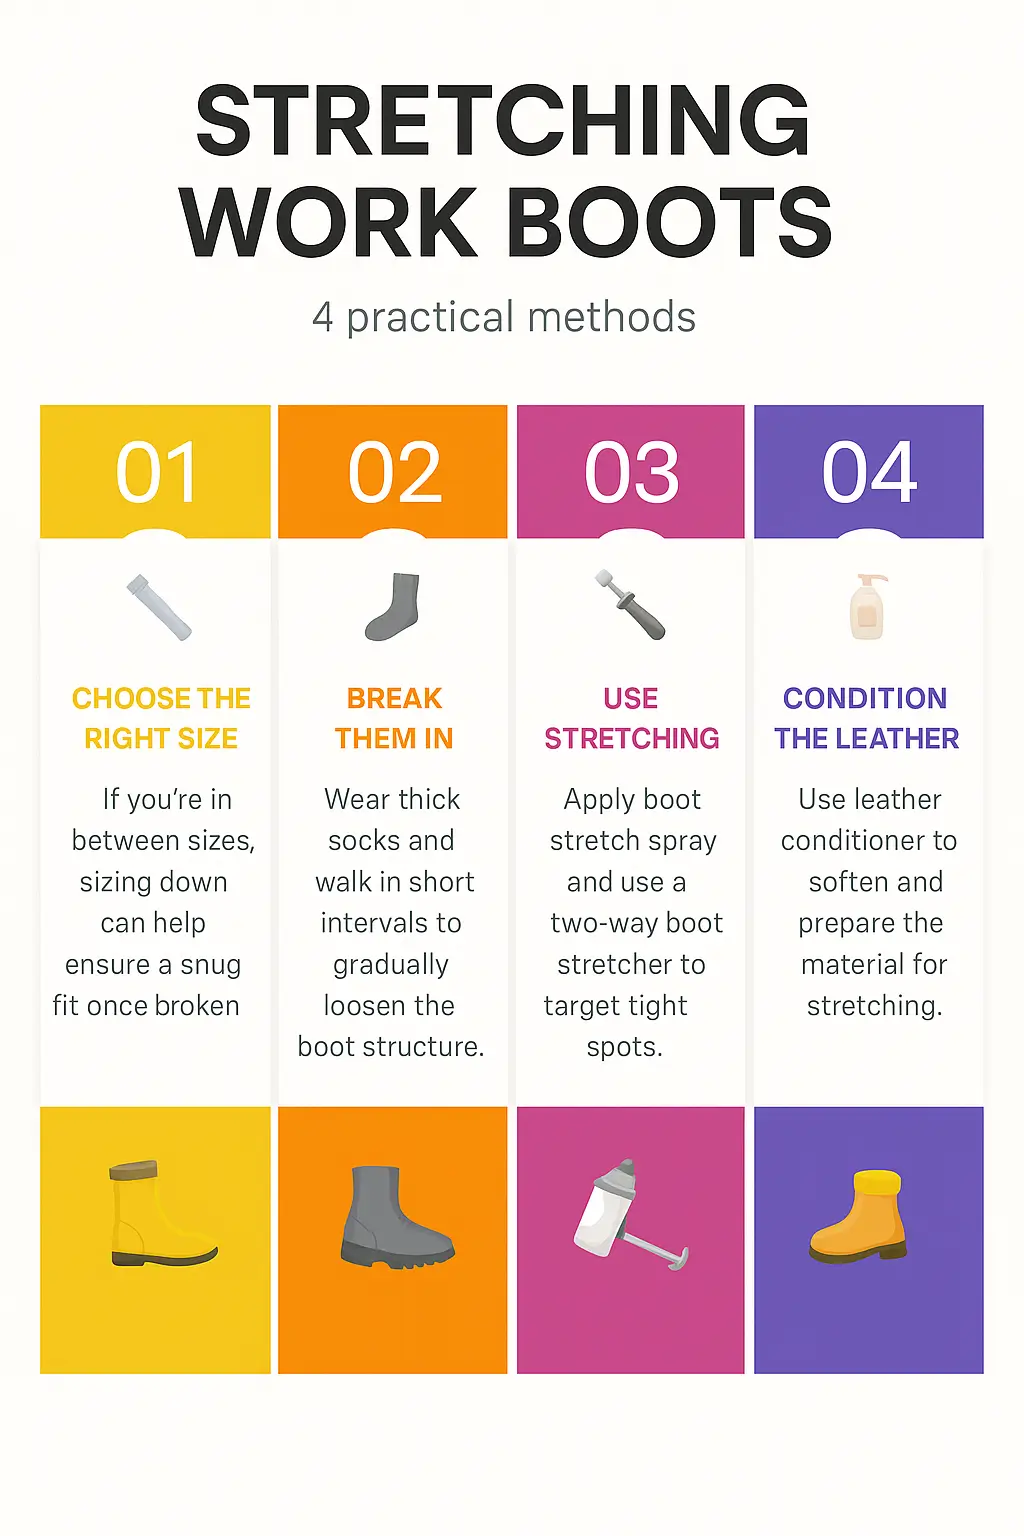
Break In Boots Gradually
Even after stretching, wear boots in stages to allow the leather to settle:
- Days 1–3: 15 to 30 minutes indoors
- Days 4–7: 1 to 2 hours daily
- Week 2+: Full wear as comfort allows
Continue wearing thick socks during this phase to fine-tune the fit.
Choose the Right Method for Your Situation
| Boot Type | Best Method | Tools Needed | Cost |
|---|---|---|---|
| New leather boots, mild tightness | Heat and wear with socks | Hairdryer, thick socks | $0–$10 |
| Moderate instep pressure | Spray and stretcher | Stretch spray, stretcher | $25–$60 |
| Cowboy or work boots, stiff leather | Metal instep stretcher | Cast aluminum stretcher, spray | $100–$180 |
| Suede or nubuck boots | Suede-safe spray and stretcher | Specialized spray, wooden stretcher | $30–$50 |
| Gore-Tex or lined boots | Professional cobbler | N/A | ~$65 |
Frequently Asked Questions About Stretching a Boot Instep
What is the difference between instep and arch in boots?
The instep is the top of your foot where the boot’s vamp sits, while the arch is the curved bottom portion. Instep tightness causes pressure across the top of the foot, while arch issues affect the underside. Stretching the instep requires lifting the vamp upward, not adding arch support.
Can I stretch a boot instep without special tools?
Yes, for mild cases. The heat-and-wear method with thick socks and a hairdryer can produce moderate results. However, for severe instep pressure or stiff leather, a dedicated vamp-raising stretcher delivers far better outcomes.
How long does it take to stretch a boot instep?
With a mechanical stretcher, leave it in place for 24 to 72 hours per cycle. The heat-and-wear method requires multiple short sessions over 2 to 3 days. Patience matters because rushing leads to over-stretching or cracking.
Will stretching damage my leather boots?
When done correctly, stretching does not damage quality leather. The main risks come from excessive heat, soaking, or using too much force too quickly. Always condition the leather afterward and work in gradual increments.
Can suede or nubuck boots be stretched at the instep?
Yes, but you need a spray specifically formulated for suede and nubuck to avoid water spots or texture damage. Pair the spray with a wooden stretcher for best results on these delicate materials.
When should I take boots to a cobbler instead of stretching at home?
Take boots to a cobbler if they feature Gore-Tex linings, cost over $300, or have failed previous DIY attempts. Professionals use steam tables and industrial stretchers that achieve precise results without risking damage.
Key Takeaways for Successfully Stretching Your Boot Instep
Learning how to stretch a boot instep comes down to targeting the vamp with the right combination of heat, moisture, and mechanical pressure. Start by confirming the pressure is truly in the instep, then choose a method matched to your boot material and severity of tightness. For most leather boots, pairing stretch spray with a cast aluminum vamp raiser delivers the best results. Always condition the leather afterward and break in boots gradually to lock in the new shape. If your boots feature waterproof linings or cost more than you’re comfortable risking, invest in professional cobbler service for a safe, reliable fix.