How to Clean Hiking Boots: Easy Steps
There’s nothing worse than slipping on a muddy trail or realizing your favorite hiking boots have stiffened into uncomfortable bricks after just a few seasons. The culprit? Neglect. How to clean hiking boots properly isn’t just about appearance—it’s essential for performance, safety, and longevity. Over time, dirt, moisture, and debris degrade materials, weaken adhesives, and compromise waterproofing. Worse, caked-on mud reduces traction, while trapped moisture breeds odor and mold.
But the good news is simple: regular cleaning can extend your boots’ life by years, maintain optimal grip, and keep them trail-ready. Whether you’re dealing with leather, synthetic, or hybrid models, this complete guide walks you through every step—from removing laces to re-waterproofing—based on expert-backed methods and material-specific care. By the end, you’ll know exactly how to clean hiking boots safely, avoid common mistakes, and store them for long-term durability.
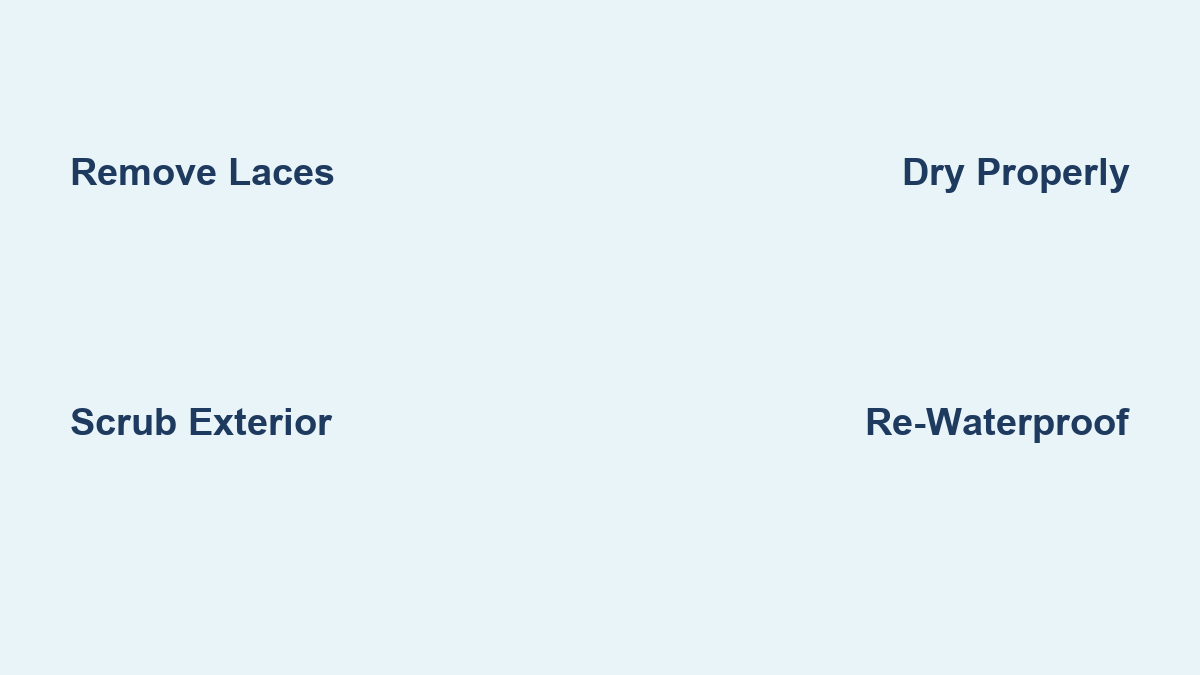
Remove Laces and Insoles for Deep Cleaning
Before scrubbing begins, disassemble your boots completely. This ensures no dirt stays hidden and speeds up drying.
Pull Out Insoles and Untie Laces
Take out both laces and insoles. These components trap sweat, bacteria, and grime, which cause odors and degrade comfort. Cleaning them separately improves hygiene and prolongs their usability.
Wash laces by hand in warm, soapy water or place them in a pillowcase and run them through the washing machine on a gentle cycle. For durable laces—like those on KEEN or Salomon models—some users safely clean them in the dishwasher (skip the heat-dry setting to prevent melting).
Clean insoles with mild soap and a soft brush. Rinse thoroughly and air dry completely—never reinsert damp insoles, as they encourage mold growth.
Pro Tip: Replace worn or compressed insoles during cleaning. Consider upgrading to moisture-wicking, antimicrobial models like Superfeet for better support and odor control.
Dry Boots First, Then Scrape Off Debris
Never start cleaning while boots are still wet. Moisture trapped in seams or linings can damage internal structures.
Air Dry After Every Hike
Let boots sit at room temperature until all surface moisture evaporates. Cleaning wet boots forces water deeper into the upper, risking damage to adhesives and breathable membranes like Gore-Tex.
Once dry, bang the soles together over a trash can to knock off large chunks of dried mud. This makes scrubbing easier and prevents clogging your sink.
Use a Boot Scraper or Stiff Brush
For stubborn mud in deep lug patterns, use a Boot Buddy or plastic scraper. Avoid metal tools—knives or screwdrivers can slice rubber or distort tread design.
An old toothbrush is perfect for cleaning around eyelets, stitching, and the tongue—common dirt traps.
Field Hack: Spray boots with water immediately after hiking to prevent mud from hardening. Or walk through a shallow stream to rinse off trail gunk—just dry thoroughly afterward.
Mix a Safe, Non-Damaging Cleaning Solution
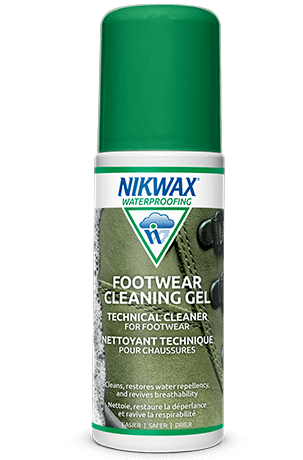
Using the wrong soap can ruin waterproof coatings or fade colors. Choose the right cleaner to protect your investment.
Choose Mild or Gear-Specific Cleaners
For most boots, mix lukewarm water with:
– A single drop of mild dish soap (like Dawn), or
– A specialized cleaner such as Nikwax Footwear Cleaning Gel or ReviveX Boot Cleaner.
These are pH-balanced and safe for technical fabrics. Avoid detergents with bleach, enzymes, or degreasers—they strip DWR (Durable Water Repellent) finishes and damage dyes.
Fill a sink or bucket with the solution. Use only a small amount of soap—excess leaves residue that interferes with waterproofing.
Scrub the Exterior with Precision
Now it’s time to clean every inch of the upper and midsole.
Use the Right Brush for Each Area
Grab a stiff nylon brush for general cleaning of uppers and midsoles. Use an old toothbrush for tight spaces like:
– Lacing hooks
– Seams
– Toe caps
– Heel collars
Focus on high-dirt zones: the tongue, sides of the ankle, and base of the laces.
For leather boots, wipe gently—don’t scrub aggressively. For synthetics, firm scrubbing is safe as long as you avoid steel wool or abrasive pads.
Spot-Clean Mixed Materials Differently
If your boot combines leather and fabric, treat each section appropriately:
– Clean leather with saddle soap or a leather-safe cleaner.
– Use synthetic cleaner on mesh or nylon panels.
Always test any product on a small, hidden area first.
Clean the Soles to Restore Traction

Dirty lugs mean slippery boots. Keep your soles free of debris for reliable grip.
Remove Wet Mud Quickly
Rinse soles under running water. Use a firm brush to scrub between treads. Wet mud is easier to remove before it hardens.
Clear Dry, Hardened Mud
Try these methods:
– Bang soles together to loosen chunks.
– Use a spoon or key to gently pry out debris along lug grooves.
– Soak only the sole in shallow soapy water for 1–2 hours—keep the upper dry unless the boot is fully waterproof.
After soaking, clean with fingers or a brush. Never submerge non-waterproof boots.
Warning: Sharp tools can cut through rubber. Stick to dull, non-metallic picks.
Rinse Thoroughly to Prevent Residue Damage
Leftover soap harms materials and blocks waterproofing treatments.
Flush All Soap from Stitches and Seams
Hold boots under a tap or use a hose to rinse away all suds. Pay special attention to stitched areas and the bond between upper and sole.
Wipe with a damp cloth if needed. Ensure no bubbles remain.
Why It Matters: Residual soap breaks down adhesives over time and attracts more dirt.
Dry Boots Safely—Never Use Heat
Improper drying is the leading cause of boot failure.
Air Dry at Room Temperature
Stuff boots with crumpled newspaper, paper towels, or reusable drying inserts. These absorb moisture and help maintain shape.
Place in a well-ventilated area away from:
– Radiators
– Hair dryers
– Direct sunlight
– Clothes dryers
Heat warps glue, separates soles, and shrinks leather. UV rays degrade rubber and fade colors.
Avoid Common Drying Mistakes
Never:
– Place near a campfire
– Use a hair dryer on high heat
– Leave in a hot car
Expert Advice: Boot dryers can be used cautiously—only on low settings and never touching the interior fabric.
Replace stuffing every few hours for faster results. Drying may take 24–48 hours.
Deodorize the Interior Naturally
Stinky boots? Tackle odor without damaging linings.
Use Baking Soda Overnight
Sprinkle baking soda inside each boot. Let sit overnight, then shake out thoroughly. It neutralizes odors safely.
Alternatives:
– Use a disinfectant spray (like Lysol) sparingly—spray, wait 10 minutes, then air dry.
– Insert cedar chips or activated charcoal bags during storage.
Never soak the interior. Moisture trapped in the lining promotes mold and takes days to dry.
Re-Waterproof When Water Stops Beading
Water resistance fades with use. Restore it after cleaning.
Test Beading Before Treating
Spray water on the upper. If droplets no longer bead up, it’s time to reapply waterproofing.
Choose the Right Treatment by Material
| Boot Type | Recommended Product |
|---|---|
| Full-grain leather | Wax-based conditioner (e.g., Aquaseal) |
| Synthetic or mesh | Spray-on DWR restorer (e.g., Nikwax Fabric and Leather Proof) |
| Mixed materials | Sponge-on or spray formula safe for both |
Critical Rule: Apply only to clean, dry boots. Dirt or dampness prevents proper adhesion.
For leather, condition first—this restores oils and prevents cracking. Then apply waterproofing.
For synthetics, wash first, dry completely, then spray evenly from 6 inches away. Let cure per instructions.
Myth Busting: Some believe boots should be wet during treatment—this is false. Always follow label directions.
Clean by Boot Material Type
Your boot’s construction determines the safest method.
Care for Leather Boots
- Do: Use saddle soap or mild cleaner with a damp cloth.
- Don’t: Soak or machine wash—this causes stiffness and shrinkage.
- Brush gently with a soft or stiff-bristled brush (never metal).
- Dry slowly at room temp; stuff with paper.
- Condition every few months or after heavy wet use.
Tip: Some products combine conditioning and waterproofing—great for efficiency.
Maintain Synthetic Boots
- Safe to rinse under a hose or tap.
- Use a medium brush for scrubbing.
- Can be cleaned more aggressively than leather.
- Never machine wash unless labeled “washable.”
Avoid bleach or solvents—they damage fibers and DWR coatings.
Dry in indirect sunlight to help kill odor-causing bacteria—but limit UV exposure.
Handle Mixed-Material Boots
- Treat each section separately.
- Use a cleaner safe for both materials.
- Apply conditioner only to leather parts.
- Use a universal waterproofing spray for even protection.
Product Suggestion: Nikwax Fabric and Leather Proof works on hybrid boots.
Avoid These Common Mistakes
Even small errors can ruin your boots.
Never Machine Wash or Dry
Agitation loosens stitching and melts glue. Heat from dryers causes sole separation—a leading cause of premature boot death.
Expert Consensus: Washing machines and dryers are among the top reasons hiking boots fail early.
Skip Harsh Chemicals
Bleach, degreasers, and strong solvents break down:
– Waterproof membranes
– Stitching threads
– Color dyes
– Rubber compounds
Stick to mild, gear-specific cleaners.
Store Boots Properly to Extend Life
How you store boots affects their longevity.
Keep Them Dry and Cool
Always store boots completely dry in a cool, dark, dry place. Avoid:
– Basements (humidity)
– Garages (temperature swings)
– Sunlit shelves (UV damage)
Loosen laces and prop the tongue upright to maintain shape.
Use Breathable Storage
Avoid plastic bags—they trap moisture and encourage mildew.
Instead:
– Use cotton storage sacks
– Add silica gel packets or cedar inserts to absorb humidity
Pro Tip: Label your boot brush and keep it separate from household cleaning tools to avoid cross-contamination.
Follow the Complete Cleaning Workflow
Use this checklist after every muddy hike or before long-term storage:
- Dry boots completely post-hike
- Remove laces and insoles
- Loosen dried mud by banging or scraping
- Brush exterior with stiff brush; toothbrush for details
- Clean with mild soap or boot-specific solution
- Rinse thoroughly to remove all soap
- Dry at room temp, stuffed with absorbent material
- Deodorize interior with baking soda or spray
- Condition leather (if applicable)
- Re-waterproof outer layer
- Reassemble and store in a cool, dry place
Final Note: Cleaning isn’t about looks—it’s about performance, safety, and sustainability. Your boots carry you through miles of adventure. Return the favor with consistent care.