How to Stop Hiking Boots from Rubbing
Nothing derails a great hike faster than the sharp sting of a hot spot or the dreaded formation of a blister. If your hiking boots are rubbing—whether on your heel, ankle, toes, or sides of your feet—you’re not alone. But here’s the truth: blistering is not inevitable. It’s a warning sign of preventable issues like poor fit, incorrect lacing, or moisture buildup. The good news? With the right strategies, you can stop hiking boots from rubbing—often without buying new gear. This guide breaks down every proven method, from lacing hacks to sock layering, so you can hike longer, farther, and pain-free.
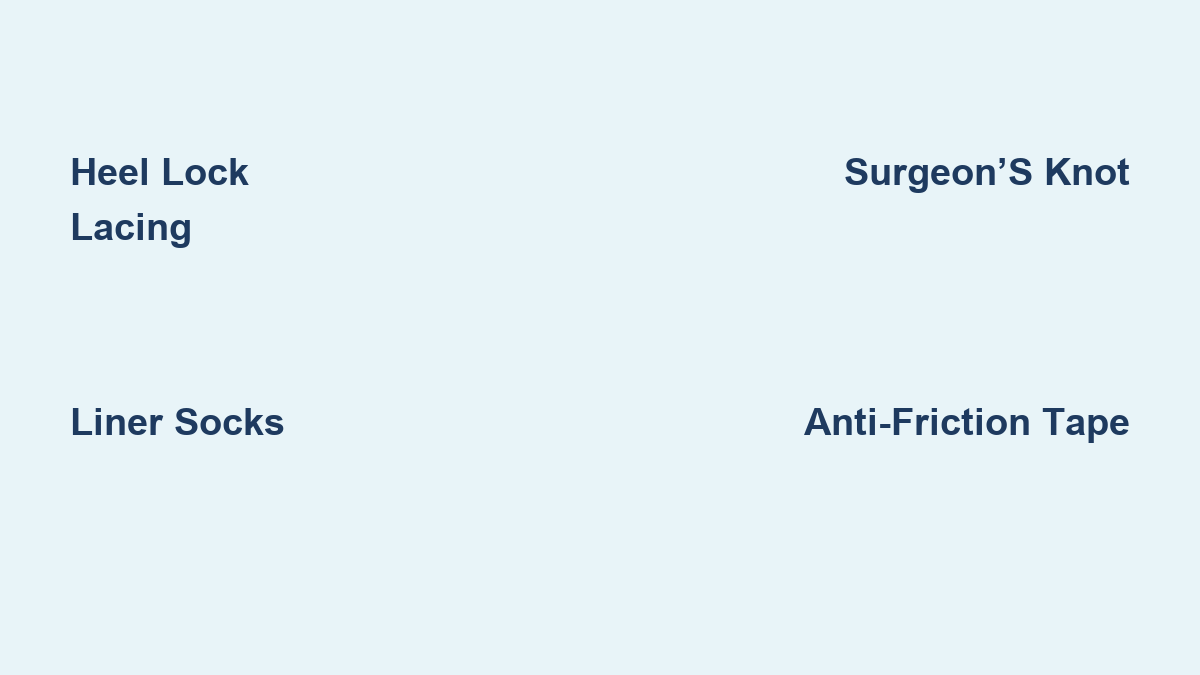
Fix Heel Lift with Heel Lock Lacing

Heel lift is the top cause of blisters, especially on descents. When your heel rises with each step, it creates constant friction against the back of the boot. The solution? Heel lock lacing, also known as the surgeon’s loop.
How to do it:
1. Start by skipping the first eyelet and lacing through the second.
2. Pull tight to secure the midfoot.
3. Return down to the first eyelet and create a small loop on each side (like bunny ears).
4. Cross the lace ends over and thread them through the opposite loops.
5. Pull tight—this “locks” your heel down into the boot’s heel cup.
This technique dramatically reduces upward movement, keeping your heel stable even on steep downhill stretches. Combine it with snug midfoot tension and slightly looser lacing at the ankle for optimal comfort.
Pro tip: Pair heel lock lacing with a surgeon’s knot (double wrap before the bow) to prevent loosening mid-hike.
Prevent Lace Slippage with Surgeon’s Knot

Standard shoelace knots often come undone, especially on rough terrain. A loose lace means reduced support and more foot movement—exactly what you’re trying to avoid.
How to tie a surgeon’s knot:
– After crossing the laces, make two twists instead of one before forming the bow.
– Pull tight—the extra friction keeps laces secure for miles.
This simple tweak ensures your lacing stays firm without constant readjustment, maintaining consistent pressure where you need it most.
Reduce Pressure with Box Tie Lacing
If you feel tightness or rubbing across the top of your foot, box tie lacing can help. This method relieves pressure while maintaining support, ideal for high insteps or swollen feet on long hikes.
Steps:
– At the top two eyelets, run the laces straight across instead of crossing.
– Tie normally—this creates a “box” shape that reduces constriction.
You’ll maintain ankle stability without that pinching sensation, making it easier to walk comfortably over hours.
Eliminate Friction with Liner Socks

One of the most effective ways to stop hiking boots from rubbing is to move the friction away from your skin. Liner socks do exactly that.
Wear a thin synthetic or merino wool liner sock under your regular hiking sock. The outer sock moves with the boot, the liner moves with your foot—the rubbing happens between socks, not on your skin.
Key tips:
– Choose snug-fitting liners (e.g., Darn Tough, Point6, or 1000 Mile).
– Avoid cotton—liners must wick moisture and stay smooth.
– Bunched or wrinkled liners cause more harm than good.
“Silk sock liners make a huge difference! Any rubbing happens sock-on-sock instead of sock-to-skin.” – ferocious_sara
Upgrade to Double-Layer or Toe Socks
For maximum protection, consider double-layer socks like the 1000 Mile design. These have two fabric layers stitched together: the inner layer stays with your foot, the outer with the boot. Friction occurs between the layers, sparing your skin.
Best for: Long-distance hikers or those with chronic heel blisters.
Downside: Slightly warmer—may not suit hot climates.
Alternatively, Injinji toe socks eliminate between-toe rubbing by separating each toe. They also reduce moisture buildup and fungal risk.
“Injinji toe socks work amazing to keep blisters from between toes.” – Trogar1
Choose the Right Outer Sock Material
Your outer sock is your final defense. Choose wisely.
Best options:
– Merino wool: Wicks moisture, regulates temperature, resists odor.
– Synthetic blends (polyester/nylon): Fast-drying, durable, great for humid hikes.
– Avoid cotton: It absorbs sweat, stays wet, and increases friction.
Fit matters:
– Socks should be snug—no bunching or wrinkles.
– Replace worn socks—they lose cushioning and elasticity.
“I switched to sports socks… Never had blister issues again.” – bbwolff
Improve Internal Boot Fit
Even well-sized boots can have internal slippage. Here’s how to fix it.
Add Volume Reducers
Thin foam pads placed under the insole lift your foot slightly, reducing heel lift. Ideal for boots with deep heel cups or if they’re slightly too big.
Install Heel Lift Inserts
Adhesive pads that raise your heel into the boot’s narrowest zone. Improves lockdown and reduces movement. Can be DIY’d with folded moleskin in a pinch.
Upgrade to Supportive Insoles
Stock insoles often lack arch support. Replace with Superfeet, Sorbothane, or custom orthotics for better heel stability and reduced foot movement.
Caution: Upgraded insoles may require re-lacing or even a larger boot size.
Stretch Problem Areas in Your Boots
If your boots pinch in specific spots, targeted stretching can help.
- Use a boot stretcher on stiff zones like the ankle collar.
- DIY method: Stuff tight areas with damp newspaper or socks; let dry overnight.
- Wet fitting (leather only): Soak boots, dry on your feet while walking. Helps mold to your shape—but risk oversizing.
Warning: Test fit often. Over-stretching can ruin the fit.
Apply Anti-Friction Products Before Every Hike
Pre-treat high-risk zones before you start walking.
Use Blister-Prevention Tape
Apply Leukotape, Micropore, or zinc oxide tape to heels, ankles, or toes.
- Smooth application—no wrinkles or bubbles.
- Replace if wet or loose.
“A small piece of tape saved me from a blister on my R2R.” – Comment 3, Article 2
Apply Anti-Friction Balms
Creams like Body Glide, Squirrel’s Nut Butter, or Gehwol create a slippery barrier.
- Apply to heels, ankles, and sides of feet.
- Reapply if feet get wet.
Try Vaseline (With Caution)
Petroleum jelly reduces friction but can soften skin and degrade sock fibers over time.
- Best used with socks, not directly on skin for long hikes.
Break In Boots Gradually
Never wear brand-new boots on a 10-mile trail. Break them in slowly.
Start Indoors
- Wear boots for 15–30 minutes around the house.
- Walk on hard floors, carpet, and stairs.
Progress to Short Walks
- Move to sidewalks or flat trails.
- Gradually increase time and elevation.
Always Use Hiking Socks and Insoles
Break in boots with the same gear you’ll use on the trail. This ensures accurate fit testing and reveals pressure points early.
Soften Stiff Areas with Heat
Use a hairdryer on rigid zones (e.g., ankle collar) for 30–60 seconds. Flex the boot and wear it while warm to encourage molding.
“Once heated, flex them and wear them around for a bit.” – Article 6
Stop Ankle and Leg Rubbing
Boots rubbing the outside of the ankle or lower leg is common on descents.
Causes:
– Stiff uppers pressing on lateral ankle.
– Gaping at the collar causing side-to-side movement.
– Poor lateral fit.
Solutions:
– Snug midfoot lacing with looser top laces.
– Wear gaiters to stabilize boot position.
– Apply anti-chafe balm to calf and ankle.
– Switch to softer-upper boots with better ankle contouring.
“I switched to a different model with a softer upper. The difference was huge.” – Comment 5, Article 2
Find the Right Boot for Your Foot Shape
If nothing works, the boot may not match your foot.
Boot lasts vary by brand:
– Narrow heels: Salomon, Scarpa, Aku, La Sportiva, Altberg (A Forme last).
– Wide forefoot: The North Face (Verbera), Zamberlan, Asolo.
– High arches: Altberg, custom-molded options.
“I discovered my feet are Salomon shaped. Others are just wrong for me.” – scotroutes
Try Trail Runners
Lightweight, flexible, and often blister-free.
- Pros: No break-in, great grip, fast-drying.
- Cons: Less ankle support—avoid on unstable terrain.
“Trail runners are better than boots on long-distance hikes.” – WhoWhatWhereWhenHowY
Try Budget-Friendly Options
- Decathlon Forclaz 100 High: Lightweight, no break-in, used on Camino de Santiago.
- Great for beginners or low-load hikes.
Follow This 10-Step Prevention Plan
| Step | Action | Purpose |
|---|---|---|
| 1 | Assess fit | Confirm boots match foot size and shape |
| 2 | Wear merino/synthetic socks | Reduce moisture and friction |
| 3 | Add a liner sock | Create a skin-protective friction layer |
| 4 | Apply heel lock lacing | Eliminate heel lift |
| 5 | Use a surgeon’s knot | Keep laces tight all hike |
| 6 | Apply balm or tape | Pre-treat high-risk zones |
| 7 | Insert heel lift or volume pad | Reduce internal movement |
| 8 | Break in boots | Mold leather to your foot |
| 9 | Monitor for hot spots | Address rubbing early |
| 10 | Replace boots if needed | Accept when fit is impossible |
Know When to Quit a Pair
Some boots simply won’t work—no matter what you try.
Red flags:
– Same spot rubs on every hike.
– Discomfort worsens, not improves.
– Pain persists despite all fixes.
– Boot last is incompatible with your foot shape.
“It may just be the wrong boots for your feet. Time to accept you need new ones.” – chrisdw
Final Note: Blisters are preventable. Fit is everything. Combine lacing, sock layering, and proactive protection to hike comfortably—no matter the distance. If problems persist, visit an outdoor store for professional fitting. Your feet will thank you.