How to Tie Hiking Boots to Backpack
You’re deep in the alpine, miles from the trailhead, wearing your trusty approach shoes — but your stiff, heavy mountaineering boots still need to get there too. Whether you’re heading into glacier terrain in The Enchantments or tackling a technical ascent in the Cascades, knowing how to tie hiking boots to a backpack is a critical skill for alpinists and backpackers alike.
The wrong method can lead to boot loss, back strain, or dangerous imbalance on steep terrain. The right technique keeps your load secure, balanced, and close to your body’s center. This guide covers proven strategies used by experienced climbers — from side-strapping and lace-tying to smart gear choices like Voile ski straps and dual-purpose footwear. You’ll learn how to avoid the dreaded “lever effect,” where a 2-pound boot feels like 10 due to poor placement, and how to adapt based on your pack, boots, and conditions.
By the end, you’ll know exactly how to tie hiking boots to a backpack — safely, efficiently, and with confidence.
Secure Boot Attachment Methods
Side Straps – One Boot Per Side
Mounting one boot on each side of your backpack using side compression straps is the most balanced and widely recommended method. This setup evenly distributes weight along your spine, minimizing sway and rotational torque during scrambles or long ascents.
Position each boot with the sole facing inward, heel near the bottom of the pack and toe angled up. Wrap the side compression strap over both the heel and midfoot to lock it in place. Pull tight — the boot should not bounce or rotate during movement.
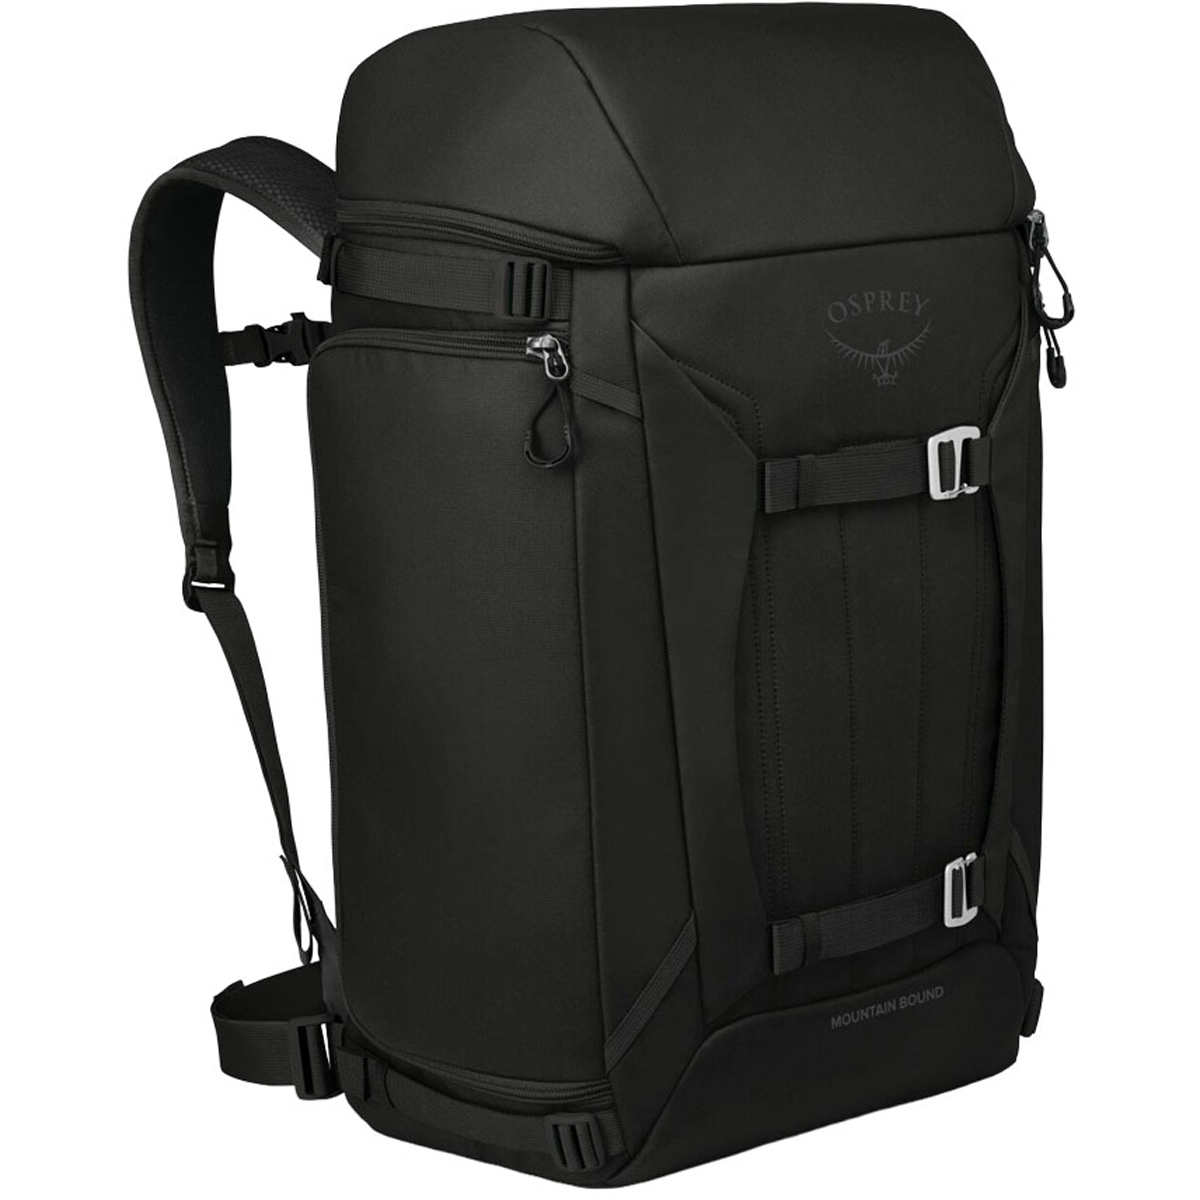
This method works exceptionally well on alpine packs like the Arcteryx Altra 65, which features reinforced side straps designed for heavy external loads. By anchoring boots symmetrically, you maintain a low center of gravity and reduce core fatigue on extended climbs.
Pro Tip: Combine this with lace-tying (see below) for redundancy. Even if a strap loosens, tied laces threaded through a daisy chain keep the boot securely attached.
Internal Storage – Pack Boots Inside
If your pack has the capacity — typically 60L or more — stuffing boots inside is often the safest and most efficient option.
Place boots sole-down near the back panel to keep weight centered and balanced. Use a breathable boot bag to contain moisture and odor, and avoid placing them near your sleeping bag or insulation.
A 65L pack like the Altra 65 can easily fit mountaineering boots without sacrificing essential space, especially if you’re carrying minimal camping gear. Internal storage eliminates snag risks on brush or rock, protects boots from snow and mud, and improves overall pack aerodynamics.
When to Use: Ideal for shorter approaches or when carrying lightweight technical footwear like the LaSportiva Karakoram.
Avoid If: Your pack is already full or you need quick access to boots due to changing route conditions.
Sole-In Orientation for External Mounting
Whenever boots are mounted outside the pack, soles must face inward — a small detail with major benefits.
This orientation reduces snagging on vegetation or rock, lowers wind resistance, and keeps weight closer to your spine. It also prevents dirt and snow from flinging off the treads onto your gear or the hiker behind you.
Visual Cue: From behind, you should only see the boot uppers — not the soles.
This best practice is standard among guided alpine teams and seasoned mountaineers who rely on predictable load dynamics in exposed terrain.
Lace-Tying and Reinforcement Techniques

Tie Laces Together for Redundancy
Never rely solely on straps. Tying boot laces together creates a fail-safe tether that prevents total loss if a strap fails.
Lace both boots into a single loop or knot, then thread the bundle through a daisy chain, gear loop, or side strap anchor. Ensure it’s snug but not overstretched.
This simple step means even if a boot slips free of its strap, it remains connected to your pack. It’s one of the most frequently cited tips in backcountry forums and guidebooks.
Real-World Consequence: A dropped boot on a glacier traverse can mean mission failure — or worse, a dangerous descent attempt in inappropriate footwear.
Use Voile Ski Straps for Maximum Security
Voile ski straps are the gold standard for securing boots externally. These rubberized elastic straps with plastic buckles offer high tensile strength, weather resistance, and glove-friendly operation.
Wrap the strap around the boot shaft and side anchor point, then click shut. Unlike nylon webbing, Voile straps maintain tension in cold, wet, or icy conditions.
Expert Note: Many climbers carry an extra Voile strap in their repair kit — they’re also perfect for ice axes, tent poles, or temporary pack repairs.
Add Velcro Cord Strips for Lightweight Hold
Velcro One-Wrap strips or adhesive-backed Velcro rolls offer a customizable, low-profile option for light-duty boot attachment or temporary fixes.
Cut to length and wrap around boot and anchor point. Ideal for securing laces or reinforcing weak strap connections. Store flat when not in use.
While not strong enough for primary attachment of heavy mountaineering boots, Velcro strips excel as secondary retention or for lighter hiking boots on moderate terrain.
Product Tip: Look for UV-resistant, industrial-grade Velcro rolls (e.g., Walmart Canada’s One-Wrap brand) for longer durability.
Alternative Carrying Methods
Shoulder Drape Method – Carry Behind Your Back
Instead of attaching boots to the pack, tie laces together and drape them over your shoulders.
Let boots hang behind your back, centered along your spine. Adjust so weight rests between your shoulder blades. Keep laces tight to prevent swinging.
This method keeps the load close to your center of mass, eliminating pack sway and reducing fatigue on moderate trails. It’s popular among fast-and-light alpinists doing short carries between belays or base camps.
Best For: Non-technical terrain, warm weather, and short distances.
Limitations: Boots may swing during scrambling; can interfere with hydration hoses or neck movement.
Safety Note: Not recommended for icy or exposed terrain where hands-free mobility is critical.
Optimize Weight Distribution and Balance
Prevent Lever Effect with Close Placement
Heavy boots act like pendulums when hung far from your back. The lever effect amplifies perceived weight — a 2-pound boot can feel like 5+ pounds if it’s dangling 10 inches out.
Always mount boots as close to the back panel as possible. Avoid front or lower-hanging configurations unless unavoidable. Use packs with daisy chains or ladder straps to fine-tune vertical placement — aim for mid-back level to align with your hips and reduce torque.
Balance Load Symmetrically
Unbalanced loads cause uneven muscle fatigue and poor posture over time.
If carrying two boots externally, use both side straps. If carrying one boot and another item (e.g., tent), match weight distribution. After loading, do a “bounce test” — jump lightly. If boots shift, re-secure them.
Pro Tip: Walk a few yards with your loaded pack. If you feel leaning or twisting, adjust the load before heading out.
Choose Weather-Resistant and Glove-Friendly Fasteners
Use Fasteners That Work in Snow and Ice
Standard buckles can freeze shut or become slippery when wet. Choose systems that function reliably in extreme conditions.
Rubber ski straps remain flexible in sub-zero temps and grip well with ice buildup. Large-tail zippers or gloved-friendly buckles allow easy operation without removing gloves.
Avoid metal clips or elastic cords that degrade in UV exposure or lose elasticity when frozen.
Field Feedback: Climbers in the Cascades report Voile straps outperforming nylon cinch cords after multiple freeze-thaw cycles.
Prioritize Glove Compatibility
You shouldn’t need to remove gloves to secure your boots — especially at high altitude.
Select straps with oversized plastic buckles. Test fasteners with your actual climbing gloves before departure. Avoid small pull-tabs or fine-threaded adjustments.
Checklist Before You Go:
– Can I fasten and release the strap with gloves on?
– Does the buckle stay locked under vibration?
– Is the strap visible in low light?
Eliminate the Need: Wear Dual-Purpose Mountaineering Boots
Consider Hiking-Capable Mountaineering Boots
Sometimes the best solution is not carrying boots at all — by choosing footwear that performs well on both trail and technical terrain.
Top dual-purpose options:
– LaSportiva Karakoram: Lightweight, stiff sole, excellent crampon compatibility.
– Salewa Guide Pro: Ankle support, Vibram outsole, surprisingly comfortable on long approaches.
– Scarpa Maverick: Designed for fast alpine missions with hiking efficiency.
These boots eliminate the need for separate approach shoes and mountaineering boots, streamlining your system.
“On a 15-mile hike, I’d just wear my Scarpa Mavericks — they’re comfortable, light, and support a climbing pack well.”
Avoid Wearing Rigid Boots on Long Approaches
Traditional double boots like the Arc’teryx Acrux AR are excellent for glacier travel but terrible for hiking.
Rigid soles reduce stride efficiency. Poor flex causes calf fatigue over miles. Increased risk of blisters and strain.
“Having been into the Enchantments a dozen times, I would not recommend this.” — experienced climber on wearing Acrux AR boots for full approach
Instead, reserve stiff boots for the technical portion and carry them efficiently using the methods above.
Gear-Specific Tips

Using the Arcteryx Altra 65
This 65L alpine pack is built for boot-carrying scenarios.
- Side compression straps: Reinforced for heavy loads; ideal for securing boot heels and toes.
- Daisy chains: Use to thread lace loops through for redundancy.
- Ice axe loops: Can double as boot shaft anchors in a pinch.
- Stiff internal frame: Transfers external load efficiently to hips.
Pro Setup:
1. Place one Acrux AR boot on each side.
2. Secure with side straps over midfoot and ankle.
3. Tie laces together and thread through top daisy chain.
4. Confirm no movement during test walk.
Handling Arc’teryx Acrux AR Mountaineering Boots
These double boots weigh ~900–1000g each and have a bulky profile.
- Use Voile straps — standard pack straps may not fully tighten.
- Store crampons in a padded case and attach separately.
- Clean boots before packing to prevent moisture buildup.
Weight Warning: At nearly 4 lbs total, improper mounting can severely impact balance.
Maintenance and Safety Checks
Prevent Boot Loss with Double Security
Never depend on a single attachment point.
- Primary: Voile strap or side compression.
- Secondary: Laces tied and threaded through anchor.
Re-check security:
– After the first 10 minutes of hiking.
– After river crossings or steep sections.
– Before and after breaks.
Consequence of Failure: Losing a boot at elevation can force retreat or create emergency conditions.
Inspect Straps Regularly
Rubber and webbing degrade over time.
- Replace Voile straps every 2–3 heavy-use seasons.
- Look for cracks, fraying, or weakened elasticity.
- Store Velcro strips clean and dry — sand and moisture kill grip.
Repair Kit Must-Haves:
– Spare Voile strap
– Velcro One-Wrap strip
– Small cord lock or zip tie
Final Recommendations
- Best Overall Method: Attach one boot per side using Voile ski straps, with soles inward and laces tied and anchored through daisy chains.
- Safest Option: If space allows, pack boots inside a 65L+ backpack near the back panel.
- Smart Alternative: Invest in hiking-capable mountaineering boots to eliminate external carry.
- Must-Have Gear: Carry at least one Voile strap and Velcro One-Wrap strip in your repair kit.
Tying hiking boots to a backpack isn’t just about convenience — it’s about safety, efficiency, and preserving your energy for the climb ahead. With the right technique and gear, you can move confidently across any terrain, knowing your boots are secure, balanced, and ready when you need them.