How to Clean Columbia Hiking Boots
Muddy trails, damp forests, and long summit hikes are all part of the adventure—but they leave a mark on your gear. When your Columbia hiking boots come home caked in dirt and smelling less than fresh, it’s tempting to toss them in the washing machine or blast them with heat. But doing so could ruin them faster than any trail ever could. Knowing how to clean Columbia hiking boots the right way isn’t just about appearance; it’s about protecting performance, breathability, and longevity.
Columbia Sportswear designs its boots with advanced technologies like Omni-Tech™ and OutDry™ waterproof membranes, which can be compromised by improper cleaning. Dirt buildup clogs treads, degrades materials, and traps moisture—leading to odors, reduced traction, and even premature failure. The good news? With a few simple tools and the right technique, you can keep your boots looking great and functioning like new for years.
This guide walks you through every step—based on official Columbia care instructions and insights from Shannon Elliott, Footwear Design Director at Columbia—so you never risk damaging your favorite pair. From material-specific cleaning to safe drying, re-waterproofing, and odor control, here’s everything you need to know to clean your Columbia hiking boots effectively and safely.
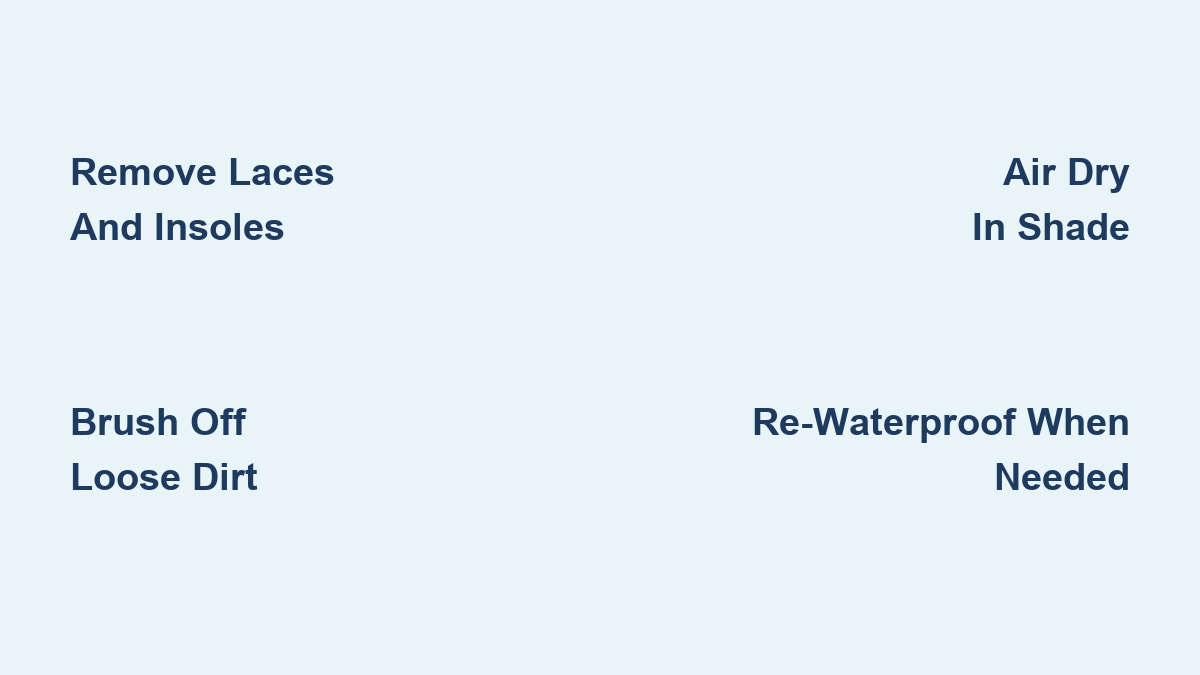
Remove Laces and Insoles First
Before touching water or soap, take your boots apart for a thorough clean.
Pull Out Insoles Completely
Insoles absorb sweat and harbor bacteria, making them a hotspot for odor and mold. Gently lift them from the heel and pull forward. If they’re stuck, use the edge of a spoon to ease them out without tearing. Removing them allows airflow during drying and ensures no moisture gets trapped underneath.
Untie and Remove Laces
This exposes the eyelets and tongue area where mud accumulates. Pull laces out completely and set aside for separate cleaning. Use a key or shoehorn tip to loosen stubborn knots.
Pro Tip: If you own multiple pairs, place each set of laces in a labeled bag to avoid mix-ups.
Brush Off Loose Dirt and Mud
Start with dry cleaning—never scrub wet mud, which can grind into fibers and scratch surfaces.
Use a Stiff Brush for Treads
Grab a stiff-bristled boot brush or an old toothbrush. Focus on the outsole, scrubbing between lugs to remove pebbles and dried mud. Knock the soles together outside first to dislodge large clumps.
Wipe Uppers with a Damp Cloth
For light dust, a quick wipe-down with a slightly damp microfiber cloth works. Avoid soaking, especially on leather or insulated models.
Visual Cue: If dirt flakes off easily, you’re ready for deeper cleaning. If it’s caked on, a light rinse is the next step.
Rinse Without Soaking
Water helps remove grime—but too much harms waterproof linings.
Rinse Under Tap or Hose
Hold boots under lukewarm running water, directing flow at muddy zones. Keep the cuff above water to prevent inner saturation. A garden hose works, but avoid high pressure.
Never Submerge Entire Boots
Especially those with Omni-Tech™ or OutDry™ membranes. Soaking traps moisture inside, degrading breathability and potentially voiding warranties.
Warning: Prolonged soaking weakens adhesives and may lead to delamination over time.
Clean Uppers by Material Type
Different materials require different care—using the wrong method can cause irreversible damage.
Leather Uppers: Use Mild Soap
Mix 1 tsp mild dish soap (like Dawn) per cup of water. Dip a soft cloth, wring well, and wipe in circular motions. Avoid bleach or ammonia-based cleaners. After drying, apply leather conditioner every 1–2 years to prevent cracking.
Do This: Always condition leather in a climate-controlled environment to ensure even absorption.
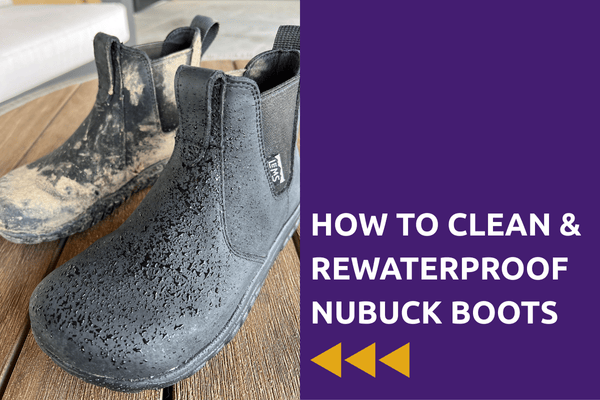
Nubuck or Suede: Special Cleaner Only
These delicate surfaces lose their texture when wet. Use a nubuck-specific cleaner and a brass-bristled brush. Test on a hidden spot first. Never machine wash or fully saturate.
Never Wet Fully: Spot clean only. Excess moisture causes dark stains and permanent nap damage.
Synthetic Mesh or Nylon: Gentle Scrub
Use a soft brush and soapy water. Focus on stained areas. Rinse thoroughly—soap residue attracts more dirt.
Eco Tip: Choose biodegradable detergent to protect both your boots and the environment.
Fur Trim (Winter Models): Spot Clean
Dampen a cloth with soapy water and gently dab—don’t soak. Heat melts faux fur, so never use a dryer or direct heat source.
Scrub Soles and Tread Deeply
The outsole takes the most punishment and needs regular attention.
Remove Pebbles and Debris
After every hike, check between lugs. Trapped stones reduce grip and wear down rubber unevenly.
Scrub with Toothbrush and Water
Use an old toothbrush to reach crevices. For stubborn mud, add a drop of soap. Rinse frequently.
Pro Tip: Inspect for cuts or separation from the midsole. Early detection prevents costly repairs.
Hand Wash Insoles and Laces
Clean footbeds mean fresher, more comfortable hikes.
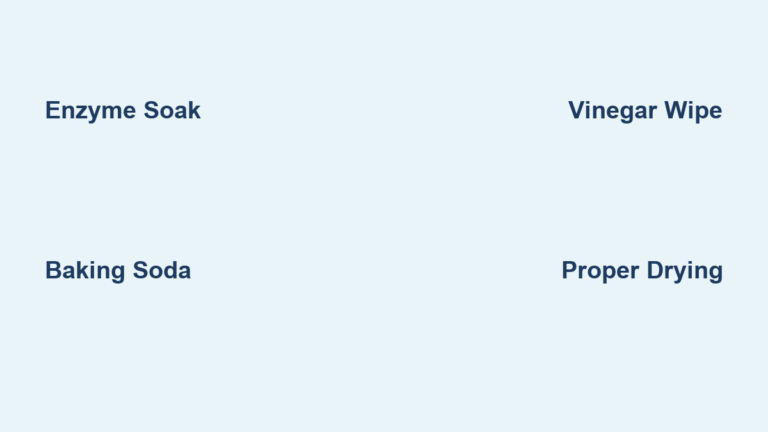
Wipe Insoles with Vinegar Solution
Mix equal parts white vinegar and water. Dampen a cloth and wipe the surface. Let air dry completely. For persistent odors, sprinkle baking soda, leave overnight, then shake out.
Avoid Machine Washing: It breaks down cushioning and adhesive layers.
Soak Laces in Soapy Water
Place in a bowl with warm, soapy water. Agitate by hand. Rinse and hang to dry.
Replace If Frayed: Worn laces compromise fit and safety—don’t risk a mid-hike failure.
Air Dry—Never Use Heat

Improper drying is the leading cause of boot damage.
Stuff with Newspaper
Crumple sheets and pack loosely. Newspaper pulls moisture from the lining and helps maintain shape. Swap paper when damp.
Avoid Overstuffing: It distorts the boot and slows drying.
Dry in Ventilated Shade
Place near a fan or open window. Keep away from radiators, sunlight, and heaters. Allow 12–24 hours for full drying.
Columbia Warning: “Direct heat can warp soles, shrink leather, and ruin waterproof linings.”
Never Use a Dryer
Even on “air only” settings, tumbling damages glue bonds. Boots may delaminate after one cycle.
Deodorize Naturally
Sweat and bacteria cause lingering smells—treat them the right way.
Baking Soda Overnight
Sprinkle 1–2 tablespoons inside. Let sit 8+ hours. Shake vigorously to remove.
Disinfectant Spray (Optional)
Use a boot-safe formula. Spray interior, then let dry fully before wearing.
Expert Note (Shannon Elliott, Columbia): “If boots get really gnarly, disinfectant spray works—just let them dry completely.”
Re-Waterproof When Beading Stops
DWR (Durable Water Repellent) wears off—reapply it to maintain performance.
Test Water Beading
Sprinkle drops on the upper. If they soak in instead of rolling off, it’s time to re-treat.
Choose the Right Product
- Spray-on (Nikwax, Grangers): Best for mixed materials.
- Wax (Mink Oil, Beeswax): Ideal for full-grain leather in wet climates.
Apply Evenly
Hold spray 6–8 inches from boot. Cover seams and high-wear zones. Let dry 4–12 hours.
Critical Step: Boots must be clean and dry before treatment. Dirt blocks absorption.
Condition Leather Every 1–2 Years
Prevent cracks and stiffness with proper conditioning.
Use Leather Conditioner
Apply sparingly with a cloth. Work into seams and flex points. Buff excess.
Avoid Over-Conditioning: Clogs pores and attracts dirt. Once every 24 months is enough for most users.
Avoid Machine Washing
It’s tempting—but destructive.
Washing Machines Damage Adhesives
Agitation weakens glue between sole and upper. Delamination often follows.
Detergents Harm Fabrics
Laundry soap is too harsh. It strips DWR and degrades membranes like Omni-Tech™.
Columbia’s Rule: “Never place shoes in a washer or dryer.”
Store Clean and Dry
Proper storage prevents mold and warping.
Keep in Cool, Dry Place
Avoid basements or attics with humidity swings. Use a closet with airflow.
Use Breathable Storage Bags
Cotton sacks let boots breathe. Never use plastic—it traps moisture.
Pro Move: Loosen laces and store with insoles removed to maintain shape.
Repair Minor Damage Early
Small issues become big problems.
Fix Outsole Separation
Clean both surfaces. Apply urethane adhesive (e.g., Shoe Goo), let tack, then press together. Clamp overnight.
Patch Tears with Repair Kits
Use color-matched patches for synthetics. Test dye on heel first.
Warranty Note: DIY repairs may void warranty. Contact Columbia before submitting repaired boots.
Prevent Long-Term Damage
Neglect leads to costly replacements.
Mud Dries and Pulls Moisture
As Shannon Elliott explains: “Mud sucks moisture from leather, causing cracks.”
Heat Causes Shrinkage
Sun-dried boots may no longer fit. Always dry in shade.
Poor Care Reduces Traction
Clogged lugs slip on wet rocks. Clean after every muddy hike.
Follow the 10-Step Cleaning Checklist
Stay consistent with this routine.
- Remove laces and insoles
- Brush off loose dirt
- Rinse (don’t soak)
- Clean uppers by material
- Scrub soles and treads
- Wipe insoles, deodorize with baking soda
- Hand wash laces
- Air dry in shade with newspaper
- Reapply waterproofing if needed
- Condition leather (every 1–2 years)
Time Estimate: Full cleaning takes 20–30 minutes active work. Drying adds 12–24 hours.
Final Tips for Boot Longevity
- Clean after every muddy hike, but don’t over-wash.
- Never use bleach, fabric softener, or solvents.
- Inspect monthly for wear, separation, or odor.
- Replace insoles annually for better cushioning and hygiene.
- Rotate boots if hiking weekly—gives each pair time to dry and recover.
By following these steps, your Columbia hiking boots will stay trail-ready for years. Proper care means better grip, drier feet, and more adventures—without the cost of early replacement. Treat your boots right, and they’ll carry you farther.