How to Repair a Boot Zipper
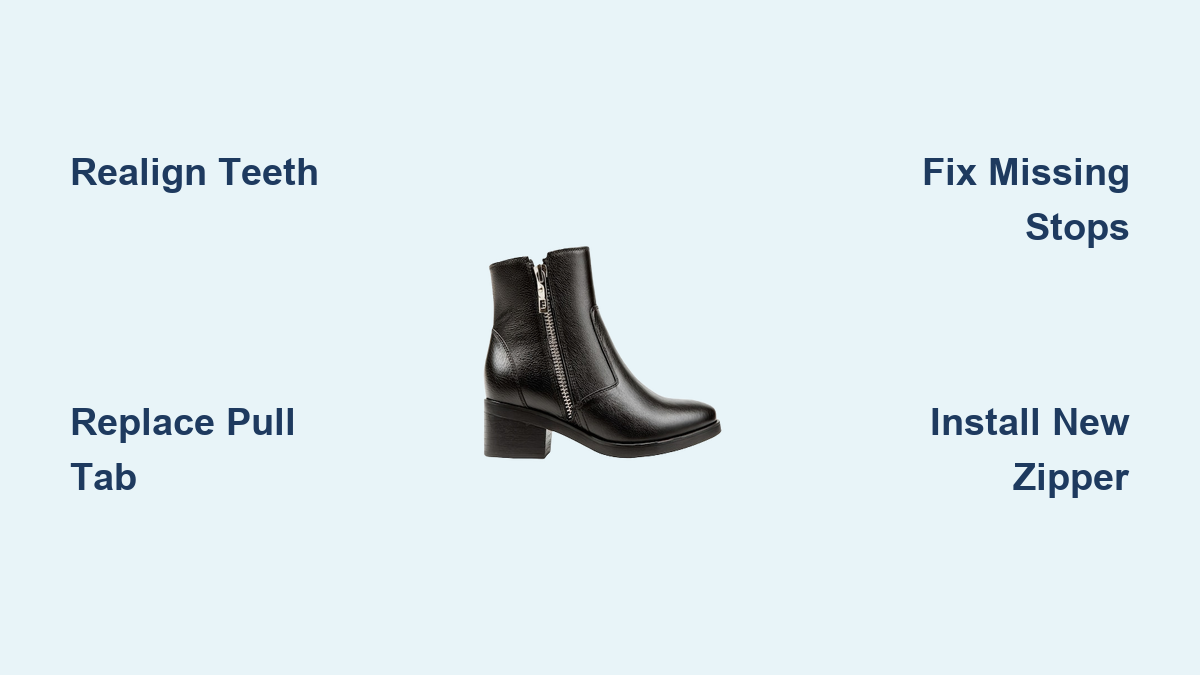
A broken boot zipper can sideline your favorite pair of tall boots, especially when they are expensive, discontinued, or essential for daily riding. Whether you are dealing with a zipper that will not stay closed, a slider that will not budge, or a pull tab that has completely detached, repairing a boot zipper is often possible without replacing the entire boot. Most issues stem from simple causes like misalignment, dirt buildup, or worn stops, and many can be fixed at home with basic tools and patience.
This guide walks you through diagnosing common zipper problems, performing quick fixes, and tackling full replacements when necessary. You will also learn how to maintain your zippers to prevent future failures and decide whether DIY repair is worth the effort compared to professional service. By the end, you will know exactly how to repair a boot zipper, from minor tweaks to full rebuilds.
Diagnose the Zipper Problem

Before grabbing tools, identify what is actually broken. Misdiagnosis leads to unnecessary work. Boot zippers, usually YKK metal or coil types, are durable but fail in predictable ways.
Check for Tooth Misalignment
If the zipper separates just below the slider, the teeth may not be properly engaged. This is not always a broken slider. Often, the slider has simply jumped off track.
Visual cue: The zipper closes at the top but opens up within inches. Teeth below look intact but unmeshed.
Fix test: Lower the slider completely, realign the teeth by hand, then slowly zip upward. If it holds, the issue was alignment, not damage.
Test Slider Grip Strength
Over time, the slider’s internal clamp weakens. It no longer compresses the teeth tightly, causing spontaneous opening.
Signs of failure:
– Zipper will not stay closed under light pressure
– Slider feels loose when moving
– Teeth pop apart without force
Quick test: Zip halfway, then gently pull the boot shafts apart. If the zipper opens easily, the slider has lost grip.
Inspect Top and Bottom Stops
Stops prevent the pull tab from sliding off the track. If missing, the pull will detach every time.
Common cause: Forcing the slider past the stop, or wear from repeated use.
Check: Is the pull tab still attached to the track? If not, and the slider is at the end, the top stop is likely gone.
Look for Tape or Tooth Damage
Torn fabric tape or broken teeth mean a simple fix will not work. This requires replacement.
Damage signs:
– Holes or fraying in the zipper tape (the fabric edge)
– Missing or bent teeth
– Zipper slider jams at a specific spot
External risks: Equestrians often see “chewed” zippers from spur contact. Bent teeth and torn tape are common.
Prevent Zipper Failure Early
Most zipper problems start small. Regular care prevents the majority of failures, especially in riding boots exposed to salt, sweat, and mud.
Clean Zippers After Every Use
Dirt and salt are zipper killers. They grind against teeth and attract moisture, leading to corrosion.
Steps:
1. Use a soft toothbrush to scrub teeth vertically.
2. For salt residue, dampen the brush slightly. Do not soak the zipper.
3. Wipe dry immediately.
Pro tip: Always clean the zipper before cleaning leather. Leather conditioners can seep into the track and attract grit.
Lubricate the Teeth Monthly
Dry zippers wear out faster. A dedicated lubricant keeps movement smooth and repels dirt.
Recommended products:
– Zipper Ease (AGS Company)
– Gear Aid Zip Cleaner and Lubricant
– Hypofek (Pharmaka)
How to apply:
1. Apply lubricant along both sides of the teeth.
2. Zip and unzip 5 to 10 times to work it in.
3. Let it dry fully before storing.
Warning: Never store boots with a wet or greasy zipper. This can cause mold or gumming.
Use Zippers Correctly
Bad habits cause premature wear.
Best practices:
– Always unzip fully before removing boots.
– Do not force a stuck zipper. Clean and lubricate first.
– When breaking in new boots, guide the slider with your fingers to avoid stressing the mechanism.
Fix a Separated Zipper Fast
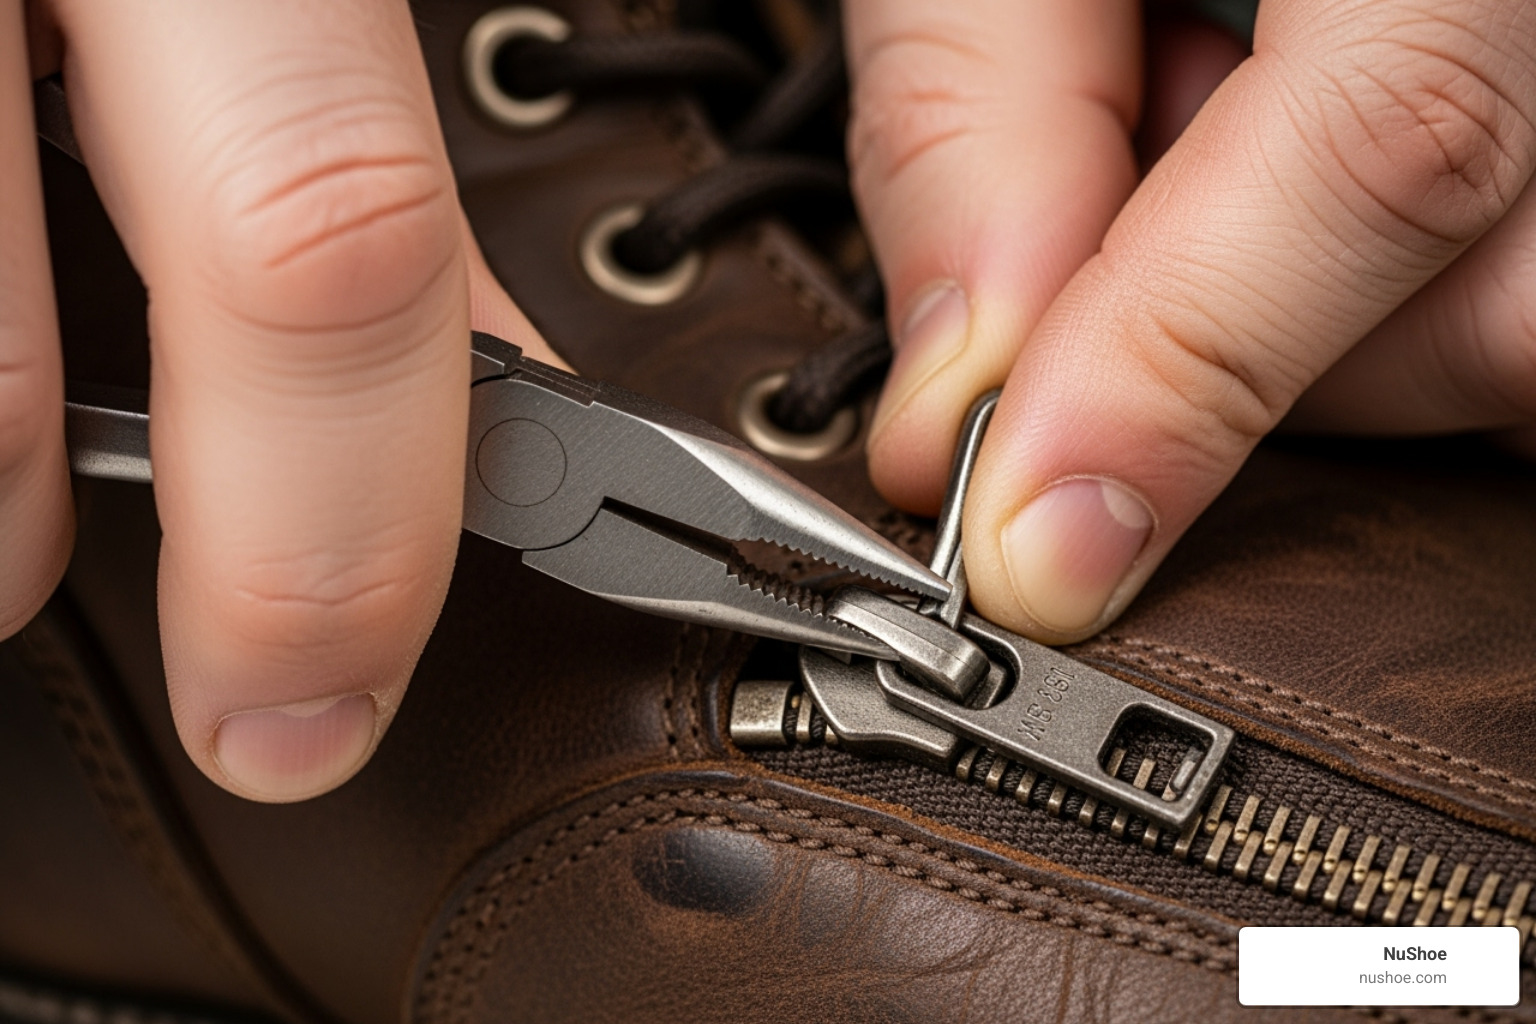
If the zipper opens below the slider but the parts look intact, you can fix it in seconds.
Realign the Teeth Manually
This works for both metal and coil zippers.
Steps:
1. Pull the slider all the way down.
2. Pinch the separated teeth together with your fingers.
3. Guide them into the slider’s entry point.
4. Slowly zip upward. Do not rush.
Why it works: The slider may have skipped a tooth due to tension. Realigning resets the track.
Pro tip: If separation keeps happening, the slider may be worn. Consider replacement.
Reattach a Lost Pull Tab
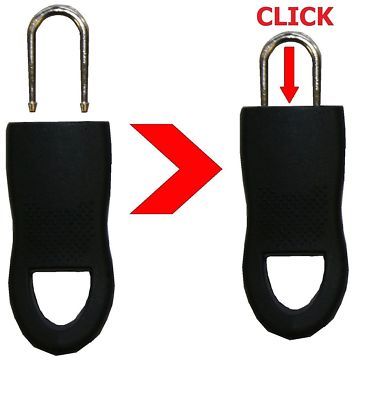
A missing pull tab does not mean the zipper is dead. You can often restore it quickly.
Use a Keyring as a Temporary Fix
If the slider body is still on track but the pull broke off:
- Thread a small keyring through the slider’s hole.
- Use the ring as a new pull.
Limitation: This is a field fix. It works but looks unprofessional.
Replace the Pull Tab Permanently
Buy a replacement pull tab (available at tack or fabric stores).
Installation:
1. Slide the new pull onto the slider pin.
2. Bend the pin slightly with pliers to lock it in place.
Note: If the pin is missing, you will need to replace the entire slider.
Fix Missing Zipper Stops
If the pull tab slides off the top, the stop is gone. You can add a new one.
Install Fabric or Metal Stops
Materials needed:
– Replacement stop (metal or fabric)
– Heavy-duty thread
– Leather needle
Steps:
1. Position the stop at the top end of the track.
2. Hand-stitch it through the zipper tape using a backstitch.
3. Reinforce with 6 to 8 stitches.
Alternative: Fold the tape over and sew a bar tack to create a makeshift stop.
Test: Slide the pull to the top. It should stop cleanly without catching.
Replace a Damaged Zipper
When teeth are missing, the tape is torn, or the slider is jammed, replacement is the only option.
Gather the Right Tools
This is not a job for a standard sewing machine. You need specialized gear.
Essential tools:
– Seam ripper
– Needle-nose pliers
– Heavy-duty thread (harness thread recommended)
– Leather needle
– Replacement zipper (match type and length)
– Pins (use sparingly on leather)
Recommended machine:
– Hand-crank shoe repair machine (e.g., ColouredPeas Upgraded Version 10)
– Or vintage Singer 29K (electric or treadle)
Why these machines? They offer 360-degree sewing and enough power to stitch through thick leather and zipper tape.
Remove the Old Zipper
Work carefully to avoid damaging the boot shaft.
Cut Only the Top Stitching
- Use a seam ripper to remove stitching at the top ¾ inch of the zipper.
- Focus on the outer leather side. Do not cut lining stitches yet.
- Remove all thread fragments.
Caution: Never slice with the seam ripper. Use a lifting motion to avoid nicking leather.
Check Zipper Length
Measure the old zipper against the boot.
- Place the new zipper alongside.
- Mark the correct length.
- Trim the new zipper 1 inch below the mark. This allows room for the top stop.
Install the New Zipper

Precision is key. One misaligned stitch can ruin the look and function.
Create a New Top Stop
- Fold the top of the zipper tape down twice to form a right-angle crease.
- Stitch it securely to create a clean finish and functional stop.
- Use pliers to push the needle through thick layers.
Attach to Heel Side First
- Align the new zipper with the heel-side outer leather.
- Pin only through existing needle holes. This preserves leather integrity.
- Sew along the original inner row of stitching using a backstitch.
Machine tip: If using a hand-crank machine, mount it to a sturdy bench for control.
Secure the Toe Side
- Align the zipper with the toe-side outer leather.
- Pin through original holes.
- Sew along the same inner row.
Check alignment: Zip halfway to ensure smooth movement before moving to the lining.
Sew the Lining and Underlay
Now secure the interior layers.
Attach Toe-Side Lining
- Pin the lining to the zipper and outer leather.
- Sew along the outer row of stitching holes.
- Use a backstitch at start and end.
Finish Heel-Side Layers
- Pin lining and underlay (the backing fabric) together.
- Attach to the zipper and outer leather.
- Sew along the outer row. This side bears more stress.
Pro tip: Keep tension even. Loose stitches will sag over time.
Install Final Stops
Even with a folded top stop, add a bottom stop for security.
Add Metal or Fabric Stops
- Position the bottom stop just above the slider’s lowest point.
- Hand-stitch it securely with heavy thread.
- For the top, reinforce the folded tape with a bar tack.
Test: Slide the pull to both ends. It should stop firmly without wobble.
Test and Finish
The final step ensures durability.
Check Zipper Action
- Zip and unzip slowly.
- Look for:
– Snagging on lining
– Misalignment
– Excessive resistance
Fix snags: Trim any loose thread and realign the lining.
Allow to Set
Let the boot rest with the zipper closed for 24 hours. This helps the stitches settle.
DIY vs. Professional Repair

Deciding whether to do it yourself depends on cost, time, and skill.
When to Hire a Pro
Choose professional repair if:
– You own one pair of high-value boots
– You lack the tools or space
– You need a factory-quality finish
Average cost: $60 per boot
Wait time: 3 to 4 weeks
Reality: Many cobblers refuse tall boot zippers. Call ahead.
When DIY Makes Sense
DIY is worth it if:
– Boots are discontinued (no replacement available)
– You plan to repair multiple pairs
– You enjoy hands-on projects
– You need boots fixed immediately
Initial investment: ~$175 (machine, thread, zippers)
Learning curve: High. Expect trial and error.
Pro tip: One user replaced a zipper on the wrong boot. Label left and right before starting.
Maintain Zippers Long-Term
Prevention beats repair every time.
Monthly Maintenance Routine
- Brush teeth clean
- Apply lubricant
- Zip and unzip 10 times
- Let dry before storing
Store Zippers Closed
Always store tall boots with zippers fully closed. This protects teeth from impact and bending.
Exception: If recently lubricated, leave open until dry to prevent sticking.
Reinforce Weak Stitches
If lining stitches look loose, reinforce with harness thread by hand.
One rider paid a harness shop $5 to do this, much cheaper than full repair.
Frequently Asked Questions About Boot Zipper Repair
Can a separated boot zipper be fixed without replacement?
Yes, in most cases. Lower the slider below the separation point, pinch the teeth together by hand, and slowly guide them into the slider’s entry point. Then zip upward steadily. This realignment works for both metal and coil zippers.
What causes a zipper to open on its own after zipping?
This usually indicates slider grip loss. The internal clamp has worn down and no longer compresses the teeth tightly. Test by zipping halfway and gently pulling the boot shafts apart. If it opens easily, the slider needs replacement.
How do I know if my zipper needs full replacement?
Look for missing or bent teeth, torn zipper tape, or a slider that jams at a specific spot. If the fabric tape is frayed or has holes, cleaning and lubrication will not solve the problem. These signs mean replacement is the only option.
Is it worth repairing a zipper on expensive boots myself?
It depends on your skill level and tool access. DIY requires a specialized shoe repair machine (~$175 investment) and a steep learning curve. For a single high-value pair, professional repair ($60 per boot) may be safer, though wait times can reach 3 to 4 weeks.
What lubricant should I use on a boot zipper?
Use a dedicated zipper lubricant like Zipper Ease (AGS Company), Gear Aid Zip Cleaner and Lubricant, or Hypofek (Pharmaka). Apply monthly, work it in by zipping 5 to 10 times, and let it dry fully before storing. Never use grease or oil, as they attract dirt.
Why do local cobblers refuse tall boot zipper repairs?
Many shoe repair shops avoid tall boot zippers due to the difficulty of accessing the zipper channel and the risk of damaging expensive leather. Some actively look for reasons to decline. Call ahead and confirm they handle tall boots before dropping them off.
Key Takeaways for Repairing Your Boot Zipper
How to repair a boot zipper ranges from a 30-second realignment to a multi-hour replacement. Most issues are not as bad as they seem. Start with cleaning, lubrication, and manual realignment before considering replacement.
For full replacements, specialized tools are required, but the investment pays off if you own multiple pairs or face limited professional options. Always diagnose first, pin only through existing needle holes, and label your boots to avoid costly mistakes.
With the right approach, you can restore function, extend boot life, and save hundreds of dollars. Whether you choose DIY or professional service, the key is acting early. Address small snags before they become total failures.