How to Repair Boot Heel: Quick Steps
You’ve worn your favorite boots for months, maybe years. Now the heel wobbles, rubber is worn down to nothing, or the leather is cracked and peeling. Instead of tossing them, repair the boot heel yourself. Most common heel issues are fixable at home with basic tools and the right technique.
This guide walks you through diagnosing damage, choosing materials, and executing precise repairs that restore stability and extend boot life. Whether it’s a detached heel, worn rubber, or cracked leather, you’ll learn how to fix it safely, affordably, and effectively without needing a cobbler.
Diagnose Your Heel Damage Type
Before grabbing glue or sandpaper, identify what’s wrong. The repair method depends entirely on the damage type. Misdiagnosis leads to temporary fixes that fail under pressure.
Check for Rubber Cap Wear
The rubber heel cap is the first to go. Look for:
– Thinning or missing rubber on the bottom edge
– Exposed leather stack beneath
– Uneven wear on one side (common in walking gait)
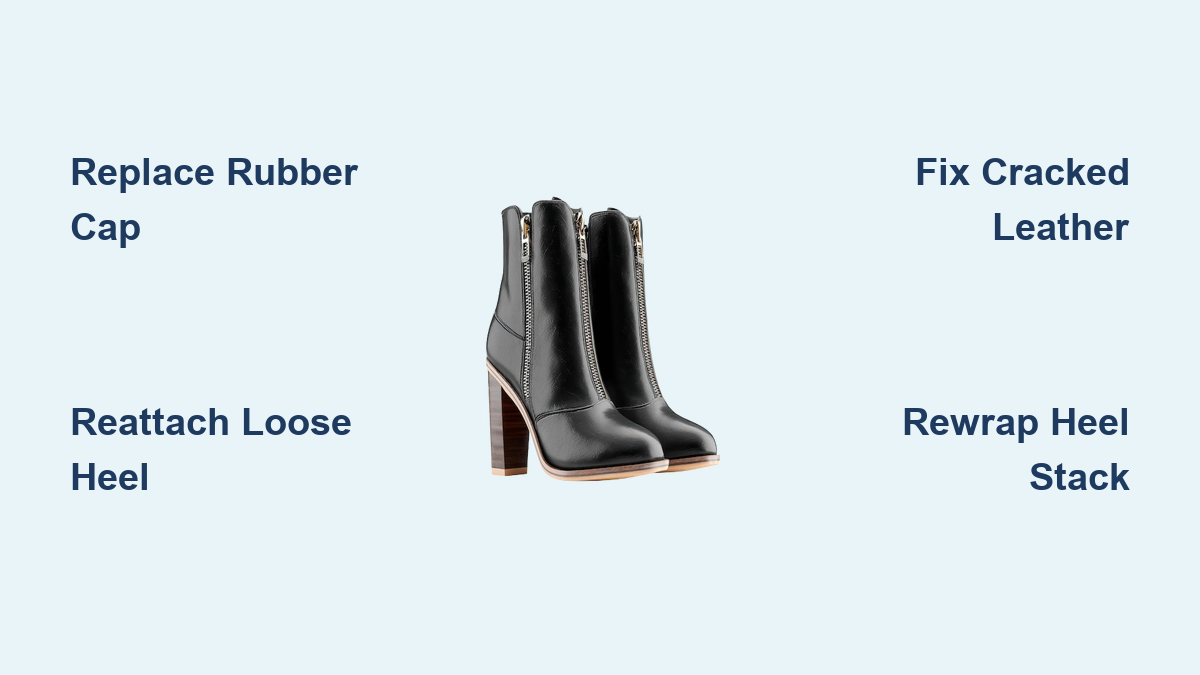
If only the rubber is gone, you’re in luck. This is a simple, low-risk fix. Replace the cap before wear reaches the leather to avoid costly repairs.
Inspect Leather Stack Cracks
Run your fingers along the heel’s sides. Cracks mean structural fatigue. Signs include:
– Deep fissures in layered leather
– Flaking or splitting edges
– Softness when pressed
Minor scuffs can be buffed, but deep cracks compromise integrity. These require re-wrapping or full heel replacement.
Test Heel Stability
Grab the heel and twist gently. Any wobble means separation. Common failure points:
– Heel lifting from the sole
– Gap forming between heel and boot upper
– Complete detachment
A loose heel needs immediate reattachment. Delaying risks sole separation and ankle strain.
Choose the Right Adhesive and Tools
Using the wrong glue or tool ruins repairs. Match materials to your boot’s construction and damage level.
Pick a Strong-Bond Adhesive
Not all glues work on heels. Use only these:
– Barge Cement: Best for rubber-to-leather bonds. Waterproof, industrial strength.
– Shoe Goo: Thick, flexible. Ideal for rubber caps and cracks. Ventilate well because fumes are toxic.
– Tuff Toe: Specifically designed for heel and sole repairs. Bonds fast, holds tight.
– PL Premium: Budget-friendly polyurethane adhesive. Sticks to almost anything.
Avoid white glue, super glue, or craft adhesives. They fail under pressure.
Gather Essential Repair Tools
You don’t need a full workshop. Here’s what you actually need:
– Exacto knife: For precision cutting of leather wraps and removing old material
– Box cutter: Replace blades often for clean cuts
– 150-grit sandpaper: Roughens surfaces for better glue grip
– Isopropyl alcohol wipes: Removes oil and grime for maximum adhesion
– Rubber bands or clamps: Apply even pressure during curing
– Heavy weights (e.g., soup cans): Press heel flat while drying
– Cardboard and Sharpie: Make templates for replacement parts
Keep a clean rag and magnifying glass nearby for inspection.
Replace a Worn Rubber Heel Cap

Worn rubber is the most common heel issue. Fix it fast before leather damage begins.
Prepare the Heel Surface
Remove debris and old glue:
1. Sand the heel base with 150-grit paper until smooth.
2. Wipe with alcohol wipe. Let dry completely.
3. Inspect for cracks. If leather is damaged, skip to the re-wrap section.
Clean, roughened surfaces bond better. Never glue over dirt or oil.
Cut and Fit the New Rubber Pad
- Place heel on the replacement pad.
- Trace the outline with a Sharpie.
- Cut just inside the line using a box cutter. Go slow to avoid jagged edges.
Test fit before gluing. The pad should sit flush with no overhang.
Glue and Secure the Cap
- Apply a thin layer of Shoe Goo or Barge Cement to both surfaces.
- Wait 5–10 minutes until tacky (read adhesive label).
- Align the pad carefully on a flat surface.
- Press down firmly, then wrap rubber bands around the boot to hold in place.
Avoid shifting. Misalignment causes uneven wear.
Cure and Finish
- Let dry undisturbed for 24 hours.
- After curing, sand rough edges with fine-grit paper.
- Apply weatherproof sealant to protect the bond.
Repeat for the second boot. Done early, this fix costs under $5 and takes 30 minutes per pair.
Reattach a Detached Heel
A wobbly or separated heel compromises your stride. Reattach it securely.
Clean Both Bonding Surfaces
- Remove dirt with a cloth and water.
- Use alcohol wipe on rubber or leather contact points.
- Dry thoroughly because moisture weakens adhesion.
If old glue is flaking, scrape it off with a plastic putty knife.
Roughen for Better Grip
Lightly sand both the heel and sole edge. This creates “tooth” for the adhesive to grab. Wipe away dust with a dry cloth.
Skip this step, and the bond will fail quickly.
Apply and Clamp the Heel
- Coat both surfaces with Barge Cement or Tuff Toe.
- Wait for tackiness (5–10 min).
- Press the heel back into position, aligning perfectly.
- Insert soup cans or books inside the boot to press the heel flat.
- Wrap rubber bands around the boot or use spring clamps.
Ensure the heel sits level. An uneven bond leads to tripping.
Cure for Maximum Strength
- Minimum: 24 hours
- Best: 72 hours for full durability
Do not wear the boots during curing. Premature use breaks the bond.
Repair Cracked Leather Heel Stacks

Cracks weaken structure and let in moisture. Stop them before they spread.
Clean and Prep the Crack
- Wipe the area with alcohol.
- Let dry completely.
- Use an Exacto knife to gently open the crack and remove loose fibers.
A clean, dry surface is essential for glue penetration.
Reinforce from Behind
- Place a strip of duct tape on the inside of the heel.
- Press the crack edges together. Tape holds them in place.
This internal support prevents the tear from widening during repair.
Apply and Seal the Adhesive
- Inject Tuff Toe or Shoe Goo into the crack with a toothpick or applicator.
- Press sides together firmly.
- Wipe excess glue with a damp cloth.
For large cracks, apply a second layer after 12 hours.
Cure and Protect
- Small cracks: 24 hours
- Deep splits: 72 hours
After curing, seal with a waterproofing spray. This prevents water from re-entering the repair.
Rewrap a Damaged Leather Heel Stack

When the wrap is shredded, re-wrapping restores strength and appearance.
Remove the Old Leather Wrap
- Use an Exacto knife to peel it away slowly.
- Stop if you feel resistance. Don’t gouge the heel stack.
- Remove all old glue with sandpaper (150 grit).
A smooth base ensures the new wrap adheres evenly.
Measure and Cut New Leather
- Wrap string around the heel to measure circumference.
- Add 1/4 inch for overlap.
- Cut two strips (one per boot) slightly longer than needed.
Use cardboard to make a template if the heel has curves.
Dye to Match Before Gluing
- Apply two light coats of leather dye to the new wrap.
- Let dry between coats.
- Avoid heavy dye because it can block glue absorption.
Dyeing before application saves time and prevents blotchy touch-ups.
Glue, Wrap, and Clamp
- Apply adhesive to the center of the heel stack.
- Start at the back, press the leather down, then wrap around the sides.
- Stretch gently to avoid wrinkles.
- Add glue as you go for full coverage.
- Hold in place for 2 minutes, then clamp for 1 hour.
Stretching ensures a tight fit. Wrinkles create weak spots.
Trim and Finish Edges
- After drying, trim excess with an Exacto knife.
- Cut at a slight angle, pushing the blade toward the heel to prevent lifting.
- Dye the cut edge to match.
- Condition the entire wrap with Mink Oil.
This adds shine, softness, and water resistance.
Reinforce with a Rubber Patch

For boots used in harsh conditions, add a rubber patch for durability.
Prepare and Cut the Patch
- Sand the damaged area.
- Clean with alcohol.
- Cut a rubber patch 1/2 inch larger than the crack or wear zone.
Oversizing distributes impact and prevents edge peeling.
Bond the Patch Securely
- Apply adhesive to both surfaces.
- Wait for tackiness.
- Press the patch into place, smoothing out air bubbles.
- Clamp or weigh down for 24 hours.
Ideal for work boots, hiking boots, or any high-impact use.
When to See a Professional Cobbler
Some damage exceeds DIY limits. Know when to call a pro.
Seek Expert Help If
- The heel is completely snapped off
- The sole is separating along the entire edge
- Boots are high-end (e.g., Red Wing, Allen Edmonds, or designer)
- Materials are exotic (snake, crocodile, etc.)
Professional cobblers have industrial tools and experience to rebuild heels from scratch.
Compare DIY vs. Pro Costs
| Repair Type | DIY Cost | Professional Cost |
|---|---|---|
| Rubber Cap Replacement | $5 | $15–$25 |
| Heel Reattachment | $10 | $30–$40 |
| Full Heel Replacement | $20 (kit) | $50–$60 |
| Sole Replacement | $25 | $100+ |
DIY saves money on simple fixes. Professionals are worth it for complex or valuable boots.
Prevent Future Heel Damage
Fixing is one thing. Preventing repeat damage is better.
Condition Leather Regularly
Apply Mink Oil every 2–3 months:
– Restores moisture
– Prevents cracking
– Adds water resistance
Dry leather fails fast. Treat it like skin.
Install Sole Guards
For $15, a cobbler can add rubber heel caps or sole guards. These:
– Protect original materials
– Extend boot life by years
– Are replaceable when worn
A small investment that pays off.
Rotate Your Boots
Wear multiple pairs in rotation. This:
– Lets leather breathe and recover
– Reduces continuous stress on heels
– Prevents moisture buildup
No boot should be worn two days in a row.
Frequently Asked Questions About Boot Heel Repair
What is the best glue for boot heel repair?
Barge Cement and Shoe Goo are top choices. Barge Cement works best for rubber-to-leather bonds, while Shoe Goo is ideal for rubber caps and cracks. Both are waterproof and industrial strength.
How long does it take for boot adhesive to cure?
Standard cure time is 24 hours. For large tears, heavy-duty bonds, or full heel reattachment, allow up to 72 hours for maximum strength. Never wear boots before the adhesive is fully dry.
Can I repair a boot heel without replacing it?
Yes. If only the rubber cap is worn, you can replace just the cap for around $5. Detached heels can be re-glued. However, snapped heels or extensively cracked stacks usually require full replacement.
How much does professional heel repair cost?
Standard heel repair runs $10–$40 depending on location and boot type. Full heel replacement for high-end boots can cost up to $60. Sole replacement is typically $100 or more.
How can I prevent my boot heels from wearing out fast?
Condition leather every 2–3 months with Mink Oil, install rubber sole guards ($15), and rotate your footwear. Catching rubber cap wear early, before it reaches the leather stack, is the most cost-effective strategy.
Is it worth repairing expensive boots?
Absolutely. Professional repair extends the life of high-end boots at a fraction of replacement cost. For designer or sentimental boots, professional cobblers have the tools and expertise to preserve value and materials.
Final Tips for Long-Lasting Boot Heel Repairs
Always cure fully (24–72 hours). Work in a ventilated area because adhesives emit toxic fumes. Use sharp tools because dull blades tear leather and increase injury risk. Inspect monthly and catch wear early. Seal every repair with weatherproofing to keep water out and bonds strong.
Repairing a boot heel is not just about function. It is about value, sustainability, and pride in well-kept gear. With the right approach, your boots can last decades. Fix them right, care for them well, and they will carry you mile after mile.