How to Lace Timberland Boots
The right lacing technique can completely transform how your Timberlands feel and look. Many boot owners struggle with heel slippage, top-of-foot pressure, or laces that loosen halfway through the day. Others simply want that iconic, structured appearance that turns heads on the street. The good news is that small changes in how you thread your laces solve these problems. This guide walks you through choosing the correct lace length, mastering five proven lacing methods, and customizing your boots for work, hiking, or casual style.
Choose the Right Lace Length

Before learning any technique, you need laces that match your boot’s eyelet count. Too short and you cannot tie a secure knot. Too long and excess lace drags or catches on debris.
Match Laces to Eyelet Pairs
Timberland boots come with varying eyelet counts, and each requires a specific lace length:
- 4 eyelet pairs: 36-inch laces
- 6 eyelet pairs: 45-inch laces
- 7 eyelet pairs: 54-inch laces
- 8 eyelet pairs: 63-inch laces
Most classic 6-inch Timberland boots have 8 eyelet pairs, so 63-inch laces are standard.
Use Timberland-Approved Replacement Laces
For best results, use Timberland’s own replacement laces:
- 47-inch laces: Fit boots with up to 7 eyelet pairs, ideal for hikers
- 63-inch laces: Designed for 8–9 eyelet pairs, perfect for standard 6-inch models
Using factory-recommended laces ensures proper thickness and durability, especially in wet or muddy conditions.
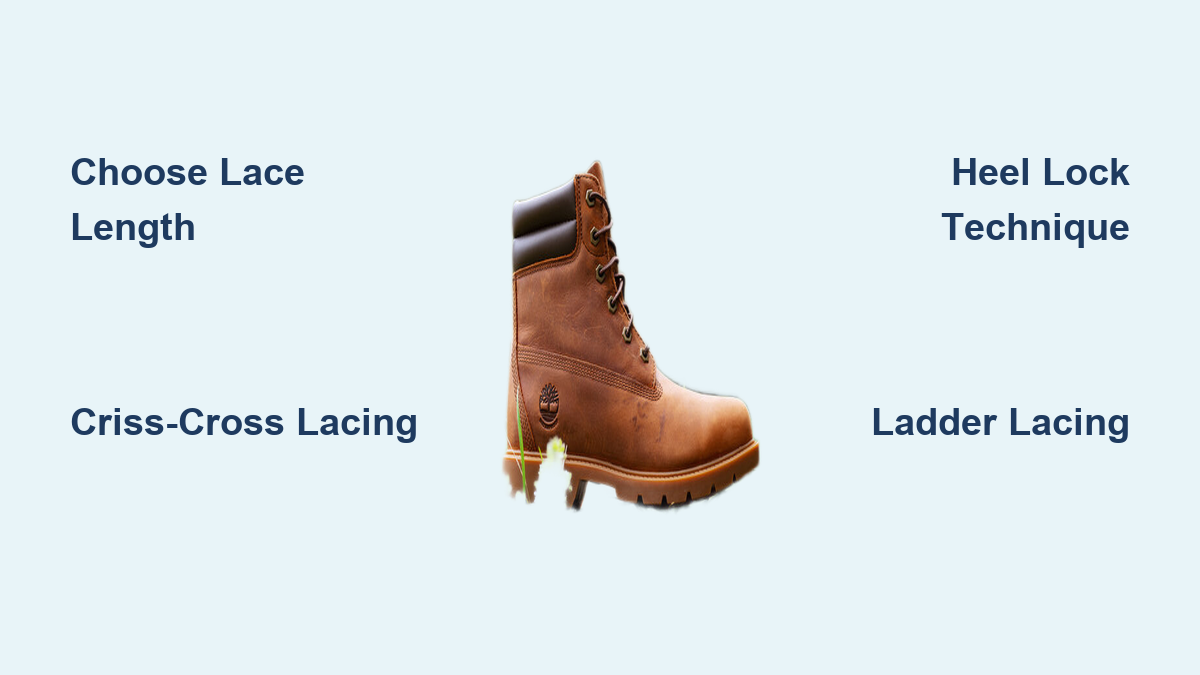
Standard Criss-Cross Lacing
This is the go-to method for most Timberland wearers. It is secure, simple, and works on nearly every model.
Thread From the Bottom
Start with both ends even. Feed the lace through the bottom two eyelets from the outside in. Pull until both sides are equal. This creates a clean, hidden base.
Cross and Ascend
Take the left lace and cross it over to the right-side eyelet above, threading from the inside out. Repeat with the right lace to the left side. Keep tension firm but not tight.
Maintain Even Pull
After each cross, pull both laces downward and outward to maintain balance. Uneven tension causes one side to sag and increases pressure on one foot.
Finish With a Secure Knot
Once you reach the top, tie a double knot or surgeon’s knot to prevent loosening. For work settings, tuck the bow behind the tongue to avoid snags.
✅ Pro Tip: If your laces are too short to reach the top, skip the final eyelet pair and tie just below. Do not sacrifice knot security for full lacing.
Army Style Lacing (Bar Lacing)
Popularized by military use, this method gives Timberlands a bold, structured look while improving adjustability.
Run Laces Vertically First
Instead of crossing, thread each lace straight up its own side through the next eyelet. Repeat until you have two parallel vertical lines.
Create Horizontal Bars
Now, cross both laces over to the opposite side, threading them into the next eyelet. This forms a horizontal bar across the front.
Alternate Vertical and Horizontal
Continue: up one side, then cross over, then up the other, then cross back. The pattern is vertical, cross, vertical, cross.
Leave Extra for Tying
This method uses more lace, so you will have longer ends at the top, perfect for tying or tucking. The result is a clean, ladder-like pattern with reinforced support.
🔧 Best For: Work boots, frequent adjustments, and achieving that iconic Timberland military aesthetic.
Ladder Lacing (Paratrooper Method)
Originally used by paratroopers to keep boots locked during jumps, this technique offers maximum stability.
Start With a Straight Base
Thread the lace straight across the bottom two eyelets from the inside out. Both ends should be even.
Climb One Side
Take the right lace and run it straight up the same side to the next eyelet, threading from inside out.
Cross Under the Base
Now, bring the right lace across the front to the left side, threading it into the corresponding eyelet from the outside in. Make sure it passes under the vertical lace on the left to form a rung.
Repeat on the Left
Run the left lace up its own eyelet, then cross it over to the right, passing under the right-side vertical lace.
Continue the Ladder
Keep alternating: up, across under, up, across under. Each horizontal segment should sit beneath the vertical lace, creating a locked-in ladder effect.
🎯 Why It Works: Prevents loosening during movement and gives unmatched heel and midfoot control, ideal for hiking or travel.
Loose Lacing for Casual Style
Want that relaxed, downtown look? Loose lacing skips eyelets to create gaps and a slouchy fit.
Lace the Lower Half Normally
Use criss-cross or straight lacing for the bottom four eyelets to keep your foot anchored.
Skip an Eyelet
Instead of continuing upward, skip the fourth eyelet and thread both laces into the next highest eyelet. This creates a visible gap that softens the boot’s silhouette.
Tie With Style
You have several options for finishing:
- Standard bow: For everyday wear
- Individual overhand knots: Tie each lace end separately for a minimalist, no-bow look
- Tuck ends inside: For a clean, seamless appearance
⚠️ Warning: Not for hiking or heavy use. The gap reduces support and increases foot movement.
🎨 Styling Hack: Use contrasting laces, like red or yellow on classic wheat boots, to make the look pop.
Fix Heel Slippage With Heel Lock Lacing
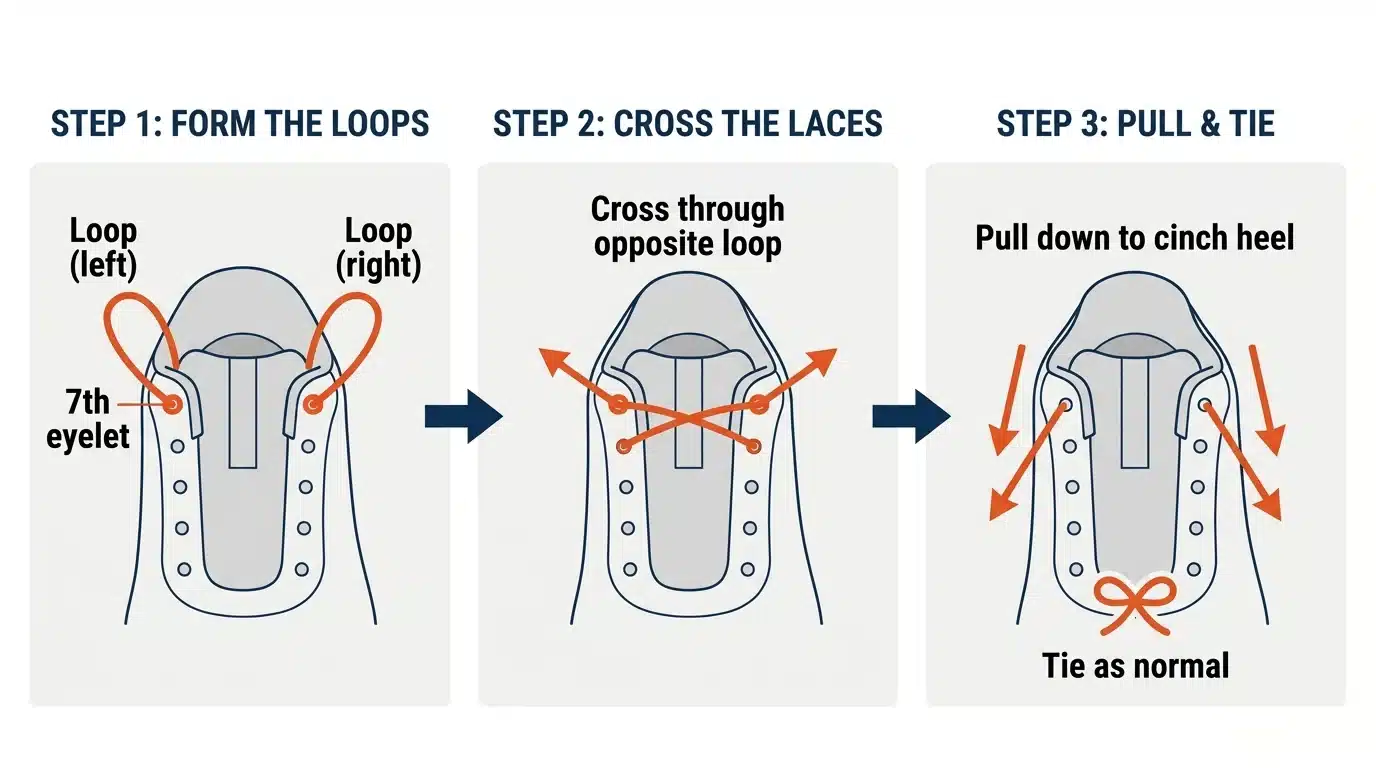
If your heel lifts when walking, this technique locks it down without tightening the whole boot.
Use the Top Hooks or Eyelets
On boots with speed hooks, thread the lace normally until the top two eyelets.
Create Lace Loops
Instead of crossing, form a small loop with each lace end at the top eyelet.
Cross and Thread Under
Cross the lace ends over, then thread each one under its own loop before pulling tight. This cinches the ankle collar securely.
Tie Normally
Once tightened, tie a regular bow. The heel will stay firmly in place.
🦶 Best For: Hiking, new boots that have not broken in, or high-arched feet.
Relieve Pressure With Window Lacing

Got top-of-foot pain or high arches? Window lacing skips a section to eliminate pressure.
Identify the Pain Zone
Locate the eyelets directly over your discomfort, usually the middle 2–4 pairs.
Unlace Through the Area
Remove the lace from the painful section.
Skip the Middle Eyelets
Re-lace by crossing from below to above, bypassing the middle eyelets entirely. No lace crosses the foot in that zone.
Resume Normal Lacing
Continue criss-cross above the gap.
🩹 Result: Immediate relief from pressure while maintaining support at the ankle and forefoot.
Optimize for Work and Hiking
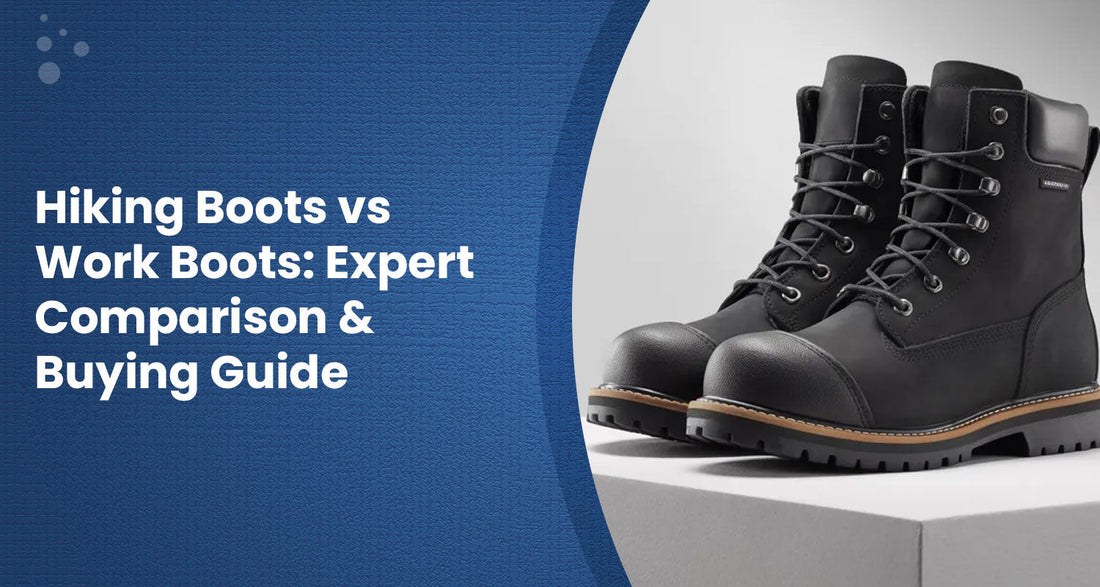
Different activities demand different lacing strategies. Here is how to adapt.
Hiking: Maximize Stability
- Use ladder or criss-cross lacing
- Add a heel lock at the top
- Tie with a surgeon’s knot (double wrap before the bow) to prevent slippage on descents
⏱️ Time Saver: Pre-lace with a loop at the top for quick tightening with gloves on.
Work Boots: Prioritize Safety
- Choose army style or tight criss-cross
- Tuck the knot behind the tongue to avoid tripping or catching on equipment
- Use thick, waxed laces for abrasion resistance
🧰 Pro Move: Carry spare laces in your gear. Worn or muddy laces fail when you need them most.
Customize for Aesthetic Impact
Your laces are a style statement. Do not underestimate their power.
Play With Color
- Black laces on wheat boots create rugged contrast
- Tan or brown offers a subtle, classic look
- Bright colors add streetwear edge
Vary Thickness
- Round, thick laces give a heavy-duty look
- Flat laces feel sleek and modern
- Waxed laces are water-resistant and polished
Use Speed Hooks Creatively
On boots with metal hooks at the top:
– Wrap laces around the hook for extra tightness
– Cross over and hook from the inside for a flush fit
– Leave a small gap for visual rhythm
Maintain Longevity and Fit
Great lacing is not just about starting strong. It is about lasting.
Check Tension Regularly
Retighten midday if needed, especially after breaking in new boots. Sagging laces lead to blisters.
Rotate Laces
Swap out laces weekly if working in harsh conditions. Dirt and moisture weaken fibers over time.
Care for Leather
When tightening, do not yank one side harder than the other. This causes uneven creasing and premature wear on the upper.
Replace Worn Laces Promptly
Frayed or stiff laces will not hold knots. Replace them with Timberland OEM or high-quality aftermarket pairs.
Frequently Asked Questions About Lacing Timberland Boots
What lace length do I need for classic 6-inch Timberland boots?
Classic 6-inch Timberland boots typically have 8 eyelet pairs and require 63-inch laces. Timberland’s own 63-inch replacement laces are designed for boots with up to 9 eyelet pairs.
Can I use the same lacing method for work and casual wear?
Yes, criss-cross lacing works well for both. However, work environments benefit from army style or tight criss-cross with knots tucked behind the tongue for safety. Casual wear allows more flexibility with loose lacing or decorative knot styles.
How do I stop my heel from slipping in Timberlands?
Use heel lock lacing at the top eyelets. Create small loops with each lace end, cross them over, and thread each end under its own loop before tying. This cinches the ankle collar and prevents heel lift.
Is ladder lacing worth the extra effort?
If you hike, travel frequently, or need maximum foot stability, ladder lacing is worth it. It locks the foot in place, prevents loosening during movement, and allows quick tightening on the go.
Can lacing techniques help with foot pain?
Yes. Window lacing skips eyelets over the painful area to relieve pressure on top of the foot or high arches. Toe-relief lacing reduces tension in the toe box to prevent black toenails and swelling.
Should I tuck my laces into my boots?
Tucking the bow behind the tongue is recommended for work and construction settings. It prevents snags on machinery, reduces tripping hazards, and keeps debris from collecting on the laces.
Key Takeaways for Lacing Timberland Boots With Confidence
Mastering how to lace a Timberland boot comes down to three essentials: matching your lace length to your eyelet count, choosing a technique that fits your activity, and maintaining even tension throughout. Criss-cross lacing handles everyday wear, ladder lacing delivers unmatched stability for hiking, and army style adds rugged character for work settings. When discomfort arises, window lacing and heel lock techniques provide targeted relief without compromising overall support.
Your next step is simple: check your current lace length against the guidelines above, pick the method that matches your most common activity, and try it on your next wear. Within minutes, you will notice the difference in fit, comfort, and style.