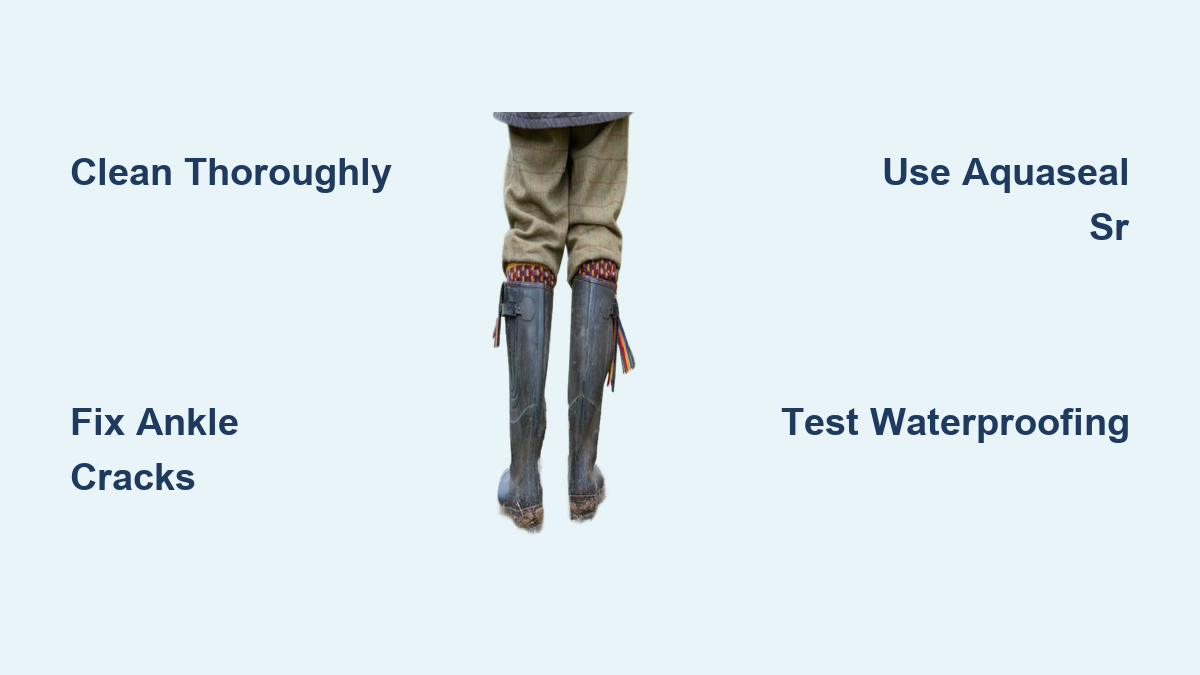
How to Repair Hunter Boots: Quick Steps
If your trusty Hunter boots are starting to crack, leak, or show signs of wear, you’re not alone. Natural rubber boots, no matter how well-made, are prone to stress from flexing, UV exposure, and environmental hazards. But before tossing them, know this: hunter boot repair is not only possible, it’s highly effective. With the right techniques, even boots with deep cracks or delaminated soles can be restored to waterproof, durable condition.
This guide delivers actionable steps, product recommendations, and pro tips to diagnose damage, choose the best repair method, and extend your boots’ life for years. You’ll learn how to identify true leaks versus cosmetic blooming, seal cracks with flexible adhesives, rebuild worn soles, and maintain repaired boots to prevent future failure.
Clean Boots Before Any Hunter Boot Repair
Remove Dirt and Grime First
Before any repair, clean the boot thoroughly. Dirt, oil, and mud block adhesion and weaken the bond. Use cold water and a mild, low-suds soap like Revivex Boot and Shoe Cleaner. Avoid hot water, as it can warp rubber. Scrub the entire surface, especially around cracks or suspected leak zones. Rinse well and let the boots air-dry completely. Never rush this step; moisture trapped under a patch leads to failure.
Handle Rubber Bloom Correctly
White powdery streaks or ashy gray marks on your boots? This is rubber bloom, not damage. It’s a natural process in high-quality rubber where insoluble particles rise to the surface. Bloom doesn’t affect performance. To remove it, scrub with a soft brush and soapy water, then apply Revivex Rubber Boot Treatment or Hunter Boot Buffer. This restores shine and protects against drying. No repair needed here, just conditioning.
Avoid Cleaning Mistakes
Never use solvents like acetone, gasoline, or alcohol-based cleaners on large surfaces. These can swell or degrade natural rubber. Rubbing alcohol is acceptable only for spot-cleaning crack edges before patching. Also, never dry boots near heaters, radiators, or in direct sunlight. Heat causes cracking. Store them upright in a cool, dry place, never folded or creased.
Diagnose Damage Accurately
Find Hidden Leak Sources
If your feet get wet but no hole is visible, inspect high-flex zones: the front ankle bend, toe cap, and sole-to-upper seam. These areas flex with each step, making them prone to micro-cracks. Clean the boot first, because dirt can mask tiny fissures. Run your finger along the inside of the boot; a slight ridge or soft spot often reveals a crack. For stubborn cases, submerge the boot in water up to the suspected area and look for bubbles.
Identify Crack Types
- Surface Cracks: Shallow lines that don’t penetrate the rubber. Often cosmetic but can deepen over time.
- Deep Cracks: Fissures that go through the rubber wall, causing leaks. Common in the ankle area after repeated bending.
- Holes: Punctures from sharp objects that require full void filling.
- Delaminated Soles: The sole peels away from the boot upper, causing instability and water ingress.
- Worn Treads: Smooth soles increase slip risk but don’t leak yet.
Decide: Repair or Replace?
Boots that are 95% intact but have serious cracks are ideal for repair. Natural rubber is flexible and receptive to bonding. If the boot is structurally sound except for localized damage, repairing saves money and reduces waste. However, if the rubber is brittle, extensively cracked, or the lining is detached, replacement may be more practical.
Choose the Right Hunter Boot Repair Method
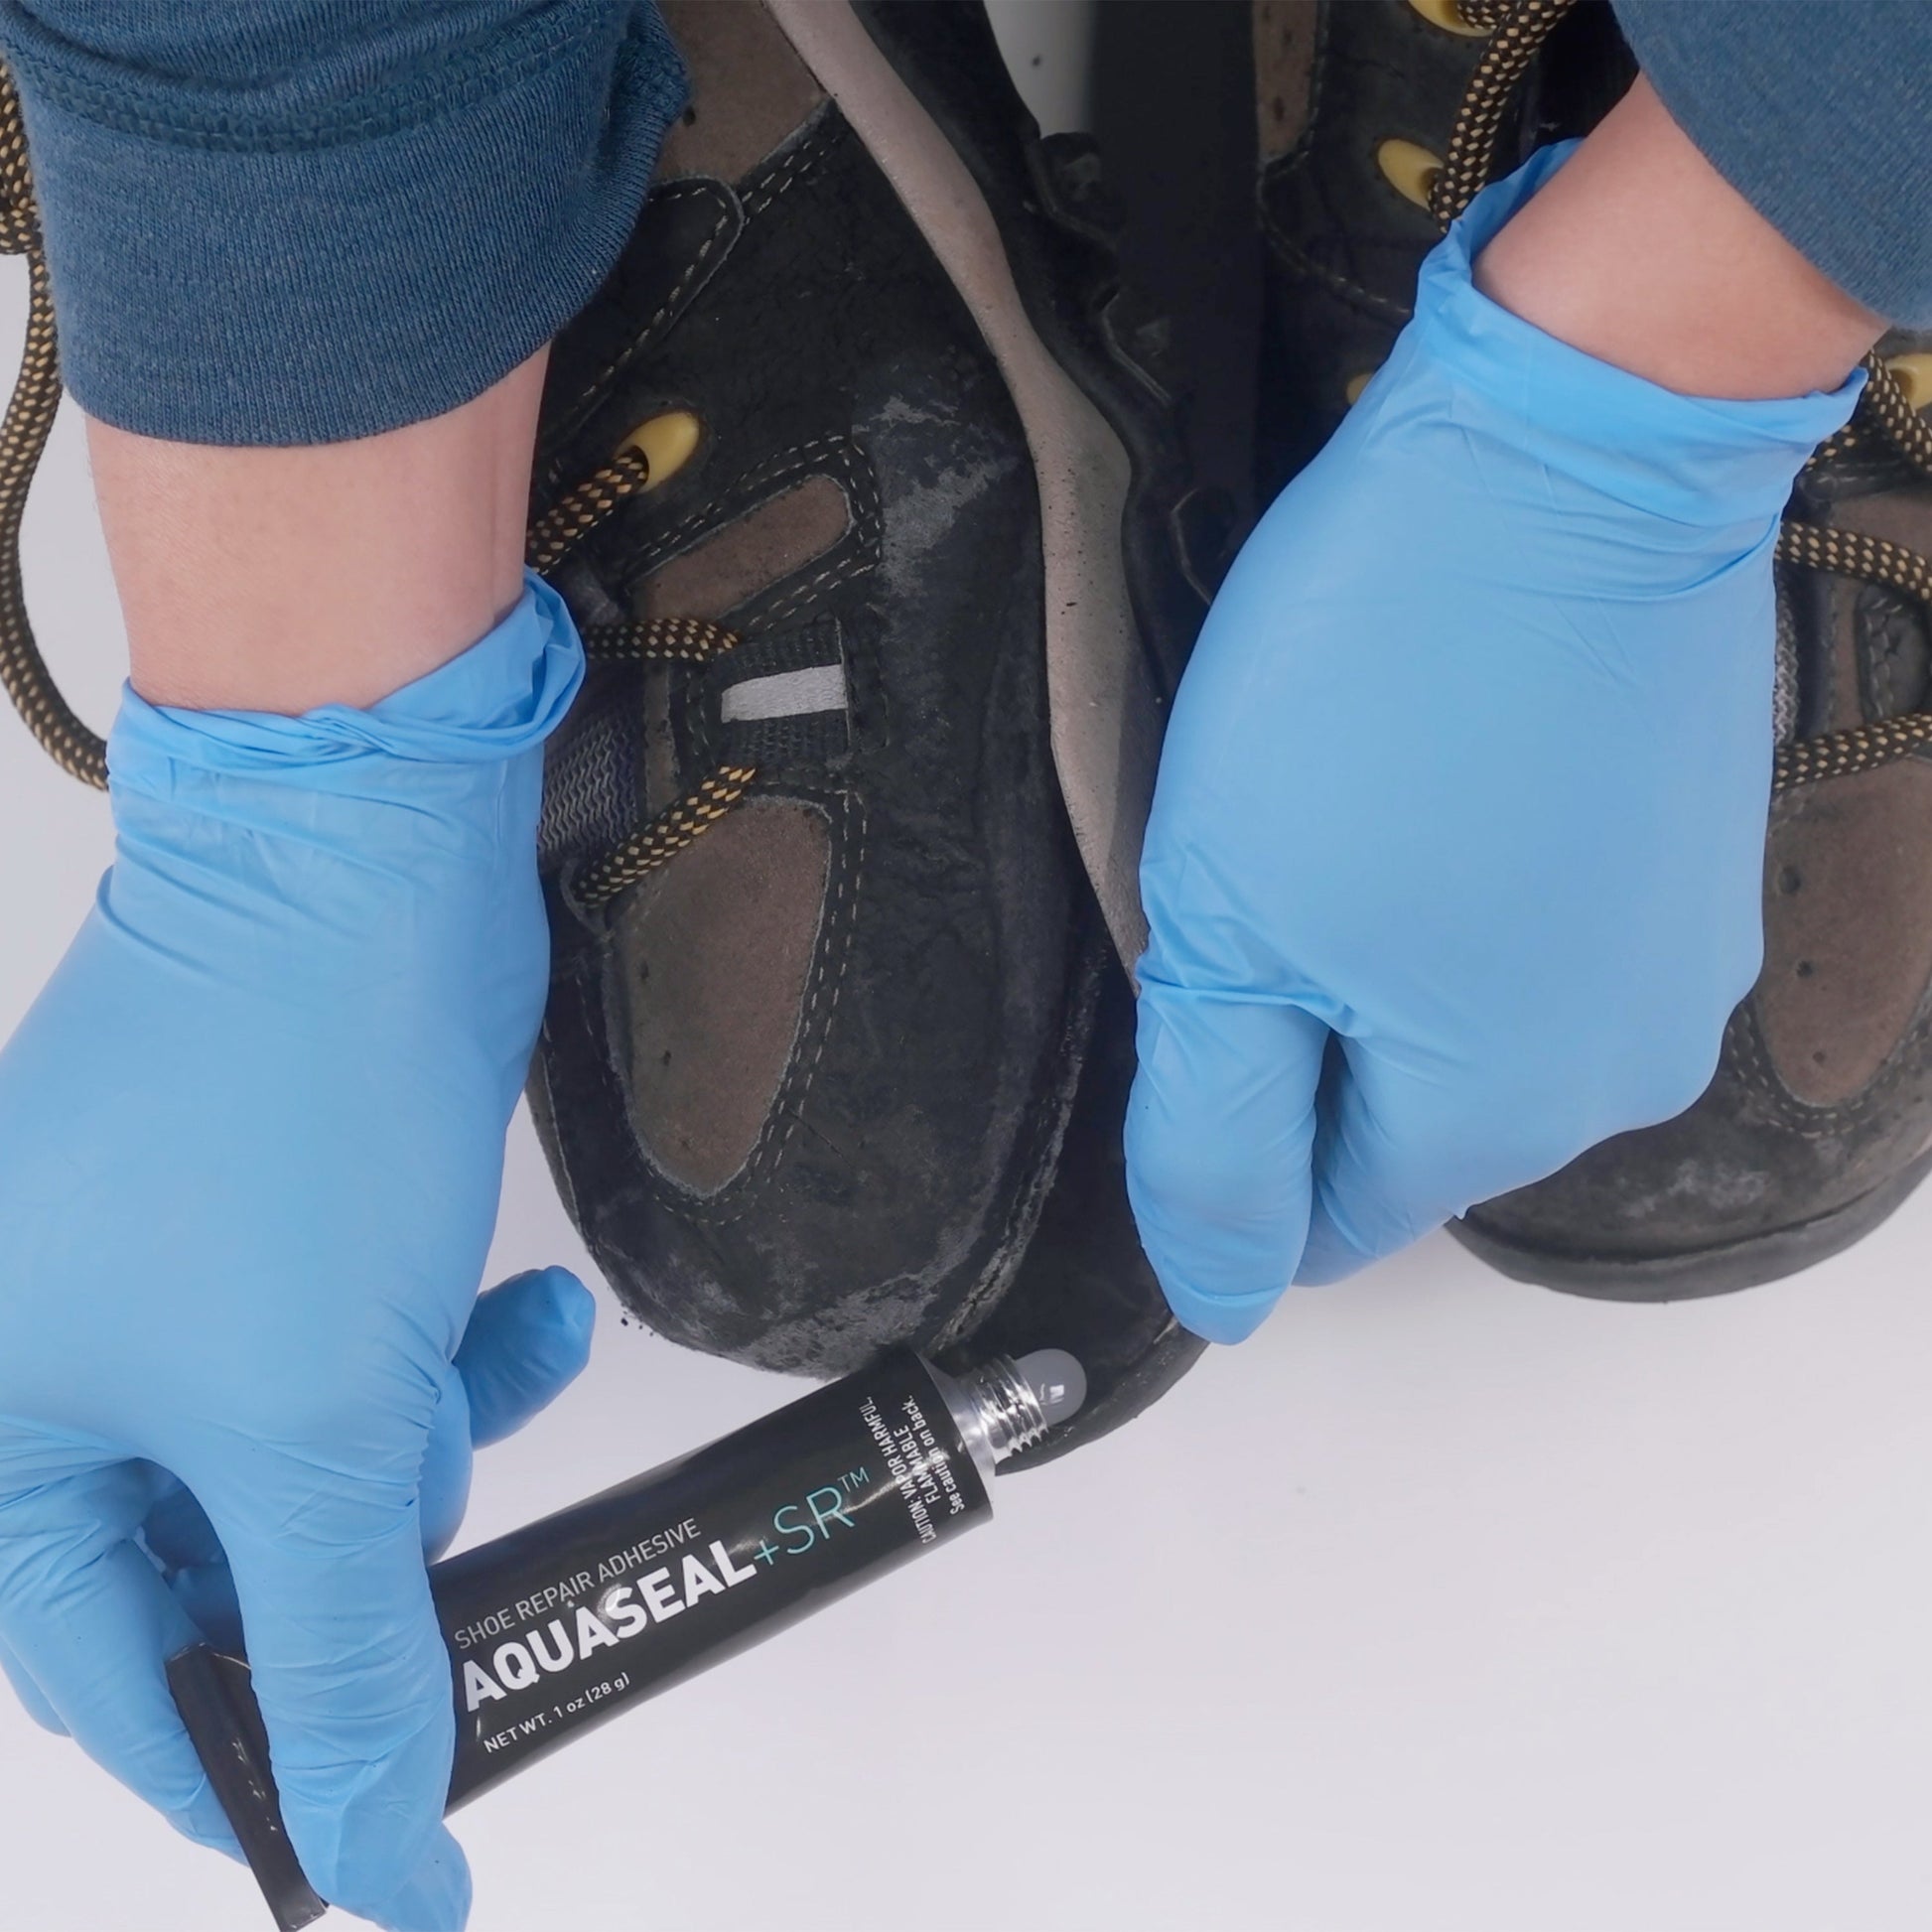
Use Aquaseal SR for Precision Repairs
For single cracks, holes, or sole separation, Aquaseal SR is the gold standard. This adhesive cures into a flexible, rubber-like seal that moves with the boot.
Prepare the Surface
Sand the area around the crack with medium-grit sandpaper. This creates “tooth” for the glue to grip. Wipe away dust. Use tape to mask off surrounding areas to keep the application clean and ensure a smooth edge.
Apply Aquaseal Properly
Squeeze Aquaseal SR directly into and over the crack. Extend the seal at least 0.5 inches beyond each end of a crack or 1 inch around a hole to prevent spreading. Use a flat tool to spread it evenly. Let it dry for 30 minutes, then remove the tape. Allow 8 to 12 hours to fully cure before wearing. Do not rush; premature use breaks the bond.
Rebuild Worn Soles or Toe Caps
Aquaseal SR excels at rebuilding tread or reinforcing thin spots. Roughen the entire area, apply a thick layer, and shape it to match the original sole. Let it cure fully. The result is durable, slip-resistant, and waterproof.
Try a Budget Kit for Multiple Cracks
For boots with several cracks, especially on both ankle bends, a generic shoe repair kit with black tint (under $15) is a smart, cost-effective fix.
Clean and Prep with Alcohol
Wipe crack edges with rubbing alcohol to remove oils. Let dry completely.
Mix and Apply the Tinted Compound
Stir black tint into the repair compound to match Hunter’s black rubber. Apply generously inside the crack, then close it and paint more over the seam. The goal is to bridge the gap completely. Let it level out naturally during drying.
Let It Cure Fully
Allow at least 8 to 12 hours for full strength. Though less precise than Aquaseal, this method produces a strong, flexible patch that withstands mud, manure, and compost, making it ideal for work boots.
Compare Repair Options
| Feature | Aquaseal SR | Generic Kit with Tint |
|---|---|---|
| Best For | Single cracks, holes, soles | Multiple cracks, budget fix |
| Flexibility | High, rubber-like cure | Good, remains pliable |
| Appearance | Clean, minimal if masked | Visible but blends with tint |
| Cost | Higher (~$20–$30) | Under $15 |
| Durability | Excellent for load zones | Strong for moderate use |
Choose Aquaseal for structural repairs; use the generic kit for scattered, non-critical cracks.
Repair Common Problem Areas

Fix Ankle Bend Cracks
This is the most common failure point. Flexing causes fatigue cracks. For one or two splits, use Aquaseal SR. Sand the area, mask with tape, fill the crack, and extend the seal 0.5 inches past each end. For multiple cracks on both boots, the tinted repair kit is faster and more economical. Fill each crack from the inside out and seal the surface.
Seal Holes and Punctures
Clean the area, sand around the hole, and fill it completely with Aquaseal SR. Build the patch slightly above the surface; it will settle. Extend the seal 1 inch in all directions. Let cure 12 hours.
Reattach Delaminated Soles
Peeling soles compromise stability. Lift the separation slightly, clean both surfaces, and inject Aquaseal SR underneath. Press the sole back down, clamp if needed, and apply a bead along the seam. Let cure 12 hours. Avoid walking on wet ground until fully set.
Test and Maintain Repairs
Check Waterproof Integrity
After curing, test the repair. Wear the boots in deep puddles or submerge the repaired area. If no water seeps through, the fix is solid. If leaks persist, re-sand, re-clean, and reapply the adhesive with a wider coverage zone.
Condition After Repair
Apply Revivex Rubber Boot Treatment to the entire boot, including the repair. This prevents drying, protects against UV damage, and keeps the rubber flexible. Reapply every few months or after heavy use.
Inspect Repaired Zones Regularly
After each use in tough conditions, check the patch. Look for lifting, softness, or new cracks nearby. Early detection allows touch-ups before failure.
Prevent Future Damage
Store Boots Properly
Never fold or crease Hunter boots. Store them upright in a cool, dry place away from sunlight. Use boot shapers if needed to maintain shape. Damp storage causes mold and weakens rubber.
Wear the Right Socks
Hunter boots are designed for thick socks. If you wear thin socks, the boot may slip and flex more, stressing repairs. For Original and Field models, size down if between sizes. For Refined styles, size up. A snug fit reduces unnecessary flexing.
Avoid Environmental Hazards
Keep boots away from oils, solvents, and animal fats. These cause rubber to swell and degrade. Prolonged UV exposure also accelerates drying and cracking. Condition regularly if used outdoors.
Frequently Asked Questions About Hunter Boot Repair
Can cracked Hunter boots really be repaired?
Yes. Hunter boots made from natural rubber are highly receptive to flexible adhesives like Aquaseal SR. Even boots with deep ankle cracks or delaminated soles can be restored to waterproof condition when the rubber is still structurally sound.
What is the best adhesive for Hunter boot repair?
Aquaseal SR is the top choice for precision repairs. It cures into a flexible, rubber-like seal that moves with the boot. For budget repairs of multiple cracks, a generic shoe repair kit with black tint works well.
How long does Hunter boot repair take to cure?
Both Aquaseal SR and generic repair compounds require 8 to 12 hours to fully cure. Wearing boots before this period can break the bond and cause the repair to fail.
What are the white streaks on my Hunter boots?
Those are rubber bloom, a natural process where insoluble particles rise to the surface of high-quality natural rubber. Bloom doesn’t affect performance and can be removed with Revivex Rubber Boot Treatment or Hunter Boot Buffer.
Can I return Hunter boots after repairing them?
No. Hunter’s return policy requires boots to be unworn, unwashed, and in original condition within 30 days of delivery. Once a boot is repaired or shows signs of wear, it is no longer eligible for return.
How do I find a leak if I can’t see a hole?
Inspect high-flex zones like the front ankle bend and toe cap. Clean the boot thoroughly, then run your finger along the inside to feel for ridges or soft spots. Submerging the boot in water and watching for bubbles also reveals hidden leaks.
Key Takeaways for Successful Hunter Boot Repair
Hunter boot repair is a practical, sustainable solution that restores function and saves money. Start by cleaning thoroughly with cold water and mild soap, then diagnose the damage type to choose the right method. Use Aquaseal SR for precision structural repairs or a tinted generic kit for budget fixes on multiple cracks. Always allow 8 to 12 hours for full curing, then test the waterproof seal before regular use. With proper conditioning and smart storage, your repaired boots will keep your feet dry for years to come.