How to Repair Leather Boots: Quick Steps
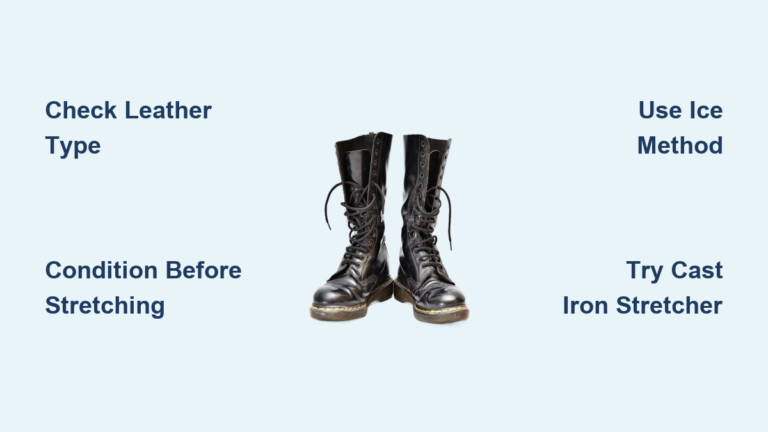
Nothing beats the comfort and character of a well-worn pair of leather boots. Whether they are your go-to work boots, favorite hiking companions, or stylish Chelseas, they mold to your feet over time and earn scars that tell a story. But when scuffs deepen into gouges or the sole starts peeling, that story risks ending too soon. The good news is that most leather boot repair projects can be handled at home, often restoring both appearance and function.
Leather boot repair is not just about saving money. It is about preserving value, comfort, and sustainability. From simple scuff fixes to deep gouge restoration and sole replacement, this guide walks you through DIY techniques and explains when to call in a professional. You will learn how to assess damage, choose the right method, and bring your boots back to life, ready for lots more miles.
When to DIY vs. See a Cobbler
Know Your Repair Thresholds
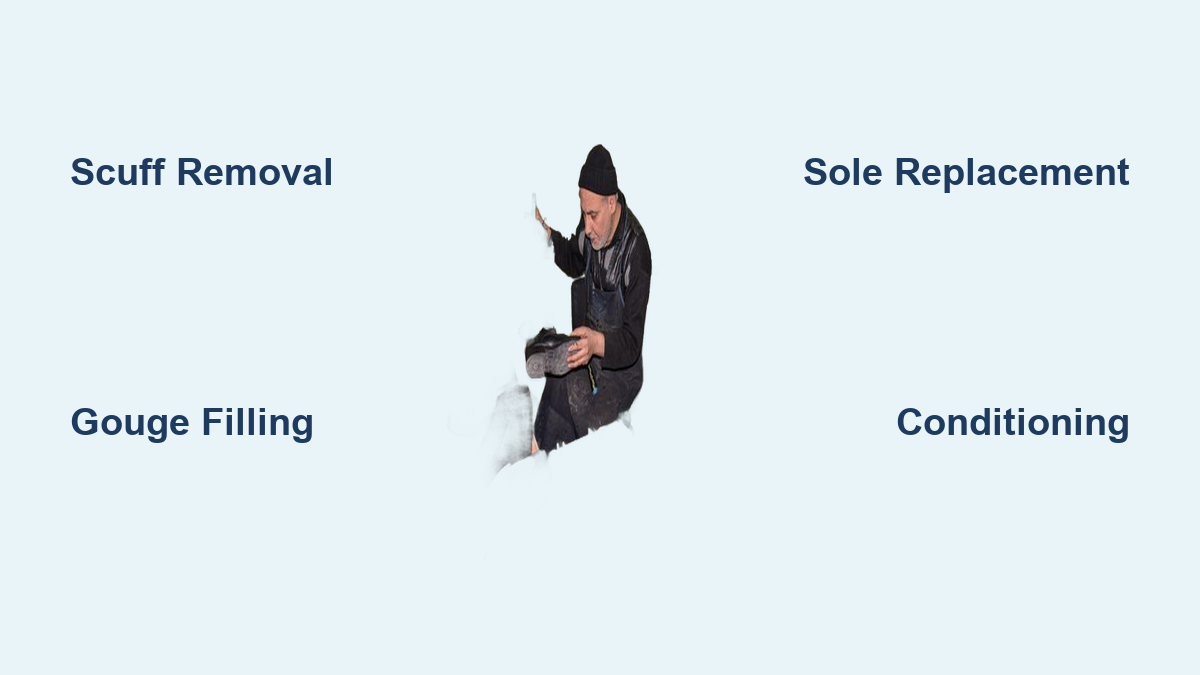
Not all damage is fixable at home. Scuffs, surface scratches, and minor gouges respond well to DIY methods. However, holes that go completely through the leather or extensive structural failure require professional cobblers. These experts use industrial tools and leathercraft techniques to patch, rebuild, and reattach soles with precision, often restoring boots to near-new condition.
Shoemakers claim they can fix 99.9% of boot damage types, including recrafting entire soles, resoling safety boots, and even stretching tight-fitting leather. For work, military, or hiking boots, where structural integrity affects safety, professional repair is essential.
Cost and Environmental Impact
Cobbler services can be pricey, but even high-end repairs cost less than buying new premium boots. More importantly, repairing extends the life of functional footwear, keeping it out of landfills. In an era of fast fashion, leather boot repair is a sustainable, economical, and responsible choice.
Boot Types That Can Be Repaired
Most leather boots are repairable, including:
- Western: Cowboy boots, ropers, square-toe styles
- Dress: Chukkas, Chelseas, Oxfords, loafers
- Work and Outdoor: Timberlands, steel-toe boots, hiking and construction boots
If your boots still have sentimental or functional value, there is likely a way to save them.
Remove Scuffs with Heat and Balm
Scuffs are the most common leather boot issue. They are often surface-level abrasions where the finish is disturbed but the leather remains intact. With the right technique, many scuffs vanish without needing dye or polish.
Clean Before Repairing
Start by cleaning the entire boot with a leather-specific cleaner. Dirt and grime can interfere with repair products and spread during treatment. Use a soft cloth or sponge to scrub the scuffed area gently.
Always spot test first. Apply cleaner to a hidden area like the heel counter to ensure it does not discolor or damage the leather.
Use Heat to Blend Scuffs
Grab a hair dryer and apply gentle heat to the scuffed zone. Move the dryer in circular motions about 6 inches from the surface. Never hold it still. Heat softens the leather fibers, making them more malleable and helping the natural oils and dye redistribute.
Once warm, massage the area with a clean, undyed cloth using firm circular pressure. This blurs the scuff by spreading the existing dye. Often, this step alone makes minor scuffs disappear.
Rehydrate with Petroleum Jelly
If the scuff remains, apply a small amount of unscented, clear petroleum jelly. It moisturizes dry leather and enhances color depth, helping the scuffed area visually blend with the surrounding surface. Wipe off excess and let it sit for 10 to 15 minutes before buffing.
Recolor Only If Necessary
If the scuff is still visible, clean the area again and use a color-matched recoloring balm. Choose a shade that exactly matches your boot.
Apply with circular dabbing motions, not brushing, to avoid streaks. Feather the edges outward so the repair blends seamlessly. Let it dry completely before moving to the final step.
Condition for Longevity
Finish with a generous application of leather conditioner. The cleaning and heating process strips moisture, so conditioning restores suppleness and protects against future cracking. Buff lightly with a soft cloth for a polished finish.
Repair Deep Gouges and Missing Texture
When damage cuts below the surface, including deep scrapes, punctures, or worn texture, simple blending will not suffice. You need to rebuild the leather surface using filler, dye, and sealant.
Gather the Right Repair Kit
For deep gouges, you will need:
- Leather cleaner
- Color-matched leather dye kit (base and tint)
- Leather filler (paste form)
- Foam sponges, plastic knife, brushes
- Low-grit (120 to 220) and high-grit (400+) sandpaper
- Matte, glossy, or satin sealant
- Leather conditioner
Clean and Prep the Damaged Area
Thoroughly clean the gouge with leather cleaner. Any trapped dirt will compromise the repair. Let it dry completely.
Spot test all products, especially dyes and cleaners, on a hidden area first.
Match Dye to Your Leather
Most dye kits come with a base color (black or brown) and tint bottles for adjusting undertones such as red, yellow, or blue. Mix small amounts until you match your boot exactly. Keep a sample on a paper towel for reference.
Use a foam sponge or brush to dab, not stroke, the dye into the gouge. Brushing causes streaks while dabbing ensures even, natural-looking coverage. Let it dry, then repeat if needed. Save leftover mixed dye for later touch-ups.
Fill the Gouge with Leather Paste
Using a plastic knife, press leather filler into the gouge. Overfill slightly because shrinkage occurs as it dries. Smooth the surface as much as possible.
Let it cure completely, typically 2 to 6 hours depending on the product. Rushing this step leads to cracks or collapse.
Sand to Seamless Finish
Once dry, begin sanding:
- Start with low-grit sandpaper to level the filler with the surrounding leather.
- Switch to high-grit paper to polish out scratches and refine texture.
Wipe away dust with a damp cloth, then clean again with leather cleaner to ensure a pristine surface for dyeing.
Reapply Dye for Uniform Color
Dab the saved dye mixture over the filled area. Start in the center and work outward in expanding circles to blend the color into the original leather. Apply at least two thin, dry-between coats for depth and opacity.
Let each coat dry fully. Use a hair dryer on low to speed drying if needed.
Seal for Protection and Shine
Choose a sealant finish that matches your boot: matte, glossy, or satin. If your boot has a satin finish, mix matte and glossy sealants. Start with a 1:1 ratio and adjust until the sheen matches.
Apply the first coat with a clean foam brush or sponge. Let it dry completely (1 to 2 hours), then apply a second coat for durability.
Condition After Sealing
The repair process is drying. Once the sealant is fully cured (24 hours), apply leather conditioner liberally to rehydrate the area. This prevents cracking and keeps the leather flexible.
Replace Worn Soles and Heels

The sole and heel protect your feet and your boot’s upper. Once they wear thin, every step grinds debris into the leather, accelerating upper damage.
Recognize Sole Wear Early
Check the toe, heel, and edges of your soles regularly. If you see:
- Smooth, flat spots
- Exposed stitching
- Cracks or peeling layers
It is time for action. Ignoring sole wear leads to irreversible upper damage and potential water penetration.
Why Professionals Excel Here
While DIY sole glue kits exist, resoling is best left to cobblers. They:
- Remove old soles cleanly
- Prepare the boot edge for adhesion
- Attach new soles with industrial-strength adhesives and stitching
- Match original construction such as Goodyear welt or cemented
For work, military, or hiking boots, proper resoling maintains safety, waterproofing, and support.
Heel Replacement Matters Too
Worn heels alter your gait and strain joints. Cobblers can replace stacked leather or rubber heels, restoring balance and prolonging boot life. Many offer heel tips for frequent walkers, which are small, replaceable caps that extend heel life.
When Repair Is Not Possible
Even experts have limits. If your boots have:
- Holes clean through the leather
- Extensive rot or delamination
- Structural collapse in the upper
Repair may not be viable. In these cases, consider repurposing before disposal.
Turn Old Boots into Decor
Clean them thoroughly and use them as:
- Shelf displays in living rooms or entryways
- Planters with dried flowers or small greens
- Workshop organizers for holding tools or gloves
This preserves their sentimental value without pretending they are wearable.
Dispose Responsibly
Only discard boots if no repair or reuse option exists. Leather takes decades to decompose, and functional footwear has value. Consider donating lightly damaged pairs to vocational programs that teach shoe repair.
Choose the Right Materials and Tools
Understand Leather Dye Science
Leather dye is absorbed into the fibers, unlike paint that sits on top. This gives a natural look but requires precision:
- Dab, don’t brush to avoid streaks
- Mix tints carefully to match undertones such as warm brown versus cool black
- Test on scraps if available
Water-based dyes are easier to work with, while alcohol-based options offer deeper penetration.
Match Sealant Sheen Accurately
Sealants come in:
- Matte: No shine, natural look
- Glossy: High shine, dressy finish
- Satin: Balanced sheen, most common
To match satin, blend matte and glossy in small batches. Apply to a test area and compare under natural light.
Use Heat and Sandpaper Wisely
- Heat softens leather for blending. Use low to medium settings only.
- Low-grit sandpaper removes bulk filler.
- High-grit paper polishes and refines texture.
Overheating or over-sanding damages leather permanently.
Maintain Boots to Prevent Future Damage
Repair is just one part of the equation. Prevention keeps boots looking newer, longer.
Clean Regularly
Wipe down boots after each use. Remove mud, salt, and dirt with a damp cloth and leather cleaner every few weeks. Buildup acts like sandpaper, accelerating wear.
Condition Every 4 to 6 Weeks
Dry leather cracks. Apply leather conditioner regularly, especially after cleaning or exposure to sun, snow, or rain. Focus on high-flex areas such as heels, toes, and shaft bends.
Inspect Soles and Stitching
Monthly checks catch problems early. Look for:
- Separating soles
- Loose heel caps
- Fraying welt stitching
Addressing small issues prevents major repairs.
Store Properly
- Use boot trees or stuff with acid-free paper to maintain shape
- Keep in a cool, dry place away from direct sunlight
- Avoid plastic bags because leather needs to breathe
For display boots, dust occasionally and avoid humid areas.
Frequently Asked Questions About Leather Boot Repair
Can You Repair Leather Boots at Home?
Yes, you can repair leather boots at home for surface damage like scuffs, minor gouges, and small tears. You will need leather cleaner, filler, dye, and conditioner. For structural issues such as sole replacement or holes through the leather, professional cobblers deliver better results.
How Much Does Professional Leather Boot Repair Cost?
Professional leather boot repair costs vary by service and damage type. Resoling typically ranges from $50 to $150, while full restoration can cost more. Even premium repairs cost less than replacing high-quality boots, making them a smart investment.
What Is the Best Product for Fixing Scuffed Leather Boots?
The best approach combines gentle heat from a hair dryer with a clean cloth to blend existing dye. Follow up with unscented petroleum jelly for moisture. For stubborn scuffs, a color-matched recoloring balm restores appearance.
How Long Does Leather Filler Take to Dry?
Leather filler typically takes 2 to 6 hours to dry completely, depending on the product and layer thickness. Always allow full curing before sanding or applying dye. Rushing this step causes cracks or collapse in the repair.
Can Worn Boot Soles Be Replaced?
Yes, worn boot soles can be replaced by professional cobblers. They remove the old sole, prepare the surface, and attach a new sole using industrial adhesives and stitching. This restores traction, waterproofing, and structural integrity.
When Should You Replace Boots Instead of Repairing Them?
Replace boots when damage includes holes through the leather, extensive rot, or structural collapse in the upper. If repair costs exceed 50% of replacement cost, or if boots no longer provide adequate support, replacement is the better option.
Key Takeaways for Successful Leather Boot Repair

Leather boot repair combines craft, patience, and practicality. Start by assessing damage honestly. Surface scuffs and minor gouges respond well to DIY methods involving heat, balm, filler, and dye. Structural issues like worn soles and heels require professional cobblers who can restore boots to near-new condition.
Prevention matters as much as repair. Regular cleaning, conditioning every 4 to 6 weeks, and monthly inspections extend boot life significantly. When boots reach the end of their wearable life, repurpose them as decor rather than sending them to landfills.
Your next step is simple. Pull out your favorite pair of leather boots today and inspect them for scuffs, worn soles, or dry leather. Address small issues now before they become major repairs, and your boots will stay with you step after step, mile after mile.