How to Stretch Boots at Home
Tight boots can ruin an otherwise great outfit, leaving you with pinched toes, aching arches, and blisters by midday. Whether you just bought a pair that needs breaking in or noticed your favorites shrinking over time, stretching boots at home offers a practical fix without a costly trip to the cobbler. The right approach can reshape leather to match your foot’s unique contours while protecting the material from damage.
This guide covers proven techniques that use moisture, heat, and mechanical pressure to gently expand leather. You’ll learn how to prepare your boots, target specific problem areas like the toe box or calf, and avoid common mistakes that lead to cracking or overstretching. By the end, you’ll have a clear plan for achieving a comfortable, custom fit at home.
Prepare Boots for Stretching
Proper preparation sets the foundation for successful stretching. Skipping this step increases the risk of uneven expansion, surface scratches, or permanent damage to the leather.
Clean and Condition the Leather
Start by wiping the exterior with a soft brush and a leather cleaner suited to your boot type. Dirt and debris create friction during stretching, which can scratch or tear the surface. Allow the boots to dry completely before moving forward.
Next, apply a generous layer of leather conditioner using circular motions with a clean cloth. Focus on tight areas like the heel, instep, and toe box. Conditioning hydrates the collagen fibers in leather, making them pliable and less likely to crack under pressure. Let the conditioner absorb for 15 to 30 minutes before stretching.
Pro Tip: Avoid oil-based products on suede or nubuck unless the label confirms compatibility. These materials need specialized sprays to prevent staining.
Identify and Mark Tight Spots
Wear the boots indoors with medium-thickness socks to locate discomfort zones. Common problem areas include:
- Toe box: Cramped or pressing on toes
- Instep or throat: Hard to pull on, pinching around the ankle
- Heel: Slipping or rubbing
- Calf: Too tight when zipping or pulling up
Mark these areas lightly with chalk or a washable pen. Targeting specific zones prevents unnecessary stretching in areas that already fit well.
Insert Shape Support
Place boot stretchers, rolled newspapers, or paper towels inside the boots before stretching. This maintains the overall structure and prevents collapse in non-targeted areas. For calf stretching, stuff newspaper into the footbed to push expansion upward into the shaft.
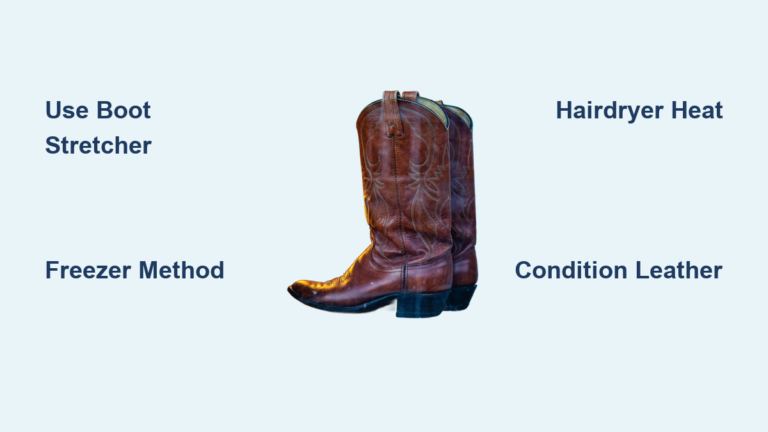
Use the Freezing Method

The freezing technique harnesses water’s natural expansion as it turns to ice. This gentle pressure works well for localized adjustments in the toe box or instep without risking heat damage.
Fill and Position Water Bags
Use heavy-duty freezer bags and fill each about three-quarters full with water. Squeeze out excess air before sealing to minimize leak risk. Insert one bag into each boot, pressing it directly against the tight area.
For instep or calf stretching, ball up newspaper and place it in the footbed. This lifts the water bag into the upper shaft, directing pressure where you need it most.
Freeze and Thaw Safely
Set the boots upright in the freezer, ideally inside a larger plastic bag to catch any spills. Leave them for 8 to 12 hours. The ice expands slowly, stretching leather fibers without sudden stress.
After removing the boots, let them thaw for about 20 minutes at room temperature before extracting the bags. Forcing a frozen bag out can tear the lining or damage the leather.
Repeat for Better Results
One cycle may not deliver enough stretch. Repeat the process two to three times, waiting a few hours between cycles to assess progress. Most boots gain up to half a size with consistent effort.
Warning: Never use this method on suede, nubuck, or synthetic boots. Water can stain or weaken these materials permanently.
Apply Heat with a Hair Dryer
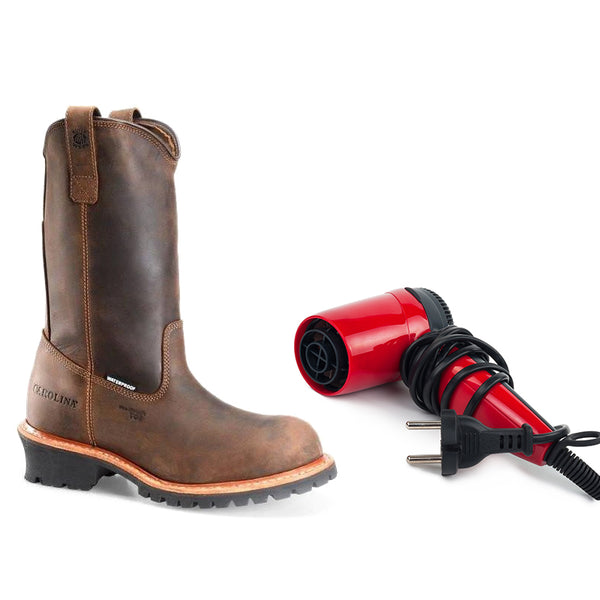
Heat temporarily softens leather, allowing you to mold it to your foot quickly. This method delivers fast results but requires caution to avoid scorching or drying out the material.
Warm the Leather While Wearing
Put on thick wool or thermal socks and slide the boots on. Set your hair dryer to low or medium heat and hold it 6 to 8 inches from the boot surface. Keep the dryer moving constantly to distribute heat evenly.
Focus on tight zones like the heel collar or instep, warming each area for 30 to 60 seconds. Flex your foot and bend the boot as you go. The motion encourages the leather to conform to your shape.
Mold and Cool Gradually
Keep walking in the boots for 10 to 15 minutes after heating. This sets the new shape as the leather cools. Avoid sitting still, since movement promotes even expansion throughout the boot.
Critical Safety Tip: Never use high heat or hold the dryer in one spot for more than a few seconds. Overheating causes cracks, discoloration, and warping.
Break In Boots Naturally with Wear
Sometimes the simplest method works best. Gradual break-in uses body heat, moisture, and movement to stretch leather over time without any special tools.
Double Up on Socks
Wear two layers: a thin cotton sock against your skin and a thick wool or performance sock on top. The added volume creates gentle pressure inside the boot. Friction happens between the sock layers rather than between your skin and leather, reducing blister risk.
Walk Indoors Daily
Wear the boots around the house for one to two hours each day. Climb stairs, bend your feet, and stand frequently to loosen stiff areas. Stop immediately if you feel sharp pain. Mild discomfort is normal, but injury is not.
After each session, remove the boots and let them air dry away from radiators or direct sunlight. Moisture from your feet softens the leather slightly, aiding the break-in process.
Speed Up with Light Moisture
For faster results, lightly mist the inside of tight spots with water before wearing. Alternatively, dab a small amount of rubbing alcohol inside to loosen fibers quickly. Never soak the interior, since excess moisture can damage the lining.
Repeat this routine for three to five days. Most boots show significant improvement within a week.
Use a Boot Stretcher Tool
For controlled, consistent stretching, especially in width, a boot stretcher offers the most precision. These tools come in manual or electric models and often include attachments for specific problem zones.
Insert and Adjust Gradually
Slide the stretcher into the boot and turn the knob slowly until you feel firm pressure in the tight areas. Avoid forcing it to maximum right away, since sudden expansion can damage the leather.
Leave the stretcher in place for 24 to 48 hours. Check every 12 hours to monitor fit and prevent overstretching.
Target Width or Length
Most stretchers expand width, but some include toe extenders for length adjustments. Use attachments only when needed and increase incrementally. Overexpansion leads to a loose, baggy fit that lacks support.
After removal, wear the boots with regular socks to test comfort. Repeat with slight adjustments if necessary.
Try Stretching Sprays and Solutions
Chemical aids soften leather fibers and enhance other stretching methods. They work by penetrating the material to increase flexibility.
Use Commercial Stretching Spray
Spray a leather stretching product directly onto tight areas, both inside and out. Wait 5 to 10 minutes for absorption, then wear the boots with thick socks. Movement helps the material adapt to your foot shape.
Always test on a hidden area first to check for discoloration or staining.
Make a DIY Spray Mix
Combine equal parts water and rubbing alcohol in a spray bottle, then add a few drops of mild dish soap. Lightly mist the interior of tight zones and wear immediately with thick socks.
This mixture softens fibers quickly but evaporates fast, reducing moisture damage risk.
Avoid on Suede: These solutions can ruin the nap of suede or nubuck. Use only products specifically labeled for those materials.
Stretch Cowboy Boots Correctly

Cowboy boots often fit snugly at the instep and calf by design. This keeps them secure in stirrups but can make them difficult to pull on.
Loosen a Tight Instep
Use the freezing method with the water bag positioned high in the shaft. Alternatively, apply heat to the instep while flexing your foot forward and back. Pair with thick socks for immediate molding.
Brands like Tony Lama and Ariat recommend gradual break-in over several weeks. Their leathers are built to stretch slightly with consistent wear.
Expand a Narrow Calf
For calf tightness, combine the freezing method with stuffed newspaper to push pressure upward. A boot stretcher with calf expansion arms also works well if available.
Avoid excessive force. Overstretching can compromise the boot’s structural integrity and alter its silhouette.
Maintain the New Fit
Stretching removes natural oils from leather. Without proper care, the material can dry out, crack, or lose its new shape over time.
Re-Condition After Stretching
Apply leather conditioner immediately after any stretching method. This restores moisture, locks in the new fit, and prevents premature aging.
Use a soft cloth and cover all surfaces, especially stretched zones. Let the conditioner absorb overnight before wearing the boots again.
Store with Boot Trees
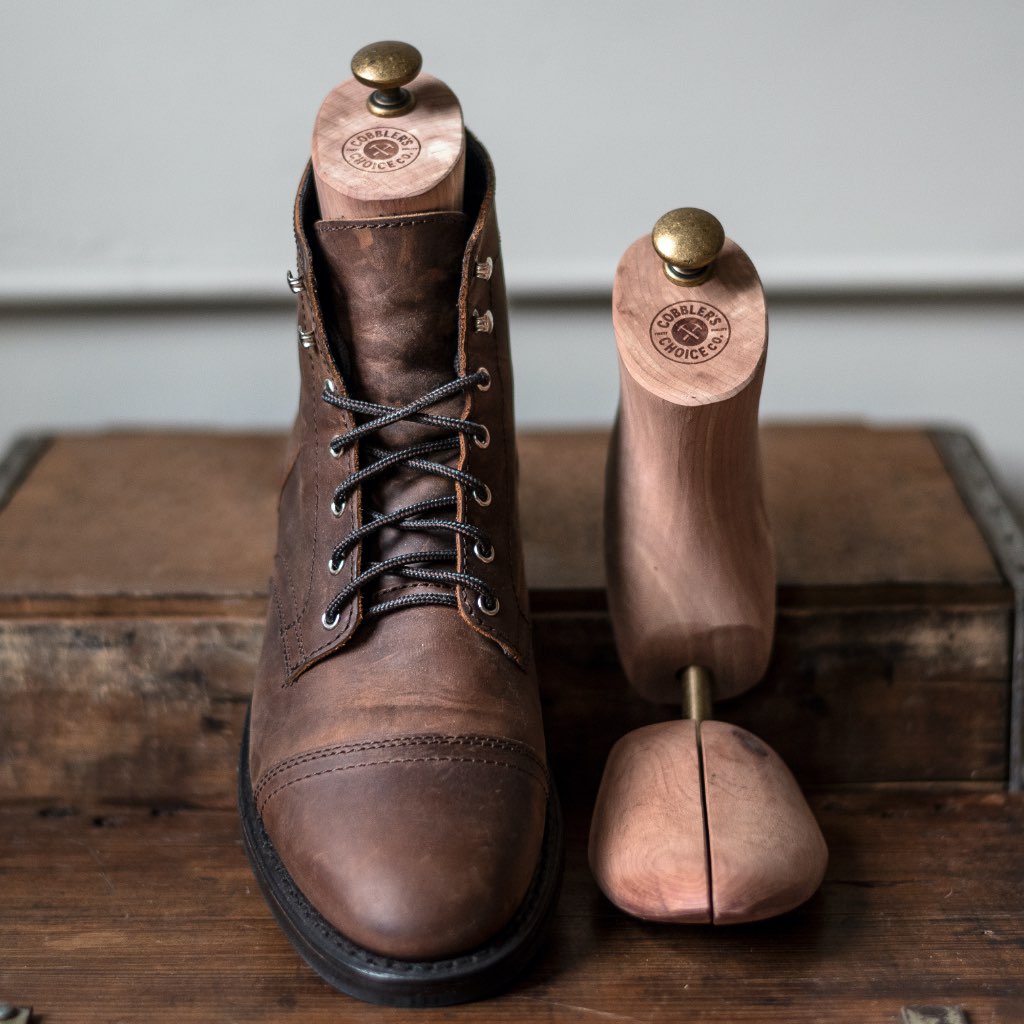
Insert cedar or plastic boot trees to maintain shape and absorb moisture. If you don’t have trees, stuff boots with acid-free tissue or newspaper.
Store in a cool, dry place away from direct sunlight, which fades and weakens leather fibers.
Rotate and Protect
Avoid wearing the same pair two days in a row. Rotation gives leather time to recover and extends the lifespan of your boots.
Adjust sock thickness to match the new fit. Thinner socks work well for recently stretched boots, while thicker socks fill out pairs that have loosened over time.
Avoid Common Stretching Mistakes
Even with the right tools, improper technique can ruin boots. Knowing what not to do is just as important as choosing the right method.
Don’t Overstretch
Applying too much pressure with a stretcher, heat, or force weakens leather permanently. Stretch no more than half a size. If boots are significantly too small, consider exchanging them instead.
Never Use High Heat Sources
Ovens, radiators, and direct sunlight can bake leather, causing irreversible cracks. Stick to hair dryers on low heat and keep them moving at all times.
Skip Improvised Tools
Wooden blocks, hammers, and pliers often leave boots misshapen or torn. Use proper tools designed specifically for footwear stretching.
Don’t Stretch Synthetics
Synthetic boots won’t respond to these methods like leather does. Attempting to stretch them usually results in tears or deformation. These techniques work best on genuine leather.
Test Chemicals First
Always patch-test sprays or DIY solutions on an inconspicuous spot. Some products darken or damage certain leather finishes.
Frequently Asked Questions About Stretching Boots at Home
Can all types of boots be stretched at home?
No. These methods work best on genuine leather, which has natural elasticity. Synthetic materials, suede, and nubuck require different approaches or professional care. Attempting to stretch synthetics often causes tearing or permanent deformation.
How much can you stretch boots at home?
Most boots can be stretched up to half a size in width or length. If your boots are more than a size too small, home methods likely won’t deliver satisfying results. In those cases, professional stretching or exchange may be better options.
Is the freezing method safe for leather boots?
Yes, when done correctly. Use heavy-duty freezer bags, seal them tightly, and allow the boots to thaw completely before removing the bags. Avoid this method on suede, nubuck, or any waterproof-treated leather, as water exposure can cause damage.
How long does it take to stretch boots with a boot stretcher?
A boot stretcher typically needs 24 to 48 hours to deliver noticeable results. Check the fit every 12 hours and adjust incrementally. Rushing the process increases the risk of overstretching or damaging the leather.
Will stretching boots damage them permanently?
Stretching can cause permanent damage if done incorrectly. Overstretching, excessive heat, or improper tools may weaken leather, cause cracks, or ruin the boot’s shape. Following proper techniques and conditioning afterward minimizes these risks.
Can I stretch boots without any special tools?
Yes. Natural wear with thick socks, the freezing method, and heat application with a hair dryer all require no special equipment. These approaches take longer than mechanical stretchers but offer safe, low-cost alternatives.
Key Takeaways for Stretching Boots at Home Safely
Start with gentle methods like natural wear or conditioning before moving to more aggressive techniques. Always clean and condition your boots first, target specific tight spots rather than the entire boot, and finish with thorough conditioning to restore moisture. Patience pays off: rushing the process or using excessive force leads to damage rather than a better fit.
Your next step is to assess your boots, identify the tightest areas, and choose one method to try first. Begin with the least invasive option, such as wearing thick socks around the house for a few days. If you need faster results, move to the freezing or heat method while monitoring progress closely.