How to Stretch a Boot: Quick Steps
Nothing ruins a great pair of boots faster than a poor fit. Whether it is pinching at the toes, tightness across the instep, or calf pressure that makes every step uncomfortable, there is a practical solution. Learning how to stretch a boot does not require guesswork. It is a science-backed process that combines material knowledge, controlled pressure, and patience.
Leather is naturally elastic, especially when softened with moisture or heat. With the right techniques, you can reshape your boots to match your foot’s exact contours. This guide reveals professional and DIY methods, from freezer tricks to mechanical stretchers, so you can safely expand width, length, or calf space without damaging your footwear. You will learn how to prep, stretch, and maintain your boots for lasting comfort.
Assess Fit and Clean Boots Before Stretching
Before applying any stretching method, you must identify exactly where the boot binds and prepare the leather properly. Skipping prep risks uneven stretching or permanent damage.
Pinpoint Tight Zones with a Wear Test
Wear your boots indoors with your usual socks for 15 to 30 minutes. Pay close attention to discomfort in these key areas:
– Toe box: pressure on toes or bunions
– Instep or throat: pinching when lacing up
– Heel: slippage or rubbing
– Calf: tightness when standing or walking
Use chalk to lightly mark tight spots on the exterior. This ensures targeted stretching and prevents overexpansion in areas that already fit well.
Clean and Condition the Leather
Dirty or dry leather resists stretching and may crack under stress. Follow these steps:
- Wipe down the exterior with a soft brush and pH-balanced leather cleaner.
- Let boots air dry completely. Never stretch damp or dirty leather.
- Apply a generous layer of leather conditioner using circular motions.
- Allow 15 to 20 minutes for full absorption.
Conditioning hydrates collagen fibers, making them more pliable and responsive to stretching forces.
Support the Interior Shape
Insert boot trees, a boot jack, or rolled-up newspaper inside each boot. This maintains structural integrity and prevents collapse during stretching, especially in the toe or shaft.
Use the Freezer Method for Safe Volume Expansion

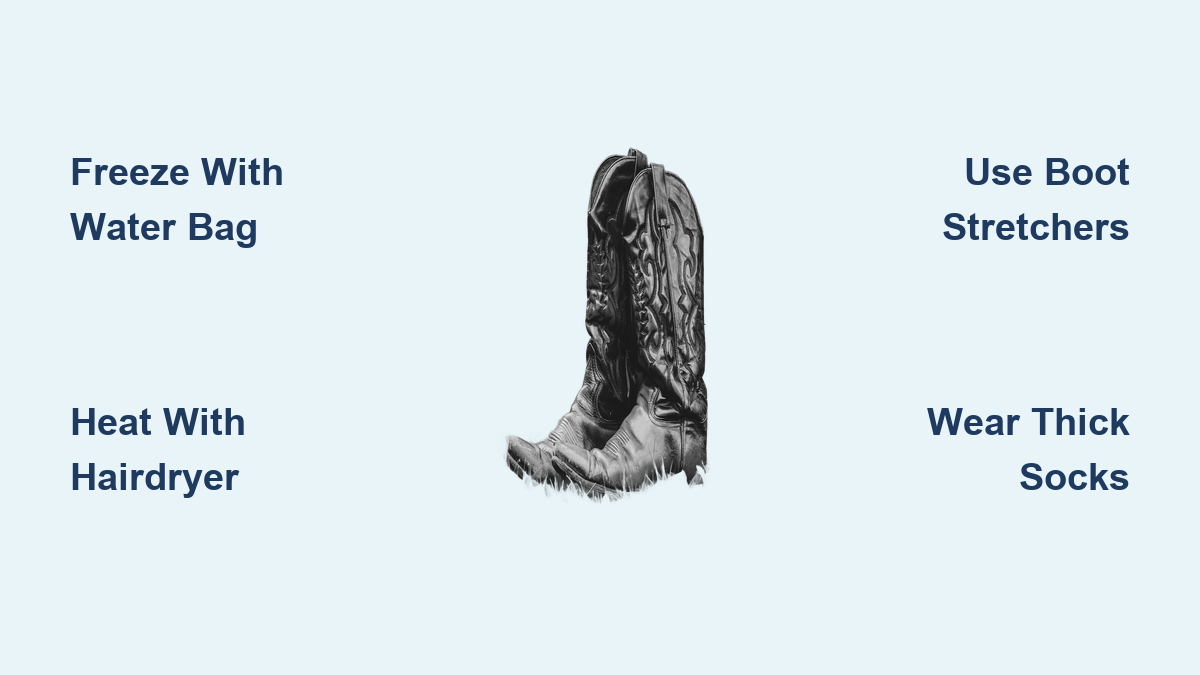
The freezer method is one of the safest and most effective DIY techniques for adding volume. It uses water expansion to gently stretch leather.
Fill and Position Water Bags
- Fill a gallon-sized zip-top bag one-third full with water.
- Squeeze out excess air and seal tightly to prevent leaks.
- Place the bag inside the boot, positioning it directly over tight areas:
– For toe box issues, position at the front
– For instep or calf tightness, elevate the bag with crumpled newspaper at the heel
Ensure the bag fits snugly but allows room for ice expansion. Water increases by about 9 percent when frozen.
Freeze and Thaw Safely
- Place boots upright in the freezer for 6 to 8 hours or overnight.
- After freezing, remove and let sit at room temperature for 20 minutes to begin thawing.
- Gently remove the bag. Never pull a frozen bag, as this can tear seams or distort leather.
- Let boots air dry completely before wearing.
For best results, repeat once. This method typically adds a slight half-size of volume.
Apply Heat with Caution for Targeted Molding
Heat temporarily softens leather fibers, making them more malleable. Used correctly, it is ideal for targeted molding.
Warm Leather with a Hairdryer
- Put on thick wool or thermal socks.
- Slide feet into the boots.
- Set a hairdryer to low or medium heat.
- Hold 6 to 8 inches from the boot and warm tight zones for 30 to 60 seconds per area.
- Keep the dryer moving to avoid scorching or drying out the leather.
Overheating can crack leather or weaken adhesives. Never use high heat or direct contact.
Mold While Warm
As the leather heats:
– Wiggle your toes
– Flex your foot up and down
– Walk around briefly
Keep the boots on until they cool completely. This “sets” the new shape to your foot. Repeat daily for 2 to 3 days for stubborn areas.
Insert Boot Stretchers for Precise Expansion

Mechanical boot stretchers deliver professional results at home with adjustable, controlled pressure.
Choose the Right Stretcher for Your Boot
Opt for an adjustable wooden or plastic stretcher with:
– Width expansion for toe box or ball of foot
– Instep lift for high arches
– Calf expander for tall boots
Avoid cheap, non-adjustable models, as they can deform boots.
Stretch Gradually Over Time
- Insert the stretcher, aligning it with marked tight spots.
- Turn the knob to apply light pressure. You should feel resistance but no strain.
- Leave in place for 12 to 24 hours.
- Check fit and increase pressure slightly if needed.
- Maximum duration is 48 hours for stiff leather.
Never force the mechanism. Incremental stretching prevents fiber damage and ensures even expansion.
Combine Manual Techniques for Faster Break-In

For minor adjustments and faster break-in, manual methods work well, especially when paired with other techniques.
Wear Thick Socks Daily
- Put on two pairs of thick socks.
- Wear boots indoors for 1 to 2 hours per session, several times a week.
- Walk, squat, and flex to apply natural pressure.
Body heat and foot movement gradually mold the leather. This is ideal for breaking in new boots.
Massage and Roll Tight Spots
After conditioning:
– Use your thumbs to gently pull and stretch tight zones
– Roll a wooden spoon or rolling pin over the toe or sides for 5 to 10 minutes
Follow with heat or wear to lock in the stretch. Avoid excessive force, as this can thin or tear leather.
Use Stretching Sprays to Boost Pliability
Chemical softeners can enhance other methods by increasing leather pliability.
Apply Alcohol or Spray Solutions
- Lightly mist commercial boot stretching spray on tight interior areas.
- Or, dab a small amount of rubbing alcohol on a cloth and wipe inside.
- Let absorb for 10 to 20 minutes.
- Immediately wear boots with thick socks.
These solutions reduce stiffness but do not stretch alone. They are most effective when combined with heat or wear.
Limit Chemical Use
Overuse dries leather. Never saturate the interior. Apply no more than 2 to 3 times during break-in.
Fix Oversized Boots with Controlled Shrinkage
If you have overstretched or bought boots too large, you can reverse it using controlled shrinkage.
Try the Wet Sock Method
- Soak a pair of well-fitting cotton socks in water.
- Put them on, then slip on the boots.
- Wear until both socks and boots are completely dry (4 to 6 hours).
- As leather dries, it molds and shrinks to your foot.
This may void warranties or damage glued seams. Only use on full-grain leather with no synthetic linings.
Prevent Damage and Overstretching

Even the best methods can backfire without caution. Protect your investment by avoiding common mistakes.
Avoid High Heat and Improvised Tools
Never use:
– Heat guns or irons
– Boiling water
– Screw clamps or pliers
These can melt glue, crack leather, or create permanent dents. Stick to low-heat tools and purpose-built devices.
Do Not Skip Post-Stretch Care
After stretching:
– Condition leather immediately
– Insert boot trees for storage
– Rotate footwear to allow recovery
Neglecting care leads to dryness, creasing, and loss of shape.
Know When to See a Cobbler
DIY methods work for up to a half-size adjustment. Seek a professional cobbler if:
– Boots are more than one size too small
– Leather is cracked or delaminating
– Boots have exotic skins or complex construction
Cobblers use steam and hydraulic presses for safe, deep stretching.
Maintain the New Fit Over Time
Stretching is not a one-time fix. Leather continues to conform over time, and maintenance keeps your boots comfortable and durable.
Condition Every Few Months
Apply leather conditioner every 3 to 6 months, or monthly with heavy use. This preserves elasticity and prevents cracking.
Store Properly
Keep boots in a cool, dry place away from sunlight. Use boot trees to maintain shape and absorb moisture.
Adjust Socks and Insoles
As boots settle:
– Use thinner socks if they feel loose
– Add gel insoles or heel grips to fill extra space
Fine-tuning prevents slippage and maintains support.
Monitor for Changes
Check fit every few months. Leather naturally relaxes, so minor adjustments may be needed. Early detection prevents discomfort or long-term damage.
Frequently Asked Questions About Stretching Boots
Can all types of boots be stretched?
Most leather boots can be stretched using the methods described. However, boots with significant synthetic linings or glued components may not respond well, as synthetic materials have less elasticity than natural leather.
How much can you stretch a boot at home?
DIY methods typically allow for up to a half-size adjustment in width or volume. For more significant changes, a professional cobbler with specialized equipment is recommended.
Is the freezer method safe for all leather boots?
The freezer method works best on full-grain leather without delicate finishes or synthetic linings. Always test a small area first and avoid this method on boots with glued seams that water could damage.
How long does it take to stretch boots?
The timeline varies by method. The freezer method takes overnight, while wearing thick socks may require several sessions over days or weeks. Patience is key to avoiding damage.
Will stretching damage my boots?
When done correctly and gradually, stretching should not damage quality leather boots. Skipping prep, using excessive heat, or forcing tools can cause cracking, warping, or permanent deformation.
Can I shrink boots that are too big?
Yes, using the wet sock method can shrink leather boots slightly as they dry. This method carries some risk and may not work on all materials, so proceed with caution.
Key Takeaways for Stretching Your Boots Successfully
Learning how to stretch a boot effectively comes down to three core principles: prep your leather, stretch gradually, and care for the material afterward. Always clean and condition boots before applying any method, and never rush the process with excessive heat or force. Combine techniques like conditioning, freezing, and thick-sock wear for the best results, and know when a professional cobbler is the safer choice.
Your next step is simple. Choose the method that matches your boot’s problem area, gather your supplies, and give your boots the patient treatment they deserve. With the right approach, you will achieve a custom fit that lasts for years.