How to Break In Hiking Boots: Quick Steps
Nothing ruins a breathtaking hike faster than throbbing feet, hot spots, or full-blown blisters. Even the most expensive, well-reviewed hiking boots won’t feel perfect straight out of the box—especially if they’re built with rugged full-grain leather or stiff midsoles designed for support. That’s why knowing how to break in hiking boots properly is not just a suggestion—it’s a must for comfort, performance, and injury prevention.
Breaking in your boots isn’t about forcing them to soften overnight. It’s a gradual process that molds the footwear to your unique foot shape, identifies pressure points before they become problems, and prepares both your feet and boots for real trail conditions. Skipping this step can lead to heel slippage, bruised toes, blisters, and even cut-short trips.
In this guide, you’ll learn a proven three-phase method to break in hiking boots safely, avoid dangerous shortcuts, choose the right socks and lacing techniques, and recognize when your boots are truly ready for the trail. Whether you’re prepping for a weekend day hike or a week-long backpacking adventure, following these steps ensures you start strong—with happy feet.
Start Indoors: Wear Hiking Boots at Home
Begin your break-in journey where it’s safest and most controlled: inside your home. This first phase helps you assess fit, detect discomfort early, and return the boots if needed—before they’re scuffed, soaked, or damaged.
Walk Around the House Daily with Hiking Socks
Wear your new boots with the exact socks and insoles you plan to use on the trail. Spend 1–3 hours per day walking on hard floors, climbing stairs, standing in the kitchen, or doing light chores. Pay attention to how your feet feel during movement—not just when standing still.
Check for:
– Pinching across the toes or instep
– Heel lift (more than ¼ inch)
– Pressure behind the ankle or on the Achilles tendon
– Misaligned tongue causing lace bite
If any area hurts after just 20–30 minutes, the boot may never fit right—even after break-in.
Pro Tip: Keep your boots clean during this phase. Most retailers require unworn, undamaged condition for returns.
Test on Pavement: Gradual Outdoor Walks
Once your feet tolerate indoor wear without hot spots, it’s time to move outdoors. This phase introduces real-world stressors like uneven terrain, inclines, and weight-bearing—all while staying close to safety.
Increase Distance and Terrain Gradually
Start with short 0.5- to 1-mile walks on sidewalks, grass, gravel, and gentle hills. Add 5–10 minutes per session over 1–2 weeks. Include stairs, curbs, and bridges to test ankle support and natural flex.
Carry a light daypack (10–15 lbs) to simulate trail load and see how the boots respond under pressure.
What to Watch For:
- Does your heel stay locked in place?
- Are your toes jamming forward when walking downhill?
- Do any areas rub or create friction?
Expert Note: One hiker reported, “After a week of consistent walking, it was time to hit the trail.”—and completed their first 5-mile hike with zero blisters.
Hike Real Trails: Final Break-In Validation
Now it’s time to test your boots where they belong—on actual trails. The final phase confirms comfort, stability, and durability under hiking-specific conditions.
Simulate Your Planned Trip Conditions
Choose an easy to moderate trail (1.5–3 hours long) with:
– Uphill and downhill sections
– Roots, rocks, or muddy patches
– A loaded backpack (if applicable)
Aim for 3–5 test hikes over 2–4 weeks. Each should increase slightly in difficulty until one matches your actual trip’s length, elevation gain, and pack weight.
Signs Your Boots Are Fully Broken In:
- No new hot spots or blisters
- Natural flex at the ball of the foot
- Heel stays secure on descents
- Comfortable under full load
Final Check: “You’ll know you’ve successfully broken in your boots when they feel so good you don’t want to take them off.”
Choose the Right Socks for Blister Prevention
Socks are half the battle. The wrong pair can turn a comfortable boot into a blister factory.
Wear Moisture-Wicking Materials Only
Avoid cotton at all costs—it absorbs sweat, stays wet, and increases friction. Instead, use:
– Merino wool blends (temperature-regulating, odor-resistant)
– Synthetic fibers (quick-drying, durable)
Use Liner Socks to Reduce Friction
Wear thin polypropylene or synthetic liner socks under hiking socks. They reduce shear between your skin and outer sock—cutting blister risk significantly.
“Injinji toe socks were what did it for my stupidly bad heel blisters.” — DataSnaek
Golden Rule: Always wear the same sock combo during fitting, break-in, and hiking.
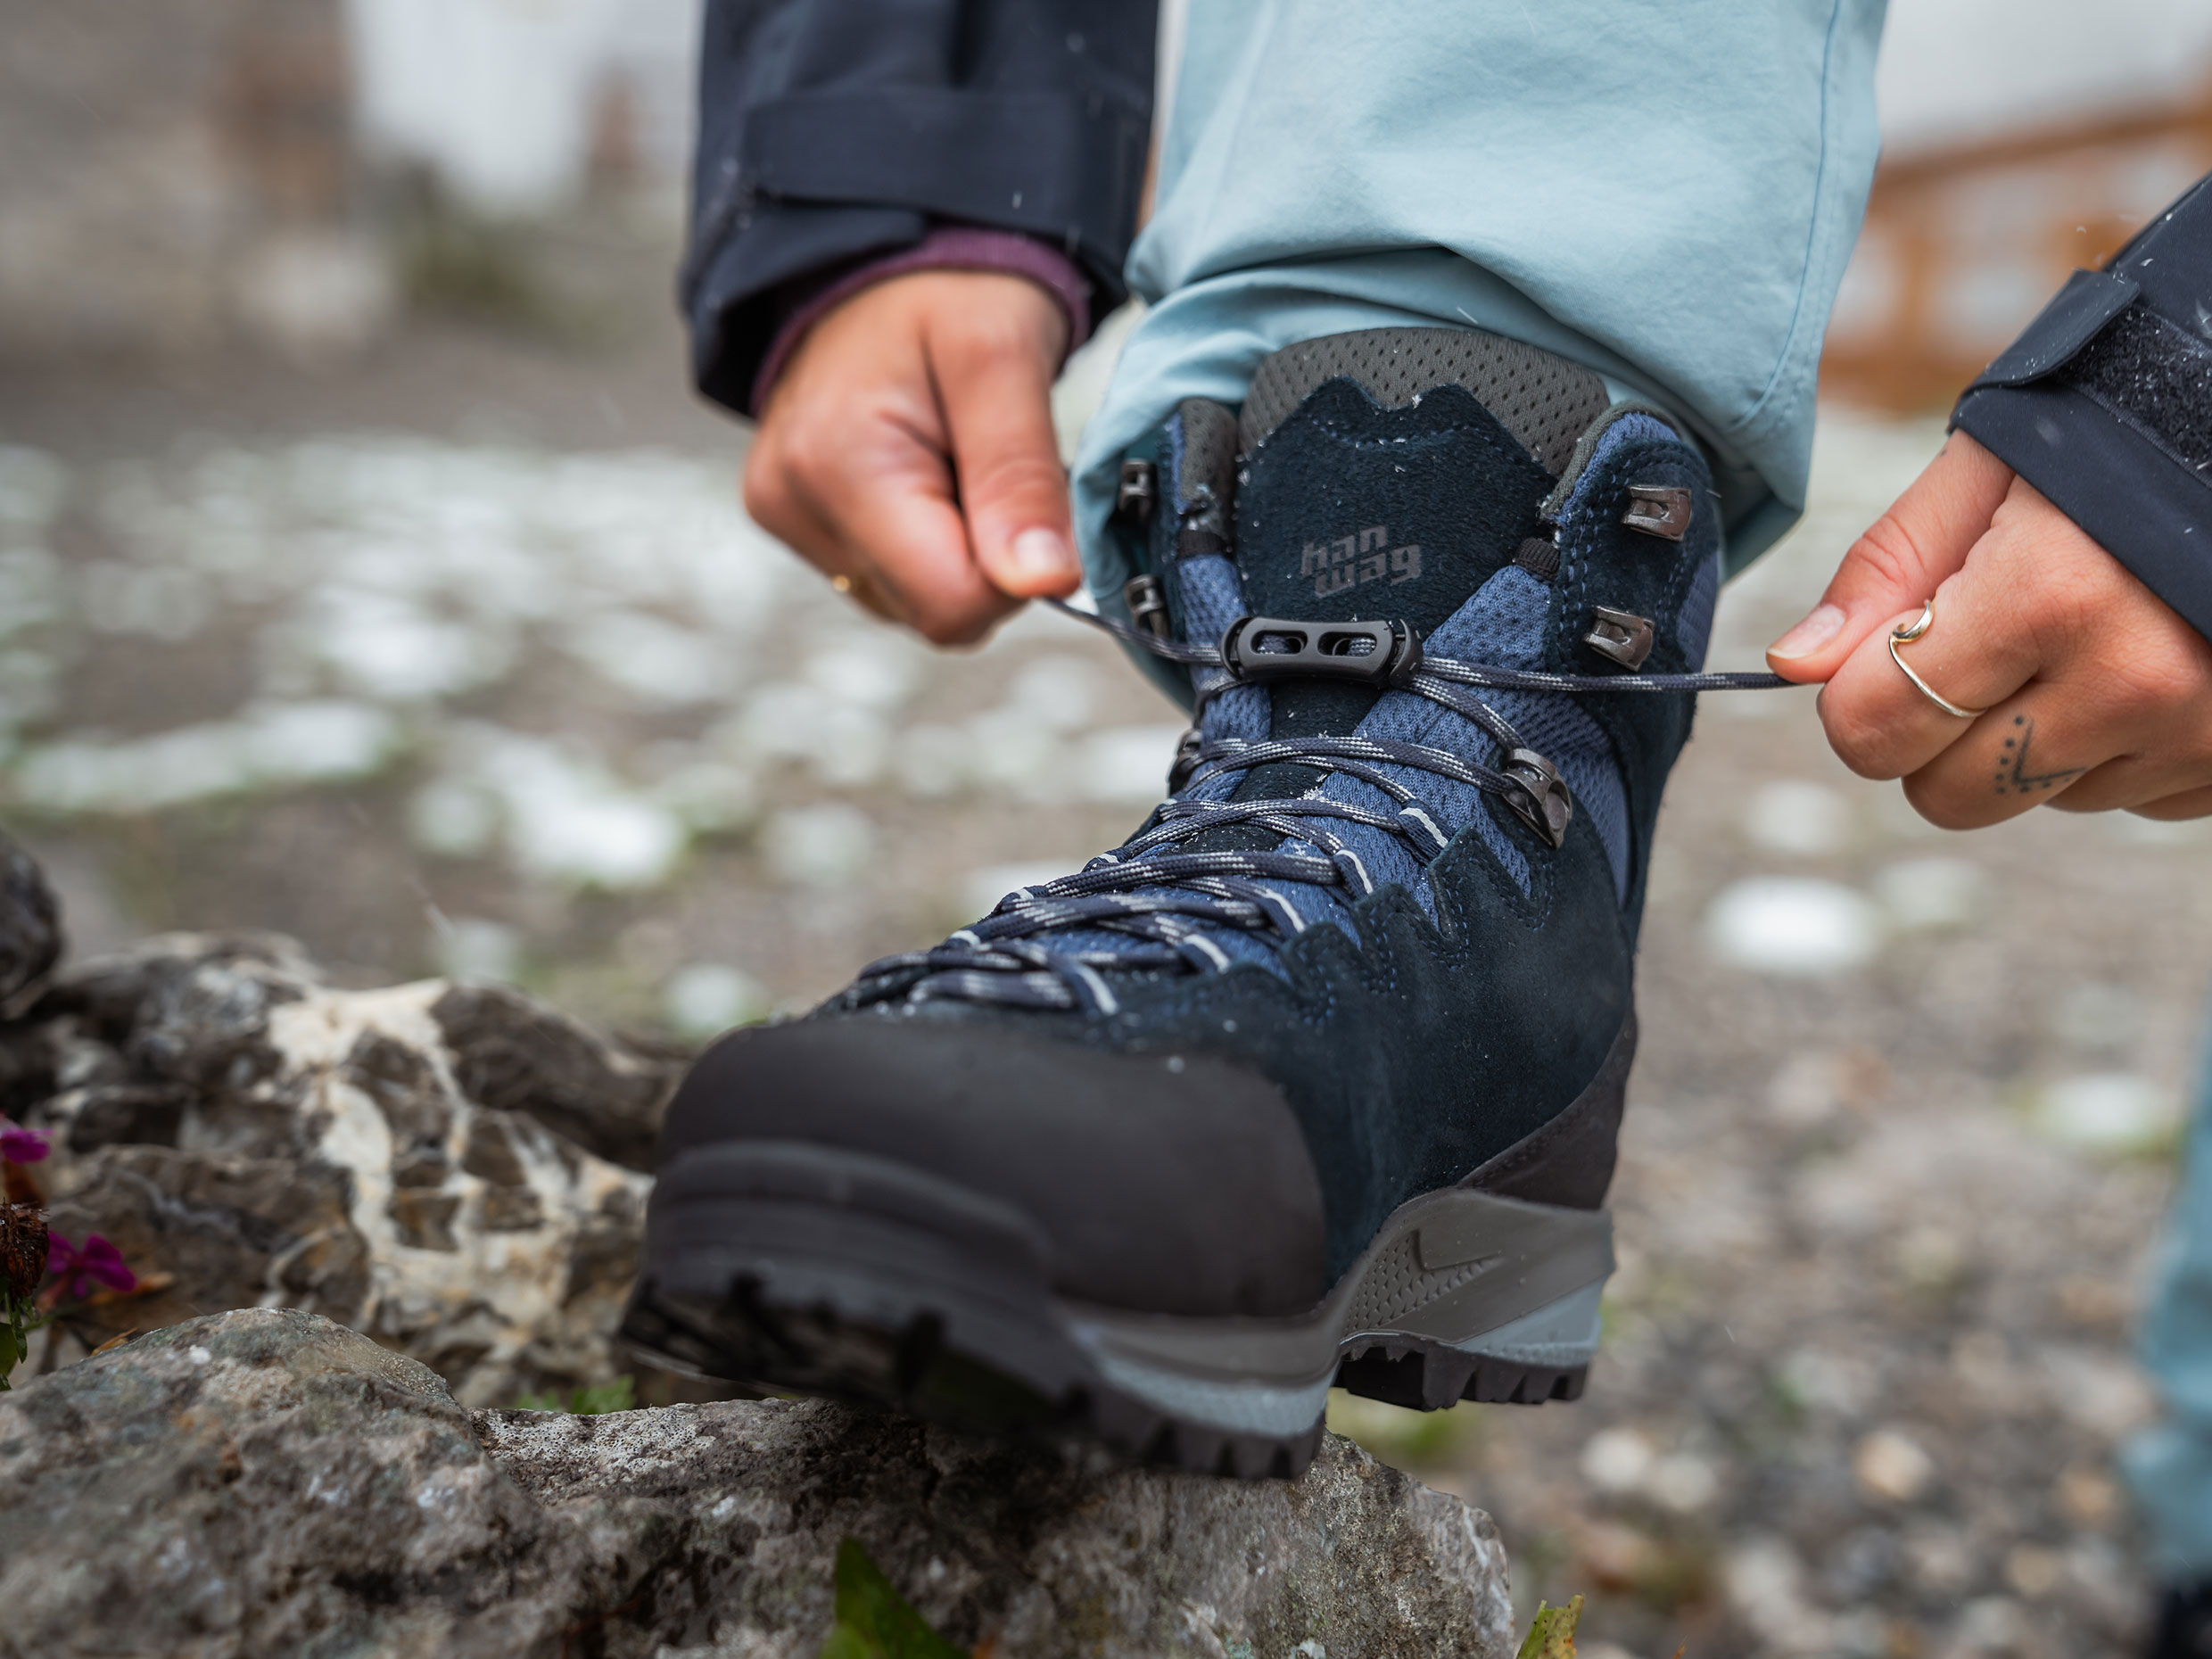
Lace Smart: Prevent Blisters Before They Start

How you lace your boots can make or break your comfort—even with a perfect fit.
Apply Heel Lock Lacing to Stop Slippage
This technique prevents heel lift, a leading cause of blisters. Here’s how:
1. Lace normally up to the second-to-last eyelet.
2. Create a loop with each lace end.
3. Pass the free end through both loops and pull tight.
4. Tie as usual.
Result: Your heel stays down without crushing your midfoot.
Use Window Lacing for Pressure Relief
If the top of your foot feels pinched:
– Skip the eyelets directly over the painful spot.
– Cross the laces around it, forming a “window.”
– Tighten above and below.
This relieves pressure without sacrificing ankle support.
Pro Tip: “Blister prevention begins at home when you’re putting on your boots.”
Fit Comes First: Check Before You Break In
No amount of break-in fixes a fundamentally poor fit. Do these checks before starting.
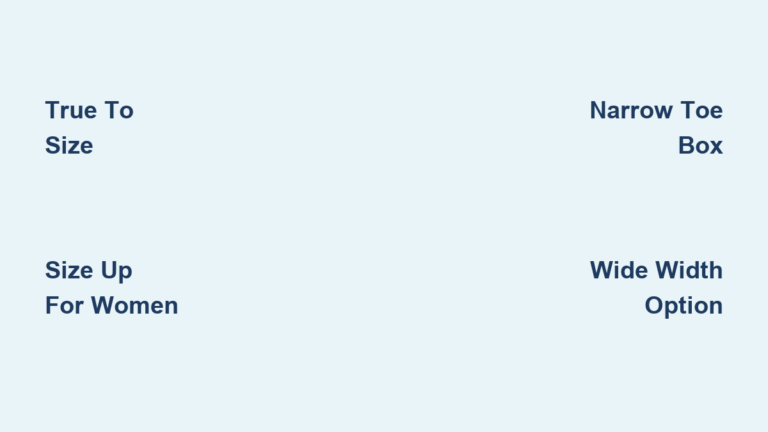
Toe Room: Thumb’s Width Rule
Stand in your boots and check for ½ inch (about a thumb’s width) between your longest toe and the front. Your toes should never touch the cap when walking downhill.
Heel Lock: One-Finger Test
Slide one finger behind your heel. It should fit snugly—if two fingers fit, your heel will slip.
Width: No Pinching at Ball of Foot
If the boot pinches across the widest part of your foot, go wider. Remember: “Your feet might not be the same size.” Size for the larger foot.
Warning: “If your boots are too big or too small, it doesn’t matter how diligent you are about breaking them in.”
Avoid Dangerous Break-In Hacks
Many online “shortcuts” damage boots or shorten their lifespan.
Never:
- Soak boots in water – Can ruin adhesives and waterproof membranes
- Use a hair dryer or oven – Melts glues, warps midsoles
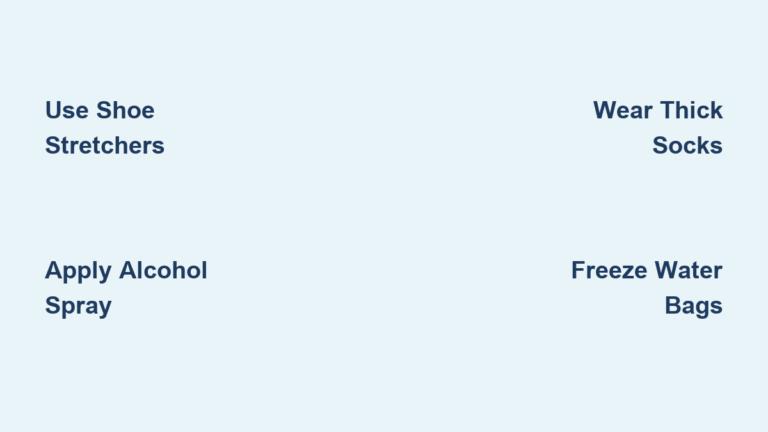
- Freeze with water-filled bags – Expands unevenly, risks delamination
- Beat them with a hammer – Destroys cushioning and structure
“These strategies usually don’t work and even when they do, they can damage your shoes.”
While lightly dampening leather boots (e.g., walking through dewy grass) helps soften them naturally, avoid soaking unless approved by the manufacturer.
One user shared: “I like to get them absolutely soaked… then walk for hours.” But this method risks voiding warranties—proceed with caution.
Fix Discomfort Early: Don’t Ignore Pain
Pain is a warning sign. Address issues before they escalate.
Common Problems & Solutions:
| Issue | Solution |
|---|---|
| Blisters or hot spots | Stop immediately. Apply moleskin or blister patch. Adjust socks or lacing. |
| Toes bruising downhill | Tighten heel lock. Ensure proper toe room. Consider shorter length if heel slips. |
| Heel slippage | Use heel lock lacing. Add heel grippers or wear thicker socks. |
| Pressure on instep | Use window lacing. Center the tongue properly. |
| One foot hurts, other doesn’t | Common with asymmetric feet. Size for the wider foot. Use thicker sock on smaller foot. |
“My right foot gets sore… left foot is fine.” — Original Poster
“Your right foot is probably wider—go wider or longer.” — TraumaHandshake
Stretch Boots the Right Way
If discomfort persists in specific areas, consider professional stretching.
Use a Shoe Stretcher at Home
Insert a two-way shoe stretcher into tight zones (like the toe box). Leave overnight. Use with stretching spray for better results.
Visit a Cobbler
A certified shoe repairer can stretch leather boots using heat and mechanical pressure—targeting exact problem areas.
“Take the boot to a shoe repairer who will stretch out the part hitting your toe.” — khrisrino
Also consider custom insoles or orthotics to improve support and alignment—wear them during every stage.
Break In by Boot Type: Tailor Your Approach

Not all boots break in the same way. Adjust your strategy based on material.
Full-Grain Leather Boots: Slow and Steady Wins
- Break-in time: 3 weeks to 6 months
- Strategy: Gradual wear only—no forced softening
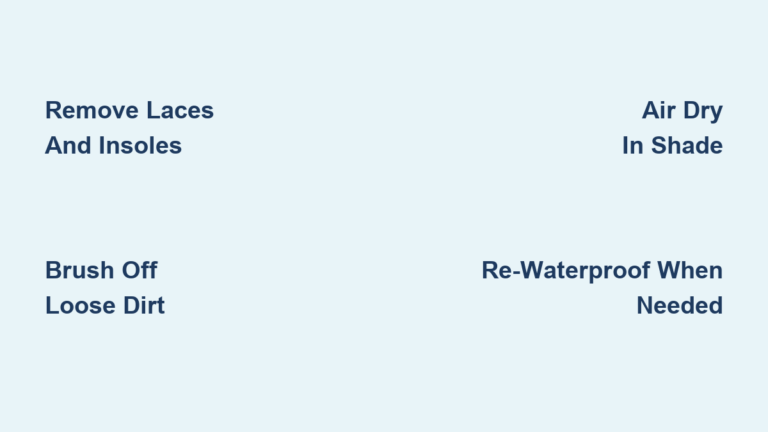
- After break-in: Condition with mink oil or leather conditioner
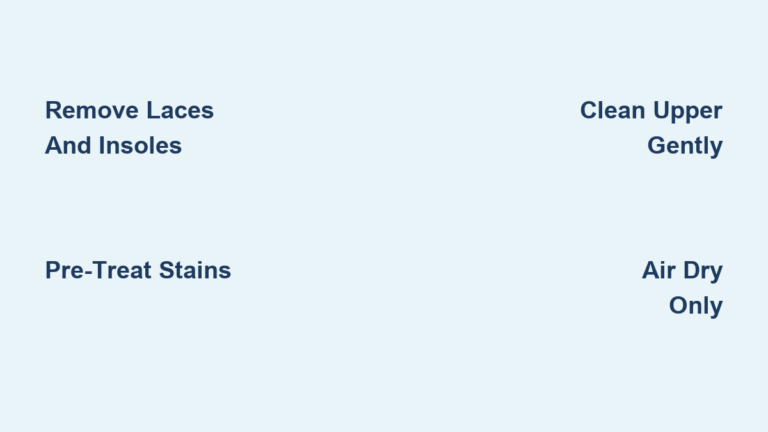
- Drying tip: Never dry near heat. “Where butter melts, leather burns.”
“Old school full leather boots take a long time… mine took 6 months to form.” — khrisrino
Synthetic Boots: Faster, But Still Need Care
- Break-in time: A few hours to 2 weeks
- Strategy: Still follow the three-phase method
- Note: Less molding than leather, but more consistent fit
“Newer hiking boots really don’t need breaking in.” — rexeditrex (Applies mainly to trail runners and light hikers)
Know How Long It Takes: Plan Ahead
Break-in duration depends on boot type and use frequency.
| Boot Type | Time Required | Notes |
|---|---|---|
| Lightweight hiking shoes | Few hours – 1 week | Ready quickly; minimal molding |
| Mid-weight hybrid boots | 1–2 weeks | Moderate stiffness; needs real walking |
| Heavy leather/mountaineering boots | 3 weeks – 6 months | Stiff shanks; molds slowly with wear |
Plan ahead: Start at least 2–3 weeks before your hike. For backpacking trips, allow 4+ weeks.
Keep Feet Healthy: Strong Feet Handle Break-In Better
Daily Foot Care Tips:
- Trim toenails short and straight – Prevents bruising and pressure
- Moisturize calluses – Dry, cracked skin tears easily
- Stretch calves and feet – Improves flexibility and reduces strain
- Air out feet during breaks – Reduces moisture and friction
“The healthier your skin is, the less prone it will be to blisters.”
Final Validation: Are Your Boots Trail-Ready?
Your hiking boots are fully broken in when:
– You’ve completed 3–5 moderate hikes with no new hot spots
– The sole flexes naturally with your stride
– Heel stays locked under load
– Comfortable on long, steep terrain
– No need for constant adjustments
If pain continues despite proper break-in:
– Re-evaluate fit
– Try different socks, insoles, or lacing
– Consult a podiatrist or footwear specialist
“If they’re bothering you that much, they’re not the right size.”
Summary: 10 Essential Steps to Break In Hiking Boots
- Start at home – Wear boots indoors with hiking socks
- Walk daily – 1–3 hours on hard floors and stairs
- Move outdoors – Test on pavement, grass, and inclines
- Add weight – Carry a light pack to simulate trail load
- Hit the trail – Do 3–5 test hikes matching your trip
- Wear correct socks – Merino wool or synthetic, never cotton
- Use liner socks – Reduce friction in high-risk zones
- Lace smartly – Apply heel lock and window lacing as needed
- Avoid shortcuts – No soaking, freezing, or heating
- Allow enough time – 1–4 weeks depending on boot type
Final Note: The best way to break in hiking boots is time, patience, and gradual use. There’s no substitute for real walking. Invest a few weeks now to avoid foot pain later—and enjoy every step of your adventure.
“Happy feet, happy trails.”