How to Repair Suede Boots: Quick Steps
Suede boots bring effortless style to any outfit, but their soft, napped surface is prone to scuffs, stains, water marks, and wear. Unlike smooth leather, suede boot repair requires specialized tools and gentle techniques to protect the delicate fibers while restoring color and texture. Whether you are battling flattened nap, oil stains, or a small tear, most damage can be reversed at home without paying for professional service. This guide covers every stage of suede boot repair, from daily brushing to patching holes, using proven methods and accessible products.
You will learn how to clean, revive, recolor, and patch your boots with confidence, extending their lifespan for many seasons. With the right approach, even well-worn pairs can look refreshed and feel comfortable again.
Essential Tools for Suede Boot Repair
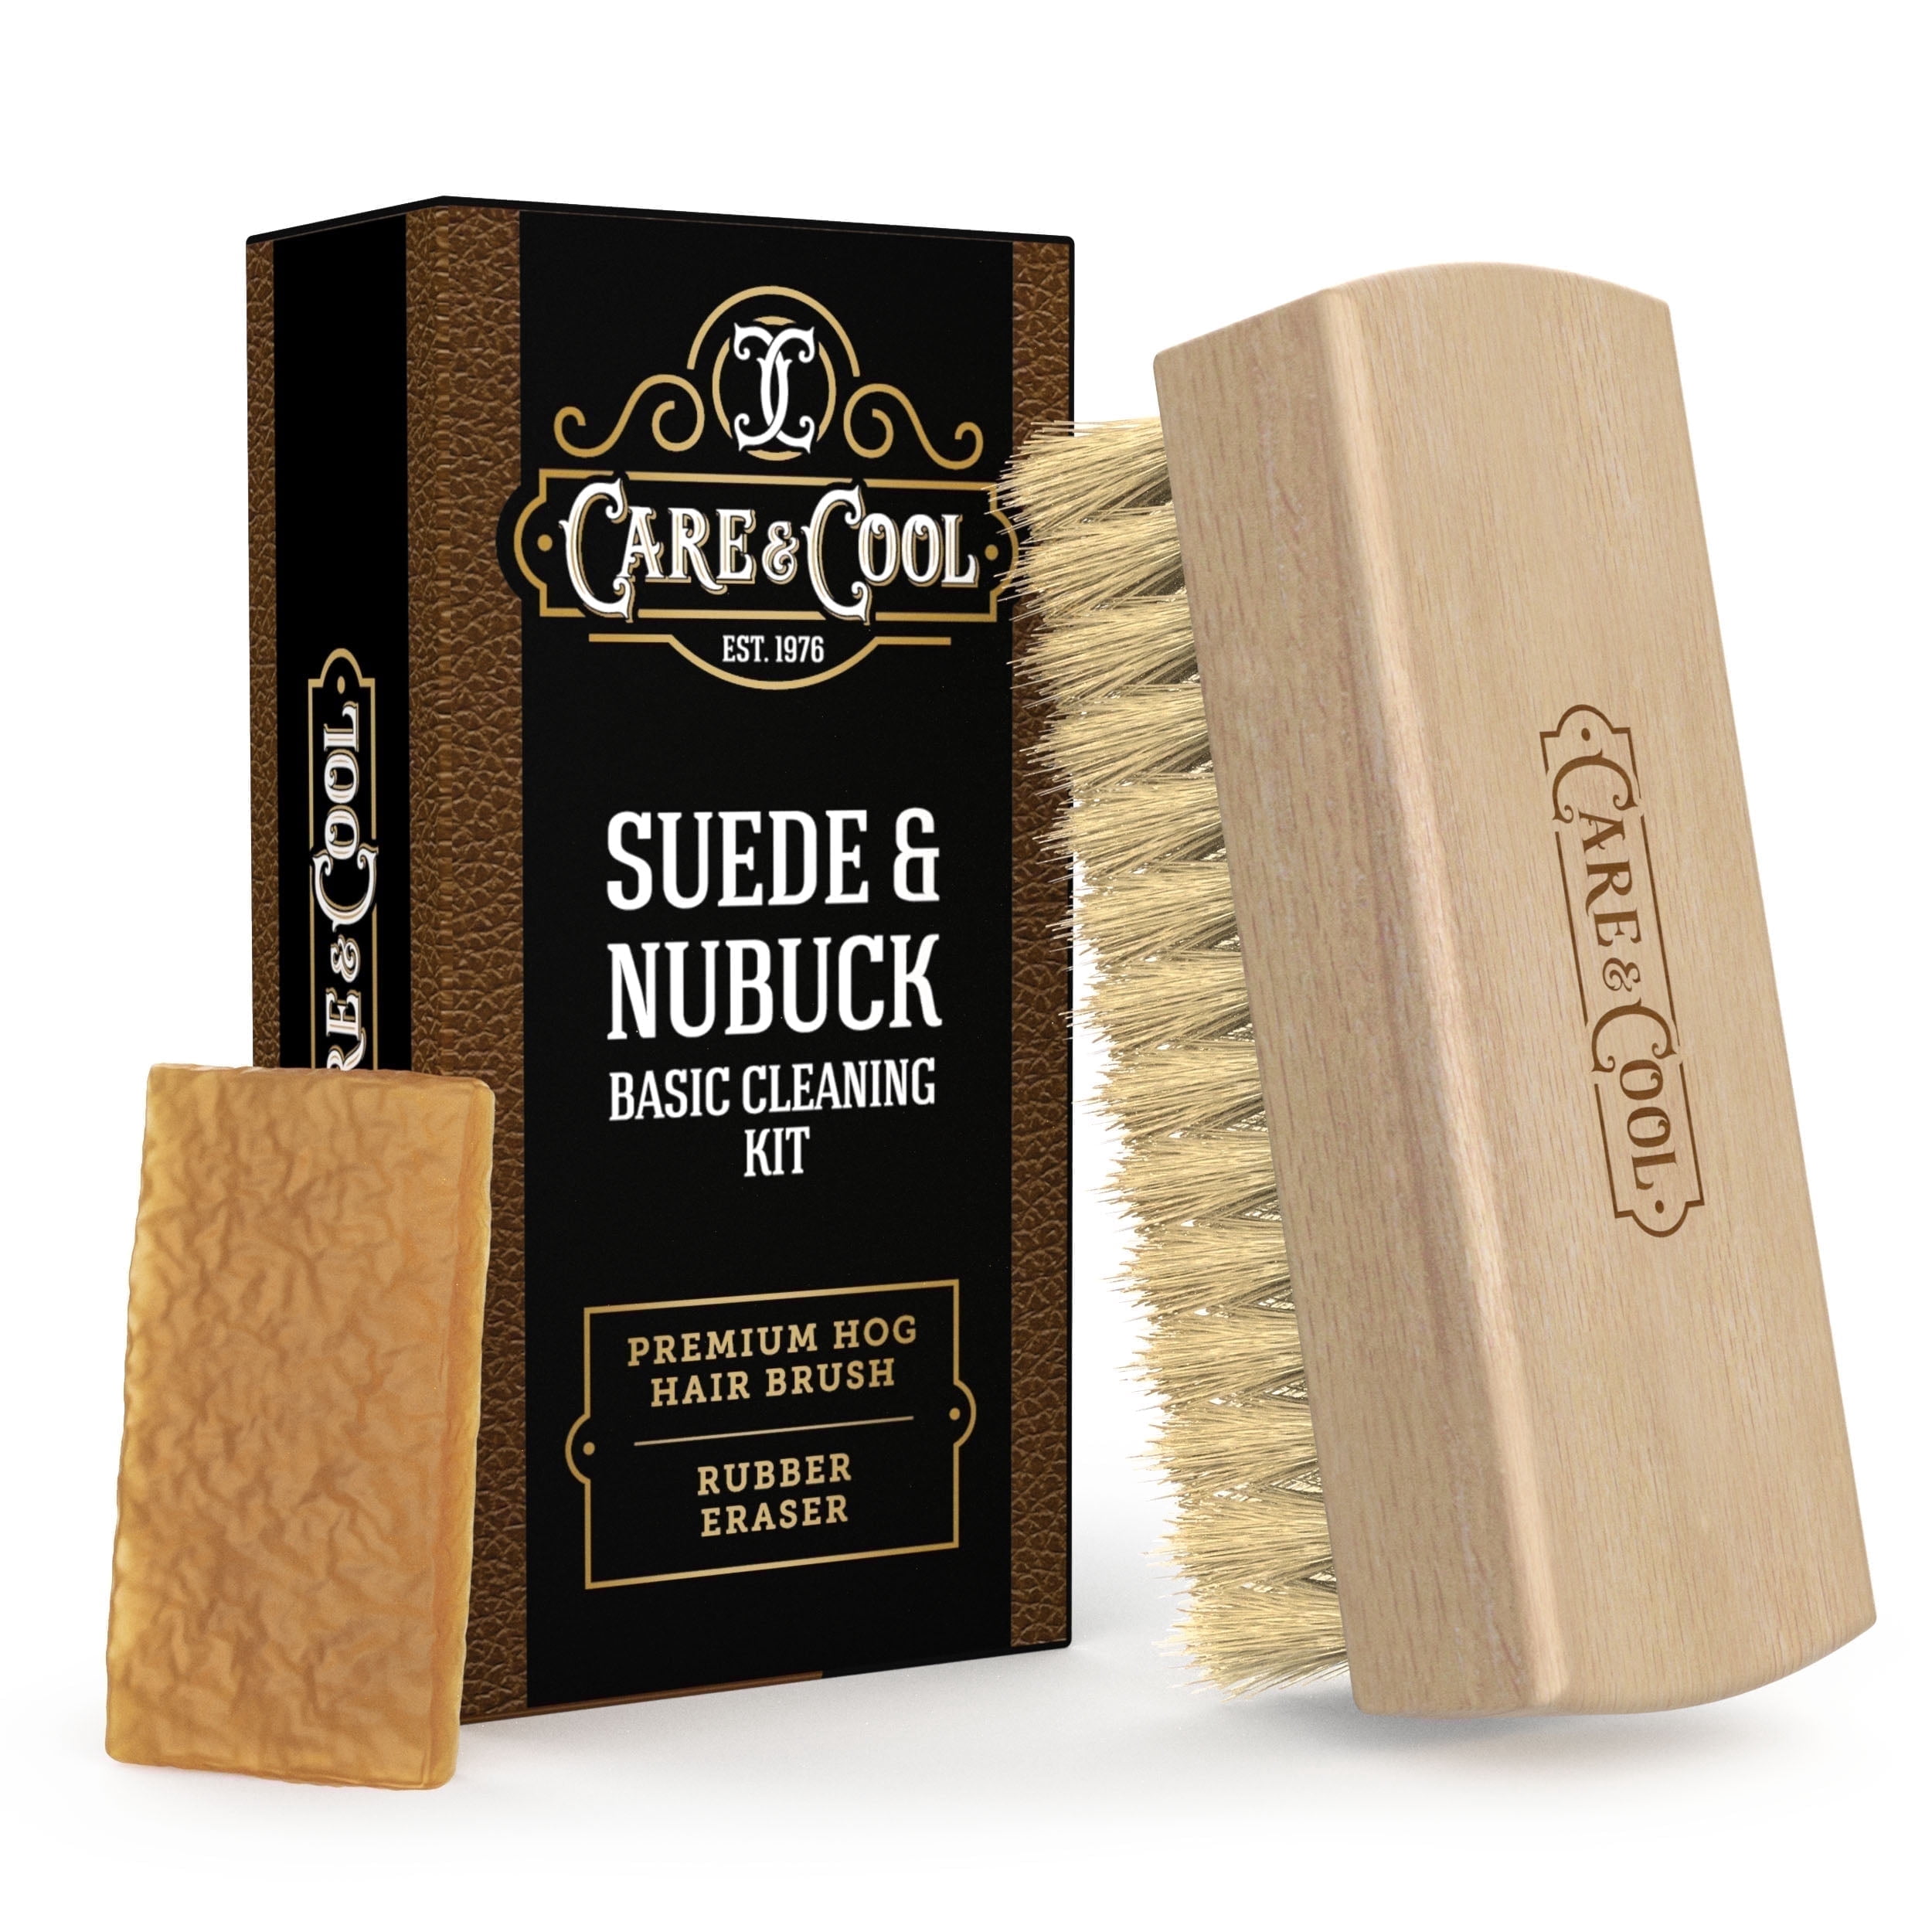
Choose the Right Brushes
Suede needs specific brushes to lift the nap without harming the fibers:
– Soft hog hair brushes remove surface dust and maintain texture after each wear.
– Rubber or crepe brushes restore the nap after cleaning or steaming.
– Metal brushes (brass or copper) tackle matted areas but should be used sparingly.
– Nylon brushes scrub stains gently without flattening the surface.
Never use a brush previously used on polished leather, as wax residue can permanently stain suede.
Stock Key Cleaning and Protection Products
Keep these core items on hand for complete suede boot repair:
– Suede erasers lift scuffs and surface marks.
– Foam or solvent cleaners such as Saphir Omni’Nettoyant remove deep dirt.
– Water and stain protectors create a barrier against rain, grease, and alcohol.
– Color restorers and dyes like Tarrago or Fiebing’s revive faded areas.
– Flexible contact adhesives such as Aleene’s Leather and Suede Glue repair tears safely.
Avoid superglue and hot glue, which dry rigid and crack with movement.
Gather Repair Patches and Subpatches
For holes or missing material, you will need:
– Self-adhesive suede patches like MASTAPLASTA or Shagoom for quick fixes.
– Vinyl subpatches to place behind tears for added durability.
– Matching suede patches to cover the damaged area after subpatching.
Always dye or spray the entire boot afterward to blend color differences.
Dry Clean Suede to Remove Surface Dirt
Brush Gently in One Direction
Start every suede boot repair session with dry cleaning:
1. Use a soft hog hair brush and stroke in one direction, following the grain.
2. Focus on high-wear zones like toes, heels, and sides.
3. Brush until the nap lifts and surface dust disappears.
Avoid aggressive scrubbing, which can mat the fibers.
Erase Scuffs and Spots
For visible marks:
1. Rub a suede eraser over scuffs using firm, circular motions.
2. Target light stains, heel rubs, or chalk marks.
3. Brush again to remove eraser crumbs and restore texture.
This method works best on surface-level damage and should be done monthly.
Deep Clean Suede Boots
Draw Out Oil and Grease Stains
Oil soaks into suede quickly but can be absorbed:
1. Sprinkle baking soda or cornstarch generously over the stain.
2. Let sit overnight to absorb the oil.
3. Scrape off the residue and brush with a rubber brush.
Repeat if needed before moving to solvent cleaning.
Apply Solvent Cleaner Safely
For stubborn dirt or water stains:
1. Apply Saphir Omni’Nettoyant diluted 1:3 with water using a nylon brush.
2. Work in small sections using circular motions.
3. Wipe the brush with water and go over the area to remove residue.
4. Let boots dry naturally for 24 hours away from heat.
After drying, steam and brush to revive the nap.
Restore the Suede Nap
Steam to Lift Flattened Fibers
Flattened or stiff suede regains texture with steam:
1. Hold boots over a boiling kettle or steamer for 15 to 30 seconds.
2. Keep moving to avoid water spots or burns.
3. Immediately brush with a rubber or crepe brush to lift the nap.
Steam opens the leather pores, helping fibers stand up naturally.
Trim Furry Areas with Flame (Advanced)
For severe “furry” or drawn-out nap:
1. Pass a lighter flame quickly over the area, never stopping in one spot.
2. Burn off excess fibers with constant motion.
3. Brush immediately to blend the texture.
Use extreme caution, as this method is high-risk and best for stubborn cases.
Re-Color Faded Suede

Match the Original Shade
Fading happens with sun exposure and wear:
– Choose a color restorer spray like Tarrago or Eagle that matches your boot.
– Test on a hidden area first to confirm the shade.
Apply Dye Evenly
For best results:
1. Clean boots thoroughly and let dry completely.
2. Spray from 8 to 10 inches away in a well-ventilated area.
3. Use light, even coats and avoid oversaturation.
4. Wait 10 minutes, then brush to blend.
For deep color loss, apply a second coat after 30 minutes.
Protect Repaired Suede
Apply Water-Resistant Spray
After cleaning or recoloring:
1. Ensure boots are completely dry and clean.
2. Spray Care and Cool Protector or Crockett and Jones Super Invulner evenly.
3. Hold 6 inches from the surface and cover all areas.
4. Let dry 12 to 24 hours before wearing.
Reapply every 3 to 4 weeks for regular wear.
Prevent Future Damage
Simple habits extend the life of your boots:
– Avoid wearing suede in rain or snow.
– Use shoe horns to prevent heel collapse.
– Insert wooden shoe trees to absorb moisture and maintain shape.
Repair Tears and Holes

Fix Small Tears with Glue
For minor splits:
1. Apply flexible contact adhesive to both sides of the tear.
2. Press edges together with no overlap.
3. Wipe excess glue with a paper towel.
4. Hold with fabric-safe tape for 24 hours.
Use Aleene’s or GleamGlee glue for best results.
Patch Large Holes Step by Step
For missing material:
1. Cut a vinyl subpatch slightly larger than the hole.
2. Insert it inside the boot and glue it in place.
3. Cut a suede patch to fit the hole.
4. Glue the patch over the subpatch, pressing firmly.
5. Let cure for 48 hours before handling.
Dye the patch or entire boot to match if needed.
Handle Water Damage
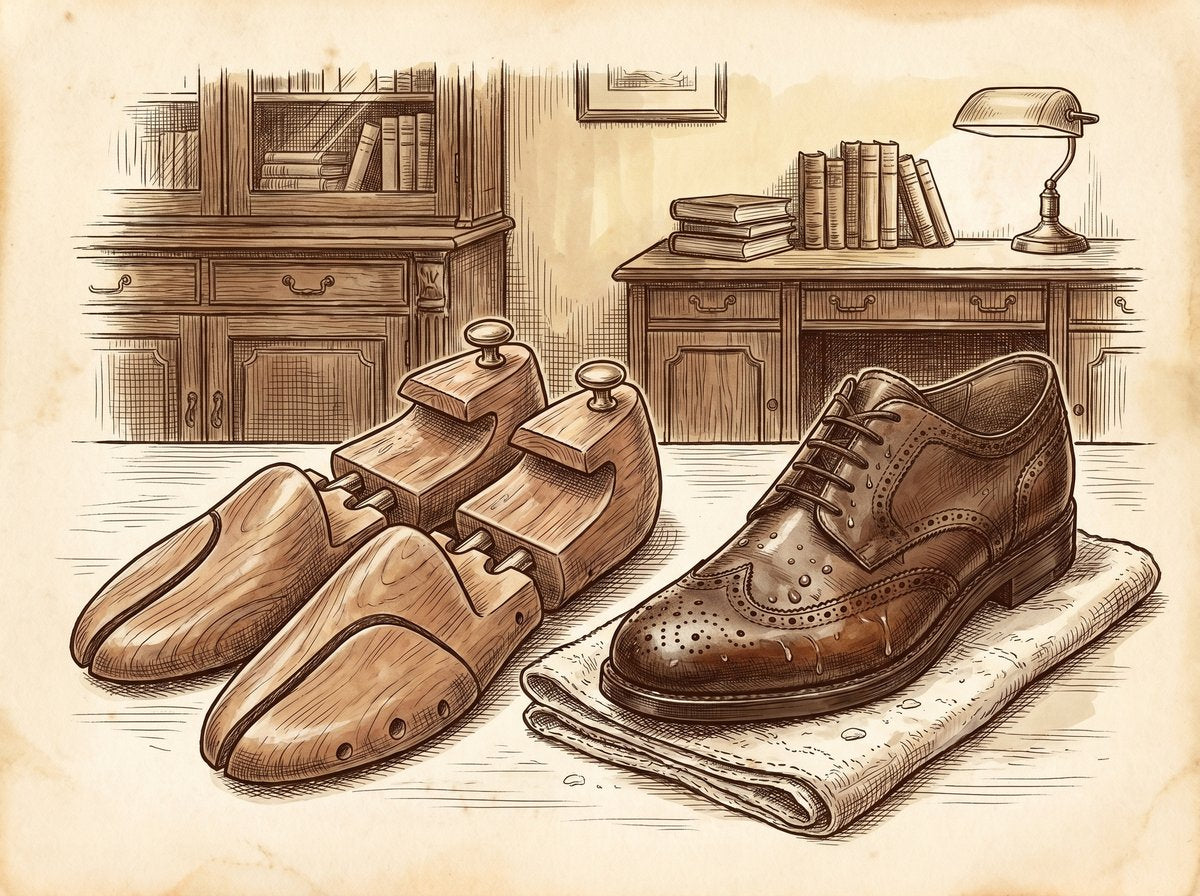
Dry Wet Suede Naturally
If boots get soaked:
– Remove insoles and stuff with paper towels.
– Let dry at room temperature away from radiators or dryers.
– Never use direct heat, which causes shrinking and stiffness.
Restore Texture After Drying
Once dry:
1. Brush with a rubber brush to loosen stiff fibers.
2. Use steam and brushing to fully restore softness.
Water-damaged suede often needs nap revival to look its best.
Prevent and Address Dye Transfer
Avoid Dark Sock Stains
Dye from linings or socks can bleed into suede:
– Wear light-colored, non-dyed socks.
– Check sock labels for colorfast claims.
Remove Dye Stains Safely
If transfer occurs:
– Try a metal brush or eraser for surface stains.
– For deep stains, spot cleaning may leave uneven texture.
– Best solution: Re-dye the entire boot for uniform color.
DIY cleaning often fails on deep dye transfer, so consider professional help for valuable boots.
Maintain Soles and Edges
Re-Wax the Sole Edge
Factory wax wears off over time:
1. Use a matching wax crayon in black, brown, or neutral.
2. Rub along raw edges of the sole or welt.
3. Buff lightly with a cloth.
This restores water resistance and polish.
Clean Rubber Soles
Use a sneaker cleaner and brush to remove scuffs:
– Bondtech or Crep Protect work well.
– Rinse and dry before reapplying suede protector.
When to DIY vs. See a Cobbler
DIY-Friendly Repairs
You can safely handle:
– Daily brushing and scuff removal
– Oil stain cleanup with baking soda
– Nap restoration with steam and brushing
– Minor tear fixes with flexible glue
– Color refresh using spray renovators
These tasks extend boot life with minimal risk.
Seek Professional Help
Visit a cobbler for:
– Deep cuts or large holes
– Extensive dye transfer affecting texture
– Structural damage to seams or soles
– Luxury or vintage boots where mistakes are costly
Professionals have industrial tools and dyes for seamless results.
Avoid Common Repair Mistakes
Never Use Heat to Dry
Avoid these heat sources:
– Hair dryers on high heat
– Radiators or space heaters
– Extended direct sunlight
Heat shrinks and warps suede permanently.
Do Not Soak the Boots
Suede is highly absorbent. Over-wetting causes:
– Stiffness after drying
– Permanent water rings
– Fiber damage
Use minimal liquid during cleaning.
Skip the Wrong Glue
Superglue and hot glue:
– Dry rigid
– Crack with movement
– Ruin leather flexibility
Always use flexible leather adhesive.
Best Suede Care Routine

After Every Wear
- Brush with a soft bristle brush
- Wipe off surface dirt
- Insert shoe trees to absorb moisture
Monthly Maintenance
- Inspect for scuffs and stains
- Use an eraser on marks
- Steam and brush if nap is flat
Every Few Weeks
- Reapply protective spray
- Check soles and heels for wear
Seasonal Deep Care
- Clean with Omni’Nettoyant or foam cleaner
- Re-dye if color has faded
- Store in a cool, dry place with shoe bags
Frequently Asked Questions About Suede Boot Repair
Can you repair suede boots that got wet?
Yes, you can repair suede boots that got wet by letting them dry naturally at room temperature for 24 hours. Stuff them with paper towels and remove the insoles to speed drying. Once dry, use a rubber brush and steam to restore the nap and softness.
What glue works best for suede boot repair?
Flexible contact adhesives like Aleene’s Leather and Suede Glue or GleamGlee Shoe Glue work best for suede boot repair. These glues remain flexible after curing, allowing the leather to move with your foot without cracking. Avoid superglue, which dries rigid and causes re-tearing.
How do you fix scuffed suede boots?
To fix scuffed suede boots, rub a suede eraser over the marks using firm, circular motions, then brush the area with a soft hog hair brush. For deeper scuffs, apply steam for 15 to 30 seconds before brushing to lift the nap and blend the texture.
Is it worth repairing suede boots?
Yes, it is worth repairing suede boots because most damage like scuffs, stains, flattened nap, and small tears can be reversed at home for under $30 in products. Professional cobbler services typically cost $20 to $60 and can extend the life of quality boots by several years.
Can you use regular leather conditioner on suede?
No, you should not use regular leather conditioner on suede because the oils and waxes can permanently stain the napped surface and clog the pores. Use products specifically formulated for suede and nubuck, such as Care and Cool Conditioner or suede-specific renovators.
How often should you apply suede protector spray?
You should apply suede protector spray every 3 to 4 weeks for regular wear, or after any heavy exposure to rain or snow. Always apply to clean, dry boots and allow 12 to 24 hours of drying time before wearing.
Key Takeaways for Successful Suede Boot Repair
Suede boot repair is a manageable skill that saves money and preserves your favorite footwear when you use the right tools and techniques. Focus on gentle cleaning methods, proper air drying, and regular protection to keep boots looking fresh season after season. Address damage early because minor scuffs are far easier to fix than deep stains or structural tears. By following the protocols in this guide, you will restore texture, color, and confidence to your suede boots without costly professional services. Start with a basic care kit including a hog hair brush, suede eraser, and protector spray, then expand your collection as needed for deeper restoration projects.