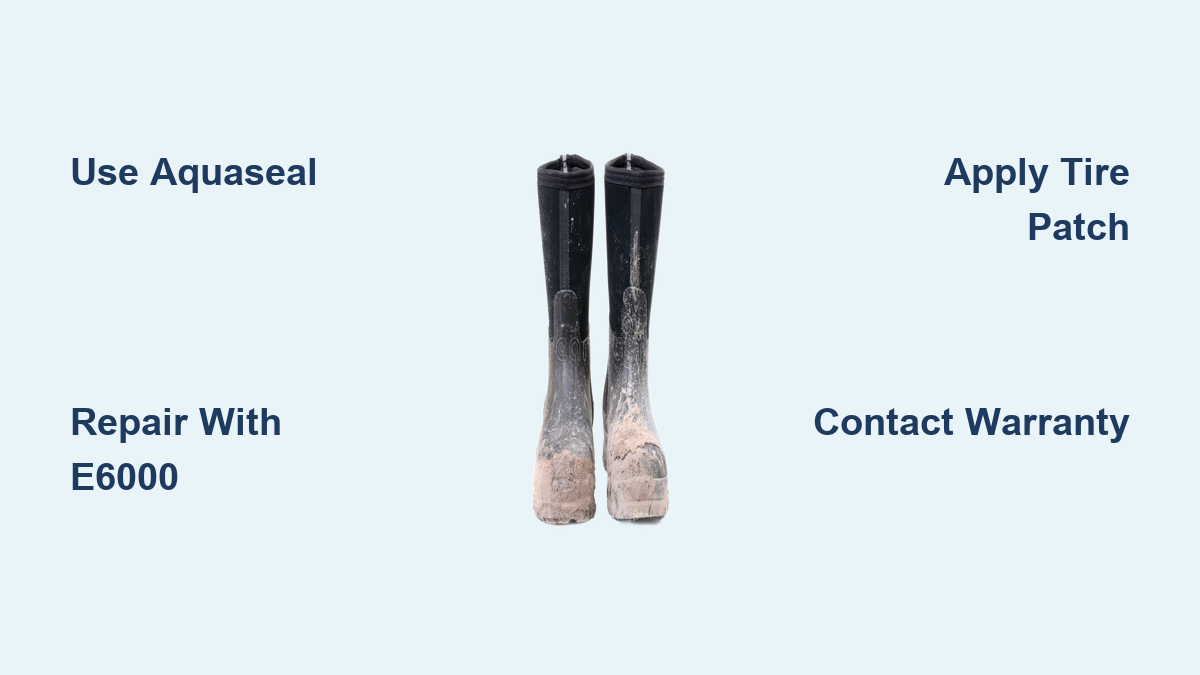
How to Repair Muck Boots: Quick Steps
Few things are more frustrating than stepping into a puddle and feeling cold water seep through your favorite pair of Muck boots. Whether you’re working on a farm, hunting in the backcountry, or tending a garden, a leaky boot can ruin your day. The rubber lower and neoprene upper that make these boots so reliable can still fall victim to barbed wire, sharp rocks, and years of hard use.
This guide covers every proven muck boot repair method, from quick field fixes with Aquaseal to long-lasting sole restoration with E6000. You’ll learn which adhesives actually hold up, which ones fail within weeks, and when it’s smarter to contact the manufacturer for a free replacement.
Why Aquaseal Is the Gold Standard for Muck Boot Repair

The Chemistry That Makes It Work
Aquaseal outperforms every other adhesive because it cures flexible rather than rigid. Boots bend and flex with every step, and any glue that hardens completely will eventually crack under that stress. Aquaseal moves with the boot while maintaining a watertight seal.
Users have reported repairs lasting over 30 years when applied correctly. It bonds strongly to both neoprene and rubber, making it ideal for the two primary materials in Muck boots.
Original vs. Quick Dry Formula
Two versions exist on the market. The Original formula offers maximum durability with an 8–12 hour cure time. The Quick Dry version sets faster but sacrifices some long-term resilience. For permanent muck boot repair, always choose the Original.
Pro Tip: Store unused Aquaseal in the freezer. This can extend shelf life to a decade or more, saving you money on future repairs.
Step-by-Step Aquaseal Application

Surface Preparation Matters Most
- Clean the area with isopropyl alcohol using a cotton swab or cloth. This removes oils and dirt that prevent adhesion.
- Skip sanding on neoprene. Only roughen smooth rubber surfaces lightly with fine-grit sandpaper if needed.
- Apply duct tape as backing for severe tears to hold edges together during curing.
Applying the Sealant
- Use an old toothbrush to work Aquaseal deep into cuts, holes, or punctures.
- Spread a thin layer over a 1-inch radius around the damage to create a seamless seal.
- Smooth the edges to prevent peeling.
Curing Without Mistakes
Allow 8–12 hours before wearing the boots. Avoid submerging or stressing the repair during this window. Once cured, the patch flexes naturally with the boot without cracking.
Silicone and Specialty Sealants Worth Considering
100% Silicone for Non-Flex Zones
HVAC-grade black or brown silicone works well for static areas like heels or midsoles. It remains flexible after drying and adheres to clean rubber.
Application:
– Clean with alcohol first
– Force silicone into the puncture or crack
– Smooth outward in a 1-inch circle
– Cure for 24 hours
Avoid using standard silicone on high-flex zones like the toe crease, where it tends to fail.
3M 5200 Marine Adhesive: Handle With Care
3M 5200 creates a tough bond but cracks within weeks on flex points. One user found it worked for static repairs but failed on the side of the big toe. Reserve this for non-moving areas only.
Automotive Windshield Caulk
This urethane-based sealant forms a durable, flexible repair that some users report outlasting the boot itself. The trade-off is a 48+ hour cure time and messier application.
Patch-Based Fixes for Instant and Long-Term Repairs
Peel-and-Stick Patches for Quick Field Repairs
Industrial-strength patches made of stretchy Lycra or rubberized fabric offer immediate relief. These black patches measure roughly 3.75″ x 2.9″ and adhere firmly to clean, dry surfaces.
- Sets in 1 minute with no drying time
- Lasts up to 2 years under regular wear
- Best for flat zones, not deep creases
Radial Tire Patches: The Toughest DIY Option
Tire patches are significantly tougher than any liquid glue and can outlive the boot itself. Designed for high-pressure environments, they bond permanently when applied correctly.
Steps:
1. Roughen the surface with sandpaper
2. Clean with alcohol
3. Apply vulcanizing cement
4. Heat briefly with a lighter and press the patch on
Test adhesion first on synthetic uppers, as some materials resist the bond.
Duct Tape as Temporary Support Only
Never rely on duct tape alone for a permanent fix. Instead, use it as a backing during sealant curing. Place it behind a tear to hold edges together while Aquaseal dries, then remove after 12 hours.
Repairing Specific Damage Types
Fixing Small Holes and Punctures
Barbed wire, thorns, and sharp rocks cause most small holes. Here’s how to seal them permanently:
- Clean thoroughly with isopropyl alcohol
- Choose your method:
– Aquaseal: Work into the hole with a toothbrush, smooth 1 inch outward
– Tire patch: Best for sole punctures, requires prep and heat
– Silicone: Good for non-flex areas, let dry 24 hours - Reinforce larger holes by placing fiberglass drywall tape over the damage, then sealing with Shoe Goo or Aquaseal
- Wait to wear: Cure times range from 8 hours (Aquaseal) to 24 hours (Goop)
Pro Tip: Carry a mini Aquaseal tube and alcohol wipe in your pack for emergency field repairs.
Sealing Tears and Cuts in the Shaft
Tears in the neoprene shaft require careful alignment and deep adhesive penetration.
Step-by-step:
1. Pull edges together
2. Apply duct tape behind the tear as backing
3. Use a toothbrush to work Aquaseal deep into the cut
4. Feather the edges smoothly to prevent peeling
5. Cure for 12 hours minimum
Avoid walking on the boot until fully set. Once cured, the repair should flex naturally without cracking.
Fixing Sole Separation and Cracks
Sole separation, especially behind the toes, is one of the most common failure points. Standard sole kits often fail within 6 weeks because the original sole is too thick for the repair material to bond properly.
For lasting results:
1. Clean both surfaces with alcohol
2. Apply E6000 or Shoe Goo for superior bonding strength
3. Cut an oval piece of rubber gasket material (no sharp corners to catch)
4. Glue the oval over the crack using E6000
5. Clamp or weight the area during curing
6. Allow 24–72 hours for full strength
This method has produced repairs lasting 12+ years in real-world conditions.
When to Skip DIY and Contact the Manufacturer
Muck Boot’s Surprisingly Generous Warranty
Before attempting any fix, contact Muck Boot customer service. Their warranty policy is remarkably generous, even for boots over 10 years old.
The process:
1. Email customer support
2. Receive a damage form
3. Submit photos from multiple angles
4. No receipt? No problem. Many users receive free replacements anyway
One verified case involved a user with decade-old boots who received a brand-new pair after sole separation, despite having no proof of purchase.
Don’t throw old boots away. You might qualify for a free or discounted replacement.
Professional Resoling
If the sole is worn but the upper remains intact, professional resoling costs around $60 and can add 1+ year of life. Specialty shoe repair shops use industrial adhesives and presses that outperform consumer kits.
Compare the cost to new boots. If resoling is under half the price of replacement, it’s usually worth it.
Preventing Future Damage
Rinse After Every Use
Chemicals in manure, fertilizers, road salt, and de-icers degrade rubber and neoprene over time. Always rinse boots immediately after exposure using clean water and mild soap. Avoid high-pressure hoses that can force water into seams.
Dry Liners Completely
Moisture trapped inside causes odor, mold, and material breakdown.
After every wear:
– Remove the sock liner
– Dry it separately using a boot dryer like PEET
– Air-dry the boot in a well-ventilated area, never near direct heat
Choose More Durable Models
Not all Muck boots offer equal longevity. For longer life:
- Pick Spandura uppers for better abrasion resistance
- Choose a snugger calf fit to reduce flex stress and water entry
- For extreme jobs like pipeline or construction work, consider boots with replaceable soles from the start
Know the Weak Spots Before They Fail
High-Flex Zones Fail First
The area behind the big toe and the side crease endure constant bending. Most adhesives eventually fail here.
Solutions that work:
– Aquaseal (best overall)
– Tire patches
– E6000 combined with an oval rubber patch
Avoid Shoe Goo or 3M 5200 in these zones. They crack within weeks.
Seams Are Leak-Prone
The bond between the rubber sole and upper is a common leak site. Prevent failure by avoiding prolonged submersion, cleaning seam lines regularly, and applying a preventive bead of Aquaseal along weak seams.
Sharp Objects Are the Main Threat
Despite their toughness, Muck boots aren’t puncture-proof. Barbed wire, rebar, and thorns are the leading causes of damage. Stay mindful in high-risk terrain.
Repair Product Comparison

| Product | Best For | Flexibility | Cure Time | Longevity |
|---|---|---|---|---|
| Aquaseal | Tears, holes, seams | High | 8–12 hrs | ★★★★★ |
| 100% Silicone | Static holes | High | 24 hrs | ★★★★☆ |
| Shoe Goo | Small holes, sole gaps | Medium | 24+ hrs | ★★★☆☆ |
| E6000 | Cracks, structural repair | High | 24–72 hrs | ★★★★★ |
| Tire Patch | Punctures on compatible surfaces | Medium | Instant bond | ★★★★★ |
| Peel-and-Stick | Quick fixes | High | 1 min | ★★★☆☆ |
| 3M 5200 | Non-flex repairs | Medium | 24+ hrs | ★★☆☆☆ |
Bottom Line: Use Aquaseal for most repairs, E6000 with a rubber patch for cracks, and contact Muck Boot Company before discarding old pairs.
Frequently Asked Questions About Muck Boot Repair
What is the best glue for muck boot repair?
Aquaseal is the top recommendation across user reports and manufacturer guidelines. It cures flexible, bonds to both neoprene and rubber, and repairs have lasted over 30 years when applied correctly. Use the Original formula for maximum durability.
Can you repair a sole that has separated from the upper?
Yes. Clean both surfaces with isopropyl alcohol, apply E6000 or Shoe Goo, and reinforce with an oval rubber gasket patch. This method has produced repairs lasting 12+ years. Standard sole kits often fail within 6 weeks on Muck boots, so avoid those.
Does Muck Boot Company replace boots under warranty?
Muck Boot Company has a generous warranty policy. In documented cases, boots over 10 years old were replaced for free. Contact customer service, submit photos of the damage from multiple angles, and you may qualify even without a receipt.
How long does Aquaseal take to dry on boots?
Aquaseal requires 8–12 hours to fully cure. Avoid submerging or stressing the repair during this time. Once dry, the patch flexes naturally with the boot.
Are tire patches better than glue for boot repair?
Radial tire patches are significantly tougher than liquid adhesives and can outlast the boot itself. They work best on materials that accept the adhesive bond. Roughen the surface, clean with alcohol, apply vulcanizing cement, and heat briefly before pressing the patch on.
How can I prevent my Muck boots from leaking?
Rinse off chemicals like manure, fertilizers, and road salt after every use. Remove and dry the sock liner separately using a boot dryer. Apply a preventive bead of Aquaseal along weak seams, and choose models with Spandura uppers for better durability.
Key Takeaways for Successful Muck Boot Repair
Muck boot repair doesn’t have to mean temporary fixes or wasted money. With Aquaseal, you can patch tears and holes that last for decades. For sole separation, E6000 combined with a rubber gasket patch delivers unmatched durability. Before spending $100 on new boots, contact Muck Boot Company. You might get a free replacement, even without a receipt.
Pair smart repairs with daily rinsing, liner drying, and proper storage, and your boots can last 5+ years even under heavy use. Don’t replace. Repair, maintain, and maximize your investment.