How to Treat Leather Hiking Boots
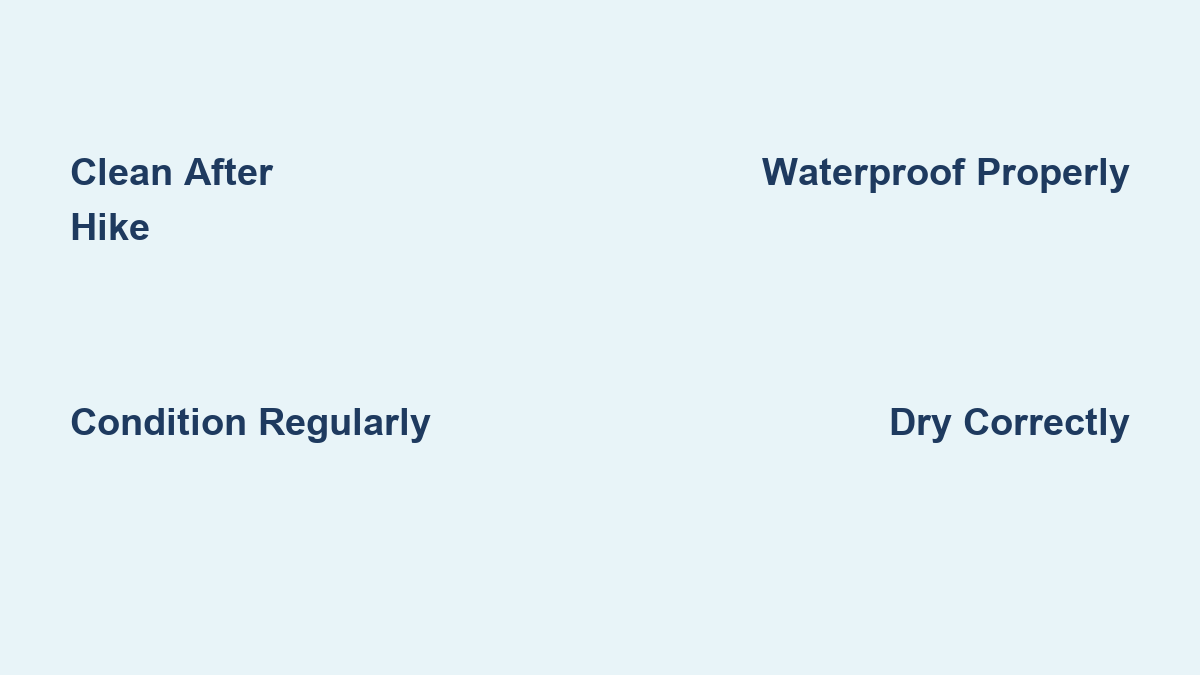
Leather hiking boots are built to last—but only if you treat them right. Without proper care, even the toughest full-grain leather will dry out, crack, and lose its water resistance. The key to long-lasting performance lies in a simple three-step ritual: clean, condition, and waterproof. Follow this sequence consistently, and your boots will stay supple, dry, and comfortable for years—no matter how rough the trail. Whether you’re prepping for a backcountry trek or storing boots after a muddy weekend, this guide delivers step-by-step instructions, pro tips, and product picks to keep your leather hiking boots in top condition.
Clean Boots After Every Hike
Remove Laces and Insoles First
Before cleaning, take out the laces and footbeds. This lets you access hidden grime around eyelets and inside seams. It also prevents odor buildup and allows the interior to dry fully. Fabric insoles can be hand-washed in lukewarm water with mild detergent. For leather insoles, use only a damp sponge—never soak them.
Brush Off Surface Dirt
Stomp boots outside to dislodge loose mud. Then use a medium-stiff brush—like horsehair or soft nylon—to scrub the upper, seams, grommets, and outsole lugs. Avoid wire brushes; they scratch leather. Focus on high-dirt zones: the tongue, rand (rubber toe guard), and stitching lines. This dry brushing removes 80% of debris and prevents grit from scratching the surface during wet cleaning.
Deep Clean With Leather-Safe Cleaner
For stubborn mud or salt stains, rinse boots under running water—never soak. Apply a leather-specific cleaner like Nikwax Footwear Cleaning Gel, ReviveX Boot Cleaner, or Obenauf’s Clean It Spray. Use a sponge or soft brush, working in small circles. Pay extra attention to crevices where dirt accumulates.
Warning: Avoid dish soap unless diluted (one drop per half-gallon of water). Harsh detergents strip natural oils and degrade factory waterproofing.
Wipe off residue with a clean, damp cloth. Repeat if needed, especially after saltwater exposure.
Wipe Down the Interior
Clean the inside with a damp sponge—never a brush. This removes sweat and salt that break down lining. For odor control, use a shoe hygiene spray after cleaning. Let boots dry completely before moving to conditioning.
Dry Boots the Right Way
Air Dry in a Well-Ventilated Area
Never use radiators, hairdryers, or direct sunlight. Heat dries out leather fibers and weakens adhesives. Instead, place boots in a cool, shaded, airy space. Keep them away from heaters, attics, and south-facing windows.
Stuff With Paper or Boot Trees
Fill boots with paper towels or acid-free paper to absorb moisture and maintain shape. Change the paper every few hours for faster drying. Pull the tongues wide open to improve airflow inside. Drying takes 12 to 48 hours, depending on humidity and how wet they are.
Pro Tip: If boots are soaked, add rice or silica gel packets inside—but only after initial drying. These help pull out residual moisture.
Condition Leather Regularly
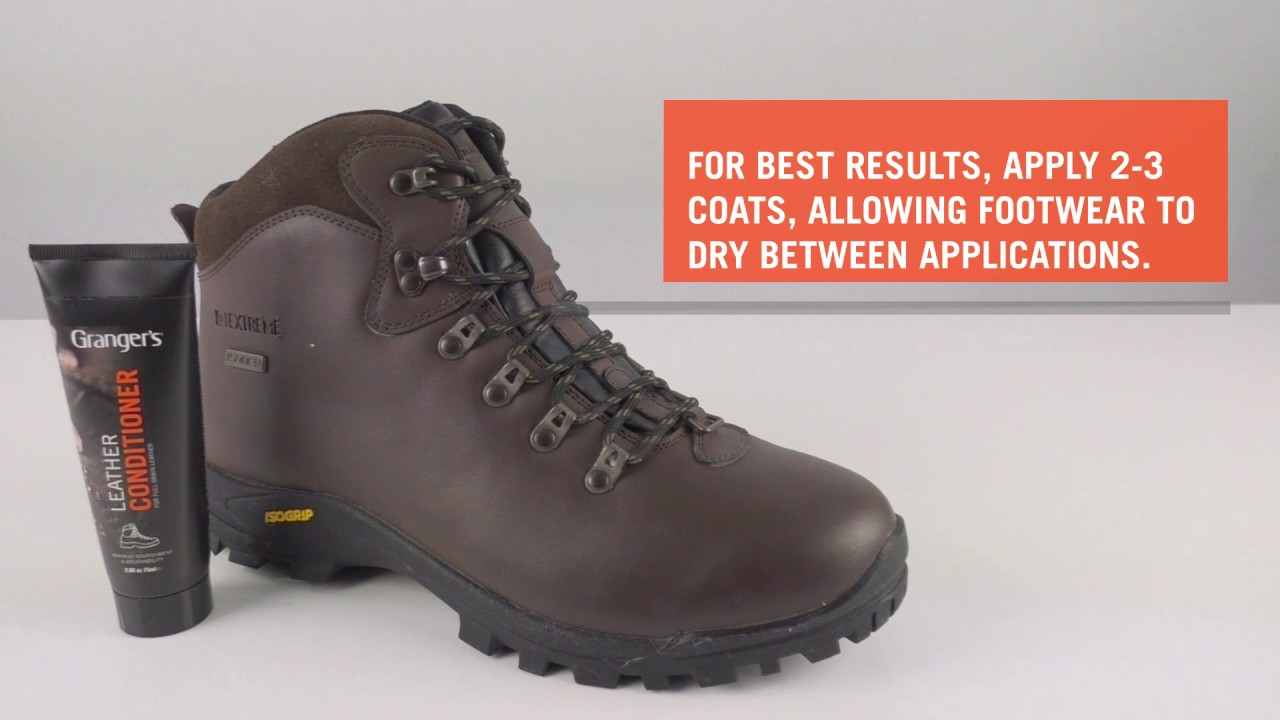
Why Conditioning Matters
Leather loses natural oils through use and cleaning. Without conditioning, it becomes stiff, cracks at stress points (like eyelets), and loses water resistance. Conditioning restores suppleness and extends boot life. Even new boots need conditioning—they often dry out in storage before purchase.
Choose the Right Conditioner
- Obenauf’s Heavy Duty LP: Beeswax and propolis formula. Conditions and waterproofs. Ideal for full-grain leather. Darkens material slightly—use as a visual reapplication cue.
- Schnee Leather Conditioner: Thick, long-lasting. Best for heavy-duty pack boots.
- Danner Boot Dressing: Paste form. Adds a light sheen and revives appearance.
- Mendal Proofing Agent: Liquid. Preps hybrid boots for wax treatment.
Avoid petroleum-based products—they can degrade leather over time.
Apply Conditioner Correctly
- Ensure boots are completely dry.
- Apply product to a clean cloth, not directly to leather.
- Rub in using small circular motions.
- Use an old toothbrush for seams and tight spots.
- Let absorb for 5–24 hours (check product label).
- Wipe off excess with a dry cloth.
Frequency: Condition every 2–4 hikes, after cleaning, or when leather looks pale and dry.
Waterproof for Wet Conditions
Wax-Based Treatments (Best for Full-Grain Leather)
Wax deeply penetrates leather and lasts longer than sprays. Ideal for boots without breathable membranes.
- Sno-Seal: Beeswax-based. Trusted in snow and slush. Apply in thin layers until leather stops absorbing. Lasts one season with regular use.
- Obenauf’s Heavy Duty LP: Doubles as conditioner and waterproofer. Used by wildland firefighters. Darkens leather significantly.
- Mendal Sport Wax: Durable, abrasion-resistant. Smooth application.
Pro Tip: Warm leather slightly with a low-heat hair dryer before applying wax. This opens pores and improves absorption.
Liquid Wax (Safe for Gore-Tex)
Avoid solid beeswax on boots with breathable linings—it can clog the membrane. Use:
- Nikwax Waterproofing Wax for Leather (Liquid): Water-based, breathable, fast-absorbing. Apply with sponge, wipe off excess, wait 24 hours.
Silicone Sprays (For Hybrid or Mixed Materials)
Sprays cover large areas quickly and work on leather-fabric combos.
- Obenauf’s Water Shield: Silicone spray. Breathable, residue-free. Protects boots, gloves, and gear.
- Nikwax Fabric and Leather Proof (Spray): Ideal for hybrid boots. Spray from 30 cm away, let cure 24 hours.
Never use silicone spray alone—always condition first. It adds no moisture.
Apply Waterproofing Step-by-Step
- Warm leather slightly (low heat, keep moving).
- Apply with clean cloth or brush.
- Work into:
– Seams
– Stitching
– Eyelets
– Rand and sole edges - Apply thin layers—let each absorb before adding more.
- Cure for 24 hours.
- Wipe off excess.
- Buff with a horsehair brush for shine (optional).
Reapply when:
– Water no longer beads on the surface
– Leather starts to lighten (with Obenauf’s)
– After every 2–3 wet hikes
– Before long-term storage
Match Treatment to Boot Type

Full-Grain Leather Boots
- Examples: Red Wing, Schnee, Danner
- Cleaning: Use leather-specific cleaners. No soaking.
- Conditioning: Heavy-duty products like Obenauf’s or Schnee Conditioner.
- Waterproofing: Wax-based (Sno-Seal, Obenauf’s LP).
These boots handle thick treatments and benefit from deep waxing.
Hybrid Boots (Leather + Fabric)
- Examples: Merrell Moab, Salomon Quest
- Cleaning: Clean fabric with mild soap, leather with leather cleaner.
- Conditioning: Apply only to leather parts.
- Waterproofing: Use Nikwax Fabric and Leather Proof (Spray) for even coverage.
Avoid wax on fabric—it can stiffen or discolor synthetic panels.
Gore-Tex Lined Boots
- Cleaning: Use non-oily cleaners. Avoid getting oil inside.
- Conditioning: Treat only the exterior leather.
- Waterproofing: Use liquid wax or silicone spray—never solid beeswax.
Beeswax can clog the breathable membrane, reducing performance.
Smooth Leather (Non-Textured)
- Cleaning: Safe for most cleaners.
- Conditioning: Regular conditioning prevents fine cracks.
- Waterproofing: Wax or spray—choose based on use.
These boots show water beading clearly, making reapplication easy to monitor.
Store Boots Properly
Prep for Storage
Before storing (especially long-term):
1. Clean thoroughly
2. Dry completely
3. Condition
4. Apply waterproofing
For storage over six months, apply a thicker coat of conditioner. Wax may not be needed if stored in ideal conditions.
Ideal Storage Environment
- Temperature: 15–21°C (59–70°F)
- Humidity: 40–50%
- Location: Avoid attics (heat), basements (damp), and direct sun (UV damage)
Never store near heaters or in plastic bags—trapped moisture causes mold.
Use Breathable Storage Bags
Store boots in cotton or mesh bags, not plastic. Stuff with acid-free paper or boot trees to:
– Maintain shape
– Prevent creasing
– Absorb residual moisture
Do not stack heavy items on stored boots—compression damages structure.
Check During Storage
Inspect every 2–3 months for:
– Mold or mildew
– Stiffness
– Pest damage (e.g., silverfish)
– Odor
Recondition if leather feels dry.
Best Products for Leather Boot Care

| Product | Type | Best For | Key Benefit |
|---|---|---|---|
| Obenauf’s Heavy Duty LP | Wax/Conditioner | Full-grain, extreme use | Long-lasting, dual-action |
| Sno-Seal | Beeswax | Winter, snow | Season-long protection |
| Nikwax Liquid Wax | Liquid wax | Gore-Tex boots | Breathable, safe for membranes |
| Obenauf’s Water Shield | Silicone spray | All materials | Residue-free, multi-use |
| ReviveX Boot Cleaner | Cleaner | General use | Eco-friendly, concentrated |
| Leather Honey Cleaner | Cleaner | Deep clean | Plant-based, strong lather |
| Schnee Conditioner | Conditioner | Heavy-duty boots | Thick, long-lasting |
| Nikwax Fabric and Leather Proof | Spray | Hybrid boots | Even coverage, breathable |
Avoid Grangers Waterproofing Wax—users report poor durability.
Real-World Tips From Experienced Hikers
Warm Boots Before Waxing
Some hikers place boots in an oven at 60°C (140°F) for 5–10 minutes to open pores before waxing. Use extreme caution—overheating melts glue and warps leather. A hair dryer on low heat is safer and just as effective.
Use the Right Tools
- Old toothbrush: Perfect for seams and stitching.
- Horsehair brush: Distributes wax evenly and buffs finish.
- Clean microfiber cloths: Prevent lint and streaks.
Don’t Worry About Stickiness
Thick waxes like Sno-Seal may feel tacky and attract pine needles or dirt. This is normal. Wipe off excess with a dry cloth—it won’t reduce protection.
Creases Around Eyelets Are Normal
Flexing causes natural creasing. As long as leather is conditioned, this isn’t a durability issue.
Wash Laces Separately
Toss laces in the washing machine or dishwasher (top rack). Air dry before re-lacing.
How Often to Maintain Your Boots
| Task | Frequency |
|---|---|
| Brush off dirt | After every hike |
| Clean exterior | After muddy or wet hikes |
| Clean interior | Every 3–5 hikes or when smelly |
| Condition | Every 2–4 hikes or after cleaning |
| Waterproof | Every 2–3 wet hikes |
| Full care cycle | Before long trips or storage |
Pro Tip: Set a reminder after every 3 hikes to assess condition and re-treat if needed.
Final Note: Treating leather hiking boots isn’t optional—it’s essential. Clean first, condition second, waterproof third. Match products to your boot type. Store with care. Do this consistently, and your boots will reward you with decades of reliable service. Invest an hour every few weeks, and you’ll avoid costly replacements and uncomfortable hikes. As the saying goes: Love your leather. It will love you back.