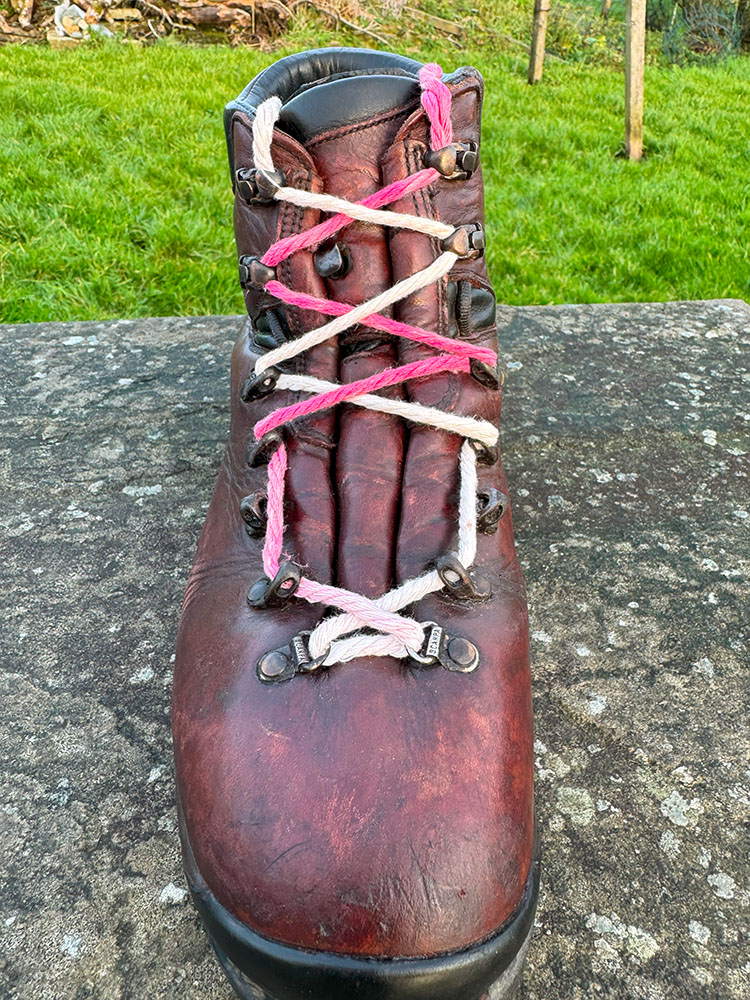
How to Tie Hiking Boots with Hooks: Quick Guide
If your heels slip with every downhill step or your instep feels like it’s in a vice after an hour on the trail, the problem might not be your boots—it’s likely how you’re lacing them. Knowing how to tie hiking boots with hooks correctly is essential for preventing blisters, avoiding toe bruising, and maintaining ankle stability over rugged terrain. Speed hooks at the top of most modern hiking boots aren’t just for show—they’re engineered to give you mechanical advantage, allowing precise control over fit. But without the right lacing techniques, they’re underutilized. This guide reveals the most effective methods—from heel lock lacing to window lacing and surgeon’s knots—so you can customize your boot fit like a pro. Whether you’re backpacking across the Rockies or day-hiking through muddy trails, mastering these strategies will keep your feet secure, comfortable, and blister-free.
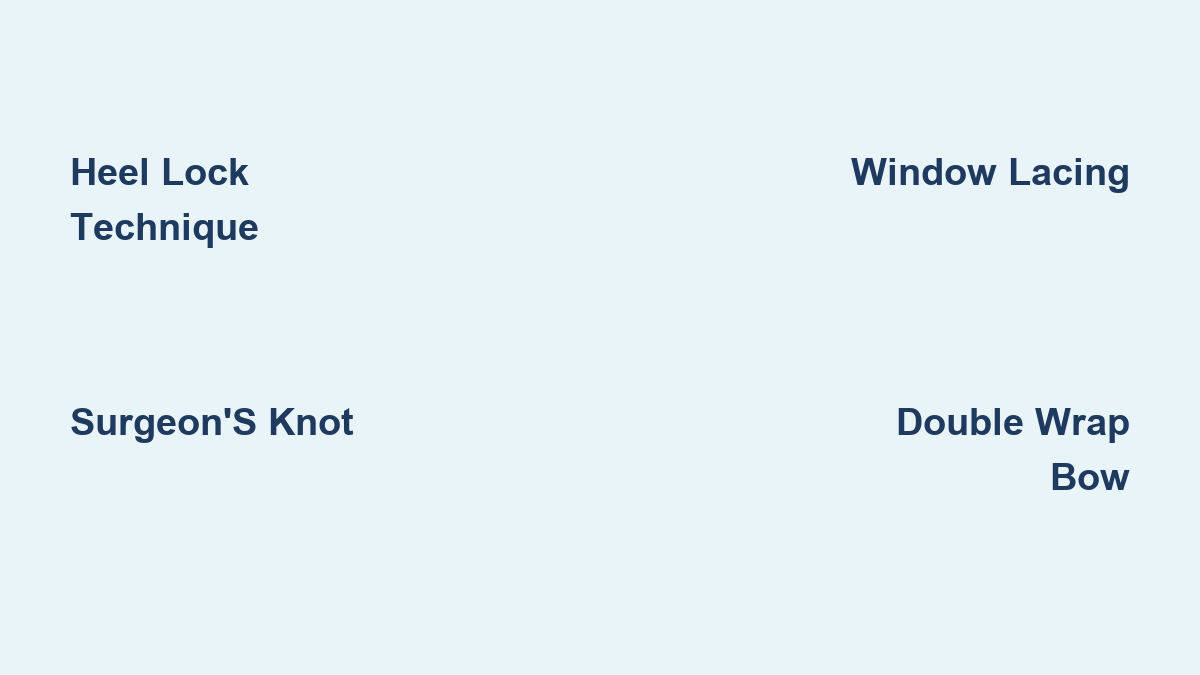
Lock Your Heel with the Heel Lock Technique
Perform the Heel Lock Lacing at Speed Hooks
The heel lock method—also known as the runner’s loop or lock lacing—is the gold standard for eliminating heel slippage in boots equipped with speed hooks. It applies targeted downward tension on the ankle collar, pulling your heel firmly into the boot’s heel cup without over-tightening the forefoot.
Step-by-Step:
1. Begin by lacing your boot from the bottom using a criss-cross (zigzag) pattern, stopping at the last eyelet before the speed hooks.
2. At this point, tie a surgeon’s knot (double-wrap one lace over the other before threading through) to lock tension across the midfoot and instep.
3. Run each lace straight up the same side to the first speed hook—do not cross.
4. Now, thread each lace under the opposite lace just below the hook, forming a small loop on each side.
5. Pull both laces upward together. You’ll feel the heel cup tighten instantly, securing your foot in place.
6. Continue lacing through any remaining hooks using criss-cross or straight patterns.
7. Finish with a double-wrap bow to prevent loosening during movement.
✅ Pro Tip: This technique is especially critical on steep descents, where forward foot slide can lead to bruised toes and fatigue.
🚫 Avoid: Skipping the surgeon’s knot—it allows tension to shift upward, reducing the effectiveness of the heel lock.
Why the Heel Lock Works with Speed Hooks
Speed hooks are designed with minimal friction, allowing laces to glide smoothly. The heel lock leverages this low-resistance design to create a mechanical advantage, applying focused pressure exactly where it’s needed: the ankle and heel. This prevents lift and movement without restricting circulation in the forefoot.
- Prevents blisters caused by heel rub
- Reduces toe jamming on downhill trails
- Enhances ankle responsiveness on uneven or technical terrain
Field Insight: Hikers on long-distance trails like the Appalachian Trail report up to 70% less foot fatigue when consistently using the heel lock technique.
Secure Midfoot Tension with the Surgeon’s Knot

Apply the Surgeon’s Knot Before Transitioning to Hooks
The surgeon’s knot is a simple but powerful tool for locking tension in specific zones of your boot. Unlike a standard knot, it uses a double wrap to increase friction, making it ideal for stabilizing the midfoot before engaging the speed hooks.
How to Tie:
1. After criss-cross lacing the midfoot, cross the laces as usual.
2. Instead of pulling through once, wrap one lace around the other twice before threading it through the loop.
3. Pull both ends tight—this creates a bulkier, more secure knot.
4. Continue lacing upward toward the speed hooks.
🔍 Visual Cue: The knot will appear thicker than a standard crossing, with two loops instead of one.
Best Applications:
– Stabilizing a loose midfoot in wide or slightly oversized boots
– Preventing lace slippage in wet or muddy conditions
– Securing tension over high arches or swollen feet
💡 Expert Tip: Combine the surgeon’s knot with the heel lock for boots that feel snug in the forefoot but loose around the ankle.
Relieve Instep Pressure with Window Lacing
Create a Pressure-Free Zone with Box Lacing
If you suffer from high arches, bunions, or instep pain, window lacing (also called box lacing) allows you to bypass pressure points entirely. It creates an open “window” in the lacing pattern, reducing compression where your foot needs it most.
Steps:
1. Lace normally up to the eyelet just below the pressure zone.
2. Run both laces straight up the same side—no crossing—creating parallel vertical lines.
3. Cross them over at the next eyelet and resume criss-cross lacing.
4. The gap between the uncrossed section forms the “window.”
✅ Check Fit: Gently press on the open area—there should be no lace pressure on the top of your foot.
Ideal For:
– High arches or swollen feet during long hikes
– Bunions or post-injury sensitivity
– Boots with tight tongue construction
🔄 Combine With: Heel lock at the top hooks to maintain heel security while allowing instep relief.
Maximize Ankle Support with Lacing Down
Reverse Lacing for Enhanced Heel and Ankle Control
Lacing down (or reverse lacing) is a pro-level technique that turns your laces into a cable harness around the ankle, offering superior stability—especially useful for heavy backpackers or technical terrain.
Steps:
1. Criss-cross laces up to the mid-ankle eyelets.
2. Skip one or two eyelets and run both laces straight to the top speed hooks.
3. Now, criss-cross back down through the skipped eyelets.
4. Tie off at the lowest open eyelet.
⏱️ Time Estimate: Takes about 60 seconds once mastered—practice at home before hitting the trail.
Benefits:
– Reduces shin bang on steep descents
– Improves lateral ankle support
– Distributes pressure more evenly across the ankle
📌 Use Case: Favored by thru-hikers and mountaineers who carry heavy loads over rocky or loose terrain.
Achieve Even Fit with Military Straight Bar Lacing
Apply Uniform Pressure Across Narrow Feet
Military lacing (or straight bar lacing) eliminates criss-crossing, replacing it with clean, straight bars that apply even pressure. It’s ideal for narrow feet or boots with symmetrical eyelets.
Steps:
1. Insert one lace end at the bottom and run it vertically up the inside of each eyelet on that side.
2. At the top, cross horizontally to the opposite side.
3. Run the second lace vertically down the outside, creating straight bars across.
4. Use a surgeon’s knot at the ankle transition if extra security is needed.
⚠️ Warning: Do not over-tighten—this method concentrates pressure and can reduce circulation if laced too tightly.
Best For:
– Narrow feet in standard-width boots
– Hikers who prefer low friction and clean aesthetics
– Boots with even-numbered eyelets
❌ Avoid if you have wide forefeet or need pressure relief zones.
Prevent Loose Laces with Secure Finishing Techniques
Use Double Wrap, Hook Wrap, or Skate-Style Locks
Even perfect lacing fails if your knot comes undone. These slip-resistant finishes keep your laces locked in place.
Double Wrap Bow
- After crossing laces, form a standard loop (bunny ear).
- Wrap the free end twice around the opposite lace before pulling through.
- Tighten both loops.
✅ Why It Works: Extra wraps increase friction, preventing unraveling during dynamic movement.
🧤 Glove-Friendly: Easy to untie even with cold or gloved hands.
Hook Anchor Wrap
- After the final hook, wrap each lace under and over the top speed hook twice.
- Tie your knot as usual.
🔒 Effect: Creates a mechanical lock—laces can’t slide back through the hook.
🛠️ Pro Tip: Used by professional boot fitters and long-distance hikers for maximum security.
Skate-Style Lock
- Pull laces tight (left over right).
- Wrap one lace around the other and tuck it into a lower speed hook.
- Pull the opposite lace tight into the opposite hook.
- Finish with a bunny ear knot and tuck loops into hooks.
🏔️ Best For: Technical climbs, scree fields, or icy terrain where ankle precision is critical.
Customize Lacing for Common Fit Problems
Use these targeted solutions to fix discomfort fast:
| Issue | Recommended Solution |
|---|---|
| Heel slippage | Heel lock + surgeon’s knot |
| Instep pressure | Window lacing + loose lower lacing |
| Toe bruising | Heel lock + avoid over-tightening forefoot |
| Wide feet | Ladder or window lacing |
| Narrow feet | Military lacing + surgeon’s knots |
| High arches | Window lacing + skip bottom eyelets |
🔄 Key Insight: Most experienced hikers combine 2–3 techniques—like heel lock with window lacing—for a fully customized fit.
Maintain Your Laces and Re-Tie Mid-Hike
Inspect, Clean, and Re-Lace for Long-Term Performance
Speed hooks create friction, accelerating lace wear. Check regularly for:
– Fraying at contact points
– Thinning near knots
– Stiffness from dirt and moisture
✅ Upgrade Tip: Switch to waxed laces or aftermarket locking laces for better durability and less slippage.
Clean Hooks and Eyelets
- Remove laces and rinse with water.
- Use a small brush to clear debris from speed hooks.
- Dry thoroughly before re-lacing.
Re-Tie Every 2–3 Hours
Laces loosen due to:
– Foot swelling at higher elevations
– Wet laces stretching after river crossings
– Dynamic movement on uneven terrain
🕒 Best Practice: Pause mid-hike to reapply heel lock and check tension.
Final Checklist Before You Hike
✅ Heel fully seated in boot
✅ Tongue centered and tucked
✅ Laces pass the one-finger test (snug but not tight)
✅ Heel lock or surgeon’s knot applied at speed hooks
✅ Pressure relieved in sensitive zones
✅ Final knot is secure and won’t slip
✅ Test walk includes uphill, downhill, and side slopes
Mastering how to tie hiking boots with hooks transforms your footwear into a custom-fit system that supports your feet mile after mile. With these proven techniques, you’ll hike longer, safer, and more comfortably—no matter the trail.