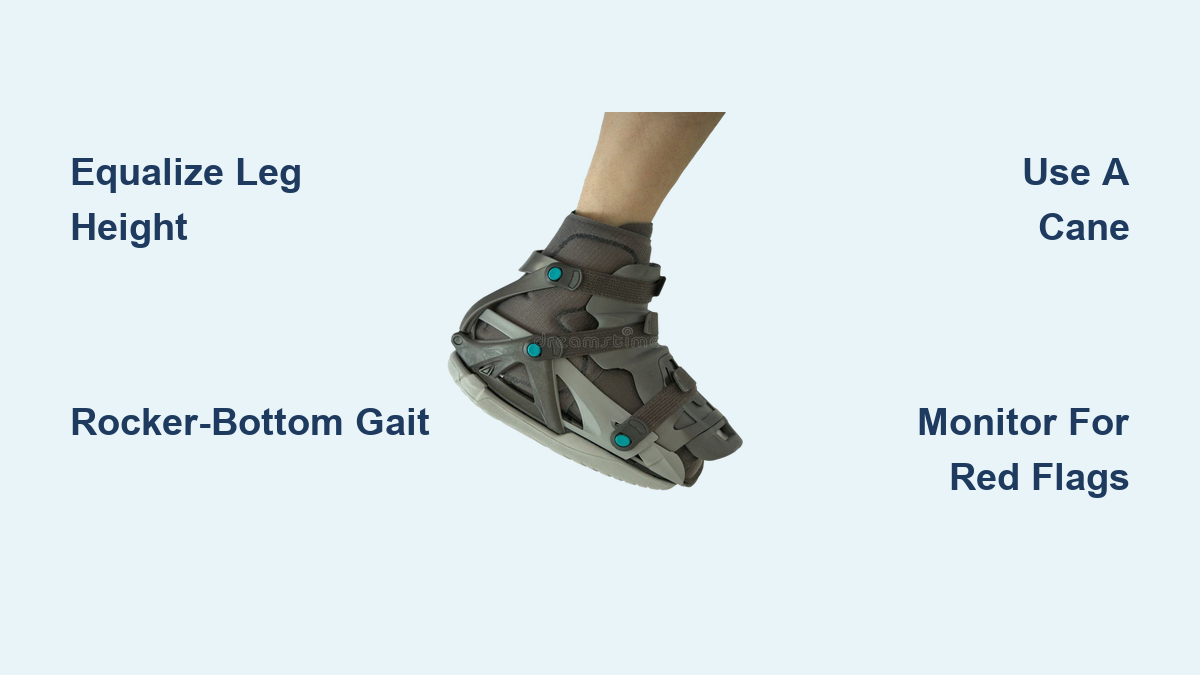
How to Walk in a Walking Boot Without Crutches
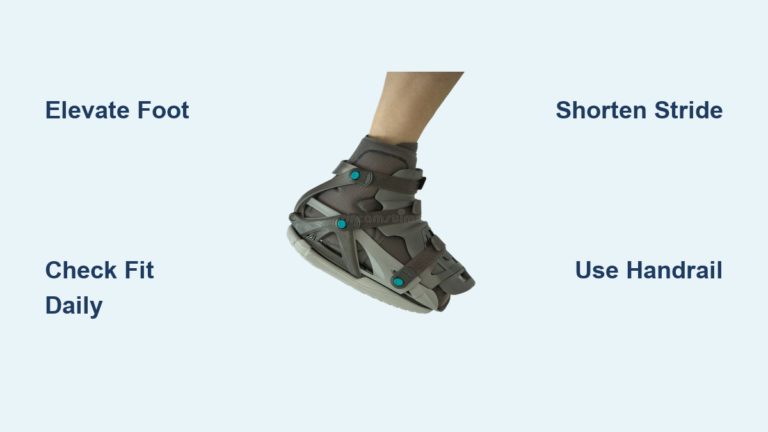
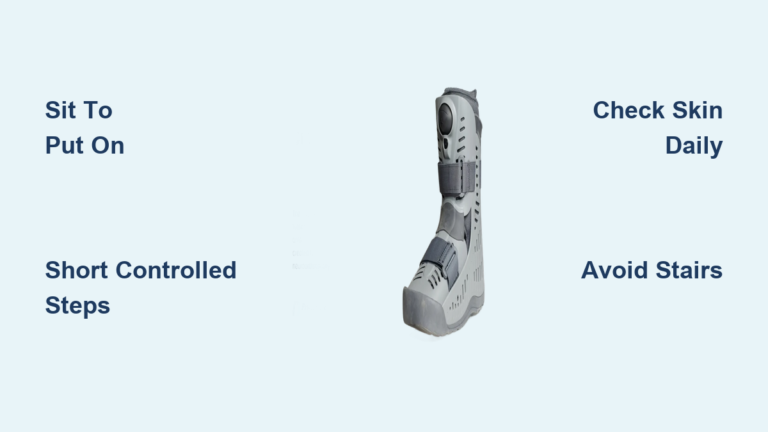
Walking in a walking boot without crutches is possible—but only when your injury allows it and your doctor has approved the transition. If you’re recovering from a fracture, sprain, or tendon repair, your healthcare provider likely prescribed a CAM (Controlled Ankle Movement) boot to stabilize the area and support healing. While crutches are standard in early recovery, they aren’t always practical long-term. Many people find them tiring, uncomfortable, or hard to manage in tight spaces. The good news is that alternatives exist, and walking boot crutches free mobility is achievable with the right technique.
This guide breaks down exactly how to walk safely and confidently in a walking boot without crutches. From equalizing your leg height and mastering the rocker-bottom gait to choosing the right mobility aid and avoiding complications, you’ll learn the biomechanics, safety protocols, and daily care tips that support smoother recovery.
Equalize Your Leg Height Before Walking

A walking boot has a much thicker sole than a regular shoe, which creates a leg length discrepancy. Walking with one leg elevated forces your hips out of alignment, leading to limping, hip pain, and lower back strain. Matching the height of your uninjured foot to the boot is the first step toward pain-free walking.
Wear Tall Shoes or Use Heel Lifts
Put on a thick-soled sneaker or hiking boot on your uninjured side to balance your pelvis. For a more precise match, attach an external heel lift like the “Even Up” device to your regular shoe. This clips onto your footwear and adjusts to mirror the boot’s sole height.
Check Your Alignment in a Mirror
Stand sideways and look at your hips. If one side sits higher than the other, adjust your footwear until both hips are level. Walking with uneven hips can cause chronic back pain, even after your foot fully heals.
Master the Rocker-Bottom Gait
Walking boots feature a curved, rocker-bottom sole designed to guide your foot through a natural rolling motion. This shape prevents flat-footed steps and limits how far you can stride. Trying to walk normally will throw off your balance and stress the injury site.
Take Short, Controlled Steps
Cut your stride to about half its normal length. Let the boot roll smoothly from heel to toe with each step. Rushing or overreaching increases your fall risk and can delay healing.
Initiate Each Step with Your Heel
Do not slam your foot down flat. Start with the heel, then roll forward gently through the sole. The rocker design reduces pressure on the ball of your foot and ankle joint when used correctly.
Keep Your Joints Aligned and Stable
The weight and bulk of the boot can pull your foot outward, twisting your ankle and knee out of alignment. This misalignment adds stress to healing tissues and may cause long-term gait problems if left uncorrected.
Point Your Toes Straight Ahead
Keep your injured foot pointing forward, in line with your knee. A simple visual cue: make sure your second toe lines up with the center of your kneecap. This prevents rotational strain on tendons and ligaments.
Avoid Cross-Legged Sitting
When resting, do not let your booted foot roll outward. Prop it on a pillow with your toes facing the ceiling. Place a rolled towel beside the foot to prevent inward or outward rolling while lying down.
Use a Cane for Balance and Support

If crutches aren’t working for you, a cane is a lightweight, practical alternative that improves stability without requiring upper-body strength. It works well for people who need partial weight relief and balance assistance.
Hold the Cane on the Opposite Side
Always grip the cane in the hand opposite your injury. If your right foot is in the boot, hold the cane in your left hand. This shifts weight away from the injured side and mimics natural walking mechanics.
Choose an Ergonomic, Adjustable Cane
Look for a cane with a contoured handle, non-slip rubber tip, and adjustable height. When standing upright, your elbow should bend at about 15–30 degrees. Test the tip on different surfaces to confirm it grips well.
Consider a Walker for Maximum Stability
If balance is a concern or you’re still in a partial weight-bearing phase, a walker offers more support than a cane. It’s easier to control than crutches and reduces fall risk significantly.
Step Into the Frame
Move the walker slightly ahead, then step into it with both feet. Place your booted foot down first, followed by the uninjured foot. This controlled sequence ensures even weight distribution and reduces instability.
Use It Indoors for Best Results
Walkers excel in home environments, especially on slippery floors or carpet. Some models include wheels or glides for smoother movement. They are less practical outdoors or in tight spaces.
Manage Swelling and Pain Every Day
Even as you regain mobility, swelling and discomfort can persist. Proper home care speeds up healing and prevents setbacks.
Elevate Above Heart Level
Whenever sitting or lying down, especially during the first 3 days, prop your leg on pillows so your foot is higher than your heart. This reduces swelling and improves circulation.
Apply Ice Safely
Use ice packs for 10–20 minutes every 1–2 hours while awake. Never place ice directly on your skin or inside a wet boot. Wrap it in a thin towel and apply around the boot’s opening if you cannot remove it.
Activate Muscles Frequently
Wiggle your toes (if safe) and gently squeeze your calf muscles to boost blood flow. This helps prevent blood clots and keeps your muscles engaged during immobilization.
Prevent Skin Irritation and Infection
Moisture, friction, and pressure under the boot can cause sores, rashes, or infections, especially after surgery. Daily hygiene habits keep your skin healthy throughout recovery.
Keep the Boot and Skin Dry
Avoid getting the boot wet. When showering with it on, seal it inside a plastic bag taped above the calf. If your doctor allows removal, dry your skin thoroughly before putting the boot back on.
Relieve Itching Safely
Never insert pencils, sticks, or hangers into the boot to scratch. Instead, use a hair dryer on the cool air setting to blow air inside. This soothes itching without breaking the skin.
Inspect Your Skin Daily
If your boot is removable, check for redness, blisters, or sores every day. For non-removable boots, examine the exposed skin around the edges. Report any burning, stinging, warmth, or foul odor to your doctor right away.
Know When to Call Your Doctor
Some symptoms signal serious complications that require urgent medical attention. Recognizing these warning signs early can prevent long-term damage.
Watch for Red Flags
Seek immediate care if you notice:
– Severe or worsening pain that rest does not relieve
– Numbness or tingling that persists after adjusting the boot
– Fever, drainage, or a bad smell from the boot
– Red, warm swelling extending up the leg (possible DVT)
– Calf, knee, thigh, or groin pain, which may indicate a blood clot
Monitor Your Recovery Progress
If pain returns after you stop using crutches, or if you aren’t improving after a few days, contact your doctor. Healing isn’t always linear, but stalled progress may mean you’re overloading the injury.
Transition Gradually to Normal Shoes
Healing doesn’t end when the boot comes off. Jumping straight into regular footwear can lead to re-injury or chronic stiffness. A gradual transition protects your recovery.
Start with Supportive Footwear
Switch first to stiff-soled shoes or hiking boots that mimic the boot’s stability. Avoid flats, flip-flops, or high heels for several weeks.
Begin Physical Therapy
Once cleared by your doctor, see a physical therapist to restore ankle range of motion. The goal is to regain 15–20 degrees of flexion, up from the boot’s standard 0-degree immobilization.
Rebuild Strength Slowly
Start with simple exercises like ankle circles and heel-toe rolls. Progress to weight-bearing activities only as tolerated. Rushing this phase risks setbacks.
Frequently Asked Questions About Walking in a Walking Boot Without Crutches
Can I walk in a walking boot without crutches after a fracture?
Yes, but only after your doctor confirms the fracture has stabilized enough for weight-bearing. Many fractures require strict non-weight-bearing protocols early on, so medical approval is essential before dropping crutches.
How do I match leg height when wearing a walking boot?
Wear a thick-soled shoe on your uninjured foot or attach an external heel lift like the “Even Up” device. This balances your hips and prevents limping, hip pain, and lower back strain.
What can I use instead of crutches with a walking boot?
A cane is a lightweight option for balance and partial weight relief. A walker offers more stability for indoor use. A wheelchair provides full off-loading for longer distances or high-pain periods.
How long should I keep my leg elevated while wearing a boot?
Elevate your leg above heart level whenever sitting or lying down, especially during the first 3 days or until swelling subsides. Consistent elevation speeds up recovery.
Is it safe to shower with a walking boot on?
Yes, if you seal it in a plastic bag taped securely above the calf. If your doctor allows boot removal, pat your skin completely dry before reapplying it to prevent moisture-related skin issues.
When should I worry about blood clots while wearing a walking boot?
Seek immediate care if you experience calf, knee, thigh, or groin pain, especially with redness or swelling extending up the leg. These are warning signs of deep vein thrombosis and require urgent evaluation.
Key Takeaways for Walking in a Walking Boot Without Crutches
Walking in a walking boot without crutches is achievable for many people, but only with proper technique, medical approval, and attention to body mechanics. Start by equalizing your leg height with a tall shoe or heel lift to prevent hip and back strain. Shorten your stride and use the rocker-bottom sole as designed, keeping your toes pointed forward to maintain alignment. Consider a cane or walker for added stability, and manage swelling with elevation, ice, and muscle activation. Keep your skin dry and inspect it daily to avoid irritation or infection. Finally, know the red flags that require immediate medical attention and transition to normal shoes gradually under professional guidance.
Your next step: talk to your doctor about your weight-bearing status, then practice the techniques in this guide in a safe, clutter-free space. Mobility without crutches is within reach when you move forward carefully.