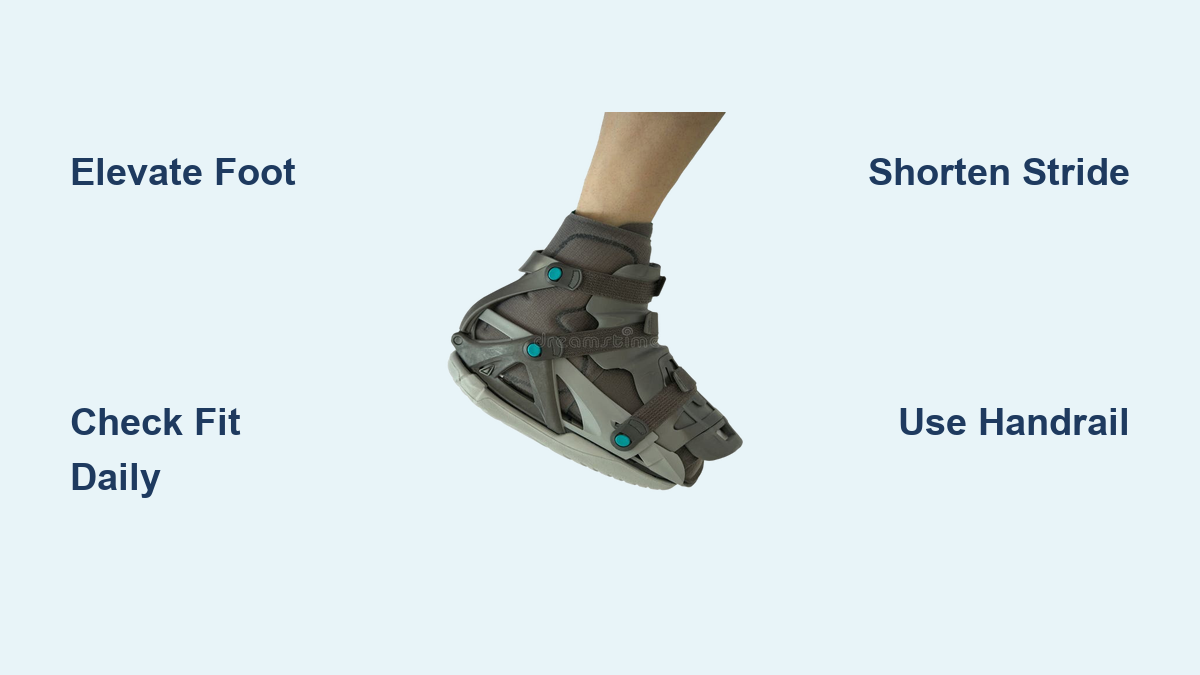
How to Walk in a Walking Boot After Bunion Surgery
You’ve just had bunion surgery, and now the real challenge begins: learning to walk again. The first steps you take matter, literally. Walking in a surgical boot isn’t natural, but it’s essential for protecting your healing foot. Most patients are surprised to learn they can bear weight right away after surgery, provided they’re wearing the right support. The walking boot stabilizes your foot, protects the realigned bones, and allows early mobility, but only when used correctly. Many people struggle with balance, pain, or fear of falling because they don’t know how to fit the boot properly, adjust their stride, or handle stairs safely.
This guide breaks down exactly how to walk confidently in your boot, from day one at home to transitioning back into regular shoes. You’ll learn step-by-step walking techniques, how to avoid common mistakes, and when it’s safe to walk barefoot so you can heal faster and avoid setbacks.
Master Early Recovery Rules
Rest and Elevate First (Days 0–3)
The first 72 hours after bunion surgery are critical for setting the stage for healing. Your foot is wrapped, swollen, and vulnerable. The single most important action during this window is to keep your foot elevated above heart level as much as possible. Elevation isn’t just about comfort. It actively reduces swelling, which directly lowers pain and speeds recovery.
During these three days, avoid standing or walking, even with the boot on. Your surgical dressing must stay clean and dry at all times. If your doctor allows brief movement, such as a short trip to the bathroom, put on the boot only for those moments and rely on crutches or a walker to avoid placing full weight on the foot.
Know Your Weight-Bearing Status
Not all bunion surgeries are identical. Your surgeon will tell you whether you’re cleared for weight-bearing or required to stay non-weight-bearing. Most modern procedures allow partial or full weight-bearing in the boot right away, but you should always confirm with your doctor before testing it.
If you’re cleared to walk:
– Start with short, slow steps.
– Use crutches or a roll-about walker if balance feels shaky or pain increases.
– Never force movement. If it hurts, stop and rest.
Red flags: Numbness, tingling, cold toes, or bluish discoloration mean the boot is too tight or circulation is compromised. Loosen the straps immediately and contact your healthcare provider.
Fit Your Walking Boot Correctly

Apply the Boot Step by Step
A poorly fitted boot can delay healing or cause painful pressure sores. Follow this sequence every single time you put it on:
- Unfasten all three Velcro straps on the outer shell completely.
- Open the inner lining wide to create a clear entry point for your foot.
- Slide your foot in and push your heel all the way back against the rear of the boot. This step is non-negotiable. If your heel isn’t seated, your toes will rub and your gait will be unstable.
- Secure the inner lining first to hold your foot in place.
- Fasten the three outer straps from bottom to top, tightening gradually for a snug, secure fit.
- Add extra padding over any sensitive areas, especially near the surgical site, to prevent friction and irritation.
Check for Proper Fit Daily
- Snug but not tight: You should feel supported, not squeezed.
- No slipping: Your foot shouldn’t shift inside the boot when you walk.
- No numbness or redness: These signal poor fit or restricted circulation.
Pro tip: Inspect your skin every time you remove the boot. Look for red marks, blisters, or sores, especially on the heel, ankle, and toes.
Adjust Your Walking Pattern
Use a Modified Gait
The boot’s rigid sole changes how you walk. You can’t roll smoothly from heel to toe like you normally would. Instead, focus on these adjustments:
– Land flat-footed or slightly heel-first, since the boot limits natural toe-off.
– Shorten your stride to reduce fall risk and compensate for limited ankle flexion.
– Slow your pace because rushing increases the chance of tripping.
– Engage your core to improve balance and reduce strain on your hips and back.
Expect an awkward, stiff walk at first. That’s completely normal. Over time, your body will adapt to the new mechanics.
Avoid Common Gait Mistakes
- Toe-dragging: The boot’s weight can cause your toes to catch on the ground. Consciously lift your leg slightly with each step.
- Leaning too far forward: This throws off your balance. Keep your posture upright.
- Overcompensating on the good leg: This can create hip or back pain. Try to distribute weight evenly, even if it feels unnatural.
Expert note: Practice walking in a clear, stable space, like a hallway with walls to hold, before attempting stairs or uneven surfaces.
Navigate Stairs and Surfaces Safely

Climb and Descend Stairs Properly
Stairs are one of the highest-risk activities during recovery. Always use a handrail, and consider crutches for extra stability.
- Going up: Lead with your non-surgical leg. Step up first, then bring the boot up to meet it.
- Going down: Lead with your surgical leg in the boot. Lower it first, then follow with the healthy leg.
Move one step at a time and never rush the process.
Handle Slippery or Uneven Ground
The boot’s rigid sole doesn’t grip well on wet or rough terrain.
– Avoid: Rain, snow, gravel, grass, and slick floors.
– Indoors: Wear non-slip socks on your non-surgical foot to prevent slipping.
– Outdoors: Only walk on dry, flat, paved surfaces when absolutely necessary.
Warning: Falls during recovery can damage surgical repairs. If you’re unsure about your stability, use a walker or stay off your feet entirely.
Follow Recovery Timelines by Bunion Severity
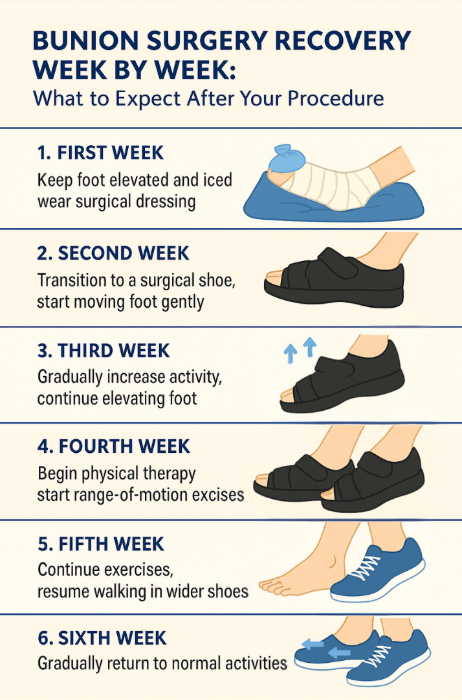
Mild Bunion: 2-Week Boot Use
- Procedure: Removal of the bone spur or bump only.
- Boot duration: 2 weeks.
- Next step: Transition to supportive sneakers or sandals.
- Heel rule: Wait 4 weeks post-boot before wearing heels. Add 2 weeks for every 2 inches of heel height.
Moderate Bunion: 4-Week Boot Use
- Procedure: Bump removal combined with an osteotomy (bone cut and realignment).
- Boot duration: 4 weeks.
- Next step: Move into stiff-soled, supportive sneakers.
- Activity: Light walking only. Avoid standing for long periods.
Severe Bunion: Cast Then Boot (6–10 Weeks Total)
- Procedure: Joint fusion (such as the Lapidus procedure) using screws or plates.
- First phase: Knee-length cast for 6–8 weeks, with strict non-weight-bearing. Use crutches or a roll-about walker.
- Second phase: Walking boot for 2 additional weeks.
- Rehab: Physical therapy is required to regain strength and range of motion.
Transition Out of the Boot Gradually
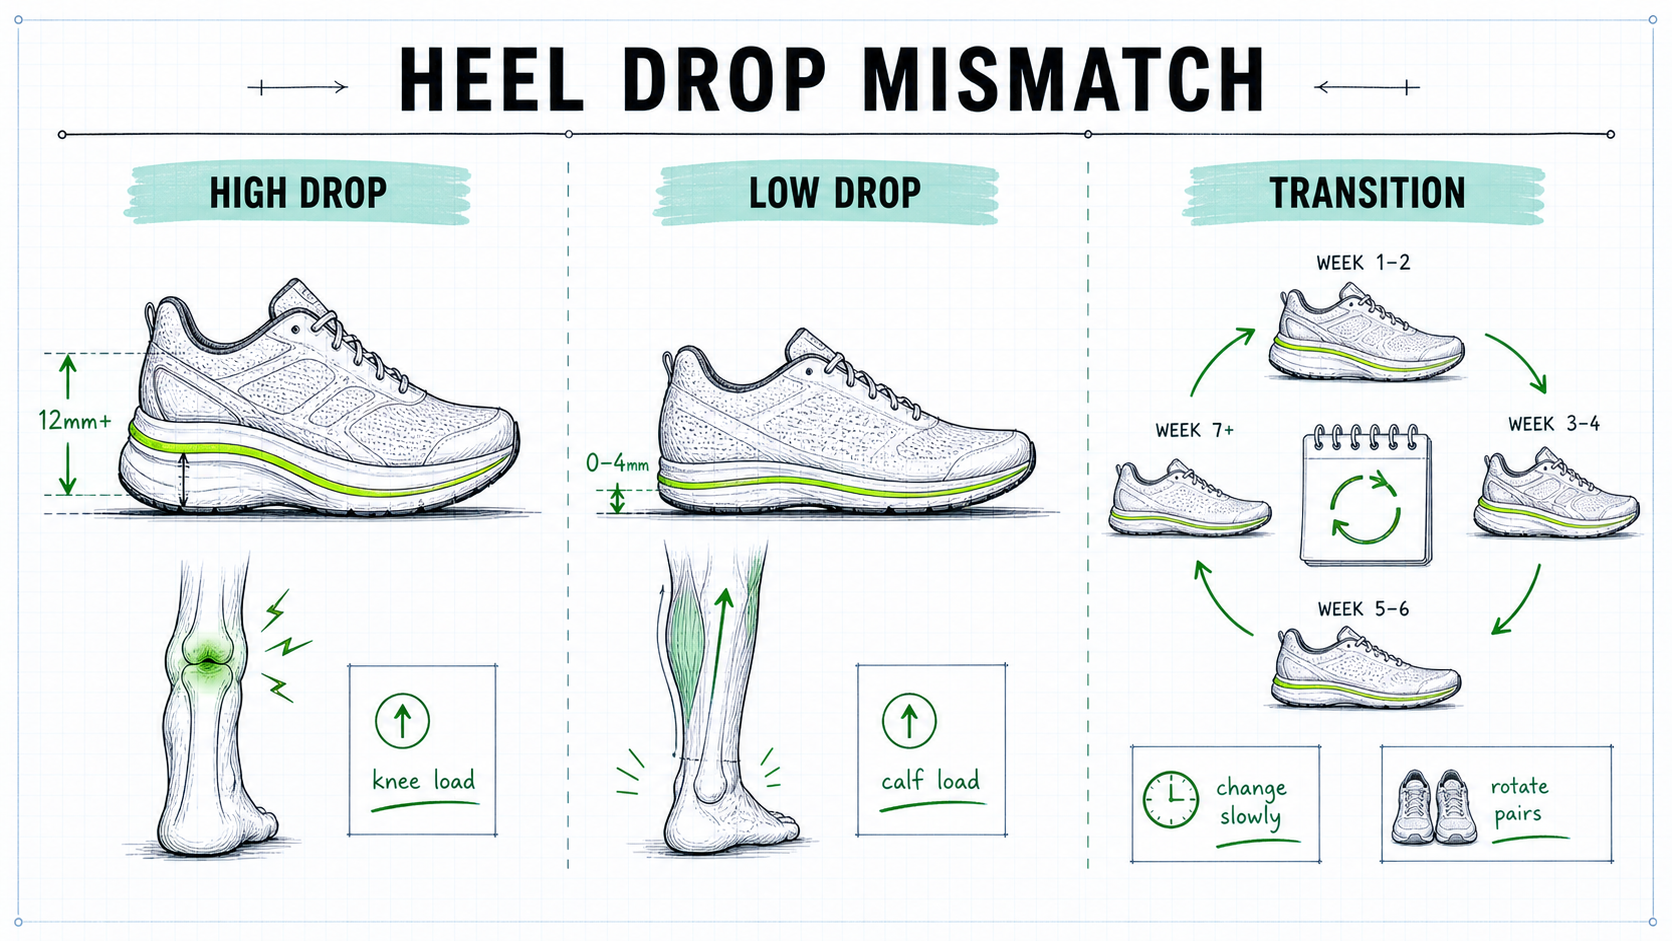
Move to Supportive Shoes
Never jump straight from a boot to high heels or tight dress shoes. Follow this progression:
1. Surgical boot for maximum protection.
2. Wide, soft sneakers with cushioned soles and good arch support.
3. Regular shoes once cleared by your surgeon.
Shoe tips:
– Choose wide toe boxes to accommodate residual swelling.
– Avoid stiff soles or high heels for at least 8–12 weeks post-op.
– Break in new shoes slowly by wearing them for just 1–2 hours at first.
When Can You Walk Barefoot?
Barefoot walking is a major milestone, usually safe around the 8-week mark, but only if:
– Your surgeon confirms bone healing, often via X-ray.
– There’s no pain, swelling, or instability.
– You can balance well and walk with a normal gait.
Even after clearance, start on soft, clean surfaces like carpet. Avoid tile, hardwood, and outdoor terrain until full strength returns.
Prevent Complications and Speed Healing
Do Not Rush the Process
The biggest mistake patients make is returning to normal shoes or activities too soon. Premature barefoot walking or wearing restrictive shoes can:
– Disrupt bone alignment.
– Cause the bunion to recur.
– Lead to chronic pain or the need for revision surgery.
Bones need 6–8 weeks to stabilize, and ligaments and tendons take even longer to fully heal.
Monitor Circulation and Hygiene
- Check toes daily: They should be warm, pink, and responsive. Pale, blue, or cold toes indicate poor circulation. Loosen the boot and call your doctor.
- Keep your foot dry: Moisture under bandages can cause infection. Use a waterproof boot cover when showering.
- Clean the boot: Wipe down the inside with a dry cloth. Never soak it.
Start Gentle Motion Early
Once bandages are removed (around 2 weeks), begin ankle pumps and toe wiggles while seated. These small movements:
– Improve circulation.
– Prevent stiffness.
– Support joint health, even while you’re still in the boot.
For complex surgeries, formal physical therapy will be needed after boot removal to restore full function.
Frequently Asked Questions About Walking in a Boot After Bunion Surgery
Can I put weight on my foot right after bunion surgery?
Most modern bunion surgeries allow immediate weight-bearing while wearing the walking boot. However, your surgeon’s specific instructions take priority. If walking is painful or unstable, use crutches or a roll-about walker to offload weight.
How long do I need to wear the walking boot?
Boot duration depends on the severity of your bunion and the procedure performed. Mild cases require about 2 weeks, moderate cases require 4 weeks, and severe cases involve a 6–8 week cast followed by 2 weeks in a boot.
When is it safe to walk barefoot after bunion surgery?
Walking barefoot is generally safe around the 8-week mark, provided your surgeon confirms proper bone healing and you have no pain or instability. Start on soft surfaces like carpet and avoid hard floors or outdoor terrain at first.
How do I know if my walking boot fits correctly?
A properly fitted boot feels snug but not tight, with no slipping, numbness, or redness. Your heel should be fully seated at the back, and your foot should not shift during movement. Inspect your skin daily for pressure marks or sores.
What’s the safest way to climb stairs in a walking boot?
Always use a handrail. When going up, lead with your non-surgical leg. When going down, lead with your surgical leg in the boot. Move one step at a time and never rush.
What happens if I walk too much too soon after bunion surgery?
Overdoing it early can increase swelling, disrupt bone alignment, and raise the risk of the bunion returning. In severe cases, it can compromise the surgical repair and require additional treatment. Follow your surgeon’s timeline closely.
Key Takeaways for Walking Safely After Bunion Surgery
Walking in a boot after bunion surgery isn’t intuitive, but doing it right protects your results and speeds recovery. Focus on three priorities: fit your boot perfectly every time, adjust your gait to account for the rigid sole, and respect the recovery timeline based on your procedure’s severity.
Your next step is simple: review your surgeon’s specific weight-bearing instructions before you take your first step, and set up a safe, clutter-free walking path at home. Stay consistent, stay patient, and trust the process. By 8 weeks, most patients are walking comfortably barefoot, provided they’ve followed the rules.