Ski Boot Fitting Guide: Quick Steps
A bad ski boot fit can ruin your day before you reach the lift line. Pain, cold toes, and loss of control all trace back to one source: a poorly matched shell. Unlike sneakers, ski boots are precision instruments that translate every ankle movement directly into ski action. When the fit is off, you lose power, warmth, and confidence on every turn.
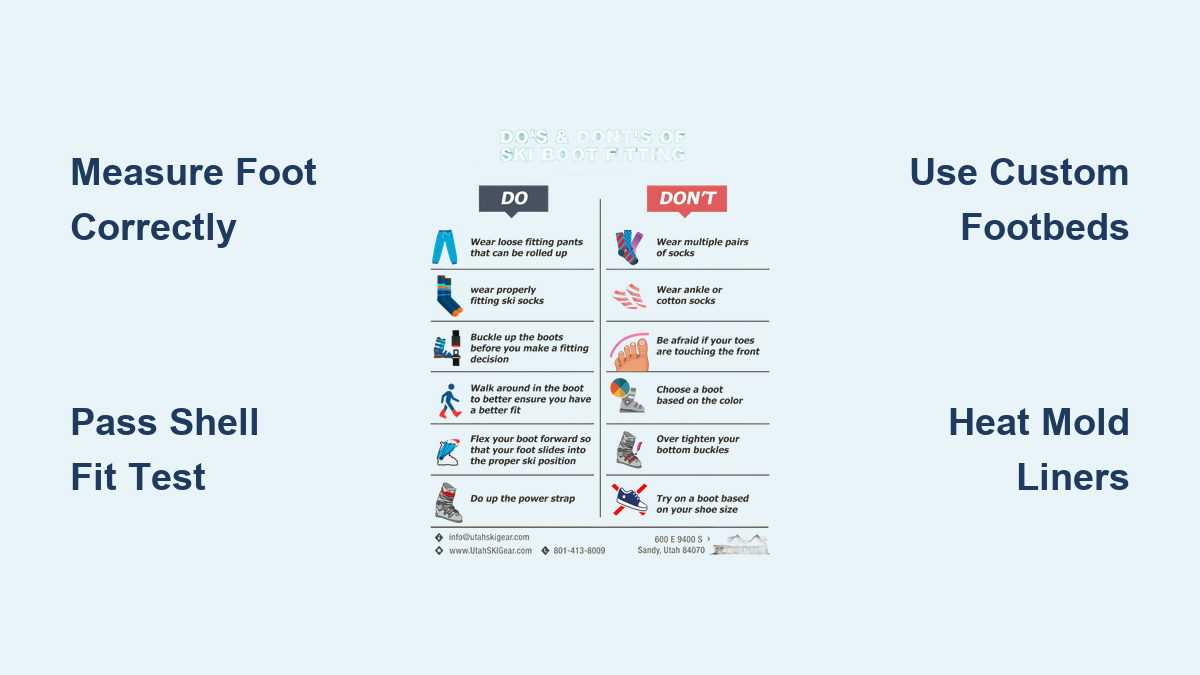
This ski boot fitting guide walks you through the exact process professionals use, from measuring your foot in centimeters to passing the shell fit test and dialing in custom modifications. You’ll learn why street shoe sizes mislead buyers, how half-sizes actually work, and what adjustments truly matter for your skiing style.
Measure Your Foot the Right Way

Use the Mondopoint System Instead of Street Shoe Size
Ski boots use the Mondopoint system, a metric scale based purely on foot length in centimeters. A size 26.0 boot has 260mm of internal space from heel to toe. This number reflects the inside of the shell, not the sole or outer boot.
Relying on U.S. shoe size conversion charts is one of the most common ski boot fitting mistakes. These charts routinely recommend boots 1 to 2 sizes too large, which kills responsiveness and causes heel lift. Always measure your foot directly, either with a professional Brannock device or by following the home protocol below.
Follow the Home Measurement Protocol
If a shop visit isn’t possible, measure at home using this method:
- Tape two sheets of paper flat against a wall.
- Wear thin ski socks and stand with heels touching the wall.
- Mark the tip of your longest toe and the back of your heel.
- Measure the distance in centimeters.
- Use the longer of your two feet as your baseline Mondopoint size.
A 5mm error can shift you from control to discomfort, so double-check your work.
Ignore Boot Sole Length for Sizing
Boot Sole Length (BSL) measures the external boot including toe and heel lugs. Binding technicians use BSL to mount bindings, but it has nothing to do with fit. A Mondo 26.5 boot might carry a BSL anywhere from 295mm to 310mm depending on the brand. Always size by Mondopoint, never by BSL.
Understand Boot Shells and the Half-Size Myth
Half-Sizes Share the Same Shell Mold
Here’s a truth most skiers never learn: half-sizes don’t change the shell. A 27.0 and a 27.5 boot are built from the exact same plastic mold. The only difference is the insole thickness. A 27.0 uses a thicker footbed; a 27.5 uses a thinner one to create 5mm of extra internal space.
Manufacturers skip separate molds because each injection mold run costs over $100,000. So when you “size down” a half-size, you’re not getting a smaller shell; you’re getting the same one with less padding underfoot. This is why custom footbeds are so powerful. They replace the stock insole and let you fine-tune fit without changing shells.
Match Last Width to Your Foot Shape
Boot volume is controlled by last width, which is the internal width at the ball of the foot. Choose based on your anatomy:
- Low Volume (≤98mm): Narrow feet or skiers chasing maximum precision. Pinches wide feet.
- Medium Volume (~100mm): Average foot shapes. Balances comfort and control.
- High Volume (≥102mm): Wide or high-arched feet. Prioritizes comfort over edge response.
Narrower lasts deliver better performance because your foot moves less inside the shell. Wider lasts suit beginners or those with anatomical challenges who need forgiveness over raw response.
Pass the Shell Fit Test

Perform the Empty Shell Check
The Shell Fit Test is the gold standard for sizing. It removes guesswork by testing your foot directly against the shell. Here’s how to do it:
- Remove the liner completely.
- Wear thin ski socks.
- Slide your foot into the empty shell with toes pressed to the front.
- Bend your knees forward into a skiing stance.
- Measure the gap between your heel and the back of the shell.
Use a ruler or dowel for precision. Skip the “one-finger rule” because finger sizes vary too much.
Match the Gap to Your Skiing Level
The heel gap reveals everything about fit:
- 25mm (~1 inch): Roomy fit for beginners on gentle terrain. Expect heel lift and slower response.
- 19mm (3/4 inch): Avid skier fit for intermediates and advanced skiers seeking balance.
- 13mm (~1/2 inch): Performance fit for experts who want instant power transfer. Feels tight at first but locks down when flexed.
- >20mm: Too big. You’ll lose control and warmth.
- <12mm: Extremely snug. Great for racers but uncomfortable for weekend skiers.
If your boot fails this test, no amount of heat molding will rescue it.
Feel the Right Pressure

Aim for “Suspiciously Snug”
A properly fitted ski boot should feel “suspiciously snug,” like a firm handshake, not a crushing grip. You should feel even pressure across your foot with no dead space. Only your toes should have slight movement.
When standing upright, your toes will press against the front. That’s normal. When you flex forward into a ski stance, your foot should slide back, freeing up toe space. If your toes stay jammed, the boot is too long. Never buy a boot that feels like a slipper. Extra room means sliding, blisters, poor control, and cold toes.
Lock Your Heel in Place
Your heel must stay planted in the heel pocket when you flex forward. Any lift signals a shell that’s too big, a forward lean that’s wrong, or limited ankle mobility.
To test, stand on your toes. A small amount of heel lift is fine. But if you can’t lift at all, the shell may be too short or your foot lacks flexibility.
Optimize with Socks and Insoles
Wear Thin, Technical Socks
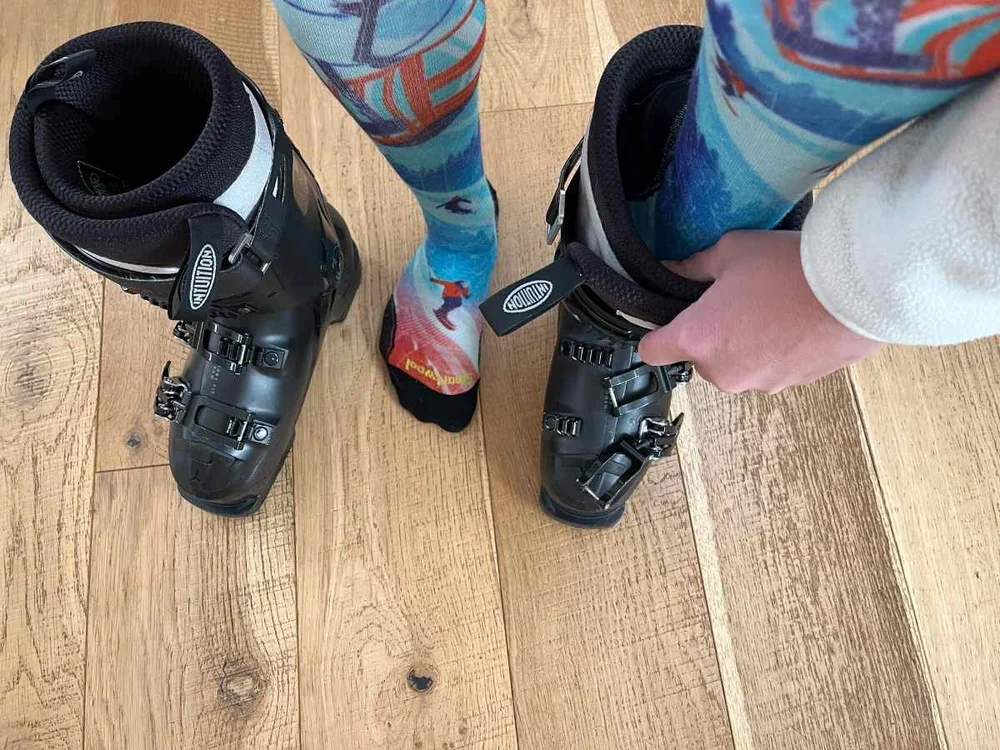
Ski socks are not regular socks. Merino wool or synthetic moisture-wicking blends are mandatory. They keep your feet dry and warm. Cotton absorbs sweat and causes cold, blistered feet.
Follow the “thin to win” rule. Thick socks compress, reduce circulation, and take up space meant for precise fit. If you need thick socks for warmth, your boot is too big. Bring two pairs and change midday because wet socks equal cold feet and early chairlift rides down.
Install Custom Footbeds
Stock insoles are generic and do little to support your arch. Custom footbeds stabilize your foot, prevent muscle fatigue, and eliminate hot spots. They’re the single best upgrade for comfort and performance.
Options include:
- Cut-to-fit: Basic support for casual skiers.
- Heat-molded (cork or thermo): Conforms to your foot in about 25 minutes and is highly recommended.
- Orthotics: For medical conditions like plantar fasciitis.
A good footbed can solve 80% of fit issues without modifying the shell.
Customize Your Boots Professionally
Heat Mold Liners and Shells
Most modern liners are heat-moldable. A shop heats them and has you step in, allowing the foam to expand around high insteps, bunions, or wide forefeet. Some shells can also be heated and stretched, especially in the toe box or instep. This is ideal for skiers with high arches or bony prominences.
Never skip this step if your boot feels tight in specific spots. Heat molding can turn an uncomfortable boot into a dream fit.
Adjust Cuff Canting for Alignment
If you’re knock-kneed or bowlegged, your stance will be off-balance. Cuff canting adjusts the upper boot’s angle to match your leg alignment.
To diagnose, stand with feet shoulder-width apart and bring them together. If your feet touch first, you’re bowlegged. If your ankles touch first, you’re knock-kneed. A fitter can grind the boot or add wedges to correct this. Proper alignment reduces fatigue and improves edge control.
Set the Forward Lean Correctly
Forward lean is the angle of the cuff relative to the sole. It affects how easily you can drive your shins forward.
- Freestyle/Upright (≤13°): For park skiers or those with limited ankle mobility.
- Standard (13–15°): Most all-mountain boots.
- Race/Aggressive (up to 17°): For high-speed, aggressive skiers.
Test your mobility barefoot by bending your knees forward. If your heels lift before your knees pass your toes, you need less forward lean.
Fix Common Fit Problems
Toes Touch When Standing? That’s Normal
If your toes press the front when standing, don’t panic. This is expected. The key is what happens when you flex forward. Your foot should slide back, creating space. If toes stay jammed, the boot is too long. If they pull back but feel cramped in the flexed position, the shell may be too narrow.
Heel Lifting? Check Mobility and Fit
Heel lift during flexion usually means the shell is too big, the forward lean is too aggressive, or you lack ankle dorsiflexion. Try ankle mobility drills off-season. If that doesn’t help, adjust forward lean or consider canting.
Arch Burning? Add Support
Burning arches come from unsupported feet. As you ski, weak muscles fatigue and collapse, pressing nerves. The fix is custom footbeds and off-season exercises like calf raises and balance drills. These build foot strength and prevent cramping.
Numbness on Top of Foot? Relieve Instep Pressure
High instep pressure cuts off circulation. Causes include boot volume that’s too low, over-tightened buckles, or no heat molding. Fix it with heat-molded liners, shell stretching, or a high-volume boot. Never over-buckle because tightness doesn’t equal better control.
Cold Feet? Improve Circulation
Cold feet usually mean boots are too tight, cotton socks are in use, or liners are wet. Switch to thin Merino socks, avoid over-buckling, and change socks midday. If your boots are too big, your foot moves, creating friction and moisture, which is another cold feet trigger.
Follow the Pro Fitting Process
Prepare for a 1–2 Hour Session
Good fitting takes time. Block off 1–2 hours because rushing leads to wrong choices.
Come prepared to:
- Remove shoes and socks.
- Discuss past boot issues.
- Share your skiing goals and frequency.
Be honest about pain using a 1–10 scale. Say exactly where it hurts: “pressure on the ankle bone,” “numb second toe,” and so on.
Trust the 5-Step Fitting Workflow
Top shops follow this process:
- Assessment: Measure foot length, width, instep, and calf. Discuss skiing style.
- Shell Check: Test foot in empty shell with no liner.
- Try-On: Wear full boot for 10–20 minutes in a flexed stance.
- Stabilize: Install custom footbeds.
- Customize: Heat mold, grind, cant, or stretch as needed.
If your shop skips steps, find another.
Buy Smart: Know Boot Types and Flex

Choose the Right Boot Category
- Alpine: For resort skiing. Stiff, supportive, and powerful.
- Backcountry (Touring): Lightweight with walk mode and ISO 9523 soles.
- Hybrid: Best of both worlds with good uphill mobility and strong downhill performance.
Don’t buy a touring boot for full-time resort use because it won’t drive your skis as well.
Pick the Right Flex
Flex rating measures stiffness:
- 50–80: Soft. For beginners, lighter skiers, or kids.
- 90–110: Medium. Most recreational and advanced skiers.
- 120+: Stiff. For expert skiers with strong legs.
Bigger, heavier, or more aggressive skiers often need stiffer boots even if they’re not expert-level. Flex should match your strength, not just your skill.
Avoid the Rental Boot Trap
Rental boots are a major reason people quit skiing. They’re worn, poorly fitted, and often too big. You’ll battle pain, cold, and lack of control.
If you ski more than 3–4 days a year, buy your own boots. Even an entry-level pair with a proper fit will outperform rentals and last years.
Specialty shops often include free heat molding and adjustments with purchase. That’s value you can’t get online.
Frequently Asked Questions About Ski Boot Fitting
How tight should ski boots feel when new?
A properly fitted ski boot should feel “suspiciously snug,” like a firm handshake. You should feel even pressure across your foot with no dead space, and only your toes should have slight movement. If the boot feels like a bedroom slipper, it’s too large.
Should toes touch the front of ski boots when standing?
Yes, this is normal for new ski boots. When you stand upright, your toes will press against the front. The key is that when you flex forward into a ski stance, your foot should slide back and create wiggle room for your toes. If toes stay jammed when flexed, the boot is too long.
Do half-sizes in ski boots actually fit differently?
No. Half-sizes use the exact same shell mold. The difference between a 27.0 and a 27.5 is only the insole thickness. A 27.0 uses a thicker footbed; a 27.5 uses a thinner one to create 5mm of extra space. This is why custom footbeds are so valuable for fine-tuning fit.
How long does a ski boot fitting take?
Plan for at least 1 to 2 hours for an initial fitting. Rushing leads to poor decisions. The process includes foot measurement, shell testing, trying on multiple boots, and discussing your skiing style and history.
Can custom footbeds fix most boot fit issues?
Yes. A well-made custom footbed is often cited as the single most important upgrade for comfort and performance. By stabilizing your arch and preventing muscle collapse, footbeds solve many “boot pain” issues without requiring shell modification.
When should ski boots be replaced?
Most boots need attention after 80–100 days of skiing because liners compress and pack out by approximately 15%. You may need thicker aftermarket insoles or a full liner replacement. Persistent pain or cold feet despite proper socks also signals it’s time for new boots.
Key Takeaways for Your Ski Boot Fitting Guide
Start with accurate Mondopoint sizing by measuring your foot in centimeters, not by trusting street shoe conversions. Pass the shell fit test with a heel gap that matches your skiing level: 25mm for beginners, 19mm for intermediates, and 13mm for experts. Invest in custom footbeds because they solve the majority of fit complaints without shell modification. Work with a professional fitter who follows a full customization process including heat molding, canting, and forward lean adjustments. Avoid online-only purchases unless you’ve already demoed the model in person.
Your boots are the only link between you and your skis. Get them right, and every turn will feel effortless. Book a fitting session at a specialty shop, block off two hours, and walk out with boots that feel like an extension of your body.