Fix Boot Sole with Shoe Glue: Quick Steps
If your boot sole is peeling or your favorite sneakers are falling apart, Boot-Fix shoe glue might be the fast, durable solution you’ve been searching for. This professional-grade cyanoacrylate adhesive has been trusted in shoe repair shops for nearly three decades, and for good reason. Unlike standard super glues that crack under pressure, Boot-Fix dries flexible, bonds in seconds, and holds up in rain, snow, and extreme heat. With over 19,000 Amazon reviews and a 4.5-star rating, it’s clear this isn’t just another glue: it’s a go-to for laborers, hikers, and DIYers who need their footwear fixed right now.
In this guide, you’ll learn exactly how to use Boot-Fix for long-lasting repairs, avoid common mistakes, and understand when it works and when it won’t. Whether you’re patching work boots before a long shift or saving a $180 pair from the trash, this article will walk you through every step.
Why Boot-Fix Outperforms Regular Super Glue

Flexible Bond for Footwear Stress
Standard super glues become brittle after curing, making them prone to snapping when your shoe bends. Boot-Fix remains flexible, allowing it to move with your foot during walking, running, or heavy work. This flexibility prevents the “crack and fail” cycle common with off-the-shelf adhesives.
Fast Bond, No Clamping Needed
You get an instant hold in 10 to 45 seconds with no clamps and no waiting. That means you can reattach a sole and walk on it almost immediately. While full strength develops over a few minutes (especially on porous materials), the initial grab is strong enough for light use right away.
Waterproof and Temperature Resistant
Whether you’re trudging through mud, working in freezing cold, or sweating in summer heat, Boot-Fix won’t quit. It’s completely waterproof and performs reliably across extreme temperatures. Rain or shine, wet or dry, the bond stays intact.
How to Apply Boot-Fix Glue Correctly
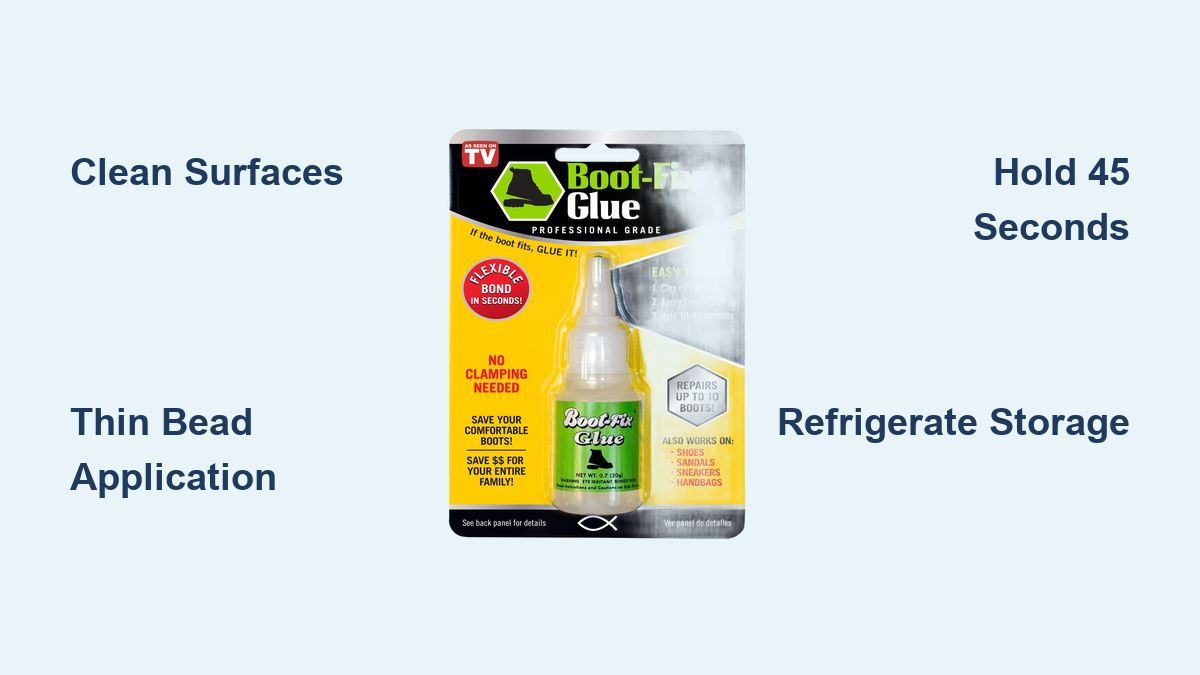
Clean Surfaces First
A strong bond starts with perfect prep. Any oil, dirt, or moisture will ruin adhesion.
- Wipe both surfaces with 91% isopropyl alcohol
- For non-porous surfaces like rubber soles, acetone can be used if needed, but avoid on soft plastics
- Let leather or fabric dry completely before gluing
Pro Tip: If your shoe has a white, soapy film (common after washing), clean extra thoroughly. This residue blocks bonding.
Prepare the Nozzle
Before applying:
- Remove the cap carefully. Don’t unscrew the nozzle from the bottle
- Wipe the tip with a paper towel to remove dried glue
- Squeeze a tiny drop to ensure flow
A clogged tip is the number one user complaint. Wiping it clean before capping prevents most issues.
Apply the Right Amount
Use a thin, even bead along the edge where the sole separates. Don’t flood the area, as excess glue doesn’t help and creates mess.
For best results:
- Apply small lines every ½ inch across the bonding surface
- Add a continuous bead around the outer edge to seal against water
- On porous materials like leather, apply slightly more to allow absorption
Critical Tip: When bonding rubber to leather, apply more glue to the hard surface (rubber) so the soft leather can press into it. If you apply glue only to the leather, it soaks in and leaves nothing to bond.
Press and Hold Firmly
- Align the pieces carefully. You only get one shot
- Press together and hold for 10 to 45 seconds
- For thick or porous materials, hold for a full minute or more
- If the bond slips, the surface likely wasn’t clean or dry. Re-clean, reapply, and hold longer
Let It Fully Cure
While functional in under a minute, wait 2 to 3 minutes before walking on it, especially if you used a thicker application. This ensures full strength and prevents oozing.
Wipe excess glue immediately with a paper towel. If it dries, it can be trimmed or sanded, but prevention is easier.
Fix Common Boot-Fix Mistakes
Nozzle Keeps Clogging?
The fine tip is great for precision, but only if it stays clear.
- Always wipe the tip after use, before capping
- Cap tightly until it clicks to seal out air
- Store in the fridge to extend shelf life and slow curing inside the tube
If clogged:
- Try poking the tip with a paperclip or pin
- Dip in acetone briefly (don’t submerge the bottle)
Glue Bonds, But Shoe Material Tears?
This isn’t a glue failure. It’s a material failure. Boot-Fix is stronger than cheap, degraded shoe components.
- If the leather or synthetic upper is cracked or thin, the glue will hold, but the material pulls apart
- In these cases, reinforce the area with fabric tape or consider retirement
White Film or Hazy Residue?
A white “blooming” effect can appear if:
- Too much glue was used
- Surfaces weren’t clean
- Humidity was high during application
Prevent it by:
- Using less glue
- Wiping surfaces with alcohol
- Applying in a dry environment
The haze doesn’t affect strength, but it’s unsightly on visible areas.
When to Use Boot-Fix (And When Not To)
Best For:
- Sole reattachment: Separated rubber soles on boots, sneakers, or sandals
- Stitching gaps: Sealing holes behind steel toes or along seams
- Emergency field fixes: Hikers and workers fixing boots mid-shift
- Slip-on straps: Reattaching over-the-foot straps on slides or flip-flops
- Non-shoe uses: Works on tile, wood, plastic, and more for small household repairs
Not Ideal For:
- Large gap filling: If the sole is completely missing or the gap is deep, use Shoe Goo first to fill, then seal with Boot-Fix
- Replacing worn-out soles: It bonds, but won’t restore tread or cushioning
- Extremely degraded materials: If the shoe is falling apart at the seams, glue won’t save it
Compare Boot-Fix to Other Shoe Glues

vs. Standard Super Glue
| Feature | Boot-Fix | Regular Super Glue |
|---|---|---|
| Flexibility | Flexible, durable under stress | Brittle, cracks easily |
| Drying Time | 10 to 45 sec hold | Similar |
| Water Resistance | Fully waterproof | Varies |
| Shoe-Specific Design | Yes | No |
Bottom line: Boot-Fix is super glue engineered for shoes.
vs. Shoe Goo
| Feature | Boot-Fix | Shoe Goo |
|---|---|---|
| Bond Time | Seconds to minutes | Takes 24 to 72 hours to cure |
| Flexibility | Flexible bond | Very flexible, rubber-like |
| Best Use | Reattaching separated parts | Filling large gaps, rebuilding soles |
Use Boot-Fix for speed and Shoe Goo for bulk.
vs. E6000
| Feature | Boot-Fix | E6000 |
|---|---|---|
| Cure Time | Under 1 min hold | 24 to 72 hours |
| Application | Precision tip | Requires careful dispensing |
| Immediate Use | Walk on it fast | Wait days |
If you need to wear the shoe today, Boot-Fix wins.
Maximize Value: Make One Tube Last
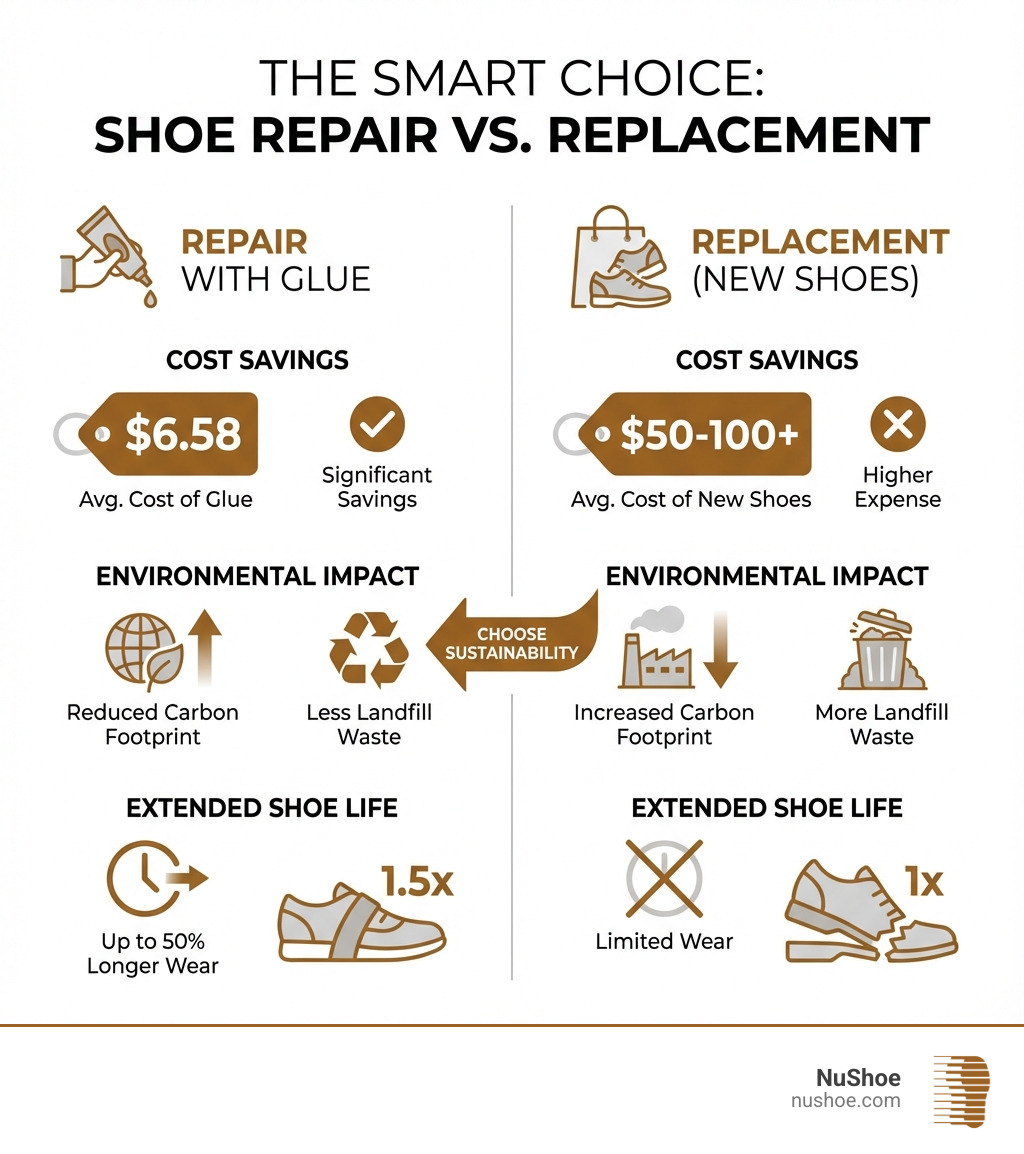
A 20g tube costs $12.99, which isn’t cheap for the volume. But one bottle can fix 5 to 10 pairs if used wisely.
Tips to Stretch a Bottle
- Use less glue: A thin bead is enough
- Target edges and stress points: Focus on the toe, heel, and sides. Don’t glue the whole sole
- Store in the fridge: Keeps the glue fresh for months or even years
- Buy in packs: 2-tube sets offer better value for frequent users
Cost-Saving Win: Fixing a $180 work boot with $13 glue is a 93% savings.
Real-World Success Stories

Farm Worker’s CAT Boots
A user with flat feet repaired torn stitching behind the steel toe on CAT boots. After cleaning with alcohol and applying Boot-Fix, the bond held through months of farming, including mud, water, and heavy lifting. The repair was stiffer than original but didn’t fail, unlike Shoe Goo which lasted only two days.
Hiker’s Emergency Sole Fix
Before a 4.5-hour trail hike, a user’s hiking boot sole separated. Applied Boot-Fix, held for a minute, waited 3 minutes, then hiked. The bond lasted the entire trip and 15+ hours of use.
Adidas Slides Strap Repair
A completely detached strap on Adidas slides was reattached with Boot-Fix. After 6 months of daily wear, the bond remains perfect.
Storage and Long-Term Care
Keep It Fresh
- Store upright in the fridge. Cold slows curing
- Always cap until it clicks
- Label the bottle if storing in a shared fridge
Shelf Life
- Unopened: 2+ years
- Opened and properly stored: 6 to 12 months
- Refrigerated: Up to 18 months
User Hack: Some keep a tube in their work truck or garage for emergency repairs. Just keep it out of direct sun.
Frequently Asked Questions About Boot-Fix Shoe Glue
How long does Boot-Fix take to dry?
Boot-Fix bonds in 10 to 45 seconds with firm pressure. However, you should wait 2 to 3 minutes before walking on the repair, especially if you applied a thicker bead or used it on porous materials like leather.
Is Boot-Fix waterproof?
Yes. Boot-Fix is completely waterproof once cured. It holds up in rain, snow, mud, and wet working conditions without losing adhesion.
Can Boot-Fix be used on rubber soles?
Absolutely. Boot-Fix is specifically designed for rubber, leather, vinyl, and fabric. When bonding rubber to leather, apply more glue to the rubber (hard surface) so the leather can press into it.
How do I unclog a Boot-Fix nozzle?
First, try wiping the tip with a paper towel. If still clogged, poke it gently with a paperclip or pin. You can also dip the tip in acetone briefly, but don’t submerge the bottle.
Does Boot-Fix work on boots with completely separated soles?
Yes. For fully detached soles, preset the sole in position, apply glue to the toe or heel first, hold for 45 seconds, then repeat on the opposite end until the entire sole is attached.
How should I store Boot-Fix to extend shelf life?
Store it upright in the refrigerator with the cap clicked shut. Cold temperatures slow the curing process inside the tube, extending usability to 18 months or more.
Key Takeaways for Using Boot-Fix Shoe Glue
Boot-Fix shoe glue is the fastest, most reliable solution for reattaching soles, sealing stitching gaps, and handling emergency footwear repairs. The formula stays flexible, dries waterproof, and bonds in seconds without clamps. Just remember: clean surfaces thoroughly, apply a thin bead, and hold firmly for at least 45 seconds on porous materials.
For under $13, one tube can save hundreds of dollars in replacement boots. Keep one in your fridge, one in your work truck, and one in your hiking pack. Clean well, apply right, and you’ll walk with confidence.