How to Make Boot Cut Jeans Straight Leg
You’ve got a pair of bootcut jeans sitting in your closet that once felt perfect, but now the flare looks dated or simply doesn’t match your style. Before you donate them or toss them in a resale pile, consider this: transforming bootcut jeans into straight leg is a practical, sustainable way to refresh your wardrobe without spending a dime on new denim. The process is approachable for beginners and rewarding for seasoned sewers alike.
This guide walks you through every step of converting bootcut jeans to straight leg, from checking if your jeans are a good candidate to sewing the final hem. You’ll learn how to avoid twisted legs, prevent puckering, maintain the fabric grain, and achieve a clean, professional finish that looks store-bought.
Check If Your Jeans Are Worth Altering

Confirm the Fit in the Upper Half
Before you cut anything, try the jeans on and check how they fit at the waist, hips, and thighs. If those areas are snug or uncomfortable, tapering the legs won’t solve the problem. You’ll just end up with jeans that are tight and narrow. However, if the upper half fits well and only the lower leg flares too much, you’re an ideal candidate for this alteration.
Lightweight denim is easier to work with, especially if you’re new to sewing. Heavy, rigid denim requires a stronger machine and a fresh denim needle (90/14 or 100/16) to avoid skipped stitches or broken needles.
Understand the Twisting Risk
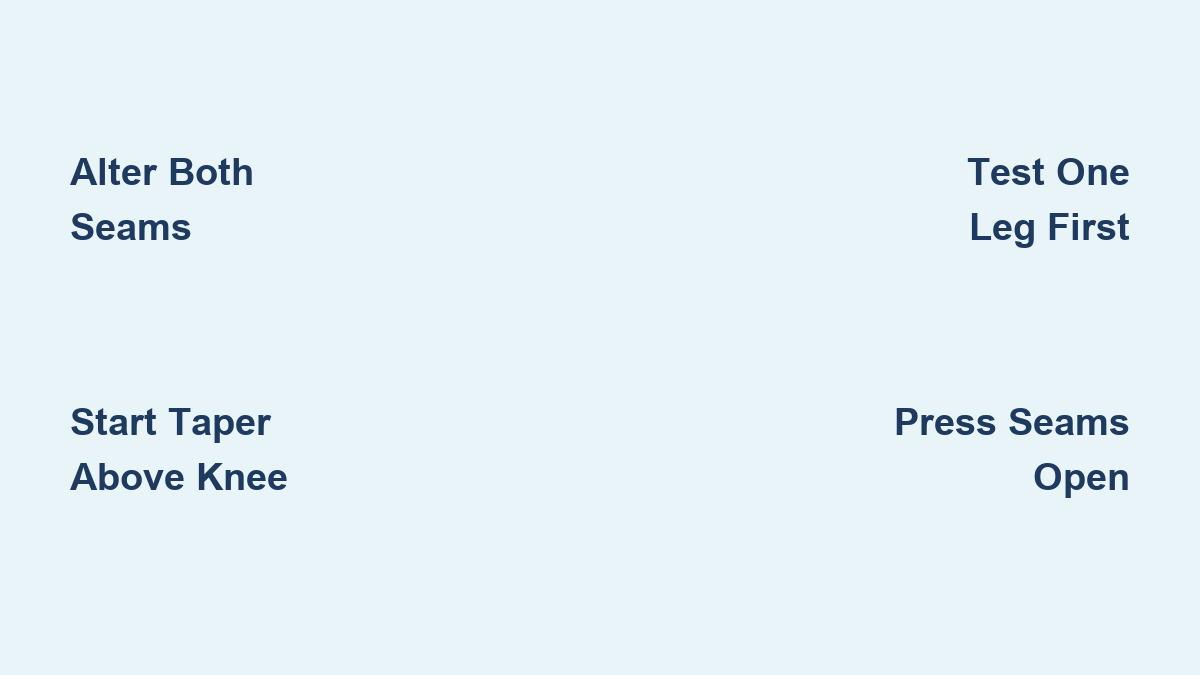
The biggest mistake people make is altering only the outseam. This shifts the fabric grain and causes the leg to twist awkwardly around your calf. To prevent this, you must remove equal width from both the inseam and outseam. This keeps the grain straight and the leg balanced.
A reliable rule: for every inch you want to reduce in total leg width, take ½ inch from the inseam and ½ inch from the outseam.
Find the Right Taper Starting Point
Begin 4 to 6 Inches Above the Knee
The taper should start where your leg naturally narrows, which is usually 4 to 6 inches above the knee. This creates a smooth transition from thigh to calf and avoids an awkward bulge or pinch point.
To locate this spot:
– Put the jeans on.
– Bend your knee slightly.
– Pinch the fabric at the side; where it starts to flare outward is your taper starting point.
Mark this spot on both legs with fabric chalk or a washable marker.
Adjust for Skinny or Subtle Styles
Want a skinny fit? Start the taper higher, around mid-thigh or even upper thigh. For a subtle straightening, keep the taper short, starting at knee level and reducing width gradually.
Always draw a straight line from the taper start down to the hem. A yardstick or long ruler ensures a clean, gradual slope rather than a sharp angle that causes puckering.
Pin and Test One Leg First

Set Up for a Test Fit
Turn the jeans inside out and lay them flat on a table. Choose one leg to alter first.
Using your marked taper line:
– Pin along the new seam path, removing excess fabric.
– Keep the original seam above the knee intact. Only adjust from the taper point downward.
– Ensure the new line blends smoothly into the existing seam above. An abrupt curve creates puckering and an unflattering hang.
Once pinned, turn the jeans right-side out and try them on.
Evaluate and Adjust
Check these key points in a mirror:
– Does the taper start at a flattering height?
– Is the leg width even from front to back?
– Does the leg hang straight, or does it twist?
If the fit is too loose, move the pins inward. Too tight? Loosen them slightly. Make adjustments until you’re happy with the silhouette.
Once the fit is perfect, measure the new seam allowance so you can replicate it exactly on the second leg.
Replicate the Taper on the Second Leg
Ensure Perfect Symmetry
Use the first leg as your template. Lay the altered leg over the unaltered one (inside out), aligning the crotch seams and hems. Trace the same taper line onto the second leg with chalk.
Alternatively, measure carefully:
– Distance from the original inseam to the new seam at the knee.
– Distance from the original outseam to the new seam at the hem.
– Repeat the same reduction on the second leg.
Even a ¼-inch difference can throw off the balance, so precision matters here.
Sew the New Seams
Use the Right Needle and Thread
Set your sewing machine to a straight stitch, length 2.5 to 3.0. Use denim thread for topstitching areas, or strong cotton thread that matches your jeans.
Sew along the pinned line on both legs, removing pins as you go. Backstitch at the beginning and end of each seam for reinforcement.
Pro Tip: Reinforce the bottom 2 inches of the seam near the hem with a second pass. This area takes the most stress from daily wear.
Trim and Finish the Raw Edges
Cut the seam allowance down to ½ inch to reduce bulk inside the leg.
Then, prevent fraying with one of these methods:
– Zig-zag stitch over the raw edge.
– Use a serger or overlocker for a clean, professional finish.
Even though denim doesn’t fray much, finishing the edges ensures long-term durability.
Press the Seams Open
Steam for a Professional Hang
After sewing, press the new seams open with a hot iron and steam. This step sets the stitches, flattens the seam, and ensures the leg lies straight. Without pressing, the jeans may pucker or hang unevenly.
Hold the iron down for 5 to 10 seconds per section. Use a pressing cloth if the denim is dark to avoid a shiny finish on the fabric.
Adjust or Create a New Hem
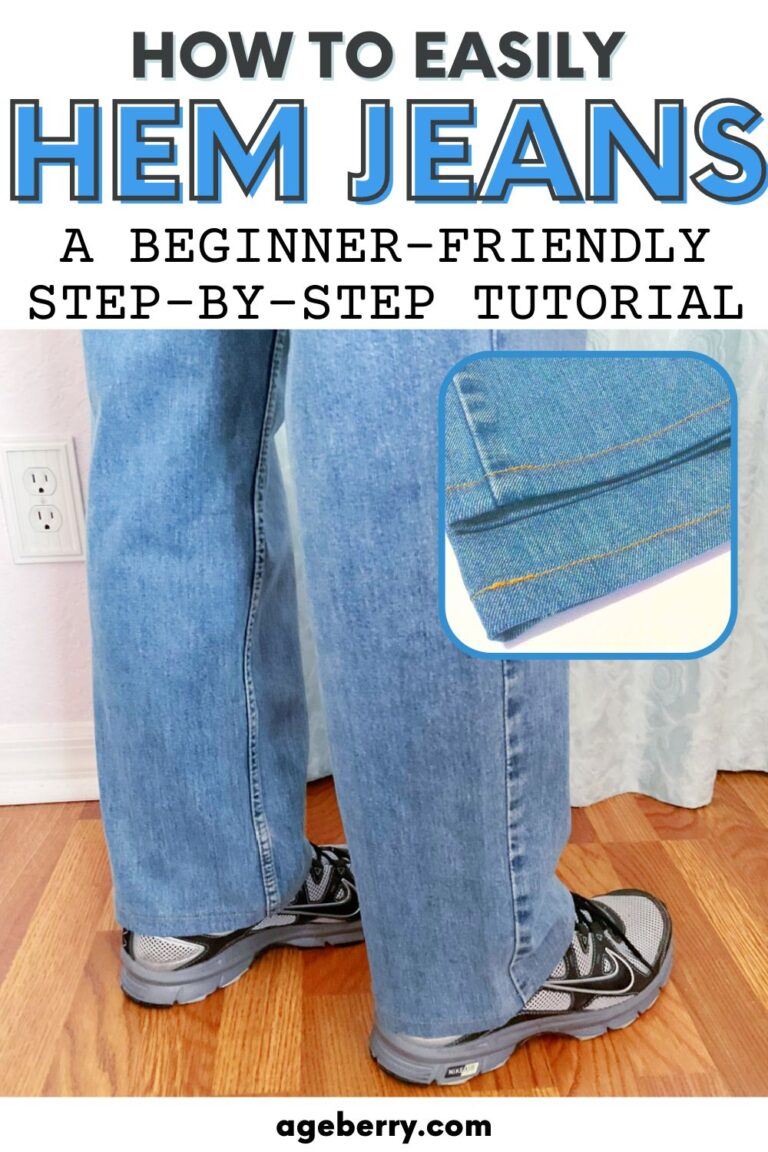
Fold and Stitch a Fresh Hem
If you cut off the original hem, fold the raw edge ½ inch to the inside, press, then fold again ½ inch to hide the raw edge. Stitch close to the inner fold using a topstitching needle and thread for a factory-like look.
Preserve the Original Hem
Want to keep the factory wash or distressing?
– Carefully unpick only the last few inches of the original hem.
– After tapering, reattach the original hem by re-stitching the seam.
– Use matching topstitching thread if available. If not, a uniform thread color is better than a mismatched one.
This method keeps the authentic look while changing the leg shape.
Troubleshoot Common Problems
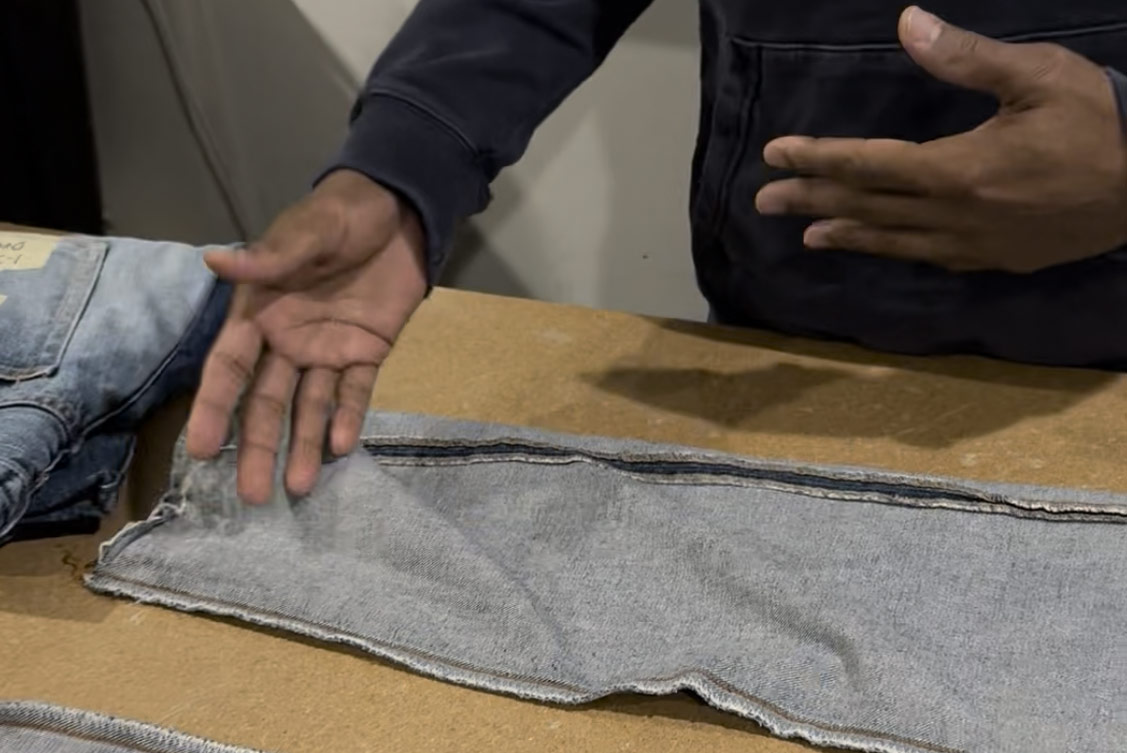
Leg Twisting After Alteration
Cause: Only one seam was altered (such as the outseam only).
Fix: Always adjust both the inseam and outseam equally. Reopen the unaltered seam and remove the same amount of fabric to restore balance.
Puckering at the Knee
Cause: An abrupt taper where the line jumps from a wide thigh to a narrow calf too quickly.
Fix: Draw a straight, gradual line from 4 to 6 inches above the knee to the hem. Blend it smoothly into the original seam above.
Uneven Hems
Cause: Legs cut to different lengths or the hem not parallel to the floor.
Fix: Use the first leg’s cutoff portion as a template for the second. Alternatively, have someone mark the hem while you stand straight in shoes you typically wear.
Fraying Inside the Legs
Cause: Unfinished seam allowances.
Fix: Always zig-zag or serge the raw edges. It takes 30 seconds and doubles the lifespan of your alteration.
Gather Your Tools
Essentials for a Clean Job
You will need:
– A sewing machine (heavy-duty preferred)
– A denim needle (90/14 or 100/16)
– Fabric scissors and a seam ripper
– Pins and fabric chalk
– A yardstick or ruler
– An iron and steamer
– Matching thread (regular or topstitching)
Optional but Helpful
- A serger for clean seam finishes
- A tailor’s ham for pressing curved areas
- A walking foot for thick denim layers
Estimate Your Time and Difficulty
- Beginner: 60 to 90 minutes (allow extra time for fitting)
- Experienced: 30 to 45 minutes
- Difficulty: Moderate (requires basic sewing skills)
- Best Paired With: Hemming. If your jeans are too long, do both jobs at once.
Maintain Your Altered Jeans
Keep Them Looking Fresh
Follow these care tips to extend the life of your alteration:
– Wash inside out to protect new seams.
– Air dry when possible to preserve shape and stitching.
– Avoid excessive stretching when putting them on.
– Inspect seams every few months and repair any loose threads early.
Because you preserved the grain by altering both sides, your jeans will maintain their structure and won’t torque awkwardly with wear.
Frequently Asked Questions About Converting Bootcut Jeans to Straight Leg
Can any bootcut jeans be converted to straight leg?
Most bootcut jeans can be converted if they fit well in the waist, hips, and thighs. The key is that the upper half must be comfortable. If the jeans are tight above the knee, tapering the legs won’t fix the fit problem.
Do I need a serger to finish the seams?
No, a serger is optional. You can achieve a clean finish by using a zig-zag stitch along the raw edges of the seam allowance. Denim rarely frays significantly, but finishing the edges improves long-term durability.
Where exactly should the taper begin?
For a standard straight-leg look, start the taper 4 to 6 inches above the knee. For a skinny fit, begin higher at mid-thigh. For a subtle straightening, start at knee level and reduce width gradually down to the hem.
Can I keep the original hem after tapering?
Yes. Carefully unpick the last few inches of the original hem before altering, then reattach it after sewing the new seam. Use matching topstitching thread if possible to maintain the factory look.
How long does this alteration take?
Beginners should allow 60 to 90 minutes, including fitting time. Experienced sewers can complete the project in 30 to 45 minutes. The process goes faster if you’re also hemming the jeans at the same time.
What if my jeans twist after the alteration?
Twisting happens when only one seam is altered. To fix this, reopen the unaltered seam and remove the same amount of fabric from that side. Always adjust both the inseam and outseam equally to keep the fabric grain straight.
Key Takeaways for Converting Bootcut Jeans to Straight Leg
Converting bootcut jeans into straight leg is a practical, eco-friendly upgrade that breathes new life into old favorites. By starting the taper at the right height, altering both seams equally, and finishing with proper pressing, you’ll achieve a custom fit that looks store-bought.
The most important rules to remember: always alter both seams to prevent twisting, draw a gradual taper line to avoid puckering, and test fit one leg before sewing the second. These three habits alone will save you from the most common mistakes.
Now that you know how to make bootcut jeans into straight leg, grab your scissors, set up your machine, and tailor your denim to fit exactly how you want.