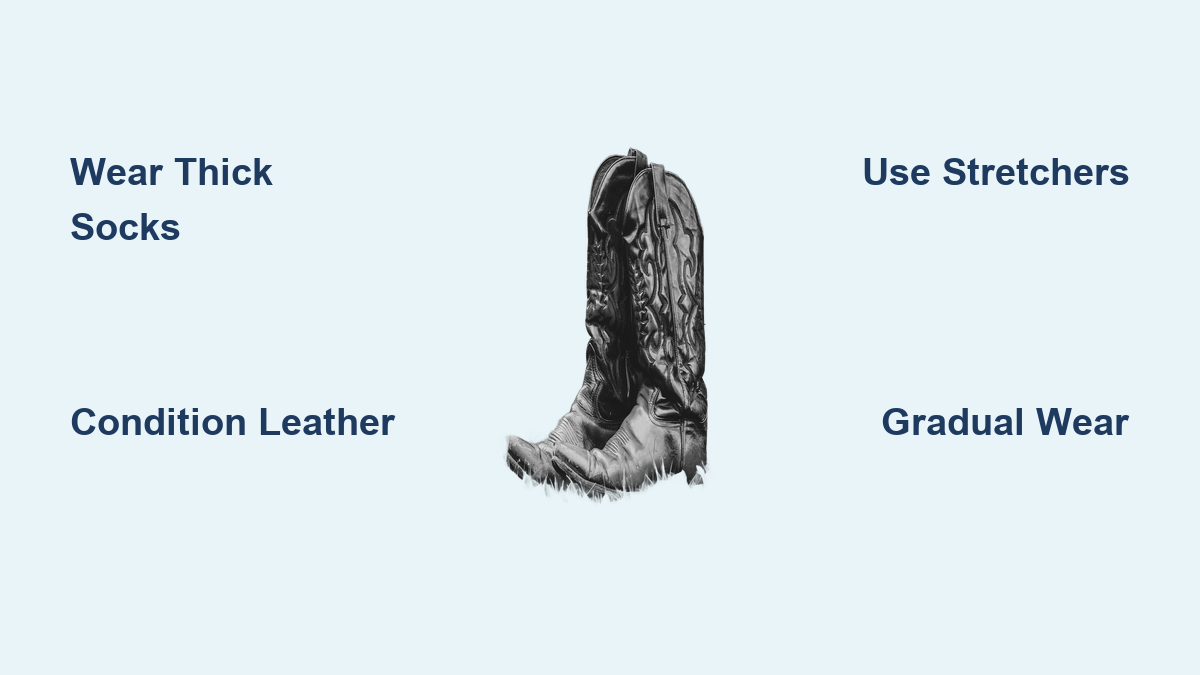
How to Break in a Boot: Quick Steps
New boots are tough, stiff, and often uncomfortable, especially high-quality leather ones. If you’ve ever felt like your boots were punishing your feet instead of protecting them, you’re not alone. The good news? That stiffness is temporary. Breaking in a boot is a necessary process that transforms rigid leather into a custom-fitted, supportive second skin. Done right, it prevents blisters, enhances comfort, and extends the life of your footwear.
This guide walks you through every step of how to break in boots safely and effectively, whether you’re dealing with heavy-duty work boots, tall engineer styles, or sleek dress shoes. You’ll learn how to avoid common mistakes, use the right tools, and speed up the process without damaging your investment. No magic tricks, no risky hacks, just proven methods backed by leather science and decades of wear.
Verify Your Fit First
Before you start breaking in boots, confirm they actually fit.
Boots Should Be Snug, Not Painful
A new boot should feel firm and close to your foot, but never painful. There should be slight heel slippage (about ¼ inch) at first, and your toes should wiggle freely without hitting the front. If your toes are cramped or your foot spills over the sole, the boot is too small. No amount of break-in can fix that.
Check Calf and Width Fit
For taller boots like engineer or chukka styles, slide two fingers between your calf and the shaft. If they fit snugly, you’re good. If not, consider a wider or narrower width. Boots come in different lasts, some built for wide feet (EE), others for narrow (B). Choose the right one from the start.
Buy the Right Size
Whenever possible, try boots on in person. If buying online, order multiple sizes and return what doesn’t work. It’s cheaper than damaging a pair trying to stretch it beyond repair.
Choose the Right Socks

Thick socks are your best ally in breaking in boots.
Wear Heavyweight Wool Socks
Midweight to heavyweight Merino wool socks (like Smartwool or Camel City Mill) fill empty space, cushion pressure points, and wick moisture. They help stretch the leather where you need it while protecting your skin.
Add Liner Socks for Friction Control
Wear a thin, moisture-wicking liner sock under your wool sock. This double-layer system reduces friction and prevents blisters better than any pad.
Avoid Cotton Athletic Socks
They absorb sweat but don’t dry fast, leading to soggy feet and stiff leather. Plus, they’re too thin to help with stretching.
Start with Gradual Wear
The safest way to break in boots is slow and steady.
Wear Indoors First
Begin by wearing your boots around the house for 30–60 minutes at a time. Walk on carpet or wood floors. Flex your feet, squat, and shift your weight to encourage natural creasing at the ball and ankle.
Increase Time Gradually
Add 1–2 hours of wear each day. After a few indoor sessions, move to short walks outside on flat pavement. Avoid hiking, long shifts, or rough terrain until the boots feel flexible.
Give Boots Rest Days
Leather needs time to dry out. Wear new boots every other day, allowing 24–48 hours between wears. This prevents mildew, odor, and leather fatigue.
Condition the Leather
Softening the fibers speeds up the break-in.
Apply Leather Conditioner
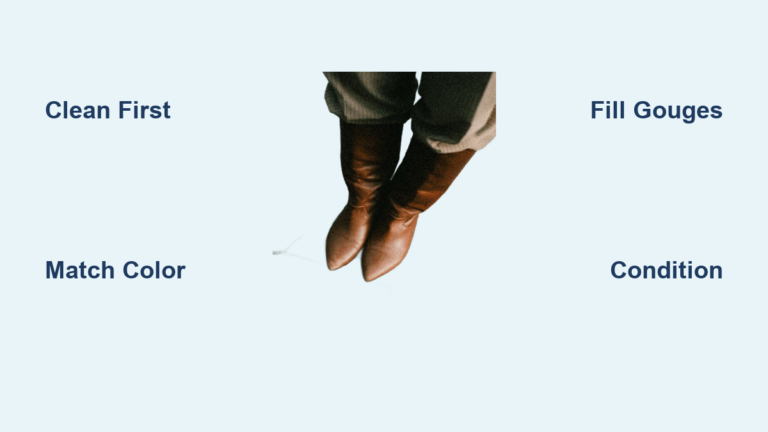
Clean boots first, then apply a quality product like Obenauf’s Oil or Chamberlain’s Leather Milk. Focus on stiff areas: toe box, ankle, and sides. Let it soak in for a few hours, then wipe off excess.
Wear While Damp for Faster Molding
Put on thick socks and wear the boots while the conditioner is still wet. Walk around for several hours. As the leather dries, it molds to your foot shape.
Repeat as Needed
Reapply conditioner 2–4 times during the first week. You can’t over-condition during break-in; excess oil just sits on the surface and wipes off.
Use Mechanical Stretching Tools

Target tight spots with controlled pressure.
Insert Boot Stretchers
Wooden or plastic stretchers with adjustable knobs expand the interior. Insert, turn the handle gently, and leave for 5 hours. Test fit, then repeat if needed. Never force it; overstretching ruins the structure.
Focus on Problem Areas
Use stretchers with toe plugs to target tight insteps. Some models expand width or heel depth separately for precise adjustments.
Combine with Conditioner
For faster results, apply conditioner before inserting the stretcher. The damp leather responds better to pressure.
Try Stretching Sprays
Sprays soften leather quickly and safely.
Spray and Wear Immediately
Clean boots, then spray Drew’s Boot Stretch liberally inside and out. Put on thick socks and wear the boots until dry, usually 1–2 hours. Repeat 2–3 times a day.
Best for Minor Adjustments
Sprays are ideal for softening stiff seams or slightly tight areas. They don’t nourish leather like oils, so condition afterward.
Avoid Overuse
Too much spray can make leather too soft. Stick to 3–4 applications max during break-in.
Use Heat Carefully
Heat makes leather pliable, but only if used right.
Warm with Low-Heat Hairdryer
Put on socks and boots. Use a hairdryer on low heat to warm tight spots (ankle, instep) for 10–15 minutes. Walk and flex your feet while warm. Keep boots on until cooled.
Never Use High Heat
No ovens, steamers, or high-blow dryers. Heat dries out natural oils, leading to cracks and brittleness.
Cool Naturally
Let the leather set its shape as it cools. This locks in the new form.
Prevent Blisters and Friction
Comfort starts with protection.
Apply Blister Pads Early
Stick adhesive pads or gel heel guards on problem zones before putting on socks. Common spots: pinky toe, heel, ball of foot.
Scuff the Inside Heel
If the heel counter rubs, gently sand the interior with fine-grit paper. This creates micro-grips that hold wool socks instead of sliding against skin.
Adjust Lacing
- For high arches: Skip eyelets over the instep to reduce pressure.
- For heel slip: Use a “hiker’s lock” lace at the ankle to pull the heel down and stop rubbing.
Avoid Dangerous Methods
Some “hacks” will destroy your boots.
Never Soak in Water
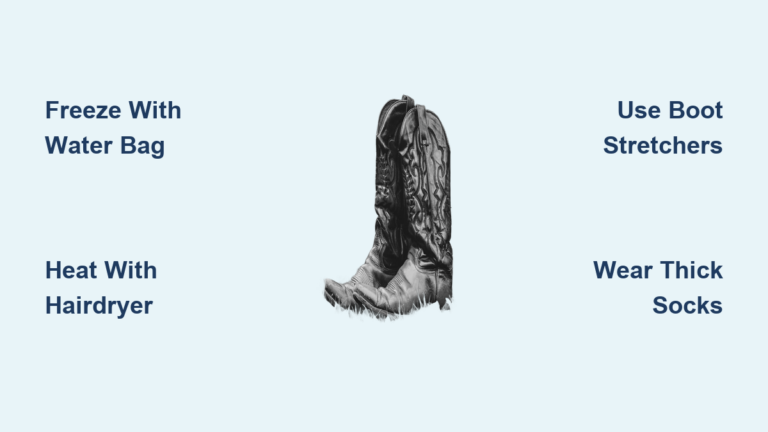
Submerging boots strips natural oils, warps leather, and weakens stitching. Even if you condition after, the damage is often permanent. Skip the water-bag freezing trick too; it stretches randomly and can ruin the shape.
Don’t Wear Non-Stop
Wearing new boots every day without rest traps moisture. This breaks down glue, causes odors, and increases blister risk. Follow the 2:1 rule: two wears, one rest day.
Stop at Sharp Pain
Mild pressure is normal. Sharp pain means the boot is too small, too narrow, or the wrong last. No amount of stretching fixes that. Exchange it before you damage your feet.
Break In by Boot Type
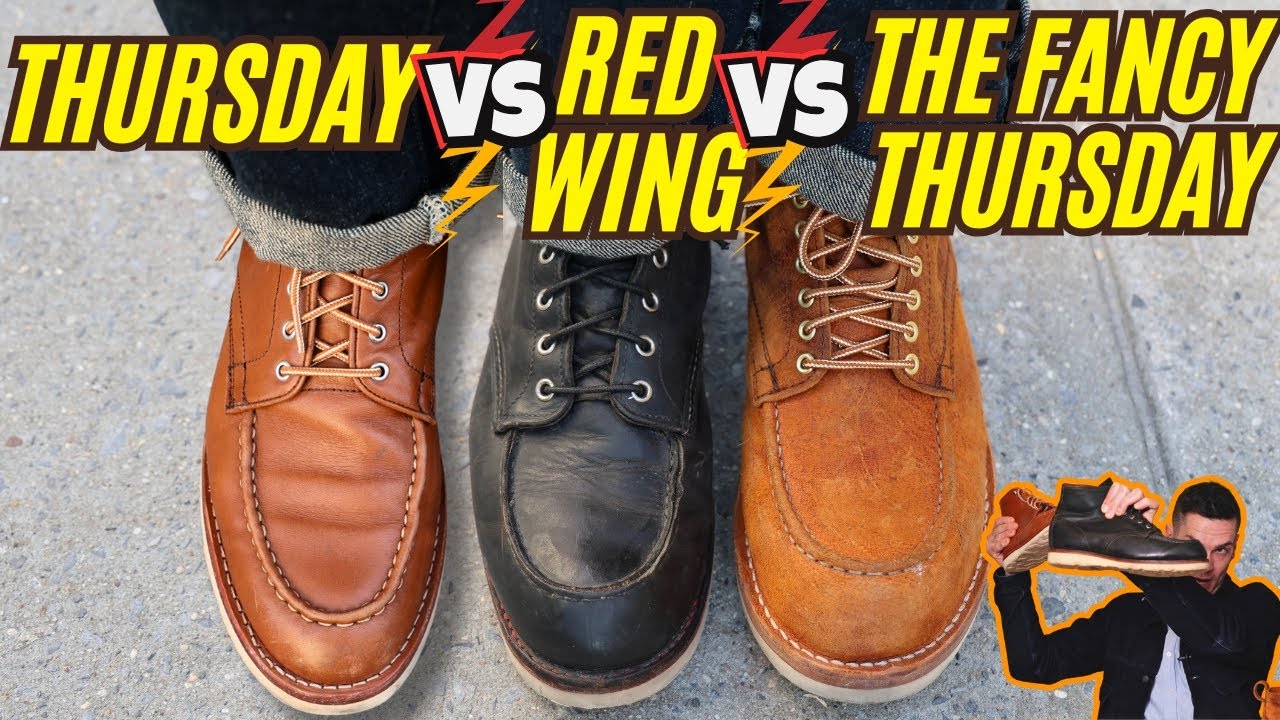
Different boots need different approaches.
Work Boots (Red Wing, White’s)
Built tough with thick full-grain leather and steel shanks. Expect 80–120 hours of wear to fully break in. Start with light chores. Use heavy wool socks and condition weekly.
Engineer Boots
High shafts and snug insteps make these slow to soften. Use stretching spray on the calf area. Consider EE widths if you have thick calves. Plan for up to two weeks of gradual wear.
Dress Shoes
Softer calfskin means faster break-in, just 2–3 wears. Wear on carpet first. Use a shoehorn to preserve the heel counter. Condition lightly to maintain polish.
Moc Toe and Moto Boots
Thick seams at the ankle can rub. Flex them manually and sand the inside seam lightly. Condition often to soften double-stitched areas.
Fix Common Problems
Heel Slipping Too Much?
Some slip is normal at first. Use a hiker’s lock lace. Push the heel counter inward with your thumb when not wearing. It should settle within a week.
Instep Too Tight?
Use a boot stretcher with a raised toe plug. Skip lacing eyelets over the arch. Try the “baseball bat method”: place the boot over a bat and gently press down to stretch the instep.
Side Seams Rubbing?
Flex the seams outward from the inside. Sand the interior lightly. Apply conditioner directly to the seam to soften it.
Still in Pain After a Week?
Stop. The boot is likely the wrong size or last. Don’t waste time trying to stretch it more than half a size. Return or exchange it.
Maintain After Break-In
Once broken in, keep boots in shape.
Clean Regularly
Brush off dirt and mud. Use leather shampoo for stains. Grime stiffens fibers and slows flexibility.
Condition Every Few Months
Reapply Obenauf’s or Chamberlain’s every 3–6 months, or after wet conditions. This keeps leather soft and water-resistant.
Store with Cedar Trees
Insert cedar shoe trees to absorb moisture, fight odors, and hold the boot’s shape.
Resole When Needed
Goodyear-welted or stitchdown boots can be resoled for decades. That’s the real value of breaking them in right.
Frequently Asked Questions About Breaking In Boots
How long does it take to break in new boots?
It depends on the leather and construction. Work boots typically need 80–120 hours of wear, while dress shoes may only need 2–3 wears. Engineer boots can take up to two weeks due to their structured design.
Can I speed up the break-in process?
Yes. Using boot stretchers, stretching sprays, and leather conditioners together can cut the timeline to as little as 24 hours for minor adjustments. Gradual wear remains the safest long-term method.
Is it normal for boots to hurt at first?
Mild stiffness and snugness are normal. Sharp pain, numbness, or toes hitting the front of the boot is not. If pain persists beyond a week, the size or last is likely wrong.
Should I wear thick socks when breaking in boots?
Absolutely. Heavyweight Merino wool socks fill empty space, cushion pressure points, and help stretch the leather naturally. Avoid thin cotton athletic socks.
Can I use water to break in my boots faster?
Water soaking is risky and generally discouraged. It strips natural oils, can warp leather, and weakens stitching. If you do it, immediate and thorough re-conditioning is essential.
How do I know if my boots fit correctly?
Your toes should wiggle without hitting the front. Heel slippage should be about ¼ inch at first. For tall boots, you should fit two fingers between your calf and shaft. No pain should be present.
Final Thoughts on Breaking In Boots Comfortably
Breaking in boots doesn’t have to hurt. With the right fit, thick wool socks, gradual wear, and smart use of conditioners or stretchers, you can transform stiff leather into a comfortable, custom fit in as little as a week. Avoid dangerous shortcuts like soaking or high heat; they may soften the boot fast, but they shorten its life.
Invest time upfront, and your boots will reward you with years of reliable wear. Start by verifying your fit, grab a pair of heavyweight wool socks, and wear them indoors for short sessions. Add conditioner when the leather feels stiff, and use stretchers only for targeted tight spots. When in doubt, listen to your feet. Pain means stop. Comfort means you’re on the right track.