How to Put On a Boot: Quick Steps
A walking boot only works if you wear it correctly. Slipping it on too loose defeats its purpose, while strapping it too tight can cut off circulation and damage your skin. Whether you’re recovering from a fracture, severe sprain, or foot surgery, the way you apply your orthopedic boot directly affects how well and how quickly you heal.
Below you’ll find a complete walkthrough on how to put on a walking boot, secure it properly, and care for it throughout recovery. You’ll also learn how to manage swelling, prevent skin problems, and recognize warning signs that require medical attention.
Prepare Your Foot and the Boot
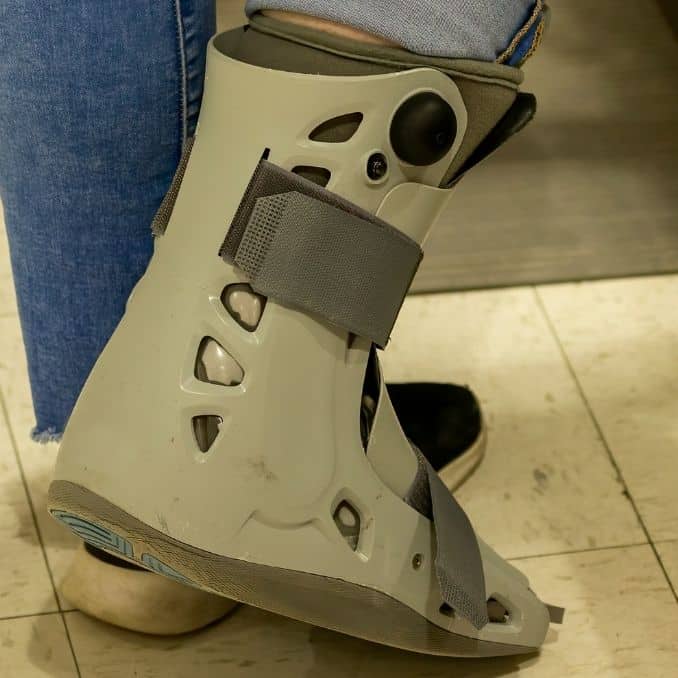
Good preparation protects your skin and sets the stage for proper healing.
Clean and Dry the Foot Thoroughly
Wash the injured foot with mild soap and water only if your doctor allows you to remove the boot. Dry it completely, especially between the toes. Trapped moisture can cause itching, skin breakdown, or infection, especially after surgery or with open wounds. Avoid lotions, oils, or powders near the boot edges, since these can soften skin and increase irritation.
Apply Prescribed Dressings First
If your doctor has recommended compression wraps, bandages, or protective coverings, put them on before inserting your foot. Keep all dressings flat and smooth to avoid pressure points. Never change your dressing routine without medical approval.
Position the Boot on a Flat Surface
Place the boot upright on the floor with the opening facing up. Make sure it sits steady so your foot can slide in easily. Confirm the interior is free of debris and the heel cup is aligned correctly. If your boot has CAM (Controlled Ankle Movement) settings, verify they match your doctor’s prescription and never adjust them yourself.
Insert Your Foot the Correct Way

How your foot sits inside the boot determines whether the device can stabilize your injury.
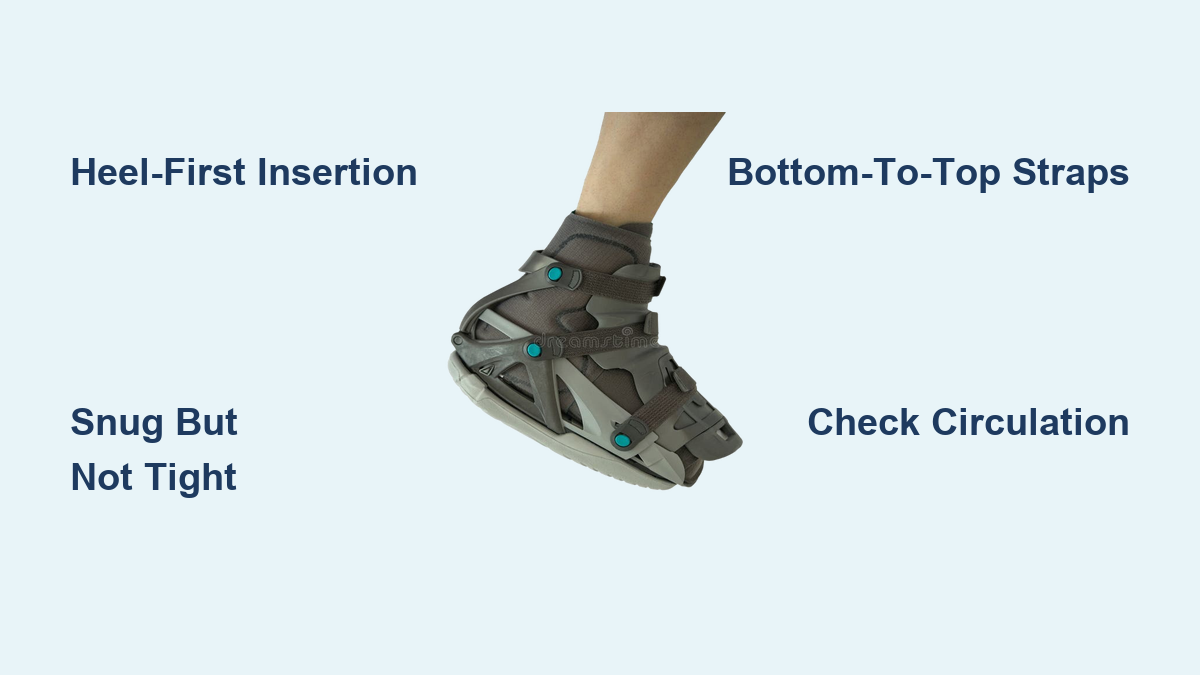
Slide Your Foot In Heel-First
Always lead with the heel. This seats your foot properly into the back of the boot, where support is strongest. Inserting toes-first can twist your ankle or stretch the straps unevenly.
Center the Foot in the Cavity
Once your heel is seated, center your foot so it isn’t leaning to either side. Your arch should match the boot’s curve, and your toes should just reach the front without pressing against it. Proper alignment prevents rubbing, pressure sores, and strain on healing tissue.
Confirm Ankle Stability
Before tightening anything, gently shift your leg side-to-side. Your foot should not move inside the boot. If it does, reposition and realign. A loose fit won’t immobilize the injury and increases the risk of re-injury.
Secure the Straps in the Right Order
Strap sequence and tightness make or break the boot’s effectiveness.
Start from the Bottom and Work Up
Begin with the lowest strap near the foot and move upward toward the calf. This bottom-to-top approach distributes pressure evenly and keeps your foot from sliding down inside the boot.
Tighten Snug But Not Constrictive
Each strap should feel snug but never tight. You should feel support, not pain or pressure. A properly fitted boot allows minimal toe wiggle, just enough to confirm your circulation is intact. Watch for these signs of over-tightening:
- Numbness or tingling in the toes
- Burning or stinging sensations
- Warm or painful spots under the boot
- Swelling in the toes
Check Circulation After Strapping
Once all straps are secured, do a quick circulation check. Press on a toenail until it turns white, then release. Color should return within 2 seconds. Your toes should stay pink and warm. If they look pale, blue, cold, or feel numb, loosen the straps right away.
Verify the Fit Before Moving

A final check confirms the boot is doing its job without causing harm.
Test Toe Movement
Gently wiggle your toes. If your toes aren’t injured, wiggling them every hour promotes blood flow and reduces swelling. There should be slight movement, but not excessive motion inside the boot. No wiggle at all usually means the boot is too tight.
Assess Ankle Stability
Try moving your ankle side-to-side or rotating it. The boot should block all motion. If you feel shifting or instability, reposition your foot and retighten the straps from the bottom up.
Inspect External Alignment
Stand (if your doctor allows weight-bearing) and look down at the boot. It should sit straight, not tilted inward or outward. Misalignment can affect your gait and put strain on your opposite knee or hip.
Manage Swelling and Pain

Controlling swelling early speeds healing and improves comfort inside the boot.
Elevate Above Heart Level
For the first 3 days, prop your leg on pillows whenever sitting or lying down. Keep your foot above heart level so fluid drains away from the injury. Elevation is one of the most effective ways to reduce swelling naturally.
Apply Ice Safely
Use ice packs for 10 to 20 minutes every 1 to 2 hours while awake during the first 3 days. Always place a thin cloth between the ice and your skin, and never apply ice directly over open wounds. If you can’t remove the boot, place cold packs around the outside and avoid wetting the interior.
Use Compression When Allowed
If your doctor prescribed compression socks or wraps, wear them under the boot if permitted. They help control swelling but must not feel too tight. Stop using them if you notice numbness or discoloration.
Prevent Skin Problems

Daily care keeps skin irritation from turning into a serious issue.
Inspect Skin Daily
Check the skin around the boot edges every day. Look for redness, sores, blisters, or discoloration. If you have diabetes or poor circulation, inspect multiple times per day. Use a mirror or ask someone to help if you can’t see clearly.
Relieve Itching Safely
Itching under the boot is common but dangerous if you scratch the wrong way. Blow cool air from a hair dryer (on the cool setting) into the boot opening for safe relief. Never insert pencils, rulers, or coat hangers to scratch, since this can break the skin and cause infection.
Pad Irritated Areas
If the boot rubs your skin, protect the area with moleskin, foam padding, or medical tape over the boot’s edge. Don’t loosen the boot to relieve pressure, since that compromises stability. Add external padding instead.
Keep the Boot Dry
Moisture leads to skin breakdown and bacterial growth.
Waterproof During Showers
If you must keep the boot on while showering, slide a plastic trash bag over the entire boot and lower leg, then seal it tightly with waterproof tape just above the boot’s top edge. Avoid standing under direct water spray. If your doctor allows removal, take off the boot, shower quickly, dry your foot completely, and reapply the boot only when dry.
Dry a Wet Boot Immediately
If the boot gets damp, remove it if allowed and use a hair dryer on cool air only. Blow air inside for several minutes and let it air-dry fully before reuse. Never sleep with a damp boot.
Maintain Mobility and Strength
Even with limited movement, you can protect muscle tone and support recovery.
Wear Supportive Shoes on the Other Foot
The walking boot adds height and rigidity to one side. To avoid imbalance or back pain, wear a supportive sneaker or walking shoe on your uninjured foot. Avoid sandals, heels, or open-back shoes.
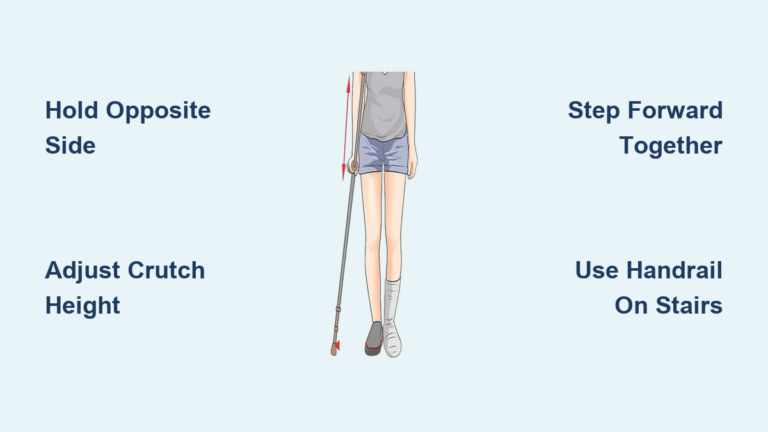
Use Crutches as Directed
If prescribed, use crutches exactly as instructed. Even partial weight-bearing too soon can disrupt healing. Walk slowly and steadily, and don’t rush.
Perform Approved Exercises
Ask your doctor or physiotherapist about safe exercises, such as tensing and relaxing calf muscles, ankle pumps (if allowed), or glute and quad sets. These prevent muscle atrophy without stressing the injury.
Recognize Warning Signs
Knowing when to seek help can prevent serious complications.
Seek Immediate Medical Attention For:
- Severe or worsening pain in the foot, ankle, or calf
- Numbness or tingling that doesn’t improve after loosening straps
- Burning or hot spots under the boot
- Excessive swelling in the foot or toes
- Fever, pus, or foul smell, which signal infection
- Redness, warmth, or pain in the calf, which may indicate a blood clot
- Cracked shell, broken straps, or loose hinges, which mean boot failure
Contact Your Doctor If:
- Pain returns after being cleared to stop using the boot
- Healing seems delayed
- You’re unsure about medication or test results
- The boot no longer fits due to reduced swelling
Follow Up and Finish Recovery
Proper follow-up keeps your recovery on track.
Attend All Appointments
Keep every scheduled visit. Your doctor will monitor healing, possibly order imaging, and decide when it’s safe to stop using the boot.
Know When to Stop Using the Boot
Only discontinue use when your healthcare provider says so, even if you feel fine. Premature removal can re-injure the area.
Transition Gradually
After boot removal, you may need physical therapy, supportive braces, or a gradual return to activity. Rushing back to normal movement increases re-injury risk.
Frequently Asked Questions About Walking Boots
How tight should a walking boot be?
A walking boot should feel snug but not tight. You should feel support without pain or pressure. Your toes should be able to wiggle slightly. If you notice numbness, tingling, burning, or swelling in the toes, the straps are too tight and need loosening.
Can you walk in a walking boot without crutches?
Only if your doctor has cleared you to bear weight on the injured foot. Even then, use crutches or a cane as directed during the early stages. Putting weight on the boot before you’re cleared can disrupt healing or damage the boot.
How do you stop itching under a walking boot?
Blow cool air from a hair dryer or fan into the boot opening for safe relief. Never insert objects like pencils or rulers to scratch, since this can break the skin and cause infection. Keeping the skin clean and dry also reduces itching.
Can you shower with a walking boot on?
Yes, but you need to waterproof it first. Slide a plastic trash bag over the boot and lower leg, then seal it with waterproof tape above the boot’s top edge. If your doctor allows removal, take the boot off, shower quickly, dry your foot completely, and reapply it afterward.
How long do you typically wear a walking boot?
Most people wear a walking boot for 1 to 6 weeks, depending on the severity of the injury. Your doctor will decide when it’s safe to stop based on your healing progress.
What are signs that a walking boot is causing problems?
Warning signs include severe or increasing pain, numbness or tingling that won’t go away, burning or hot spots under the boot, excessive swelling, fever or foul smell, and redness or pain in the calf. Any of these symptoms require immediate medical attention.
Key Takeaways for Wearing a Walking Boot Safely
Putting on a walking boot correctly comes down to three essentials: clean and dry skin, heel-first insertion with proper alignment, and snug straps tightened from the bottom up. Daily skin checks, elevation during the first 3 days, and safe itch relief with cool air all help prevent complications. Equally important is knowing the warning signs, since numbness, burning, swelling, or fever all call for prompt medical attention.
Your next step is simple: follow this routine every time you apply your boot, and keep your follow-up appointments without fail. Consistency and attention to detail are what turn a walking boot from a simple device into a reliable tool for full recovery.