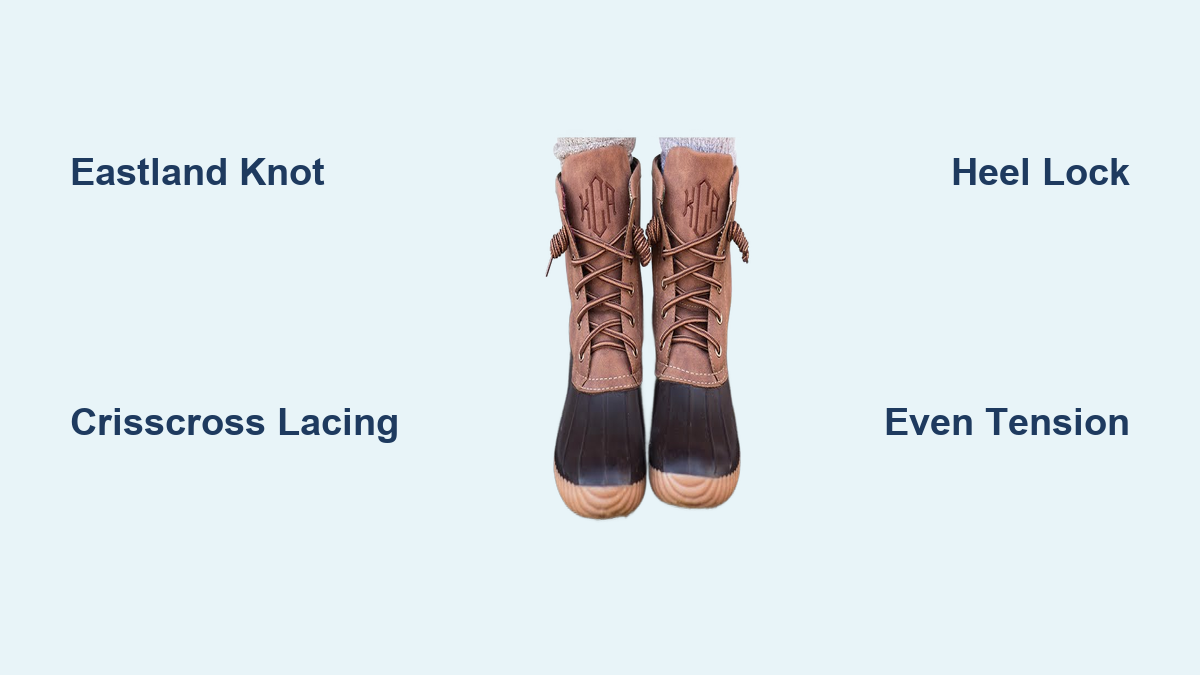
How to Tie Duck Boot Laces
You’ve just unboxed a fresh pair of duck boots, and that sleek, factory-tied knot looks sharp. But the moment you lace them up for a real walk, you realize the original tie doesn’t quite hug your ankle the way you need. Knowing how to tie duck boot laces correctly transforms both comfort and appearance, whether you’re recreating the signature look or building a custom fit from scratch.
Many wearers hesitate to untie the original knot, worried they’ll lose that polished factory finish. The good news? You can absolutely restore it with practice. And if you prefer a more secure, adjustable fit, the standard crisscross method delivers reliable support for daily wear. This guide walks you through both techniques step by step, so your boots look sharp and feel stable all day long.
Recreate the Eastland Knot
The Eastland Knot is the signature duck boot tie that gives your footwear its clean, pre-styled appearance. It’s not a standard bow. It’s a wrapped loop knot that locks tension while maintaining a sleek profile. Recreating it takes patience, but once you understand the mechanics, the process becomes quick and repeatable.
Form a Long Lace Loop
Start with fully untied laces. Choose one side and pull that lace to form a loop. This loop must be longer than feels natural, roughly 4–5 inches depending on your hand size. Most failed attempts happen because the loop is too short. The extra length provides room for the wrapping step that follows. Hold the loop firmly between your thumb and forefinger at the base.
Wrap the Free End Tightly
Take the free end of the same lace and begin wrapping it around the base of the loop. Wrap downward in a tight, spiral motion, similar to coiling a cord. Continue wrapping until you reach the end of the loop or run out of lace. Keep the coils snug and aligned. You should now see a neat, wrapped stem with a small opening at the bottom where the loop begins.
Thread and Lock the Knot
Pinch the base of the wrapped loop to maintain that small opening. Take the very tip of the lace and thread it through that opening from front to back. Gently pull this end while holding the loop steady. The coil will cinch down and lock the loop in place. Adjust tension by pulling the standing part of the lace. Repeat on the other side, then cross the two locked loops over the tongue and tuck or tie as desired.
Pro Tip: Practice this knot with longer laces first. Once you find the rhythm, you can use standard-length duck boot laces with precision.
Standard Crisscross Lacing Method

For a secure, even fit that supports your ankle during walks, hikes, or wet weather, the crisscross method is ideal. This technique distributes pressure evenly and allows full control over tightness, especially in the mid and upper sections of the boot.
Thread Through Bottom Eyelets
Start with both ends of the lace even. Insert each end into the bottom pair of eyelets from the outside, so the ends come out the top. Pull until the lace lies flat and both sides are equal in length. This sets the foundation for balanced tension. If one side is longer, reset and re-thread before moving on.
Cross and Feed Upward
Now, cross the left lace over to the right second eyelet and feed it through from the outside. Repeat with the right lace: cross it over to the left third eyelet and thread upward. Continue this crisscross pattern, with each lace moving diagonally to the next eyelet on the opposite side, until you reach the top.
Visual Cue: When done correctly, the laces form a clean “X” pattern up the front of the boot.
Maintain Even Tension
As you lace upward, pull both sides with equal force after each cross. Uneven tension causes one side of the boot to feel tighter, leading to discomfort or heel slippage. If you notice the laces leaning to one side, stop and re-lace from the last balanced eyelet.
Common Mistake: Yanking one side harder than the other. Use both hands together for consistent pull.
Finish with Secure Closure
Once you reach the top eyelets, you have two clean options:
- Tuck-In Finish: Cross the laces over the tongue and feed each end into the top eyelets from the inside. This creates a knot-free, streamlined look that pairs well with chinos or cuffed jeans.
- Standard Bow: Tie a regular bow or double knot at the top for quick adjustability.
For active use, add a heel lock to prevent foot movement.
Apply a Heel Lock for Security

If your heel slips when walking, even with tight laces, the heel lock technique solves the problem. It creates a snug pocket around the ankle without over-tightening the forefoot.
Skip the Last Eyelet Pair
When you reach the second-to-last eyelet, don’t cross yet. Instead, feed each lace straight up into the top eyelet on the same side, creating a loop on each side. This forms two vertical segments at the top of the boot.
Cross and Tie
Now, cross the laces over each other and feed them under the vertical segments before tying a standard bow. When you pull the laces tight, the cross pulls down on the vertical loops, locking the heel in place.
Result: Immediate ankle stability. Ideal for hiking, uneven terrain, or long walks.
Fix Common Lacing Problems
Even with the right technique, issues can pop up. Here’s how to solve them quickly.
Loop Won’t Stay on Eastland Knot
If the Eastland Loop collapses during wrapping, the loop is too short. Restart with a longer loop, longer than feels natural. The wrap needs space to coil without tension on the loop itself. Practice with a 6-inch loop first, then shorten as you gain confidence.
One Side Feels Tighter Than the Other
This is almost always due to uneven tension during lacing. The fix is simple: re-lace from the bottom. Focus on pulling both laces with the same hand motion at each eyelet. Use a mirror to check symmetry, or have someone observe the “X” pattern for balance.
Laces Too Long or Too Short
Factory laces may not suit your lacing style. For heel locks or decorative bows, you might need longer laces. If laces drag or tuck poorly, trim or replace them. Standard duck boot laces are typically 48–54 inches for 6-eyelet boots.
Pro Tip: Replace with waxed laces for better knot hold and weather resistance.
Choose the Right Laces

The type and quality of laces affect both function and appearance.
Waxed vs. Flat Cotton Laces
- Waxed laces resist moisture, stay tied longer, and glide smoothly through eyelets. Best for wet conditions.
- Flat cotton laces offer the classic look and are easier to tie in bows. May loosen faster in rain.
Match Length to Boot Style
- 5-eyelet boots: 40–48 inches
- 6-eyelet boots: 48–54 inches
- 7+ eyelet or hunting boots: 60+ inches
Using the wrong length forces compromises, such as bulky knots or incomplete lacing.
Optimize Fit by Tension Zone
Duck boots serve different purposes, from casual wear to yard work. Adjust tension based on your needs.
Tighten Ankle for Support
For hiking or slippery conditions, increase tension at the upper eyelets. This stabilizes your foot and prevents blisters from heel rub. Use the heel lock method here for maximum effect.
Loosen Midfoot for Comfort
If your toes feel pinched, keep the middle eyelets looser while maintaining tightness at the ankle. This gives room for thick socks without sacrificing support.
Expert Note: You don’t need even tightness everywhere. Customize by zone for the best fit.
Maintain the Clean Look
Duck boots are as much about style as function. Keep them sharp with a few simple habits.
Tuck or Hide Knots
For a minimalist look, tuck the tied ends under the top eyelets or into the boot’s collar. This works especially well with the Eastland Knot or heel lock finish.
Keep Laces Straight and Flat
After lacing, run your fingers along each “X” to smooth twists. Twisted laces look messy and wear out faster. Thread them cleanly from the start.
Clean Laces Regularly
Dirt and salt stains dull the look. Remove laces and wash with mild soap and water. Air dry before re-lacing.
Frequently Asked Questions About Duck Boot Laces
What is the Eastland Knot on duck boots?
The Eastland Knot is the signature factory-tied style on duck boots. It’s a wrapped loop knot that creates a clean, decorative appearance while holding tension securely. It differs from a standard bow and requires a longer initial loop to form correctly.
How do you re-lace duck boots from scratch?
Start by threading both lace ends through the bottom eyelets from the outside, keeping lengths even. Then crisscross the laces upward through each eyelet, pulling both sides with equal tension. Finish with a tuck-in, standard bow, or heel lock at the top.
Why do my duck boots slip at the heel?
Heel slippage usually means the upper eyelets aren’t tight enough. Use the heel lock technique by feeding each lace straight up into the top eyelet before crossing. This creates a locking mechanism that holds your ankle in place.
Can you replace duck boot laces with regular laces?
Yes, but match the length to your boot style. Standard duck boot laces run 48–54 inches for 6-eyelet boots. Waxed laces offer better moisture resistance and knot hold, while flat cotton laces provide a classic look.
How do you keep duck boot laces tied longer?
Use a double knot at the top, or switch to waxed laces for better grip. The heel lock technique also reduces loosening by anchoring the laces around the ankle rather than relying solely on a top bow.
Is it okay to untie the factory knot on duck boots?
Absolutely. The factory knot is fully reproducible with practice. Untying it is often necessary to adjust tension for a better fit, especially around the ankle. Once you understand the loop mechanics, recreating the Eastland Knot becomes second nature.
Key Takeaways for Tying Duck Boot Laces
Mastering how to tie duck boot laces comes down to two core techniques: the Eastland Knot for that signature factory look, and the crisscross method for a secure, customizable fit. Start by practicing the Eastland Loop with extra length, since a short loop is the most common reason the wrap fails. For everyday comfort, focus on even tension during crisscross lacing and consider a heel lock if your foot slips.
Your next step: pick one technique and practice it three times this week. Once the Eastland Knot feels natural, experiment with tension zones and lace materials to match your specific needs. With a little repetition, your duck boots will look sharp and feel secure every time you lace up.