How to Tie Boot Laces: Quick Steps
Tying boot laces might seem simple, but doing it right can prevent blisters, improve stability, and even protect your unit in high-stakes environments. Whether you’re hiking rugged trails, serving in the military, or just want a secure daily fit, how to tie boot laces properly matters more than most realize. Poor lacing leads to heel slippage, shin pain, and tripping hazards, especially under pressure. In combat or long hikes, a loose lace can compromise safety for an entire team.
This guide breaks down proven techniques, from basic criss-cross to advanced tactical patterns, so you can achieve a custom fit, relieve pressure, and keep your boots locked down all day. You’ll learn not just how to tie boot laces, but why each method works and when to use it.
Choose the Right Lacing Position
Kneel to Lock Your Heel
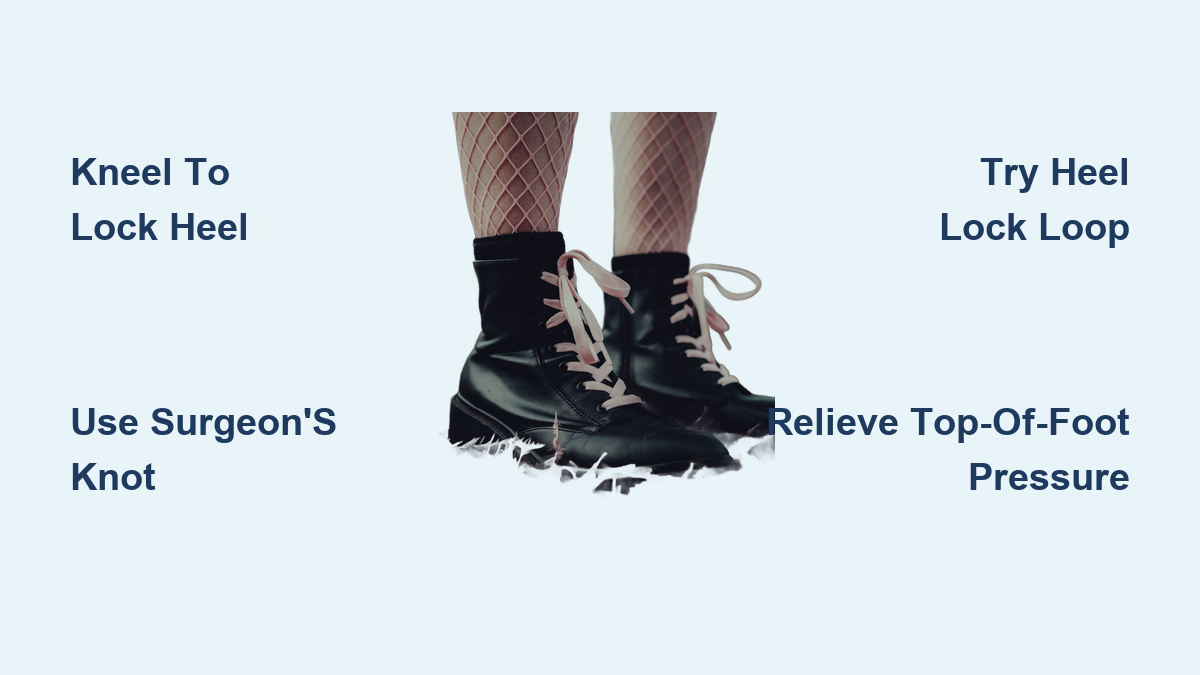
Always lace your boots while kneeling, not sitting. This forces your shin against the front of the boot, ensuring your heel is fully seated in the heel pocket. If you lace while propped up, your foot slides forward. Once you stand, the top of your foot gets compressed, increasing the risk of shin splints and stress fractures.
Test Fit Before Finalizing
After lacing but before tying, stand up and walk around. Check for:
– Heel lift (more than 1/4 inch)
– Pressure on the top of the foot
– Toes pressing into the toe box
If any issues arise, undo and re-lace. Small adjustments in tension or technique make a big difference.
Pick the Correct Lace Type and Length
Match Lace Shape and Length
Use laces that match your boot’s original specs:
– Shape: Round, oval, or flat, each affects friction and fit
– Length: Add 9 inches per extra pair of eyelets
Too short? You can’t use advanced methods. Too long? Excess lace snags or tangles.
Replace Worn Laces Immediately
Frayed or stiff laces fail under stress. Tactical and hiking boots demand durable laces, especially if using tension-heavy methods. Inspect laces monthly, especially at crossover points where wear is highest.
Criss-Cross Lacing: Standard and Reliable

Basic Diagonal Lacing Technique
This is the go-to method for most boots: simple, even, and effective.
Steps:
1. Feed both ends through the bottom eyelets from the inside out
2. Cross diagonally over the tongue
3. Insert each end into the next eyelet up (inside out)
4. Repeat until the top
5. Tie with a double bow for security
Best for: Everyday boots, sneakers, and flexible hiking footwear.
Avoid the Floating Tongue
Ensure the tongue stays centered. A shifted tongue creates pressure points. Tug the tongue forward after each crossover to keep it aligned.
Army Lacing: For Stiff Tactical Boots

Vertical Sides, Internal Crosses
Designed for rigid leather boots, this method allows the sides to flex while keeping the foot secure.
Steps:
1. Start at the bottom: lace straight across (inside out)
2. Run one end up the same side (outside in)
3. Cross inside to the opposite side and go up (inside out)
4. Repeat: vertical drop (outside in), then internal cross
5. Finish with a secure knot
Why it works: Reduces side stiffness, prevents loosening, and improves ankle mobility in new or heavy boots.
Best for: Military, work, and stiff hiking boots.
Straight-Bar Lacing: Relieve Top-of-Foot Pressure

Horizontal Bars, No Diagonal Pull
Ideal if you feel pain along the top of your foot (dorsal pressure) or have high arches.
Requirements: Even number of eyelet pairs.
Steps:
1. Start both ends outside in at the bottom
2. Run right lace straight up (inside out), then across (outside in)
3. Left lace skips one row, runs up (inside out), then across (outside in)
4. Alternate sides, creating straight horizontal bars
Pro tip: Tuck the knot inside the boot for a clean, snag-free look.
Best for: Wide feet, high arches, and dress or tactical boots where comfort is critical.
Ladder Lacing: Maximum Ankle Support
Lock Each Row Without Eyelets
Used by paratroopers and ceremonial guards, this technique provides rigid ankle stability.
Steps:
1. Lace straight across at the bottom (inside out)
2. Run both ends straight up (outside in)
3. Cross under the vertical lace (don’t use an eyelet)
4. Bring ends up to the next eyelet (outside in)
5. Repeat: cross under, then up
Result: A “ladder” with locked horizontal rungs and zero slippage.
Best for: Tall boots, high-impact use, and situations requiring absolute security.
Fix Heel Slippage Fast
Use the Surgeon’s Knot to Lock Tension
Heel lift causes blisters and instability. The Surgeon’s Knot locks tension where you need it.
Steps:
1. Lace normally up to the ankle
2. Wrap laces around each other twice (not once)
3. Pull tight to create a secure anchor
4. Continue lacing to the top and tie off
Why it works: The double wrap resists loosening, keeping the lower boot tight while allowing a looser upper.
Try the Heel Lock (Runner’s Loop)
Prevents heel lift without cutting off circulation.
Steps:
1. Lace up to the ankle
2. Run each lace straight up the same side
3. Cross and feed each end through the opposite loop
4. Pull down and tie at the top
Visual cue: You’ll see two small loops at the ankle, like pulleys gripping the heel.
Best for: Hiking downhill, running, or narrow heels.
Relieve Pressure Points

Create a Lacing Window (Box Lacing)
Skip painful areas like bunions or surgical sites.
Steps:
1. Lace normally up to the pain zone
2. Run laces straight up the same side (skip the cross)
3. Resume criss-cross above
4. (Optional) Tie Surgeon’s Knots at top and bottom of the window
Result: A gap over the pressure point with full support elsewhere.
Try Toe-Relief Lacing
Open the toe box if your toes feel cramped.
Steps:
1. Start lacing at the second eyelet pair
2. Skip the bottom set entirely
3. Lace normally upward
Warning: If you need this often, consider a wider or longer boot.
Secure Your Knots for Long Wear
Tie a Double Bow
More secure than a standard bow and resists coming undone.
Steps:
1. Tie a basic knot
2. Make a loop with one end
3. Wrap the free end twice around the base
4. Pull through to form the second loop
Why it works: Extra wrap equals more friction, so the knot stays tied during movement.
Use the Surgeon’s Knot as a Mid-Zone Anchor
Not just for heels; use it anywhere you need to lock tension:
– Mid-foot for high arches
– Ankle for stability
– Lower section to prevent toe jamming
Tactical and Specialized Methods
Lacing Down (Reverse Lacing)
Locks the heel and reduces shin pressure.
Steps:
1. Lace up to the ankle
2. Jump to the top eyelet
3. Criss-cross down to the ankle
4. Tie the knot at ankle level
Caution: Can increase ankle pressure, so test for comfort.
Segmented Lacing (Two Zones)
Use two separate laces for independent control.
Example:
– Bottom lace: tight for heel lock
– Top lace: loose for ankle mobility
Best for: Custom fit in multi-terrain boots.
One-Handed Tactical Tie
For situations where you can’t use both hands.
Steps:
1. Anchor lace at the top
2. Lace down using friction loops
3. Final tension held by a self-locking knot
Used by: Military, first responders, and motorcyclists.
Decorative and Niche Patterns
Bow Tie Lacing
Saves lace length and looks sharp.
Best for: Boots with odd eyelet pairs or short laces.
Hidden Knot Lacing
Knot is tucked inside for a clean, professional look.
Steps:
1. Use Straight-Bar method
2. Tie knot on the inside of the boot
3. Feed ends through top eyelets to hide
Ideal for: Dress boots, parades, and formal wear.
Lightning Lacing
Fast to tighten, ideal for quick deployment.
Features:
– Vertical inside, diagonal outside
– Minimal friction, rapid adjustment
Used in: Tactical entry and emergency response gear.
Maintain Your Laces and Boots
Inspect for Wear Monthly
Check for:
– Fraying at crossover points
– Stiffness or unraveling
– Discoloration (sign of moisture damage)
Replace at the first sign of weakness, especially in critical-use boots.
Clean and Condition Laces
Remove laces and wash with mild soap. For leather laces, apply conditioner to prevent drying and cracking.
Rotate Laces for Longevity
Switch between two pairs of laces to distribute wear and extend life.
Frequently Asked Questions About Boot Laces
What is the best knot for boot laces that won’t come undone?
The Double Bow is the most reliable finishing knot. It uses an extra wrap around the base loop, creating more friction than a standard bow. For mid-zone tension locking, the Surgeon’s Knot (with two wraps instead of one) holds firm under movement.
How do I stop my heel from slipping in boots?
Use the Surgeon’s Knot at the ankle to lock lower tension, or try the Heel Lock (Runner’s Loop) method. Both create a pulley-like grip around the ankle without restricting blood flow. Walking on an incline helps you test whether heel slippage is excessive.
Can lacing techniques help with foot pain?
Yes. Window Lacing (Box Lacing) creates a gap over painful areas like bunions or the dorsal ridge. Straight-Bar Lacing relieves pressure on the top of the foot for those with high arches. Toe-Relief Lacing opens the toe box if your toes feel cramped.
How long should my boot laces be?
Start with your boot’s original lace length, then add approximately 9 inches for every extra pair of eyelets. Advanced methods like Ladder Lacing require longer laces. Too short limits your technique options; too long creates snag hazards.
Should I lace my boots while sitting or kneeling?
Always kneel. This position forces your shin against the boot’s front, seating your heel properly in the heel pocket. Lacing while sitting lets your foot slide forward, causing tightness on top of the foot when you stand and increasing shin splint risk.
What’s the difference between Criss-Cross and Army Lacing?
Criss-Cross is simple and even, ideal for everyday boots and flexible footwear. Army Lacing uses vertical segments on the outside and internal crosses, allowing stiff leather boots to flex at the ankle while staying secure. Military personnel prefer Army Lacing for new, rigid boots.
Key Takeaways for Mastering Boot Laces
Knowing how to tie boot laces goes beyond keeping your shoes on; it’s about optimizing performance, comfort, and safety. Start with Criss-Cross or Army Lacing for daily use, then adapt based on your foot’s needs. Use Window Lacing for pain relief, Heel Lock for hiking, and Straight-Bar for pressure points.
Always lace while kneeling, tie with a Double Bow, and replace worn laces promptly. Inspect your laces monthly for fraying, especially at crossover points where stress concentrates. For tactical or high-impact use, invest in quality laces and learn the Surgeon’s Knot to lock tension exactly where you need it.
Your next step: Pick one method from this guide and practice it on your current boots. Test the fit by walking on an incline and adjusting tension at the ankle. Within minutes, you’ll feel the difference a proper technique makes.