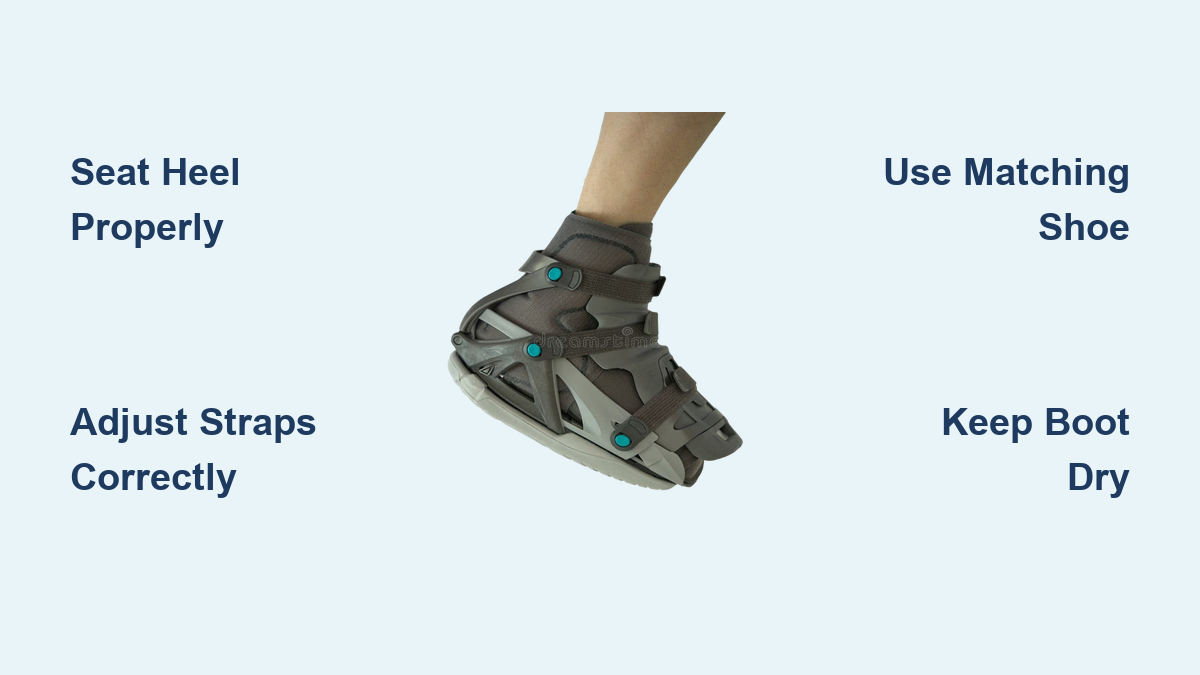
How to Wear a Walking Boot Correctly
If you’ve been prescribed a walking boot, also known as a CAM walker, you’re likely recovering from a foot or ankle injury like a fracture, severe sprain, or surgery. While it offers mobility and protection, wearing a walking boot incorrectly can delay healing, cause skin damage, or even lead to secondary injuries. The good news? With the right steps, you can use it safely and comfortably.
This guide walks you through how to wear a walking boot properly, from putting it on and adjusting fit to walking safely and avoiding complications. Whether you’re using it for the first time or troubleshooting discomfort, you’ll learn what to do and what not to do for optimal recovery.
Prepare Before You Put On the Boot
Proper preparation ensures comfort, prevents skin damage, and supports correct alignment before you ever slip your foot inside.
Choose the Right Sock
Always wear a long, thick sock made of cotton or moisture-wicking fabric. The sock should cover your calf to prevent the boot’s interior seams and straps from rubbing against bare skin. This layer reduces friction, absorbs sweat, and helps prevent blisters and irritation. Avoid thin or short socks because they offer little protection and can bunch up, creating pressure points.
Match the Boot Height on the Other Foot
A walking boot has a thick sole that lifts your injured leg, creating a leg length discrepancy. Walking with uneven leg height can strain your hips, back, and knee on the uninjured side. To prevent this:
- Wear a shoe on your good foot that matches the boot’s height.
- If no matching shoe is available, use an Even-Up shoe balancer, a device that attaches to your shoe to level your stance and restore a natural gait.
Inspect the Boot First
Check your CAM walker before each use:
- Ensure all Velcro straps are intact and free of lint or debris.
- Look for tears or compression in the foam liner.
- If your boot has an air bladder, confirm the valve works and there are no leaks.
- Verify that any CAM angle settings are locked as prescribed. Do not adjust them without medical approval.
Step-by-Step: How to Put On a Walking Boot

Follow this sequence every time you wear the boot to ensure proper fit and support.
Sit With Knee Bent at 90 Degrees
Sit in a stable chair and position your injured leg with the knee bent at 90 degrees. This relaxes the calf muscle, allowing your foot to sit naturally at a right angle and helping the heel seat properly in the boot.
Fully Open the Boot
Unfasten all Velcro straps and spread the liner wide. If your boot has an air bladder, deflate it completely before inserting your foot. This maximizes space and prevents pinching during insertion.
Slide Foot In and Seat the Heel
Gently slide your sock-covered foot into the boot. Push your foot back until your heel is fully seated against the rear of the boot. This step is critical. Failure to seat the heel properly can cause toe pressure, poor support, and instability.
Check alignment: your foot should be flat and centered, not tilted inward or outward. Toes should point straight up unless your doctor prescribed a specific angle.
Close the Inner Liner
Some boots have a removable or wrap-around foam liner. If yours does, close this snugly around the shin and ankle before securing the outer shell. This creates a smooth, even surface for pressure distribution.
Secure Straps in Order
Fasten the outer Velcro straps from the bottom up:
- Start with the forefoot strap closest to the toes.
- Move to the ankle strap or straps.
- Finish with the calf strap or straps.
Pull each strap until snug but not tight. You should feel support without numbness, tingling, or pinching. Over-tightening can restrict circulation.
Pro Tip: Walk for a few minutes, then recheck strap tightness. Straps often loosen slightly during movement.
Inflate the Air Bladder
If your boot has a pneumatic bladder:
- Use the hand pump to add air slowly.
- Stop when you feel even, mild pressure around the ankle, like a gentle hug.
- Never over-inflate. Excessive pressure can cut off blood flow or damage tissue.
- Do not force the valve open, as this can break the seal.
Verify Final Fit
Before standing, confirm:
- You can wiggle your toes if they are not injured.
- No skin is pinched at the boot’s edges.
- The heel hasn’t slipped upward.
- There’s no numbness, coldness, or discoloration in the toes.
Walk Safely With a Walking Boot
Your gait will change due to the boot’s rigid sole and height. Learning how to walk properly reduces strain and prevents falls.
Use a Heel-to-Toe Rolling Motion
Despite the stiff sole, aim for a heel-to-toe rolling motion. This distributes weight more naturally and reduces impact on your joints. Avoid flat-footed stomping, which increases stress on the knee and hip.
Move Slowly and Watch Your Step
Take deliberate steps. The boot limits ankle movement, so you’ll need to adjust your stride. Avoid uneven surfaces like gravel, grass, or wet floors until you’re confident. Use handrails on stairs and avoid slippery areas.
Use Assistive Devices if Needed
If your doctor prescribed crutches, a cane, or a walker, use them, especially in the early stages. They reduce weight on the injured foot and improve balance. Even if you feel steady, assistive devices help prevent re-injury.
Follow Weight-Bearing Rules Strictly
Your doctor will specify your weight-bearing status. Never exceed these limits:
- Non-Weight Bearing (NWB): Keep the foot off the ground. Use crutches or a walker.
- Partial Weight Bearing (PWB): Put only a percentage of your body weight on the foot, such as “toe-touch” or “50%.”
- Weight Bearing as Tolerated (WBAT): You may place full weight on the foot based on pain and stability.
Warning: Overloading the injury can delay healing or cause re-fracture. When in doubt, use your assistive device.
Know When and How to Remove the Boot
While the boot is removable, only take it off when your doctor says it’s safe.
When You Can Remove It
You may remove the boot for showering if approved, for skin checks and hygiene, and while sleeping only if explicitly permitted. Never remove it to speed healing. Doing so can destabilize fractures or surgical sites.
How to Shower Safely
If removal is allowed, take off the boot, pat the area dry completely, then reapply. If removal is prohibited, use a waterproof cover. Place your leg in a plastic trash bag and tape it securely above the boot to keep moisture out.
Never soak the boot’s interior. Moisture causes skin breakdown and odor.
Prevent Skin Problems and Infections
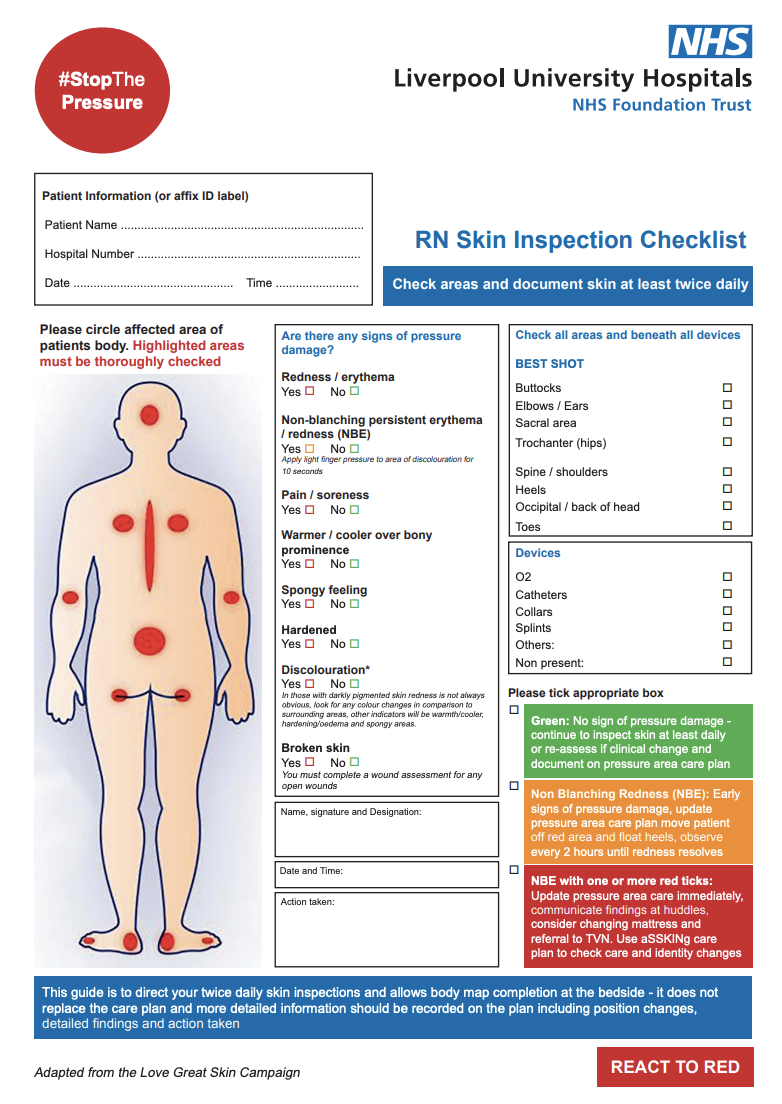
Skin under the boot is vulnerable to pressure sores, rashes, and infections due to trapped sweat and friction.
Check Skin Daily
Inspect the skin every day, especially around the heel, ankle, and calf. Look for:
- Redness that doesn’t fade within 20 minutes
- Blisters, sores, or open wounds
- Warm, tender spots
If you have diabetes or poor circulation, check multiple times daily. Report any skin breakdown to your doctor immediately.
Keep the Boot Dry
Moisture leads to skin maceration, which is softening and breakdown. To prevent this:
- Dry the boot interior with a cool hair dryer if it gets damp.
- Never use heat, as it can warp plastic or damage liners.
- Replace socks daily or more often if sweaty.
Soothe Itching the Right Way
Itching is common but dangerous if scratched improperly.
- Use a cool hair dryer on the low setting to blow air into the boot.
- Never insert objects like pencils, coat hangers, or fingers. These can cause cuts and infections.
- Pad the boot’s rim with moleskin or medical tape if it rubs.
Do not use lotions, powders, or oils. They trap moisture and degrade the liner.
Manage Swelling and Pain
Controlling inflammation speeds healing and improves comfort.
Ice the Injury Properly
Apply ice therapy for 10 to 20 minutes every 1 to 2 hours during the first 3 days:
- Use a thin cloth between the ice pack and skin.
- Ask your doctor whether to remove the boot for icing.
- If the boot stays on, ensure the ice pack doesn’t leak inside.
Elevate the Leg
When sitting or lying down, elevate your leg above heart level. This reduces swelling and improves circulation. Do this for 20 to 30 minutes at a time, especially during the first few days.
Maintain Muscle and Circulation
Immobilization can cause muscle loss and blood clots. Stay active within limits.
Do Approved Exercises
- Wiggle your toes hourly if they are uninjured to boost circulation.
- Perform isometric contractions of the thigh and buttock muscles as approved by your doctor or physical therapist.
- Avoid prolonged sitting. Shift positions regularly.
Watch for DVT Signs
Immobilization increases the risk of deep vein thrombosis (DVT). Seek help immediately if you notice:
- Calf or thigh pain
- Swelling, redness, or warmth in the leg
- Pain in the back of the knee or groin
Recognize Warning Signs
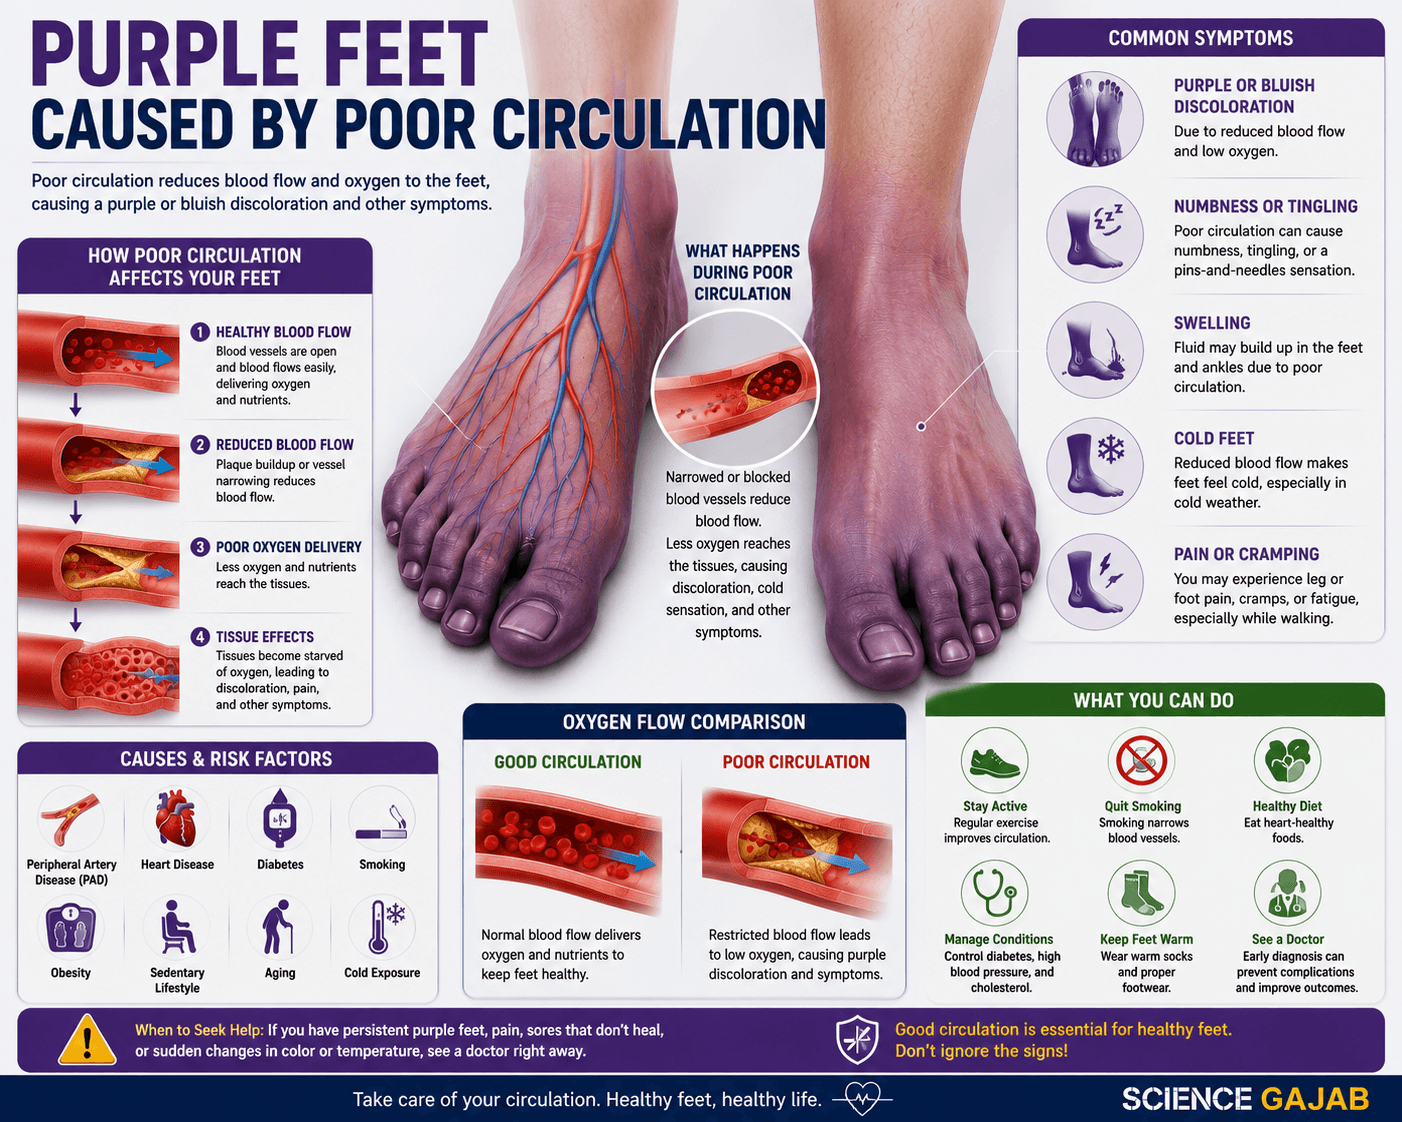
Some symptoms mean you need medical attention right away.
Seek Emergency Care If:
- Toes are numb, cold, blue, or pale, which signals poor circulation.
- You feel severe, worsening pain not relieved by medication.
- There’s pus, foul odor, or fever, which signals infection.
- You have calf pain or swelling, which may indicate DVT.
- The boot feels loose, broken, or won’t stay in position.
Call Your Doctor For:
- Persistent redness or irritation
- Returning pain after stopping boot use
- Uncertainty about walking or weight-bearing
- Swelling that doesn’t improve with elevation and ice
Follow Your Recovery Timeline

Most people wear a walking boot for 4 to 8 weeks, but the duration varies by injury:
- Minor sprains: 1 to 6 weeks
- Fractures: 6 to 8 weeks
- Post-surgery: As directed by your surgeon, often confirmed by X-ray
Don’t Stop Wearing It Too Soon
Even if you feel better, do not discontinue use without medical clearance. Healing isn’t always visible, and bones may still be weak.
Wean Off Gradually
Your doctor may recommend a step-down plan, such as wearing the boot only for walking, switching to a supportive shoe or brace, or starting physical therapy for strength and mobility.
Frequently Asked Questions About Wearing a Walking Boot
How tight should a walking boot be?
A walking boot should feel snug but not tight. You should feel firm support without numbness, tingling, or pinching. If your toes turn cold, blue, or pale, loosen the straps immediately. Straps often loosen during movement, so recheck them after walking a few minutes.
Can I walk without crutches in a walking boot?
Only if your doctor has cleared you for full or partial weight-bearing. If you’ve been prescribed crutches, a cane, or a walker, use them, especially in the early stages. Even if you feel steady, assistive devices reduce strain and prevent re-injury.
How do you shower with a walking boot?
If your doctor allows removal, take the boot off, shower, and pat the area completely dry before reapplying. If removal is not permitted, place your leg inside a plastic trash bag and tape it securely above the boot to create a watertight seal. Never soak the boot’s interior.
How long do you wear a walking boot for a fracture?
Most fractures require 6 to 8 weeks in a walking boot, though your surgeon will confirm based on X-ray evidence of healing. Do not stop wearing the boot early, even if pain subsides, because bones may still be weak.
Can I drive while wearing a walking boot?
Consult your doctor before driving. Reaction times may be impaired, and the boot may prevent safe operation of pedals, particularly if your right foot is injured.
Why does my walking boot hurt more than the injury?
Pain often comes from improper fit, such as a heel that isn’t fully seated or straps that are too tight. Remove the boot (if permitted), check for redness or pressure points, reseat your heel, and re-strap from the bottom up. If pain persists, contact your doctor.
Key Takeaways for Wearing a Walking Boot Safely
Wearing a walking boot correctly protects your recovery and prevents complications. Always seat your heel fully before securing straps, balance both legs with a matching shoe or Even-Up device, and keep the boot dry to avoid skin breakdown. Follow your doctor’s weight-bearing instructions exactly, and never remove the boot without approval.
Your next step: Set a daily reminder to check your skin, re-tighten straps after walking, and elevate your leg for 20 minutes. If anything feels wrong, from numbness to foul odor, contact your healthcare provider right away. Your boot is a tool for healing, so use it wisely.