How to Repair BOA Boots: Quick Steps
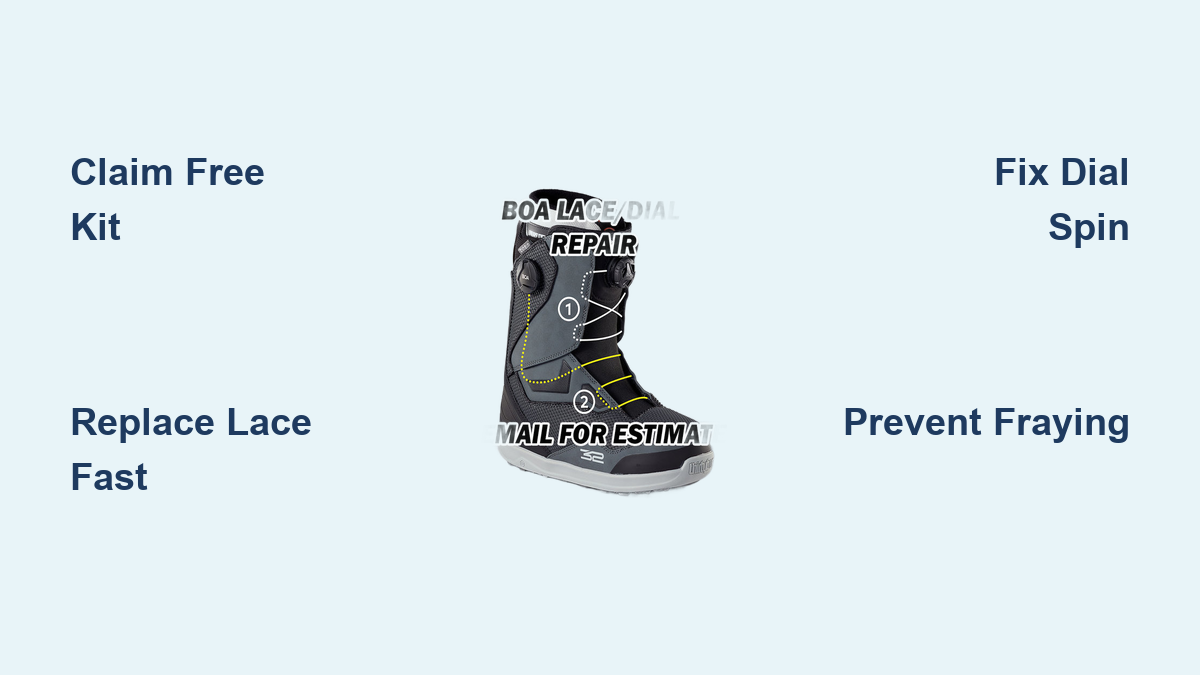
If your BOA boot dial won’t tighten or the lace snapped mid-ride, you’re not alone. The BOA Fit System is built for performance, but snowboarders and skiers regularly face cable breaks and dial failures, especially when steel edges grind against laces on chairlifts. Good news: BOA offers a free lifetime guarantee on dials and laces, and most repairs take under 10 minutes with a simple kit. Whether you’re troubleshooting a frayed cable or replacing a chewed dial (yes, even pet damage is covered), this guide walks you through every step from warranty claims to DIY fixes so you can get back on the mountain fast.
No need to replace your $700 boots over a $15 part. With the right tools and clear instructions, BOA boot repair is one of the easiest fixes in winter sports gear maintenance.
Claim Your Free BOA Repair Kit
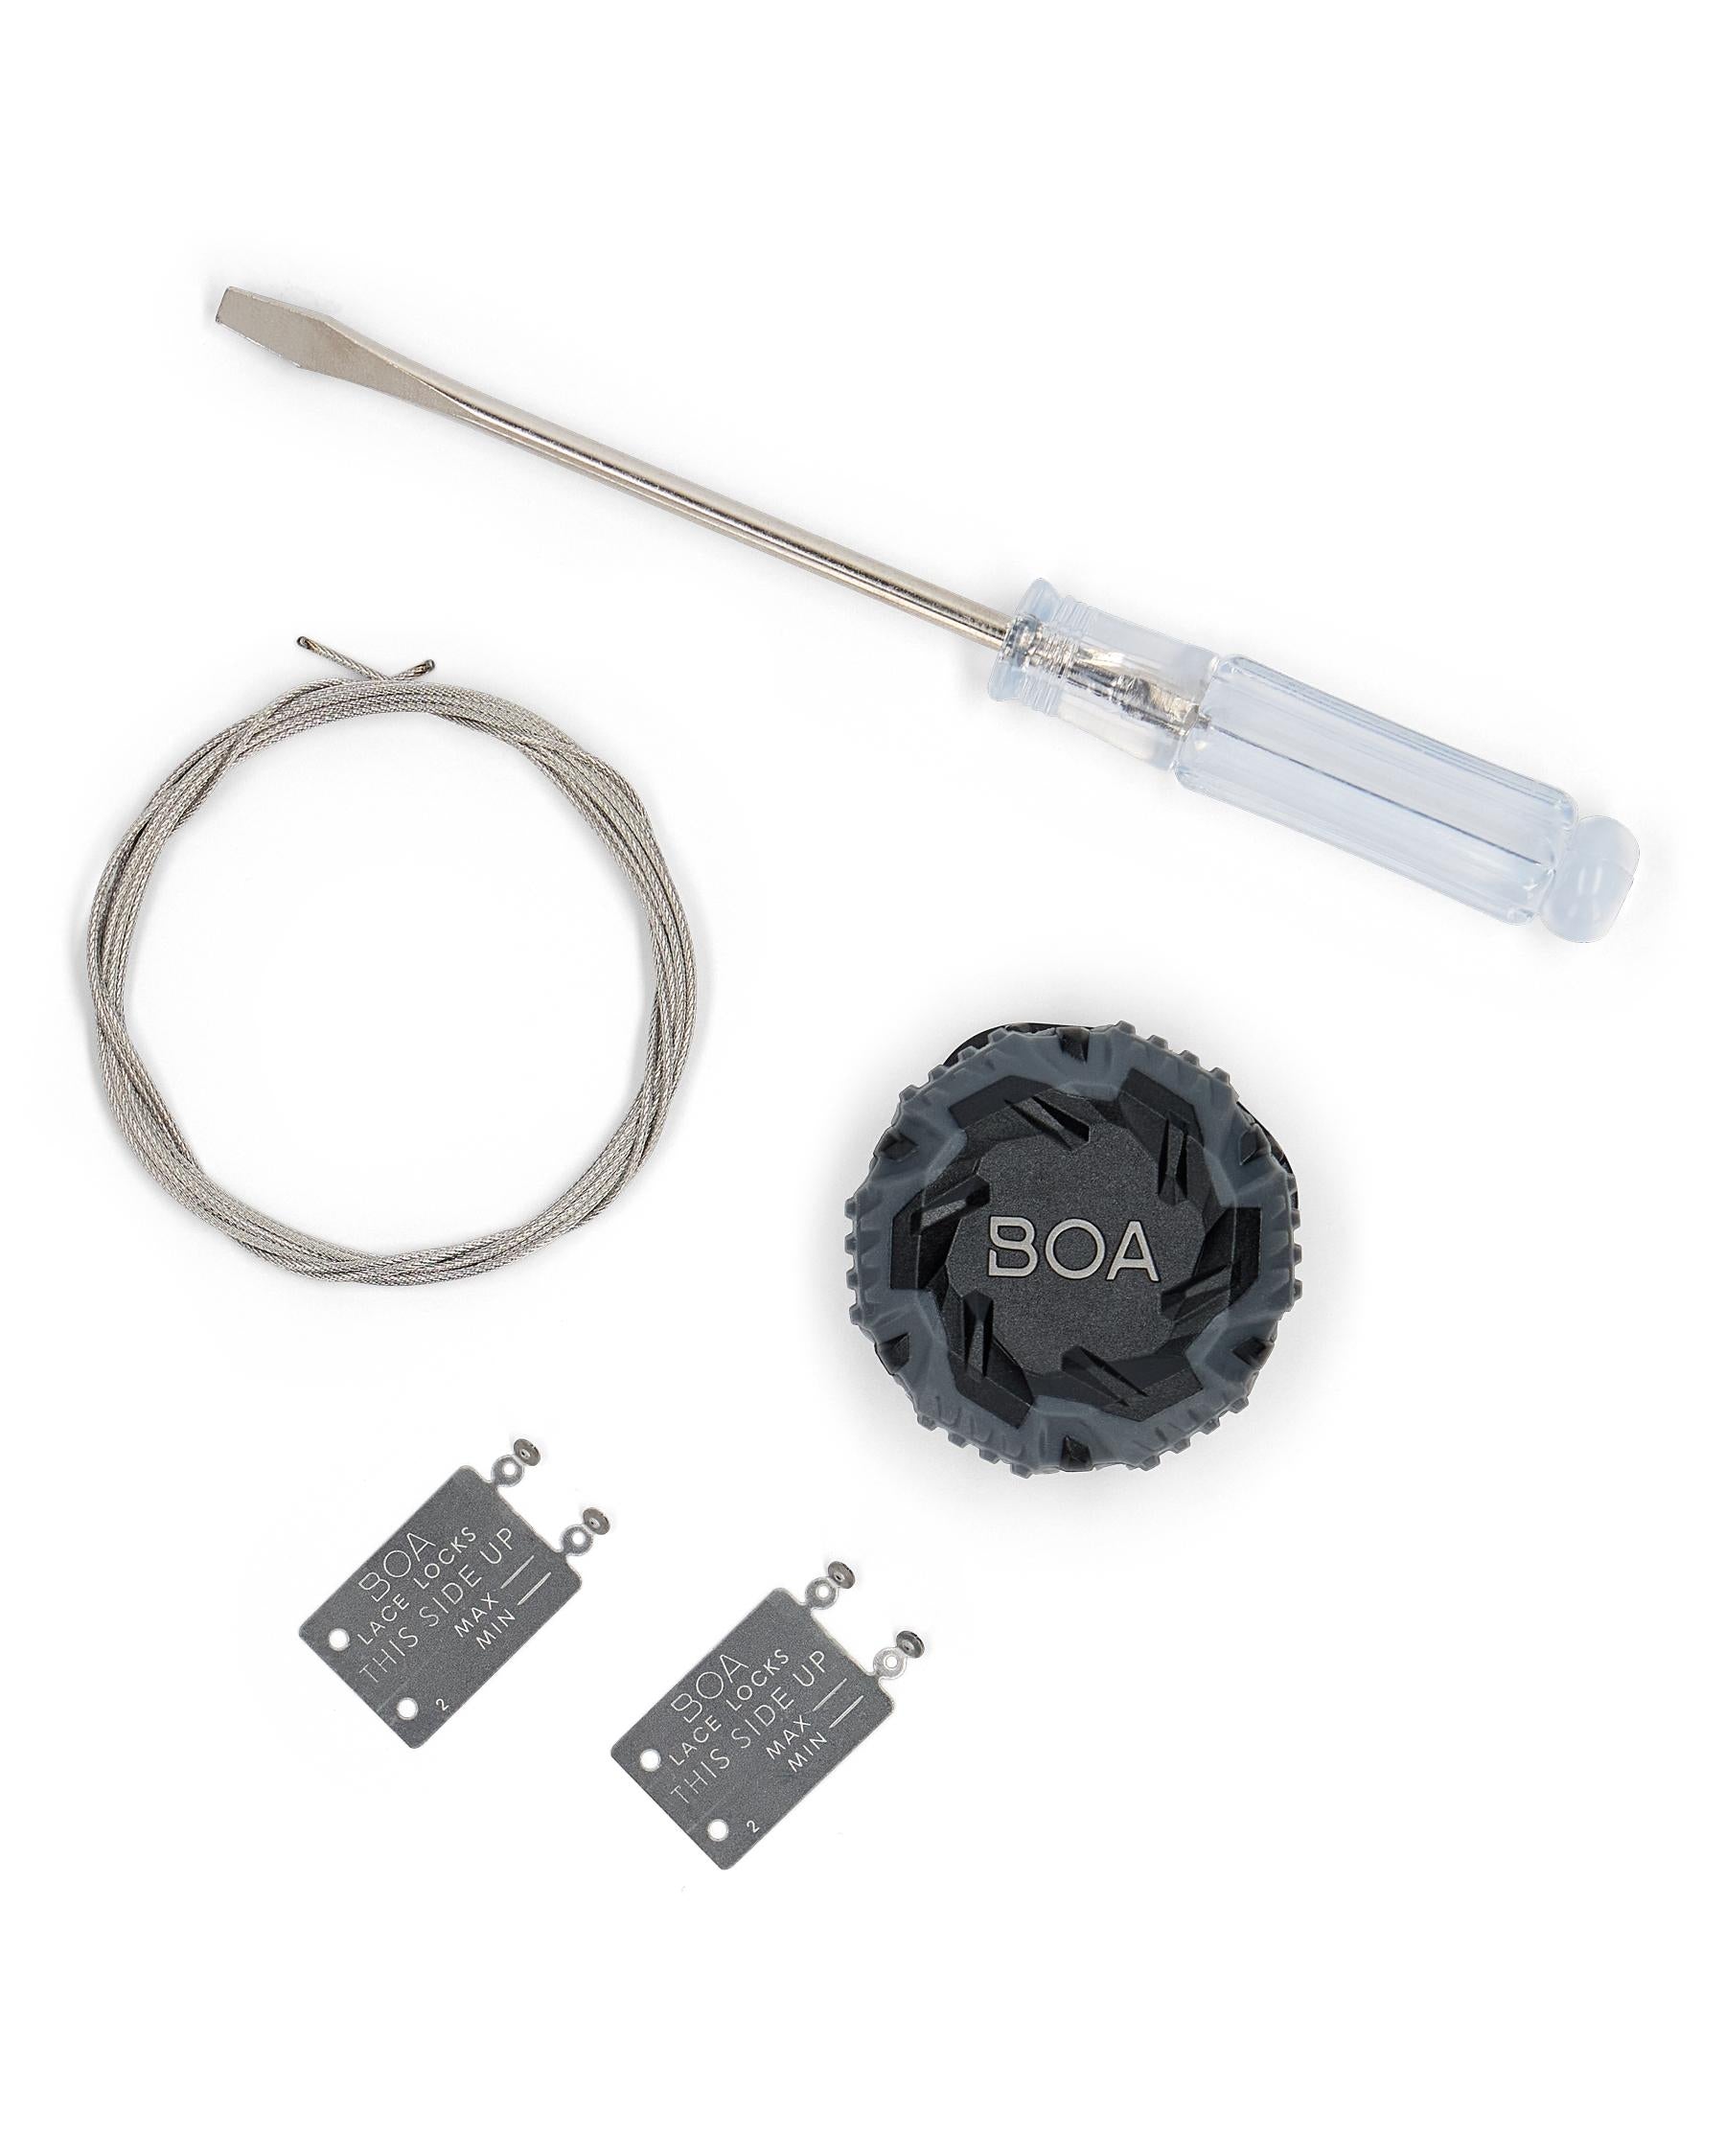
BOA covers dials and laces for life, no questions asked. If your system fails from wear, impact, or even pet damage, you can get a free repair kit shipped directly to you.
How the Lifetime Guarantee Works
The BOA Lifetime Guarantee applies to all dials and steel laces on original equipment. You don’t pay for parts, and you don’t send in your boots. Instead, BOA mails you a complete replacement kit after a quick online claim. This policy covers real-world damage like fraying, snapping, and dial failure, even if your dog decided the dial was a chew toy.
However, sewn-in guides or heat-welded housings are not covered. Those fall under your boot manufacturer’s warranty (like Burton or Salomon). Helmets or medical devices with BOA systems aren’t eligible due to safety concerns after impact.
File a Warranty Claim Online
All claims must be submitted through the BOA warranty portal. Here’s how it works:
- Visit the warranty page and select “Footwear.”
- Upload a clear photo showing the broken lace or damaged dial.
- Use the interactive tool to identify your dial type and lace length.
- Confirm your address so your free kit ships within 2–5 business days.
No phone calls, no store visits. If you’re unsure about your model, use the Spare Parts Finder tool on BOA’s website to match your gear. Most users receive kits in under a week.
What’s in the Repair Kit
Each kit includes:
– A new steel lace cut to your boot’s exact length (e.g., 140 cm)
– Installation instructions
– Access to video tutorials
You keep your original dial unless it’s broken. If replacement is needed, BOA sends a new one, always black, unless it’s a golf-specific white dial. Note: You can’t upgrade to a newer BOA system via warranty; only like-for-like replacements are allowed.
Diagnose BOA Failure Fast

Before grabbing tools, confirm what’s broken. Most issues fall into three categories: lace failure, dial problems, or misrouting.
Signs Your BOA Lace Is Failing
Look for these red flags:
– Fraying near the ankle – Common where ski edges or board edges rub
– Lace slips when tightening – Indicates worn cable or poor dial grip
– Complete snap – Boot won’t tighten at all
If the dial spins freely but the boot doesn’t tighten, the cable likely detached or broke inside the housing.
Test Dial Functionality
Spin the dial clockwise to tighten:
– If it clicks smoothly and holds tension, the mechanism is likely fine.
– If it spins with no resistance, the internal spring may be disengaged or the cable is loose.
– If it won’t turn at all, the cable could be jammed or over-tightened.
Pull the dial outward to release tension. It should unlock instantly. Delayed release suggests internal debris or kinked cable routing.
Identify Your BOA Configuration
Check how many dials your boot has:
– Single Boa: One dial controls the entire fit
– Dual Boa: Two dials (e.g., upper and lower zones) require two kits if both fail
Also note dial removal style:
– Newer models: Twist clockwise to pop off
– Older models: May require counterclockwise twist or pliers
Mismatched parts cause installation errors, so always verify using BOA’s online finder.
Replace a Broken BOA Lace
Replacing a snapped cable is faster than lacing traditional boots. With the right kit, you’ll be done in minutes.
Gather Tools and Parts
You’ll need:
– Correct-length BOA lace kit (check tongue tag for size)
– Small pliers (for older dials that don’t pop off)
– Original dial (unless replacing)
No special tools required. Gloves help in cold environments but aren’t necessary.
Remove the Old Dial
For newer dials:
Place fingers on both sides of the dial and twist clockwise. It should pop off with a click.
For older models:
Try twisting counterclockwise first. If it doesn’t budge, use small pliers to gently pull while twisting. Avoid crushing the housing.
Pro Tip: Never force it. If the dial resists, check online videos for your specific model. Some require slight inward pressure while turning.
Extract the Damaged Cable
Once the dial is off:
1. Grab the cable end inside the housing.
2. Form a small loop and push it through the spool.
3. Keep pushing until the cable disengages from the internal ratchet.
4. Pull the lace out through the guide path.
If only one side broke, trace the full route before removing to ensure correct rethreading.
Thread the New BOA Lace
Start from the center of the boot:
1. Feed the new cable through the middle guide (where it exits the housing).
2. Follow the exact path of the old lace, left side up through all eyelets, then right side.
3. Ensure both ends are equal length before attaching to the dial.
Critical: Route the cable under any retaining clips. Skipping a guide causes slack and poor tension.
Attach Cable to the Dial
This step locks the system:
1. Insert the cable end into the longer hole on the dial spool.
2. Loop it back through the adjacent shorter hole.
3. Pass it through the longer hole again to create a double loop.
4. Hold tension on the cable as you complete the loop to prevent slippage.
Trim excess only after final testing.
Reinstall and Lock the Dial
Align the dial teeth with the housing gears:
1. Press the dial straight into place.
2. Twist counterclockwise until it clicks. This re-engages the locking mechanism.
Do not skip the twist. A dial that isn’t locked will spin freely and fail under load.
Fix Common BOA Issues

Even with a new cable, problems can arise. These quick fixes resolve the most frequent user errors.
Dial Spins But Doesn’t Tighten
Cause: Cable slipped out of the spool or wasn’t tensioned during install.
Fix:
– Remove the dial
– Re-thread the cable, ensuring it’s looped correctly
– Pull tight before locking the dial back in
If the internal spring is damaged (rare), request a full dial replacement via warranty.
Boot Won’t Fully Release
Cause: Cable is kinked or routed incorrectly through guides.
Fix:
– Loosen completely and inspect path
– Ensure no sharp bends or pinched sections
– Verify cable runs over the top of any crossover points
Clean dirt from guides with a dry cloth. Never use oil.
Uneven Tension on One Side
Cause: Cable routed through wrong eyelet or guide skipped.
Fix:
– Compare both sides visually
– Retrace the path from center outward
– Make sure each guide is used in sequence
Symmetry is key. Both sides should feel identical when tightened.
Prevent Future BOA Failures
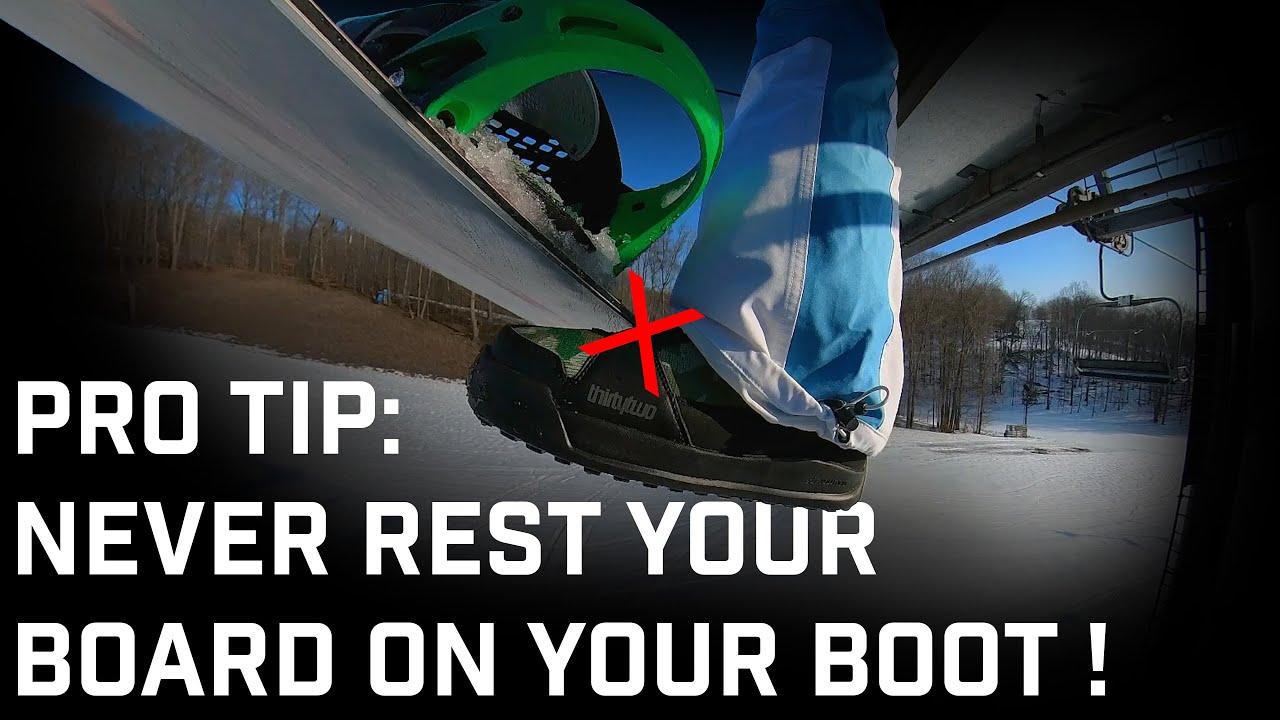
Most cable breaks are preventable. A few habits can extend your BOA system’s life for years.
Avoid Chairlift Edge Damage
The #1 cause of cable fraying? Resting your snowboard’s steel edge on the back of your boot while riding lifts.
Solution:
Lift the board slightly or rest it on the seat. Even light contact grinds down the cable over time. Teach kids this habit early. It saves boots and money.
Carry a Spare Lace Kit
Keep a replacement kit in your gear bag. At $15 retail, it’s cheaper than a lift ticket. If a cable snaps mid-day, you can fix it in a lodge bathroom in under 10 minutes.
Pro Tip: Label the kit with your boot model and lace length (e.g., “Burton Limelight – 140 cm”) for instant access.
Inspect Before Every Ride
Take 30 seconds to:
– Check for cable fraying near the dial and ankle
– Spin the dial to confirm smooth operation
– Look for loose guides or damaged eyelets
Catching wear early lets you replace the cable before it fails on the mountain.
Clean and Maintain Your BOA System
Regular upkeep keeps the system running smoothly, especially after wet or muddy conditions.
Follow the Official Cleaning Guide
BOA provides a downloadable care guide, but core rules are simple:
– Use a damp cloth to wipe down dials and cables
– Never submerge the dial housing
– Avoid solvents, alcohol, or degreasers. They degrade seals
For caked-on snow or mud, let it dry first, then brush gently.
Lubrication: Do It Right
Never oil the dial mechanism. It attracts dirt and can damage internal components.
If the dial feels stiff:
– Work it back and forth while dry
– Use a tiny amount of silicone spray on the cable path (not the dial)
– Wipe off excess immediately
Most stiffness resolves with use after cleaning.
Know What’s Not Repairable
While BOA covers dials and laces, some damage requires manufacturer-level fixes.
Sewn or Welded Components
If the lace guide tore out of the boot fabric or the housing pulled from a heat-welded panel, this is not a BOA warranty issue. Contact the boot brand (e.g., Salomon, Burton) under their warranty.
These structural repairs may require professional reattachment or boot replacement.
Aftermarket Installation? Not Possible
You can’t add BOA to non-BOA boots. The system integrates during manufacturing with custom mounting points. No universal kits exist.
Similarly, you can’t upgrade an old dial to a newer model. The housings aren’t compatible.
When to Replace the Whole Boot
Sometimes repair doesn’t make sense. Consider replacement if:
– Multiple guides are torn or missing
– The sole is separating
– You’re multiple generations behind on tech (e.g., 2018 model)
– Retail repair costs exceed $50
New BOA-equipped boots start around $360 (e.g., Burton Limelight) and go up to $900 for high-end alpine touring models like the Salomon Shift Alpha. But with proper care, your current boots and BOA system can last 5+ seasons.
Frequently Asked Questions About BOA Boot Repair
Does BOA really replace laces for free?
Yes. BOA’s Lifetime Guarantee covers all dials and steel laces on original equipment at no cost. You file a claim online, upload a photo, and receive a free repair kit by mail within 2–5 business days.
Can I upgrade my old BOA dial to a newer model?
No. BOA systems are not backward compatible. Warranty replacements are like-for-like only. If you want newer BOA technology, you’ll need to purchase new boots from a brand partner like Burton or Salomon.
What if my dog chewed the BOA dial?
Pet damage is explicitly covered under the Lifetime Guarantee. File a warranty claim with a photo of the damage, and BOA will send a free replacement kit.
How long does a BOA lace replacement take?
Most users complete the repair in under 10 minutes. The process involves removing the dial, threading a new cable, and reinstalling the dial. No special tools or technical skills are required.
What causes BOA laces to break on snowboard boots?
The most common cause is friction from resting the snowboard’s steel edge against the boot’s lace while riding chairlifts. Over time, this grinds through the steel cable and causes fraying or snapping.
Can I install BOA on boots that don’t have it?
No. BOA systems are integrated during manufacturing with custom mounting points. There are no universal aftermarket kits that allow you to add BOA to non-BOA footwear.
Key Takeaways for Hassle-Free BOA Boot Repair
BOA boot repair is fast, free, and user-friendly when you know where to start. The Lifetime Guarantee eliminates cost concerns for dial and lace failures, while the online claim process gets replacement kits to your door in days. Most repairs take under 10 minutes with basic tools and clear instructions.
Your next step: bookmark BOA’s warranty portal and Spare Parts Finder before your next mountain trip. If a cable snaps mid-day, you’ll have everything you need to file a claim or perform a roadside fix and finish your run without missing a beat.