How to Fix Scratched Leather Boots
A deep scratch on your favorite leather boot can feel like a death sentence for its appearance. Whether the damage came from a curb, a car door, or rough pavement, scratches are one of the most common forms of leather wear. The good news is that most scratches can be repaired at home using basic tools and proven techniques.
This guide on how to fix a scratched leather boot covers everything from erasing minor scuffs to rebuilding deep gouges. You will learn how to identify the damage type, choose the right method, and restore your boots to a polished, like-new finish without paying for a cobbler.
Identify the Type of Scratch on Your Boot
Before you grab any product, you need to assess what you are dealing with. Different scratches require completely different repair approaches.
Check for Material Transfer
If the mark looks like a dark smudge, especially on the toe or heel, it is likely rubber transfer from another shoe or pavement. The leather underneath is perfectly fine; only foreign material sits on top.
- Test it: Wipe with a damp cloth. If the mark lifts off, it is surface debris.
- What it looks like: A darker patch rather than a lighter one.
Spot Surface Abrasions
Light scratches strip the top finish and buff away surface fibers. The affected area looks dull or slightly lighter than the surrounding leather.
- Test it: Run a finger across the mark. If it feels smooth, the damage is shallow.
- Common cause: Daily friction from stairs, furniture, or walking.
Detect Deep Gouges
A deep scratch cuts into the leather itself, creating a visible groove or lifted fibers. You may even see a shadow when light hits the area.
- Test it: Run your fingernail across it. If your nail catches, the scratch is deep.
- Risk factor: Moisture can seep into the groove and cause long-term cracking.
Recognize Structural Cuts
A cut fully separates the leather into two pieces. This compromises both the look and the integrity of the boot.
- Reality check: Cosmetic repair is nearly impossible for full cuts.
- Best option: Functional glue or sewing for short-term use, or replacement for long-term wear.
Clean the Boot Before Any Repair
Skipping cleaning is the fastest way to ruin a repair. Dirt trapped under filler or polish creates a permanent flaw.
Brush Away Loose Dirt
Use a horsehair shoe brush to sweep off dust and debris.
- Always brush in one direction.
- This step prevents grinding dirt deeper into the leather during later steps.
Wipe With a Damp Cloth (Finished Leather Only)
If your boots are made of treated or finished leather, lightly dampen a soft, colorfast cloth and wipe the scratched area.
- Avoid soaking the leather.
- Let the boot air-dry completely before moving on.
Avoid These Cleaners at All Costs
Never apply these substances to leather:
- Nail polish remover (acetone)
- Rubbing alcohol
- Dish soap
These strip natural oils and cause dryness, cracking, and permanent finish damage.
Remove Surface Scuffs With Simple Tools
Most minor marks disappear with gentle abrasion and household items.
Try a Pencil Eraser First
A standard white pencil eraser is one of the safest tools for removing black scuffs.
- Rub firmly across the mark in short strokes.
- The soft rubber lifts debris without scratching the leather.
- Works especially well on toe caps and heels.
Use a Magic Eraser Carefully
A melamine foam sponge (Magic Eraser) can handle stubborn scuffs.
- Lightly dampen the sponge.
- Gently wipe the scuffed area in short passes.
- Test on the heel first, since melamine is mildly abrasive.
- Stop immediately if you see color fading.
Make a Baking Soda Paste
For marks that resist erasing, mix baking soda with a small amount of water to form a thick paste.
- Rub the paste onto the scuff with a soft cloth.
- Wipe clean with a damp cloth.
- Dry the area thoroughly.
- Non-gel toothpaste works as a substitute.
Swell Leather Fibers to Hide Light Scratches
When the finish is removed but no material is missing, swelling the leather fibers can close the gap naturally.
Apply Gentle Heat
Set a hair dryer to low or medium heat.
- Hold it at least 6 inches from the boot.
- Warm the scratch for 10 to 15 seconds only.
- Perform the hand test first: if it feels too hot on your hand, it is too hot for leather.
Massage the Warm Area
Immediately after heating, rub the scratch with your finger or a soft cloth using circular motions.
- This blends the surrounding fibers into the damaged area.
- Many light scratches fade significantly after this step.
Try White Vinegar
Dab white vinegar onto a cotton ball and lightly apply it to the scratch.
- Do not soak the leather.
- Allow it to dry completely.
- Follow up with matching shoe polish to restore the finish.
Use Olive Oil or Petroleum Jelly
For very shallow marks, dab a small amount of olive oil or unscented petroleum jelly into the scratch.
- Wait 10 minutes for absorption.
- Wipe off any excess.
- Always test first, since oils can darken light-colored leather.
Camouflage Scratches With Color Restoration
If swelling does not fully hide the scratch, pigment is your next tool.
Match the Color Exactly
Inspect your boots in natural daylight to find the right shade. Options include:
- Leather markers
- Recoloring balms
- Colored cream polish (such as Saphir Pommadier)
Apply Color With a Marker
Shake the marker well, then dot color directly over the scratch.
- Feather the edges with a cotton swab to blend.
- Let it dry completely.
- Buff lightly with a soft cloth.
Use Cream Polish With Your Fingers
Body heat helps pigment penetrate deeper into the leather.
- Scoop a pea-sized amount of cream polish.
- Rub it into the scratch and surrounding area using circular motions.
- Build thin layers rather than one thick coat.
- Buff between each layer.
Repair Deep Scratches and Gouges at Home

When leather material is missing, you need to rebuild the surface from scratch.
Trim Loose Fibers
Use small scissors or 120 to 220-grit sandpaper to remove any lifted or frayed leather around the gouge.
- Smooth the edges only; do not sand healthy leather.
- Over-sanding widens the damage and weakens the area.
Clean the Area Thoroughly
Wipe the gouge with leather cleaner and let it dry completely. Filler will not adhere to dirty or oily leather.
Apply Heavy Leather Filler
Use a disposable plastic knife to press filler firmly into the void.
- Slightly overfill the gouge since filler shrinks as it dries.
- Smooth the top with the knife to reduce later sanding.
Let Each Layer Dry Fully
Follow the product instructions for drying time. You can speed it up with low heat from a hair dryer. Apply additional layers if the filler sinks below the surface.
Sand and Level the Filled Area
A smooth surface is the difference between an invisible repair and an obvious patch.
Start With 1200-Grit Sandpaper
Sand gently until the filler is flush with the surrounding leather.
- Always sand in the direction of the grain.
- Check smoothness by running a finger across the area.
Refine With 1500 to 2000-Grit Sandpaper
For smooth or patent leather, ultra-fine sandpaper removes the micro-scratches left by coarser grits.
Wipe Away All Dust
Use a clean cloth and leather cleaner to remove residue before applying dye.
Re-Color the Repaired Spot

Color matching is critical. A mismatched dye draws more attention than the original scratch.
Mix a Custom Dye
Use a leather dye kit with base colors and tint drops.
- Start with black or brown as your base.
- Add small amounts of red, yellow, or blue to fine-tune the shade.
- Test on the heel or tongue before applying to the repair.
Dab the Dye On, Don’t Brush
Use a foam sponge or cotton swab to apply dye.
- Start at the center of the repair and work outward.
- Feather the edges into the surrounding leather.
- Let each coat dry for 15 to 20 minutes before adding another.
Apply Two to Three Thin Coats
Multiple thin layers produce a richer, more natural color than one thick application.
Seal and Protect the Repair
Sealer locks in color and adds a layer of durability against future scuffs.
Choose the Right Finish
- Matte: Best for roughout or nubuck-style leather.
- Gloss: Ideal for dress boots.
- Satin: Mix gloss and matte sealers in a 1:1 ratio for a natural look.
Apply Sealer With a Foam Sponge
Dab the sealer lightly onto the repair, starting at the center and working outward.
- Cover only the repair area first.
- Let it dry, then extend slightly to blend with surrounding leather.
Add a Wax Finish for Extra Protection
A high-quality shoe wax like Saphir Pâte de Luxe adds a sacrificial layer that absorbs future scuffs.
- Apply a thin, even coat with a cloth.
- Buff vigorously to a shine.
- Wax fills microscopic imperfections and boosts water resistance.
Condition the Entire Boot
Never condition only the repaired area. Uneven moisture causes blotchy, inconsistent coloring.
Apply Quality Leather Conditioner
Use a soft cloth to spread conditioner over the entire boot.
- Let it absorb for 15 to 30 minutes.
- Buff lightly with a clean cloth.
Condition on a Regular Schedule
- Every 4 to 6 weeks for regular wear.
- Immediately after any deep clean or repair.
Prevent Future Scratches on Leather Boots
The best repair is the one you never have to make.
Apply Protective Wax Regularly
Wax creates a sacrificial layer that takes the damage instead of the leather.
Polish Often
Routine polishing fills micro-scratches before they deepen into visible damage.
Use Shoe Trees
Cedar shoe trees prevent creasing at the toe box and reduce stress points where cracks start.
Store Boots Properly
Keep boots in a cool, dry place. Use dust bags for long-term storage to prevent scuffing against other items.
Address Scuffs Immediately
Fresh marks are far easier to fix than aged, dried-out scratches. Wipe boots down after each wear and condition weekly.
Frequently Asked Questions About Fixing Scratched Leather Boots
Can a deep scratch in leather boots be repaired at home?
Yes, deep scratches and gouges can be repaired at home using leather filler, fine sandpaper, and color-matched dye. The process takes patience, but the results can be nearly invisible when done correctly.
What household items can fix scuffed leather boots?
Common household items that work on scuffs include pencil erasers, baking soda paste, white vinegar, olive oil, and non-gel toothpaste. These are best for surface marks and light scratches, not deep gouges.
Is olive oil safe for leather boots?
Olive oil can moisturize shallow scratches and darken exposed fibers, but it may permanently darken light-colored leather. Always test on a hidden area first, and use it sparingly.
How long does leather filler take to dry?
Drying time depends on the product and layer thickness, but most leather fillers dry within 30 minutes to a few hours. Low heat from a hair dryer can speed up the process without damaging the filler.
Will shoe polish hide scratches on leather boots?
Colored cream polish can hide light scratches by adding pigment to the damaged area. For best results, apply multiple thin layers and buff between each coat.
How do I stop my leather boots from getting scratched?
Regular conditioning, protective waxing, and routine polishing all help prevent scratches. Using shoe trees and storing boots properly also reduces stress points and accidental scuffing.
Key Takeaways for Restoring Scratched Leather Boots
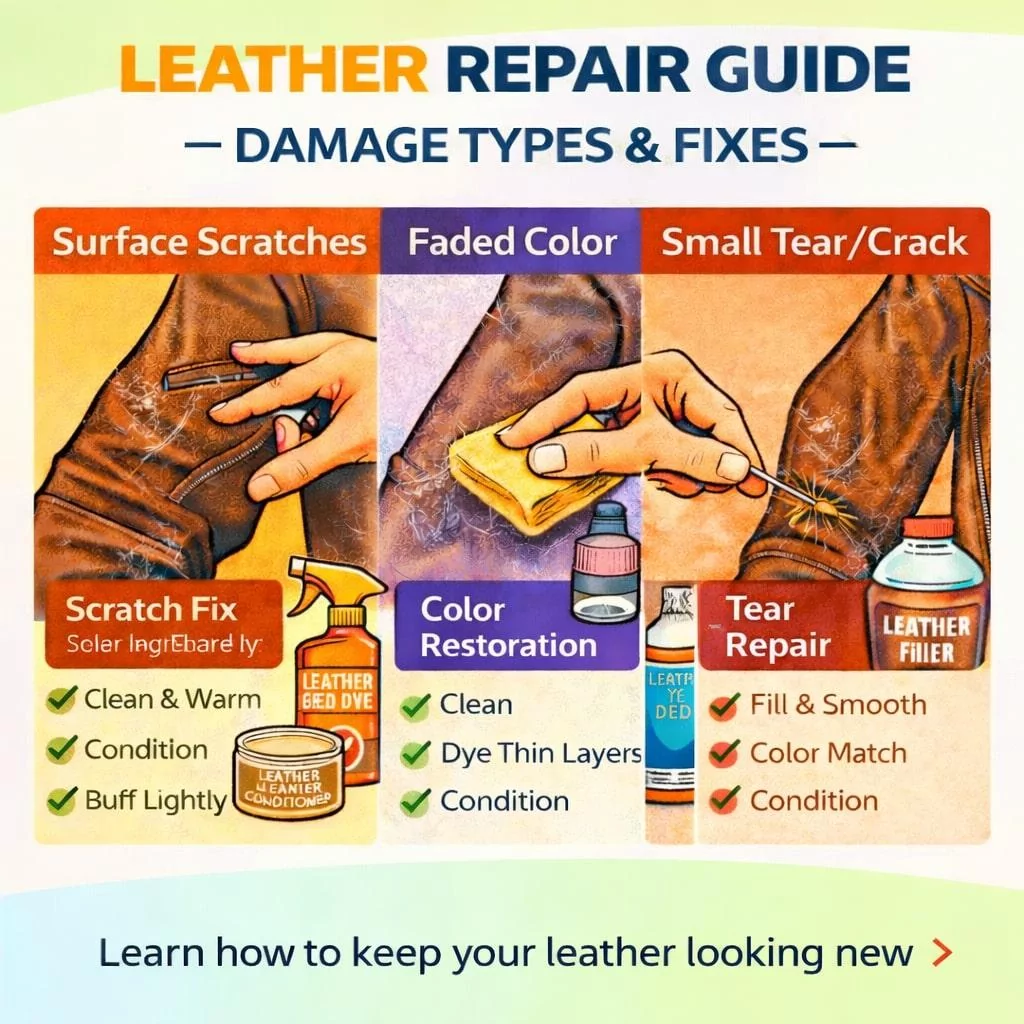
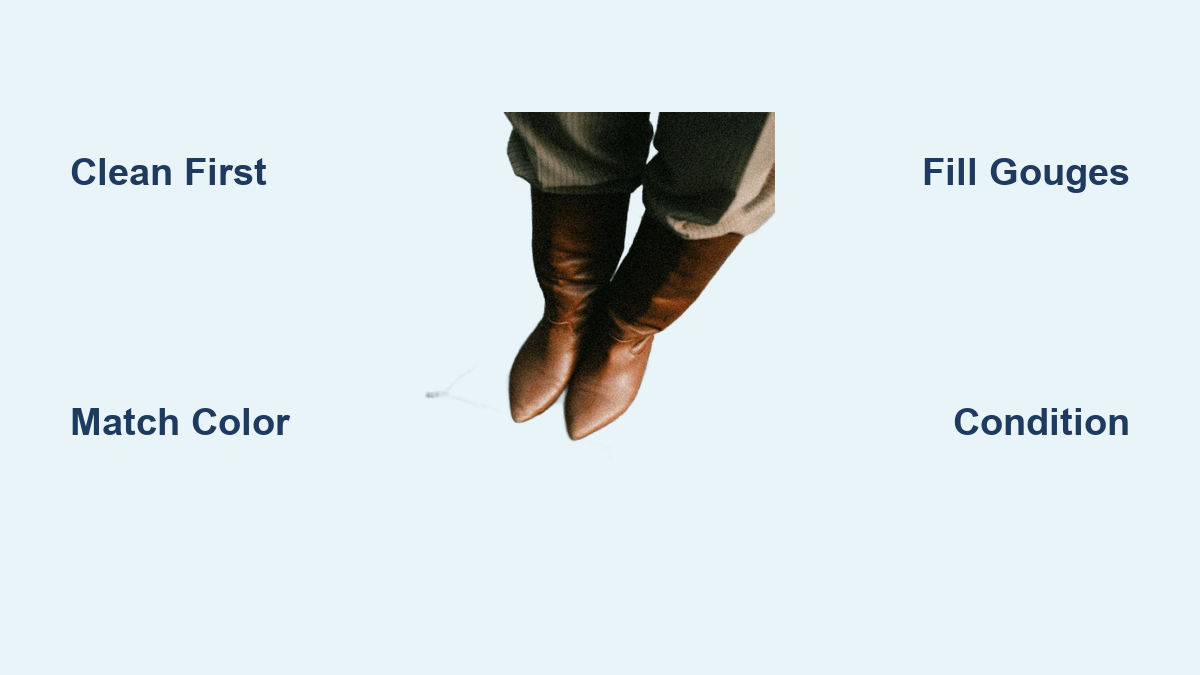
Knowing how to fix a scratched leather boot comes down to matching the repair method to the damage. Surface scuffs vanish with an eraser or baking soda paste. Light scratches respond to heat, massage, and color-matched polish. Deep gouges require filler, sanding, and dye to fully restore the surface.
The most important rule is to clean first, condition last, and always test products on a hidden area before applying them to visible leather. With the right approach, your boots can look sharp, last longer, and stay protected against future wear.
Your next step: Grab a horsehair brush, inspect your boots under natural light, and identify the scratch type. From there, you will know exactly which method to use and which products to reach for.