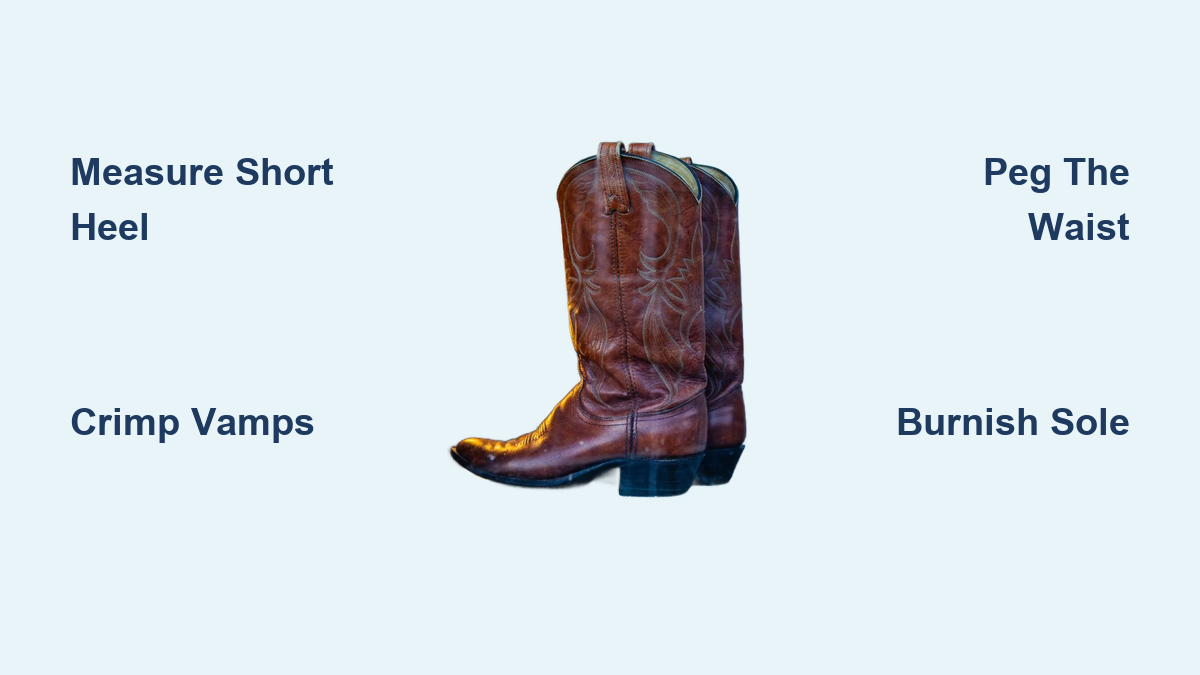
How to Make a Cowboy Boot
Cowboy boots carry more than leather and thread. They carry over 150 years of frontier tradition, riding heritage, and artisan skill. Every pair begins as raw hide and ends as a wearable legacy built to last decades. Whether you want to craft your first custom pair or refine advanced techniques, learning how to make a cowboy boot opens a world where precision meets artistry.
This guide walks you through the entire cowboy boot making process from start to finish. You will learn how to measure for a custom fit, cut and shape leather, assemble the shaft, last the upper, attach soles with wooden pegs, build stacked heels, and finish with a mirror shine. Along the way, you will pick up pro tips for avoiding bulk, eliminating wrinkles, and achieving clean seams.
Measure for Custom Fit

Take the Short Heel Measurement
Accurate sizing starts with the short heel measurement, the foundation of your boot shaft width. Wrap a flexible tape measure around the top of the instep and the base of the heel. This captures the narrowest part of the ankle where the boot must fit snugly. Record this number carefully.
Unlike standard shoe sizes, cowboy boots rely on this custom measurement to prevent slippage and ensure a tailored silhouette. Even a 1/8-inch error can cause misalignment during lasting or an ill-fitting shaft. For best results, measure both feet and use the larger value.
Draft the Shaft Pattern
Use the short heel measurement to draw a symmetrical shaft pattern on folded paper. Key lines include:
- Seam line: 1/2″ up from the bottom. Width = (Short Heel – 3/8″) / 4
- Pass line: 2.5″ above the seam. Width = (Short Heel + 3/4″) / 4
- Top line: Set at desired boot height. Width = (Short Heel + 1″) / 4
Mark the front opening starting about 5.2 cm up from the base, flaring outward to 1.3 cm from center. The back panel base angles in slightly at about 1.5 cm from the bottom line. Leave at least 1.5 cm of margin along edges to avoid design overlap on seams.
Some makers cut the back panel slightly wider than the front for a more elegant drape and secure fit. Just ensure balance when assembling.
Cut and Prepare the Upper

Transfer Inlay Designs Accurately
For boots with decorative overlays or inlays, precision matters. Use the perforation method: stitch over the paper pattern with an empty needle on a sewing machine to create dotted lines on the leather. Then apply talc powder to “pounce” the design and transfer the dotted outline clearly.
When cutting, you have two options:
- Use a cutting chisel on the sewing machine for perfect perforations
- Use a clicking knife to follow the pattern manually, finishing corners with careful slices
Skive all inlay pieces on the backside to reduce bulk. Skive the top leather where cutouts will go, except when using waxed flesh kangaroo, where the skin side must stay intact.
Pro tip for 3D effect: Save the original cut-out leather piece. After gluing the inlay, place the cut-out behind it. Stitching over both layers creates a raised, dimensional look.
Crimp Vamps and Linings
Wet the vamp leather and stretch it over a crimp board, a narrow wooden form resembling a tall sock. Secure with crimp screws, then let dry for 1 to 2 days. This removes memory and stretch, preventing wrinkles once the boot is worn.
Repeat the process with the lining leather using the same vamp pattern. Skipping crimping leads to sagging over the instep, a common flaw in amateur builds. Trim excess once dry for a smooth, pre-stretched vamp ready for lasting.
Assemble the Boot Shaft
Attach Heel Slide and Front Stay
Reinforce high-stress areas early in cowboy boot construction:
- Front stay: Cut from extra lining leather. Glue centered along the seam line inside the front panel for added stability
- Heel slide: Use thin, slippery leather like baby calf. Place it over the lining at the heel to protect against friction from the wearer’s heel. Stitch in place before closing the side seams
These components prevent wear and improve longevity, especially important in boots made for riding.
Join Tops and Linings
Align the center and seam lines on the front half of the tops. Center the tongue and match the vamp’s top edge to the horizontal seam line.
You have two adhesive methods to choose from:
- Rubber cement: Apply to lining, then assemble and stitch. Allows repositioning
- Contact cement: Stronger bond but permanent. First stitch the vamps to the tops, then glue the lining, and run a third stitch through all layers
Trim excess lining by marking 3/16″ above the seam line, tapering down to the seam, and cutting. Match the rear cut to the trimmed hard counter. Sand internal edges smooth to prevent irritation.
Install Pull Tabs
Each boot needs four pull tabs (two pairs). Create a pattern, optionally add inlays, and reinforce each tab with nylon tape or a leather strip to resist stretching.
Follow these steps:
- Glue the base to the shaft
- Fold over and stitch
- Punch a hole where the tab splits
- Mark attachment points: 2 inches for base, 2.5 inches for pull-through slice
- Secure with two vertical stitches along the side seam
- Use needle-nose pliers to pull the halves through the slices
Ensure symmetry. Misaligned tabs ruin the boot’s clean lines.
Sew and Shape the Shaft
Apply Side Welting
Cut a 2 cm strip of kid skin and embed twine down the center for volume. This forms the side welting, which adds structure and a traditional look.
Glue the welting to the inside edge of the shaft halves before seaming. Stitch in place to prevent shifting during assembly.
Close the Side Seams
Align the front and back shaft halves. Check alignment from the opposite end and mark the match point with a pen. Temporarily secure with a staple.
Use a Giga sewing machine or cylinder arm machine to stitch the seam about 5 mm from the edge. This industrial machine handles thick leather and long seams effortlessly.
After sewing:
- Remove staples
- Pull threads through, tie off with a double knot (loop twice), and trim
- Sand the internal seam smooth
Avoid back-stitching. It causes thread to poke through. Tying knots keeps seams clean.
Turn and Flatten the Shaft
Wet the entire assembly, then turn it inside out (outside in). This requires strong, even pulling, especially at the counter and vamp.
Stretch the turned boot over an angled board. Spray the side seam, especially the hard counter, with water. Hammer the seam flat, pulling the toe away and hammering downward to curl the counter over itself. Use a rolling pin for final smoothing. Let dry on the board to set the shape.
Last the Boot Properly
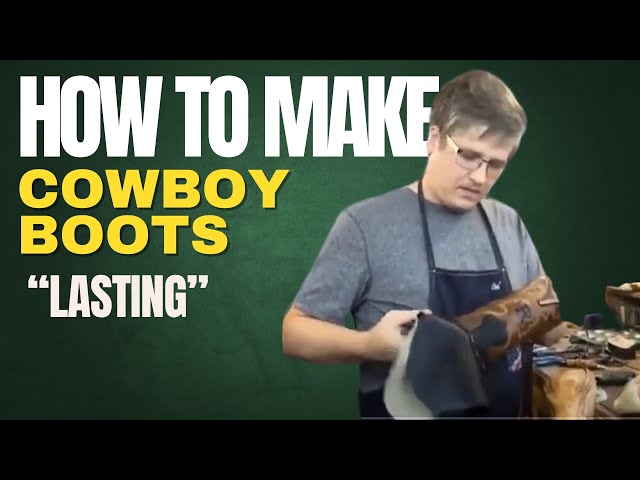
Select the Right Boot Last
Cowboy boot lasts differ from standard shoe lasts. They feature a curved, extended instep and a wider heel cup to accommodate thick oak-tanned counters and a narrow waist.
Choose a last that matches the foot’s volume and toe shape. The last dictates the boot’s final fit and silhouette. Never skip this step.
Perform Wet Lasting
Soak the upper for 20 to 30 minutes. The hard counter (made from soling leather) must be pliable to shape around the last.
Use a lasting stand, not your lap. The height of the shaft demands stability during pulls.
Start by folding the counter in half and aligning side seams. Place the last inside and tack the heel about 1/4″ above the insole, centered. Pull hard at the toe and tack. Add two more tacks left and right of center. Remove from stand and check that tops are centered and seams even.
Pull and Tack the Heel and Sides
Remove the initial heel tack. Pull the heel down around the insole and re-tack. Ensure the “saw tooth” edge of the counter sits flush against the insole. Compare both boots side by side. Heel height must match exactly.
For side pulls, if the last is canted, pull the opposite side first. Use one hand to pull down on the tops while using shank-lasting pincers to pull inward toward the heel. This creates lateral force, cupping the counter and preventing slippage.
Tighten the Waist with Bulldog Pliers
The waist (instep) requires maximum force. Use bulldog pliers with a folded leather pad to protect the surface.
Apply force, sometimes using leg leverage, to pull the shaft tight. Tack immediately. Finish by pulling a stretchy material over the heel and hammering it down for a secure fit.
On a well-lasted boot, the front side of the top forms a 90-degree angle with the sole.
Attach the Sole and Shank

Prepare the Insole
Cut the holdfast (waist bevel):
- Traditional: 7mm first cut, 6mm second
- Cowboy style: 3mm first cut, which makes the welt appear to emerge from the side of the upper rather than underneath
Trim the waist thoroughly. Use a broken piece of glass to shape a smooth, rounded bevel.
Install Shank and Peg
Place the shank (steel or wood) over the waist. Then:
- Punch holes with a welting awl while the insole is damp
- Use a pegging awl coated in beeswax to guide maple or lemonwood pegs
- Hammer pegs in immediately, 7mm apart, staggered in two rows
Pegging is preferred over stitching in the waist. It is stronger and allows flexibility.
Quality sign: Peg tops should be visible inside the arch. Trim pegs and shape the waist with a waist iron while the leather is still damp. Sand smooth after drying.
Build and Shape the Heel
Stack and Trim the Heel
Build the heel in layers, planing each to remove curvature from the last and shank cover.
For a slanted heel:
- Level all layers
- Trace the bottom of the heel using the top lift as a guide (cowboy top lifts are smaller than the base)
- Sand at a consistent angle to trim down to the line
This creates the classic cowboy slope.
Attach the Top Lift
Drive long nails through the heel stack from below. Then glue and press the top lift into place. Sand the heel smooth. Use a heel iron to burnish and harden the edges.
Finish with Polish and Shine
Create a High-Gloss Sole
For a mirror finish:
- Scrape the sole’s top layer with a piece of glass
- Lightly sand
- Apply dye evenly
- Burnish aggressively with a wooden rod
- Repeat sanding, dyeing, and burnishing 3 to 4 times
- Apply Fiebings Wax Burnishing Ink to edges and sole
This technique yields a deep, reflective shine that defines premium boots.
Correct Shape and Condition
Tops often wrinkle during lasting. To fix:
- Lightly spray with water
- Insert a Mallory stretcher to pull the shaft taut
- Re-measure the short heel circumference and stretch back to original size if needed
Let condition overnight. Re-wax tops, especially waxed flesh kangaroo, to restore water resistance and finish.
Frequently Asked Questions About Making Cowboy Boots
How long does it take to make a cowboy boot?
Construction time varies by complexity. A standard custom boot takes about 40 hours. The simplest versions can be made in as little as 12 hours, while high-complexity bespoke boots with intricate designs can take 155+ hours to complete.
What is the most important measurement for cowboy boots?
The short heel measurement is the most critical measurement. Wrap a tape measure around the top of the instep and the base of the heel. This single measurement dictates the width of the boot shaft patterns and ensures a snug, custom fit that prevents slippage.
What leather is best for cowboy boots?
Several leathers work well depending on the component:
- Waxed flesh kangaroo for tops (pliable and strong)
- Kid skin for welting
- Baby calf for heel slides
- Thick oak-tanned soling leather for hard counters
- Vegetable-tanned leather for insoles and outsoles
Why use wooden pegs instead of stitching the sole?
Pegging is preferred over stitching in the waist area because it is stronger and allows more flexibility. Quality boots show peg tops visible inside the arch, which is a sign of authentic, durable construction.
What tools do I need to start making cowboy boots?
Essential tools include crimp boards, crimp screws, shank-lasting pincers, a cutting chisel for your sewing machine, bulldog pliers, a Giga or cylinder arm sewing machine, a Mallory stretcher, waist and heel irons, and a pegging awl. You will also need maple or lemonwood pegs, beeswax, and Fiebings Wax Burnishing Ink for finishing.
Can beginners learn how to make a cowboy boot?
Yes. Many artisans start through traditional apprenticeships at schools like Bonney & Wills or the Ashland Oregon Shoemaking School. Typical comprehensive courses span 3 weeks, covering traditional boot construction in the first two weeks and alternative styles in the third. Self-study through detailed guides and video tutorials also works for dedicated learners.
Key Takeaways for Crafting Your First Cowboy Boot
Making a cowboy boot is a 40- to 155-hour journey that demands patience and precision at every stage. Start with an accurate short heel measurement, crimp your vamps to prevent wrinkles, and use sharp tacks during lasting for better holding power. Peg the waist instead of stitching it for superior strength, and finish with multiple rounds of dyeing and burnishing for that signature mirror shine.
Your next step: gather your materials, select a proper cowboy boot last, and practice crimping on scrap leather before committing to your first full pair. Every master bootmaker started with a single stitch.