How to Make Leather Boots: Step-by-Step Guide
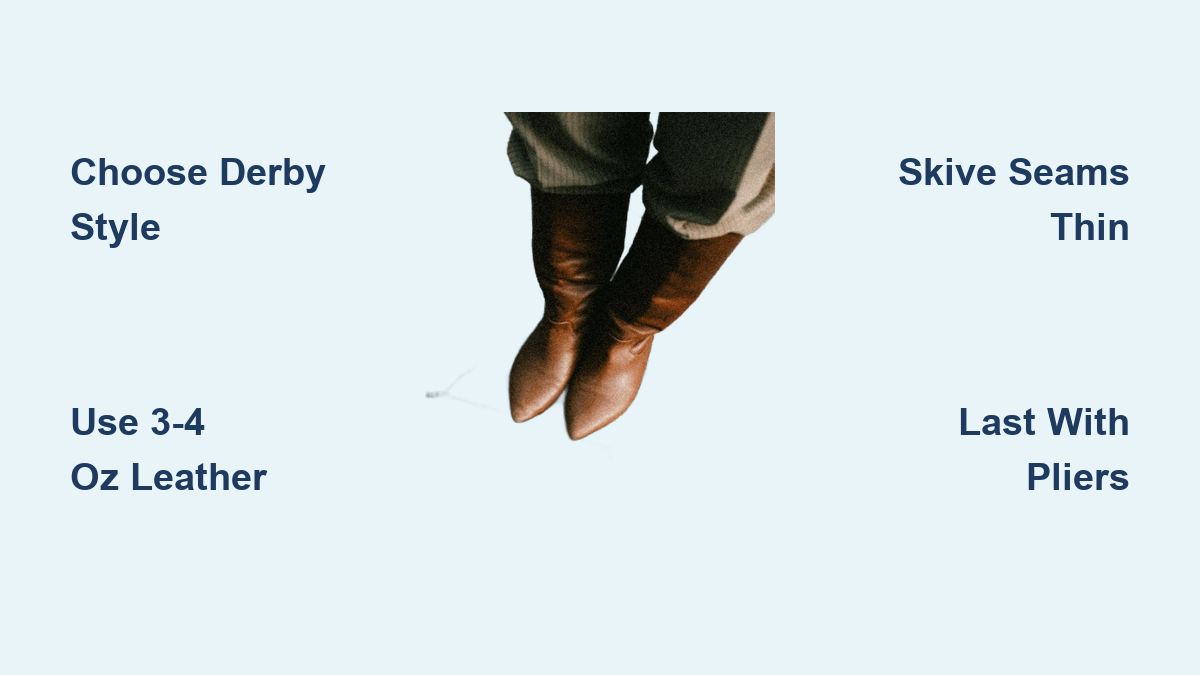
Learning how to make a leather boot is a serious undertaking, often compared to fine woodworking in both complexity and reward. A single pair can take a master nearly two years to complete, and the craft demands patience, precision, and a willingness to scrap materials along the way. But if you commit to the process, you can create a durable, custom-fitting boot that reflects your skill and personal style.
This guide breaks down every stage of how to make a leather boot, from selecting your first style to applying the final polish. You will learn which materials to buy, how to draft patterns, and the techniques that turn flat leather into a three-dimensional, wearable work of art.
Choose Your First Boot Style

Start With a Plain Toe Derby
Beginners should avoid complex designs like cap toes or moc styles. A plain toe derby boot offers a clean, straightforward pattern with minimal seams and no toe stitching. Its open-lacing system simplifies upper construction and forgives early mistakes.
Pick One Construction Method
The boot style dictates the build method. Common approaches include:
- Hand-welted construction allows resoling and produces a refined look.
- Stitch-down or cowboy boot methods involve side welting and pegging for structural strength.
Master one technique before experimenting. Success with a single method beats failure across several.
Study Reference Photos
Before cutting leather, gather images of boots you admire. Pay attention to cuff height, heel drop, the curve of the derby front, and pull tab placement. These details inform your pattern and prevent awkward proportions later.
Select the Right Materials
Match Leather to Each Component
Using the wrong leather leads to failure. Each part of a boot requires a specific type and weight:
- Uppers: 3–4 oz for beginners; 5–6 oz for standard builds. Waxed flesh kangaroo or calfskin works well.
- Liners: 2–4 oz soft, stretchy leather.
- Insoles: Heavy 10+ oz vegetable-tanned leather.
- Midsoles: Hardened veg-tan, often pre-cut.
- Welt: Kidskin or thin leather strip.
- Outsoles: Thick leather or rubber.
Source From Specialized Suppliers
General leather stores often lack critical footwear materials. Order midsoles, stiffeners, and soles from shoe repair supply companies like JT Batchelor or Springfield Leather Co. Lasts are best sourced from Mexico or Alibaba if buying full sets.
Prepare Adhesives and Finishes
Use Renia or equivalent contact cement, not generic shoe goo. It bonds permanently but requires ventilation and a respirator. You will also need alcohol-based dyes, edge coating like Resolene, beeswax for thread, and paste for stiffener installation.
Build Accurate Patterns

Use the Masking Tape Method
The fastest way to create a custom pattern is directly on the last:
- Wrap masking tape around the last, covering the area to be patterned.
- Draw seam lines and design edges with a pen.
- Cut and remove tape sections.
- Flatten onto paper using a bone folder.
- Add 5 mm seam allowance all around.
This method ensures a perfect fit to your last’s shape.
Draft Cowboy Boot Tops With Measurements
Cowboy boots use a short heel measurement, a tape wrapped from the instep top to the heel base. Use this to calculate top width:
- Seam line width: (Short Heel – 3/8″) / 4
- Pass line width: (Short Heel + 3/4″) / 4
- Top line width: (Short Heel + 1″) / 4
Draw on folded paper, mark the front opening flare, and cut carefully with a clicking knife.
Transfer the Design to Leather
Two reliable methods work well:
- Perforation: Stitch over the paper pattern with an empty needle, then dust with talc to transfer holes.
- Direct tracing: Tape the pattern down and trace with a pencil.
Always click your leather first, inspecting for scars, blemishes, or weak grain before cutting.
Cut and Assemble the Upper
Skive for Smooth Seams
Bulk causes discomfort and poor stitching. Use a Japanese forward-push skiver to thin back seam edges, inlay overlaps, hard counter attachment zones, and liner bottom edges. Aim for a gradual, feathered edge.
Reinforce High-Stress Areas
Glue a front stay, a strip of lining leather, between the upper and liner along the front panel seam to prevent stretching. Attach a heel slide of thin baby calf leather over the liner at the heel to protect against abrasion.
Stitch Uppers in Logical Order
Follow this sequence to avoid trapped threads:
- Attach side welts (if cowboy style)
- Join front and back halves
- Attach heel counters
- Sew on vamps
- Add pull tabs
Use saddle stitch with curved needles and beeswaxed thread. At sharp corners, extend the stitch line slightly beyond the point (called “pulling points”) for a crisp turn.
Seal and Turn the Upper
After stitching, wet the entire upper thoroughly. Turn it inside out with strong, steady pulling. Pull over a board and hammer side seams flat while wet. Let dry completely before lasting.
Shape and Mold the Insole
Cut and Last the Insole
Use 10+ oz vegetable-tanned leather. Cut a rough outline, soak in water, then nail it to the last’s bottom. Wrap tightly with elastic and let dry for 24 hours. This molds it precisely to the foot shape.
Carve the Holdfast Channel
The holdfast guides the welt stitching. Use a chisel or router to carve:
- Standard boot: 7mm deep at the heel, 6mm at the toe
- Cowboy boot: 3mm deep for a side-emerging welt look
Mark stitch holes with an awl at 5–6 mm intervals.
Trim and Bevel the Waist
Smoothly taper the insole’s waist (arch area) with a rasp or broken glass. Avoid sharp corners, which can crack or cause pressure points.
Last the Boot to the Foot Form
Prepare for Wet Lasting
Soak uppers for 20–30 minutes before lasting. This softens the leather, especially the hard counter. Keep them damp during the process.
Mount on a Lasting Stand
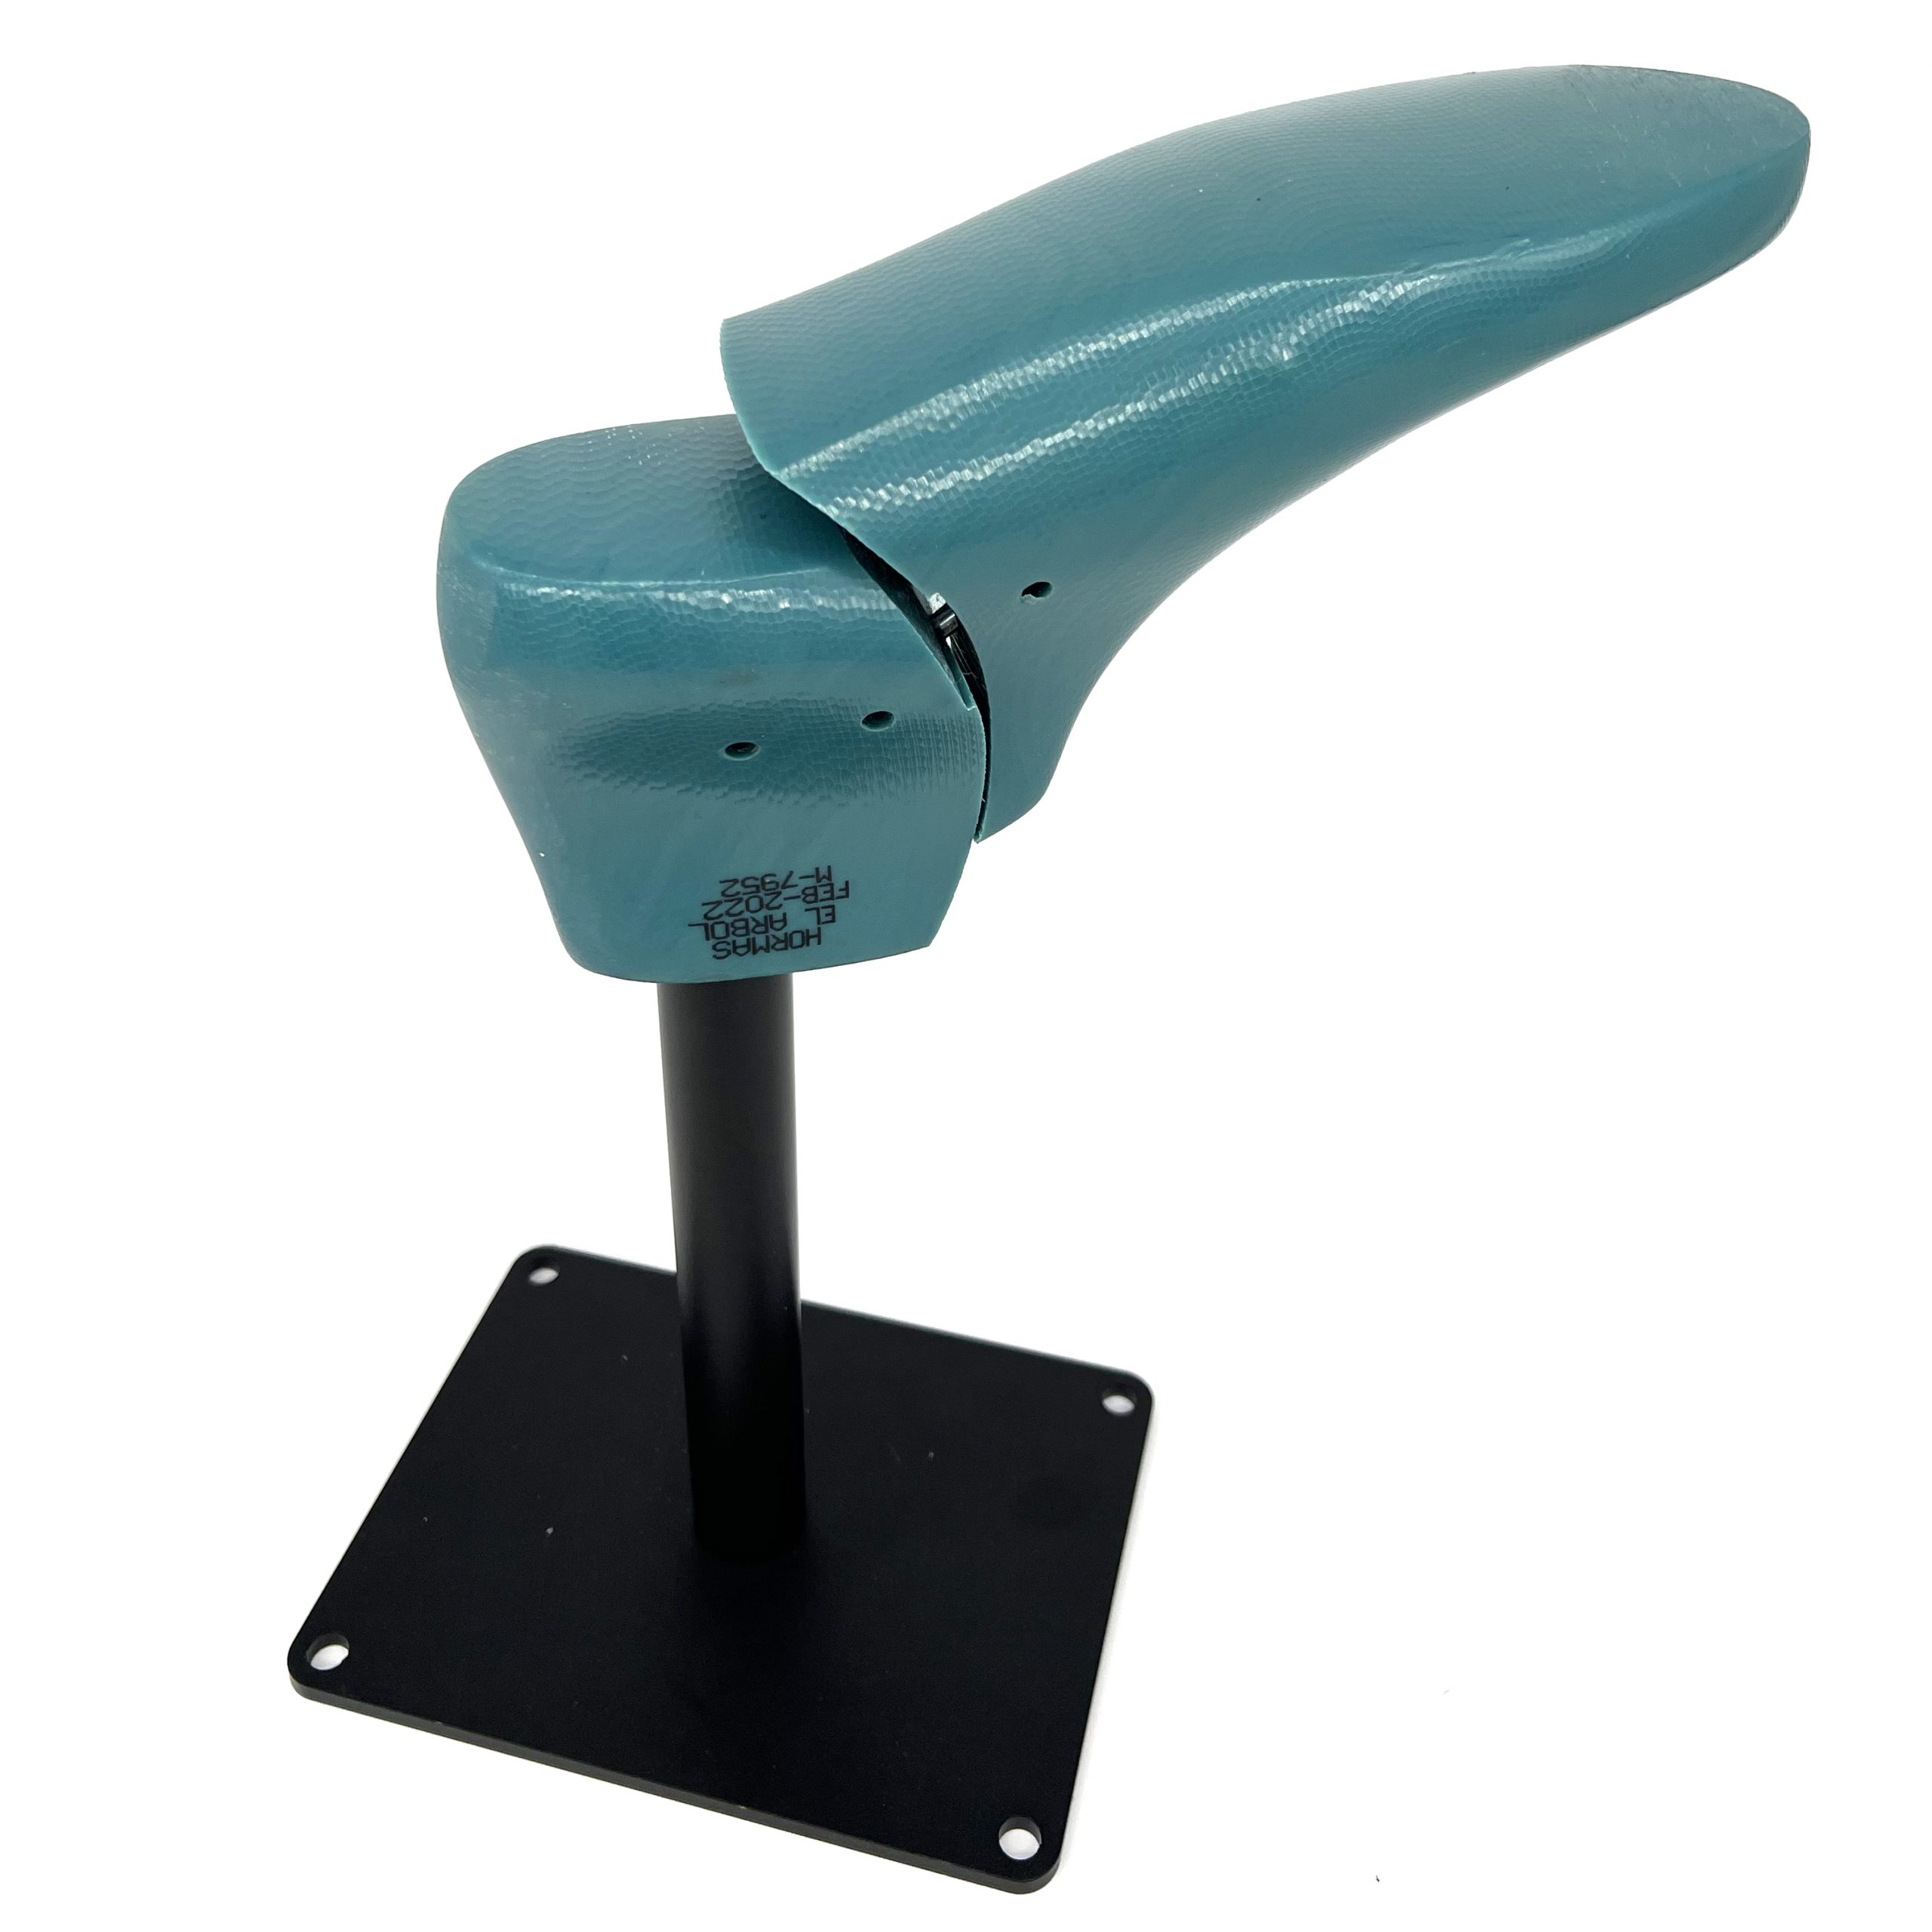
Place the last in a lasting stand at waist height. Fold the counter in half, align side seams, and center on the last. Tack the heel ¼ inch above the insole, then pull and tack the toe, make two side pulls near the toe, release the heel tack, pull down, and re-tack.
Pull Sides and Waist Evenly
Work alternately on both sides. Use lasting pliers to pull leather tightly over the last. For the waist, use bulldog pliers with leather guards to prevent marks. Apply lateral force, pulling downward and inward, to shape the heel cup. Check symmetry frequently.
Install Stiffeners During Lasting
- Toe puff: Lift the front, apply paste, insert puff, and hammer it into place. Let dry 24 hours.
- Heel stiffener: Add wet stiffener during heel lasting, paste it in, and compress.
Re-wet and re-last if leather dries too soon.
Attach the Welt and Shank

Prepare the Welt Strip
Cut a leather strip (kidskin for cowboy boots), soak it, and wrap in newspaper for 24 hours to soften it for bending. Dye if desired.
Saddle Stitch the Welt
Use curved needles and saddle stitch through the holdfast channel, liner, upper, and welt. Stitch tightly and evenly. This seam is structural, so take your time.
Install the Shank
Glue a steel shank into the arch. Fill the void with granulated cork and rasp it flat, leaving a slight rounding at the ball of the foot. For cowboy boots, peg the waist instead of sewing. Punch staggered holes 7mm apart, apply beeswax to wood pegs, and hammer them in.
Attach the Outsole
Prepare the Sole
Scrape the flesh side of the leather outsole with broken glass to remove the shiny layer. This improves glue adhesion.
Glue With Contact Cement
Apply two thin layers of Renia contact cement to the welt, midsole, and outsole flesh side. Let each layer dry completely until tacky. Press together firmly and use a sole press or hammer with smooth pliers to compress the bond.
Stitch and Notch the Sole
Mark stitch holes with a wing divider, pierce with an awl, and hand-stitch. For a fiddleback waist, shave down the sole’s flesh side in the arch area for a slimmer profile.
Build and Shape the Heel
Stack Leather Lifts
Build the heel in layers:
- Skive each lift flat
- Glue with paste
- Nail every second layer in a triangle pattern
- Final layer: U-shaped nails (¼” from edge, ½” apart, angled inward) plus three center nails
Shape With Knife and Rasp
Level each layer as you go. Use a knife to rough out the heel and sole profile, then refine with a rasp and sand smooth. For a slanted heel, plane the top lift flat, trace its outline on the bottom, then sand down at an angle.
Attach the Top Lift
Glue on a rubber or leather top lift. Drive long nails through the heel stack to secure it.
Finish With Professional Polish
Sand Sole and Heel Edges
Use a belt sander or drum sander for sidewalls. Keep the sander 1–2 mm away from the upper to avoid damage.
Smooth With Glass and Heat
Scrape edges with broken glass to remove fuzz. Use a waist iron or back of a hot iron to harden and smooth edges. Apply water and burnish with a wooden rod and wax.
Burnish for Gloss
Apply Fiebings Wax Burnishing Ink or Resolene in thin layers. Let dry, then scrape with glass, re-dye, and repeat. For high gloss, scrape, dye, burnish heavily, and repeat 3–5 times.
Set the Edge
Use an edge burnisher with water. Then apply shoe cream (Saphir Creme), hard wax (Pâte de Luxe), shoe polish, and a final wax coat. Melt each layer in with friction for waterproofing.
Restore Shape With a Stretcher
Use a Mallory Stretcher
The turning and lasting process distorts the shaft. To fix this, spray tops lightly with water, insert a Mallory boot stretcher, and leave overnight. This restores the short heel measurement and eliminates bagginess.
Check Fit and Symmetry
Ensure both boots sit at the same heel height, have even side seams, fit snugly below the laces, and match in shape and size.
Frequently Asked Questions About Making Leather Boots
How long does it take to make a leather boot by hand?
A master-crafted pair can take nearly two years from concept to completion. Beginners should expect their first pair to take several months of dedicated work, with most of that time spent learning techniques and troubleshooting mistakes.
What is the best leather for beginner bootmakers?
Start with 3–4 oz upper leather. It is easier to cut, skive, and last than heavier hides. Waxed flesh kangaroo and calfskin are both good choices for first projects.
Can I make boots without industrial machines?
Yes. Many bootmakers use hand tools exclusively, including curved needles, awls, and saddle stitch techniques. Cowboy boot maker DW Frommer documents a no-machine approach that relies entirely on hand stitching and pegging.
What tools do I absolutely need to start?
At minimum, you need lasts, a lasting stand, lasting pliers, a skiver, a clicking knife, curved needles, awls, and contact cement. A sewing machine speeds production but is not required for a hand-welted or pegged construction.
How do I prevent bulky seams on my boots?
Skive all overlap areas thoroughly before assembly. Use a Japanese forward-push skiver to thin edges gradually, creating feathered transitions rather than abrupt steps.
Why do my boot tops look distorted after lasting?
The turning and lasting process naturally compresses and shifts leather. Use a Mallory Stretcher after assembly to restore the original shape and short heel measurement.
Key Takeaways for Your First Leather Boot Build
Making a leather boot is a marathon, not a sprint. Your first pair will have flaws, including uneven seams, slight asymmetry, or stiffness. That is completely normal. The real success lies in completing the project and learning from every mistake.
Start with a plain toe derby, use 3–4 oz leather, and master one construction method before experimenting. Source specialized materials from footwear supply companies rather than general leather stores. Take your time with lasting, as it is the most difficult and artistic phase of the entire build.
With each pair, you will refine your technique, deepen your understanding, and move closer to mastery. Keep learning, keep building, and wear your boots with pride.