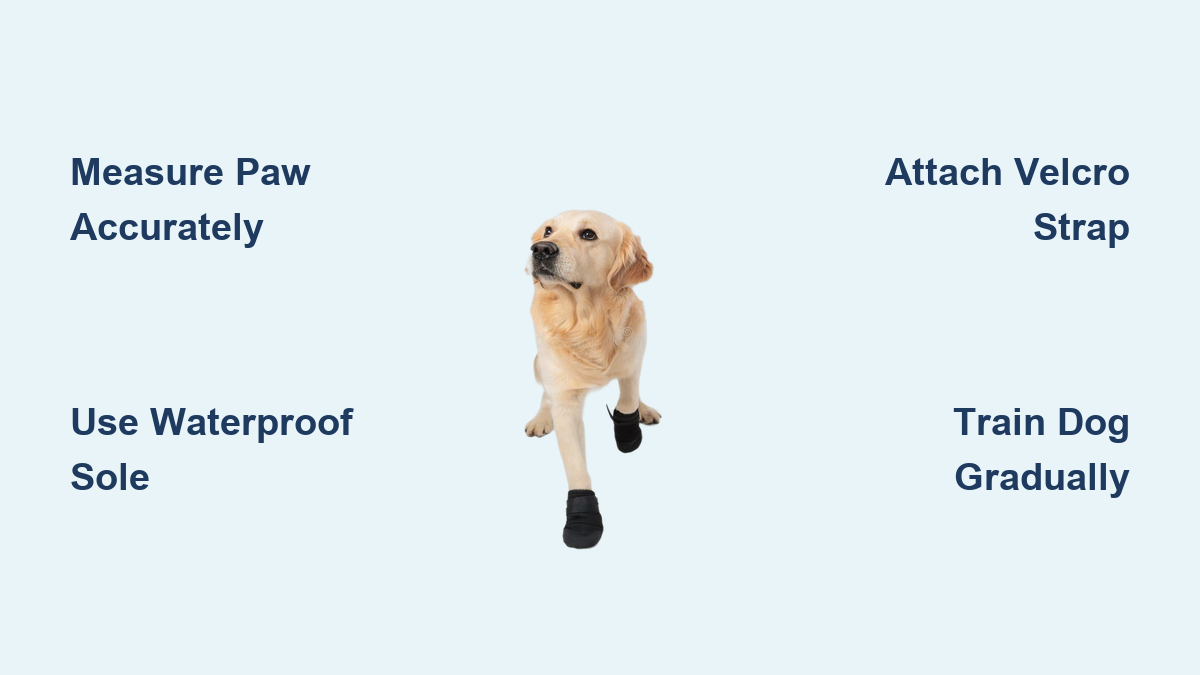
How to Make Dog Boots: Quick Steps
If your dog slips out of store-bought boots or you can’t find a pair that fits their slim legs, making a dog boot at home is a practical solution. How to make a dog boot requires only basic tools, accurate measurements, and weather-appropriate materials. Whether you’re shielding paws from hot pavement, icy sidewalks, or muddy trails, a custom DIY boot offers a better fit than most commercial options. This guide covers three construction methods, material selection, secure strap design, and a training plan to help your dog accept their new footwear.
Measure Paws Accurately Before You Start
Getting the size right is the foundation of how to make a dog boot. A boot that is too tight cuts off circulation, while one that is too loose slips off within minutes.
Trace the Paw on Paper
Place your dog on a flat surface and slide a piece of paper under one paw. Mark the front, back, and widest points of the paw with a pen. If your dog stays still, trace the entire outline. Always add ¼ to ½ inch around the tracing for seam allowance. This extra space ensures comfort and gives you room to stitch without squeezing the paw. Remember, it is easier to make a boot smaller later, but you cannot expand fabric once it is cut.
Build a Reusable Paper Pattern
Cut out your traced shape and test it under the paw. There should be a small gap all around the edges, with the template never touching the paw directly. Use this template to cut all fabric and sole pieces. Many dogs have differently sized front and back paws, so make separate patterns for each paw to ensure a proper fit.
Measure the Ankle for Strap Length
Wrap a soft measuring tape around the ankle where the boot will end. The fit should be snug but allow a fingertip to slide underneath. Cut your elastic or ribbon to this measurement. If you use Velcro, make the loop side at least 2 inches longer than the hook side. This extra length allows multiple wrapping options on slim legs and prevents the boot from slipping off.
Choose Materials Based on Weather Conditions
The best DIY dog boot protects against specific environmental threats. Select your materials based on where and when your dog will wear them.
Pick Upper Materials by Season
- Fleece: Ideal for winter warmth. Soft and cozy, but must be paired with a waterproof sole.
- Faux Leather or Waterproof Canvas: Best for wet or muddy conditions. Resists water and abrasion.
- Cotton Socks or Lightweight Fabric: Suitable for indoor use or short trips in mild weather.
- Rubber (from gloves or boots): Maximum waterproofing for rainy or icy terrain.
Avoid using cotton alone in cold, wet weather. Cotton absorbs moisture and increases frostbite risk by holding cold water against the paw.
Select Soles for Traction and Protection
The sole is the most critical part of how to make a dog boot. It must be waterproof and grippy.
- Leather or Suede Scraps: Durable and water-resistant. Cut from old gloves or shoes.
- Non-Slip Rubber Pads: Use pieces from shelf liner or rubber mats.
- Cut Rubber Gloves: Slice the fingers or palms into paw shapes for instant waterproof soles.
Never rely on fabric alone for the bottom. Paw pads need a solid barrier against heat, cold, and sharp objects.
Sew a Fleece and Leather Boot for Winter

This durable, sewn boot is ideal for snow, ice, and active dogs who need warmth and grip.
Cut All Fabric and Sole Pieces
Using your paper pattern, cut two fleece pieces per boot (eight total for four boots). For the sole, trace the same pattern but cut it slightly smaller to avoid bulk. Cut four sole pieces from leather or rubber.
Attach the Sole Securely
Place the sole on the wrong side of one fleece piece, aligning the edges. Sew around the perimeter with a strong stitch, using a leather needle if needed. Backstitch at the start and end for durability. Repeat this process for all four boots.
Install Adjustable Velcro Straps
Cut elastic or ribbon to your leg measurement. Sew the hook side of Velcro to one end. On the opposite boot edge, sew a long strip of loop Velcro (3 to 4 inches). This allows tight wrapping even on slim legs. For dogs that kick off boots, this extended loop is essential.
Assemble and Finish the Boot
Pin the two fleece pieces together with right sides facing, inserting the strap into the side seam. Sew around the entire boot, leaving the top open. Trim the corners to reduce bulk, then turn the boot right-side out. The finished boot should sit snugly around the paw with no twisting.
Build a Water-Resistant Patch Boot for Mud

For muddy trails or wet grass, this boot adds reinforcement while staying lightweight.
Cut Durable Fabric Strips
Fold faux leather or waterproof canvas in half. Measure the paw width plus 1 inch, then cut four long strips to this width. Each strip will form one boot.
Add Non-Slip Patches
Cut four small circles or squares from non-slip matting or rubber. Pin one to the bottom center of each strip at the paw pad area. Stitch securely with a zigzag or straight stitch. This patch prevents slipping and protects high-wear zones.
Hem and Insert Elastic
Fold the top edge of each strip down by ½ inch and pin. Cut elastic to ankle size and pin it just below the hem on the inside. Sew around the top edge, backstitching over the elastic ends for strength.
Shape and Sew the Toe
Fold the strip into a sock shape with wrong sides together. Trim a small triangle from the toe corner to help it curve smoothly. Sew along the entire edge, pivoting at the toe for a rounded finish. Turn the boot right-side out. The boot should hug the paw without gaps.
Make a No-Sew Sock Boot for Quick Use

For a fast, easy version, repurpose old socks. This method works well for indoor recovery or light outdoor use.
Use Snug-Fitting Socks
Choose thin, stretchy socks that fit the paw tightly. Cut off the toe end to create an open bottom. Slide the sock over the paw to form your instant boot base.
Add Grip to the Sole
Cut small squares from a non-slip bath mat or rubber glove. Attach them to the bottom with fabric glue and let dry completely. For extra durability, stitch around the edges once the glue sets.
Secure with Elastic or Velcro
Sew or glue a small piece of elastic across the top to prevent slipping. Alternatively, attach a short ribbon with Velcro tabs on each end. Wrap the ribbon around the ankle and secure. Avoid using tape, as it can loosen and become a choking hazard.
Prevent the Kick-Off Problem
Many dogs kick off boots out of discomfort or unfamiliarity. Solving this issue is key to mastering how to make a dog boot that actually stays on.
Use Extended Velcro Loop Straps
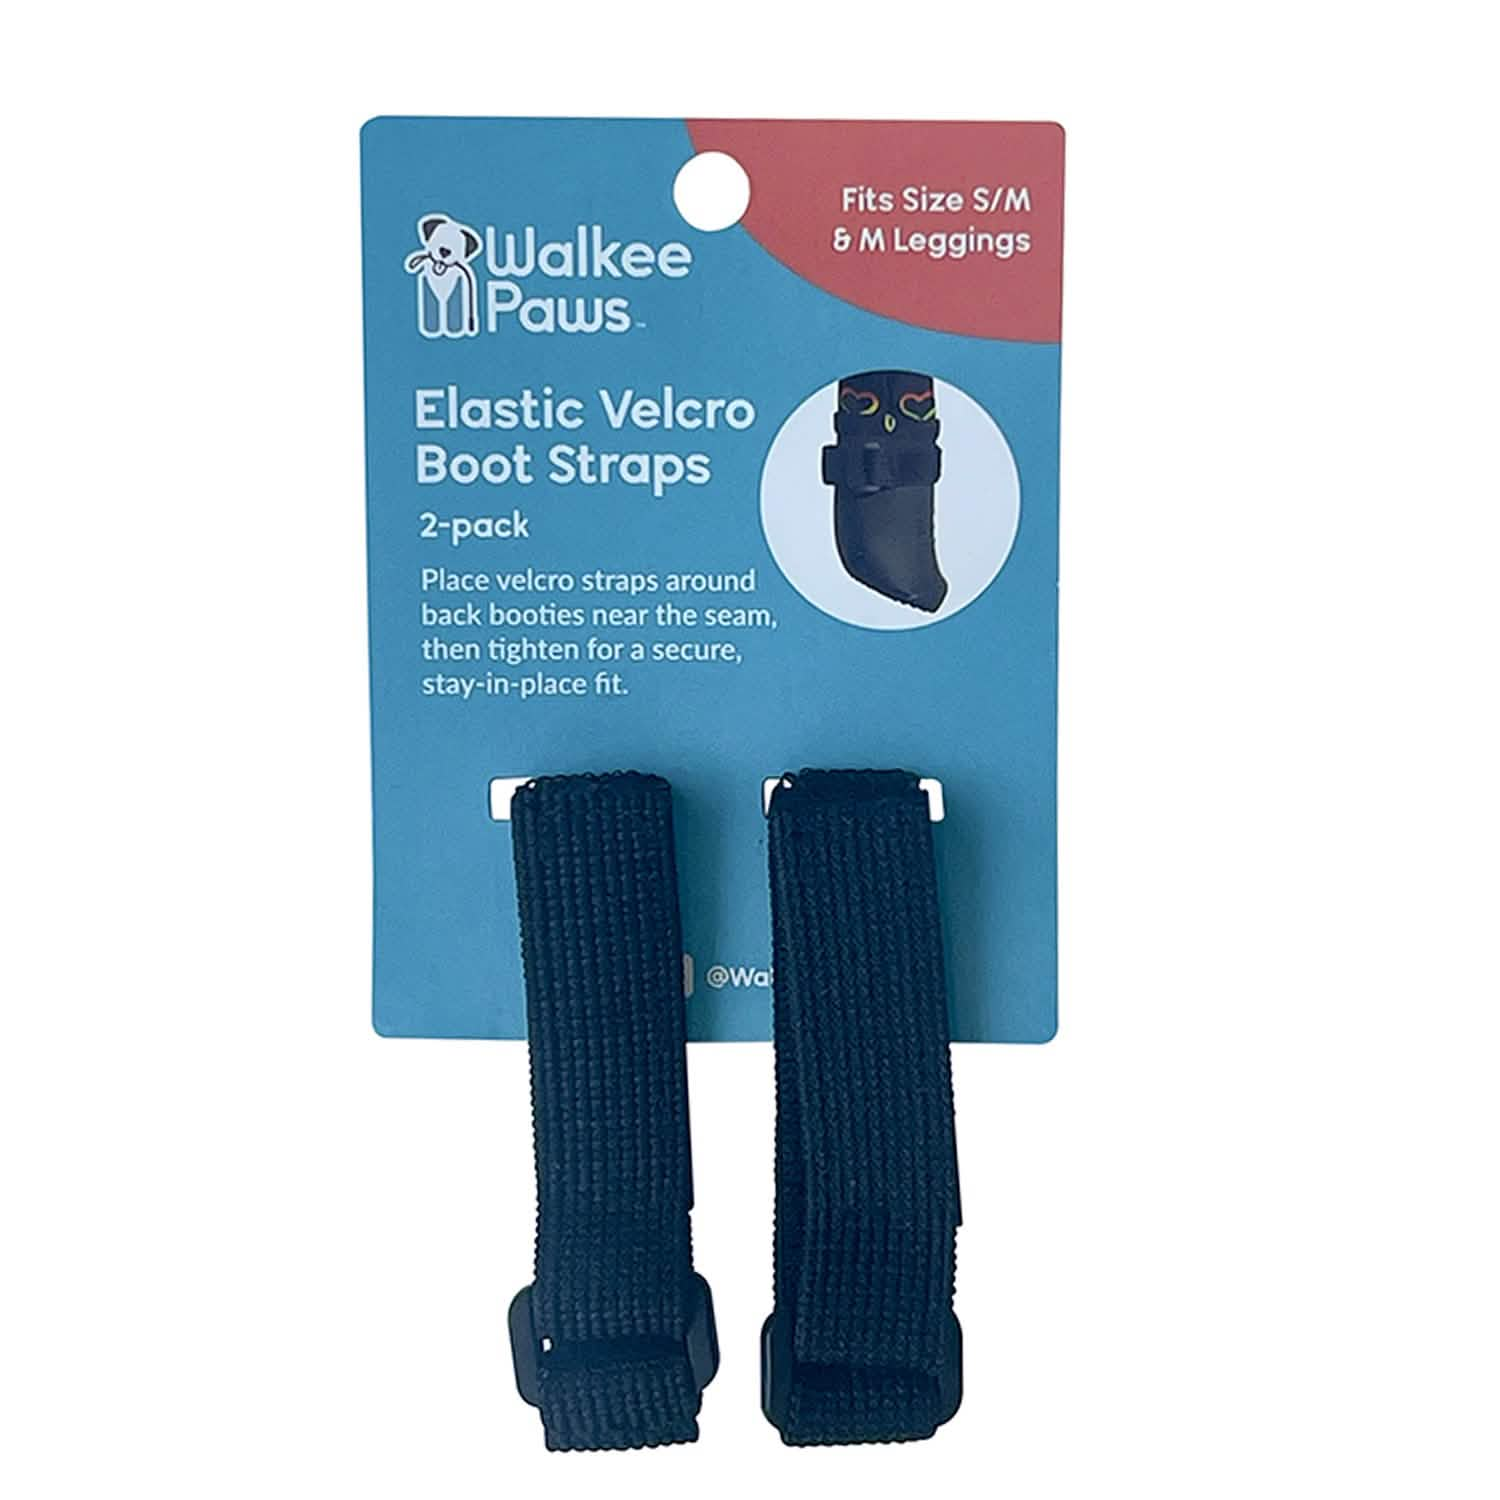
Dogs with slim legs need more adjustment room. A short loop strip won’t allow enough tightening. Use a 3 to 4 inch loop patch so the strap can wrap multiple times and still fasten securely. This approach mimics high-end commercial designs.
Avoid Over-Tightening the Strap
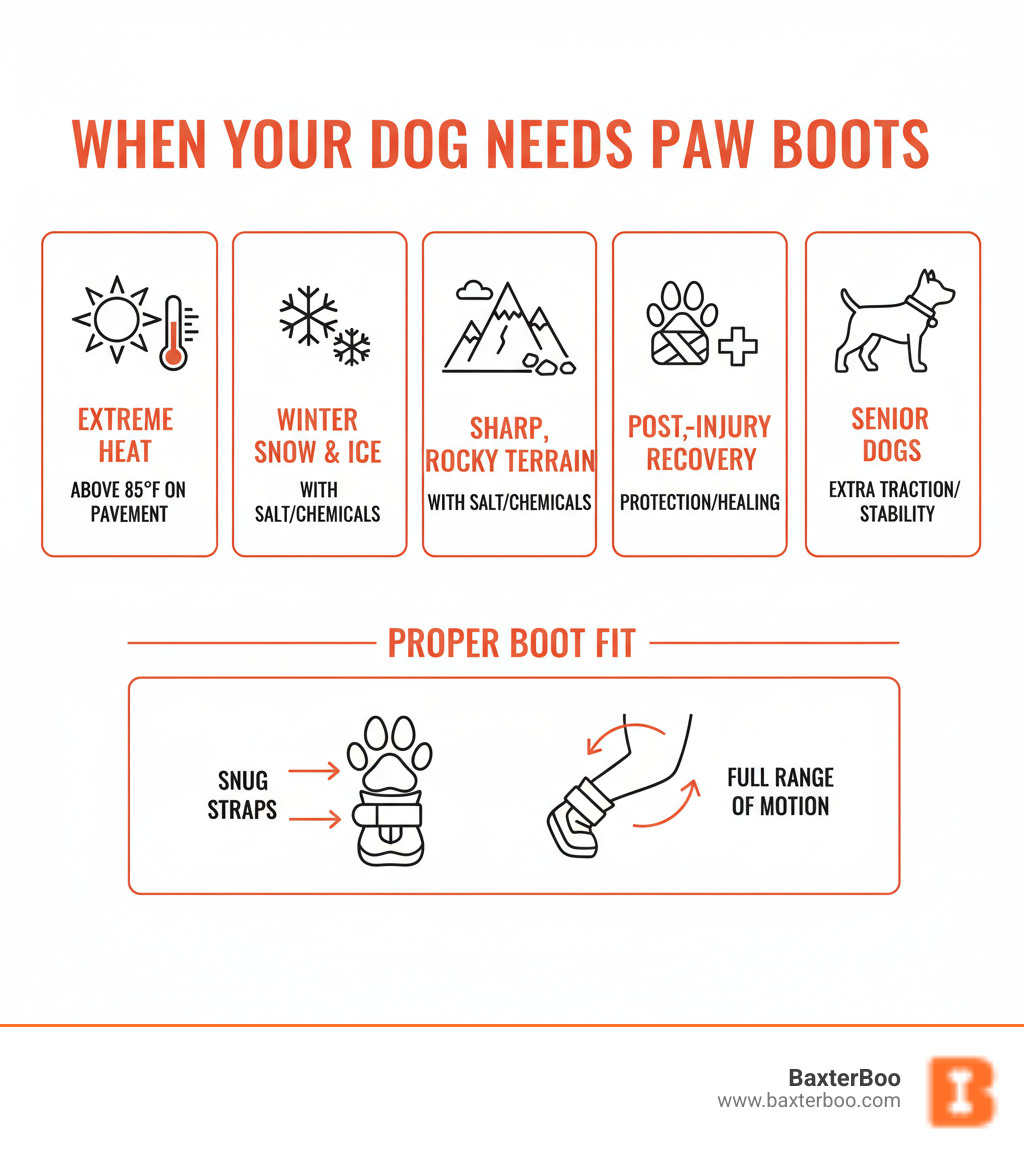
Snug does not mean tight. You should be able to slide a fingertip under the strap. Over-tightening causes pain, swelling, and refusal to walk. If the boot slips, adjust the fit rather than cranking down the strap.
Test Fit Indoors Before Walking Outdoors
Put the boots on and let your dog walk on carpet or tile. Watch for limping, licking, or paw shaking. If the boot twists or slips, reinforce the strap or adjust the elastic length before heading outside.
Train Your Dog to Accept Wearing Boots
Even the best-fitting boot fails if your dog refuses to wear it. A gradual acclimation plan is essential.
Introduce Boots with Positive Association
Let your dog sniff and investigate the boots. Reward with treats when they show interest. Place a boot near their paw and reward calm behavior.
Practice Short Indoor Sessions
Put on one boot for 30 seconds, offer a treat, then remove and praise. Repeat with all four boots, increasing the time daily: 1 minute, then 5, then 10. Never force the boots on or scold your dog during this process.
Walk on Familiar Surfaces
After 2 to 3 days of indoor wear, try a short walk on grass or pavement. Watch for stumbling or paw lifting. Stop and remove the boots if you see signs of distress. Gradually build up to longer walks as your dog gains confidence.
Maintain and Extend the Life of Your Boots
Proper care keeps DIY boots functional and hygienic for repeated use.
Clean After Every Use
Wash fabric boots in cold water with mild detergent. Air dry completely and never use a dryer. Wipe rubber or leather soles with a damp cloth after each walk.
Check for Wear and Tear
Inspect seams, Velcro, and sole attachments regularly. Re-stitch loose areas immediately. Replace frayed elastic or peeling grip pads before they fail during a walk.
Store Dry and Flat
Keep boots in a dry place away from direct sunlight. Moisture leads to mold, especially in fleece or canvas. Storing them flat prevents warping and maintains shape.
Frequently Asked Questions About Making Dog Boots
What is the easiest way to make a dog boot at home?
The easiest method is the no-sew sock boot. Cut the toe off a snug sock, glue non-slip patches to the bottom, and secure with elastic. This takes about 10 minutes and requires no sewing skills.
How do I measure my dog’s paw for a DIY boot?
Place your dog on paper and trace the paw while they stand. Mark the widest points and the front and back. Add ¼ to ½ inch around the outline for seam allowance, then cut out the paper to use as a template.
What materials work best for waterproof dog boots?
Use faux leather, waterproof canvas, or rubber from old gloves for the upper. For the sole, use leather, suede, or non-slip rubber matting. Avoid cotton or fleece alone in wet conditions, as they absorb water and increase frostbite risk.
How do I keep dog boots from falling off?
Use an extended Velcro loop strap (3 to 4 inches of loop side) so the strap can wrap multiple times around slim legs. Ensure the fit is snug but not tight, and test indoors before walking outside.
Can I use old socks to make dog boots?
Yes. Old socks make an excellent base for a quick, no-sew boot. Choose stretchy socks that fit the paw snugly, cut off the toe, add grip pads with fabric glue, and secure with elastic or Velcro.
How long does it take to train a dog to wear boots?
Most dogs need 3 to 7 days of gradual training. Start with 30-second indoor sessions and slowly increase the duration. Reward calm behavior with treats and never force the boots on if your dog shows distress.
Key Takeaways for Making a Custom Dog Boot
Learning how to make a dog boot gives you full control over fit, materials, and function. Start by tracing your dog’s paw and adding ¼ to ½ inch for seam allowance. Choose weather-appropriate materials like fleece for winter or waterproof canvas for mud. Use an extended Velcro loop strap to prevent kick-offs, and always test the fit indoors before outdoor walks. Combine accurate construction with patient training, and your dog will soon walk comfortably with protected paws. Pick your method today, gather your materials, and build a set of boots tailored to your dog’s specific needs.