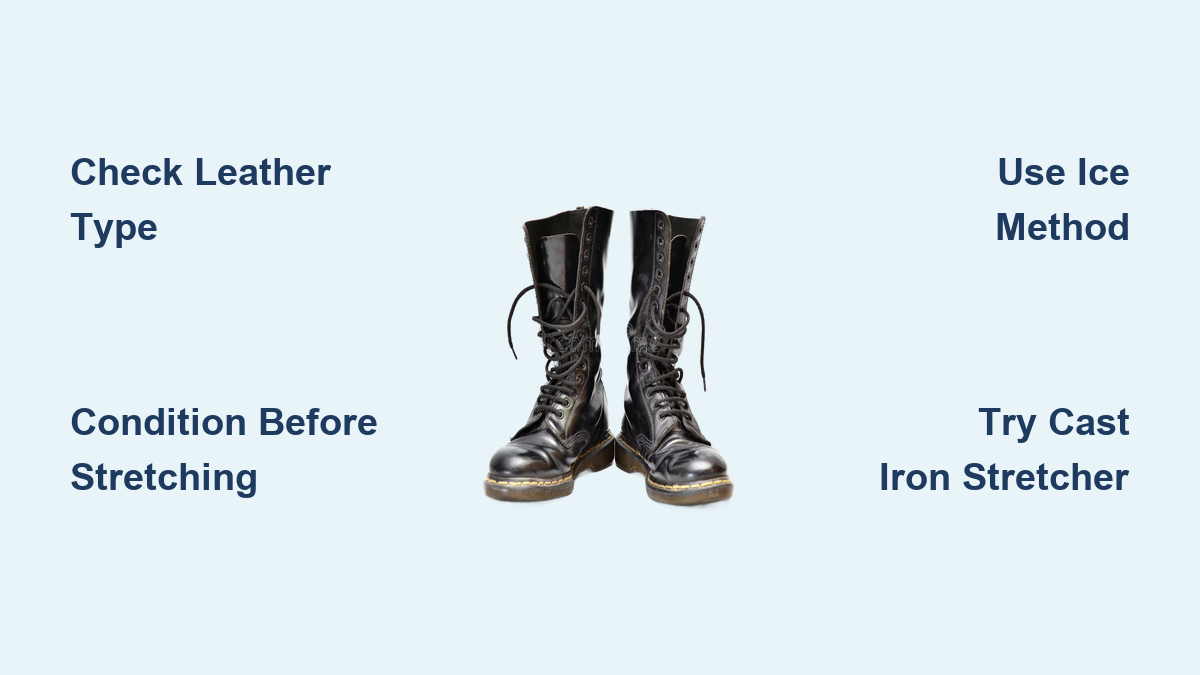
How to Stretch Boot Calves: Quick Steps
If your boots pinch your calves every time you zip or pull them on, you already know how quickly stylish footwear turns into an all-day nuisance. Tight boot calves are one of the most common fit complaints, especially with tall leather styles like cowboy boots, riding boots, and hiking boots. The encouraging part: genuine leather boot calves can be stretched safely when you use the right method for your boot type and tightness level.
Below, you’ll find proven techniques ranging from simple at-home hacks to professional cobbler solutions. You’ll learn which methods match your boot material, how to avoid cracking or warping the leather, and when it’s worth paying a pro. The goal is a custom fit that feels made for your legs, without blisters, restricted circulation, or ruined boots.
Verify Your Boot Material Before Anything Else
Before you apply heat, water, or a stretcher, you need to confirm your boots are genuine leather. Only real leather responds to stretching. Synthetic, faux leather, rubber, and fabric boots will not expand and may be permanently damaged by moisture or heat.
A quick water drop test works well. Place a single drop of water on an inconspicuous area inside the shaft. If the water beads up, the material is likely synthetic. If it absorbs slowly and darkens the surface, it’s genuine leather. Real leather also has irregular grain patterns and feels soft and warm, while synthetics feel cool and plastic-like.
Stretching non-leather boots risks delamination, warping, and irreversible stiffness. When in doubt, skip the stretching or ask a cobbler for guidance.
Condition the Leather Before Stretching
Leather must be softened before any stretching attempt. Dry, stiff leather won’t expand evenly; it will crack under pressure. Conditioning opens the fibers and prepares the material for safe reshaping.
Apply a small amount of oil-based leather conditioner to a dry cloth using circular motions. Focus on the tight calf areas, then wipe off any excess to avoid oversaturation. Let the conditioner absorb for 15 to 20 minutes before moving on.
Commercial leather stretching sprays are another solid option. These products typically contain alcohol and moisturizers that relax leather fibers. Spray inside or outside the boot following label directions, then work the product in with your fingers. Always test on a hidden area first to check for discoloration.
A homemade mix of alcohol and water in a spray bottle can also work, but store-bought stretching sprays generally deliver more reliable results.
Choose the Right Stretching Method for Your Situation
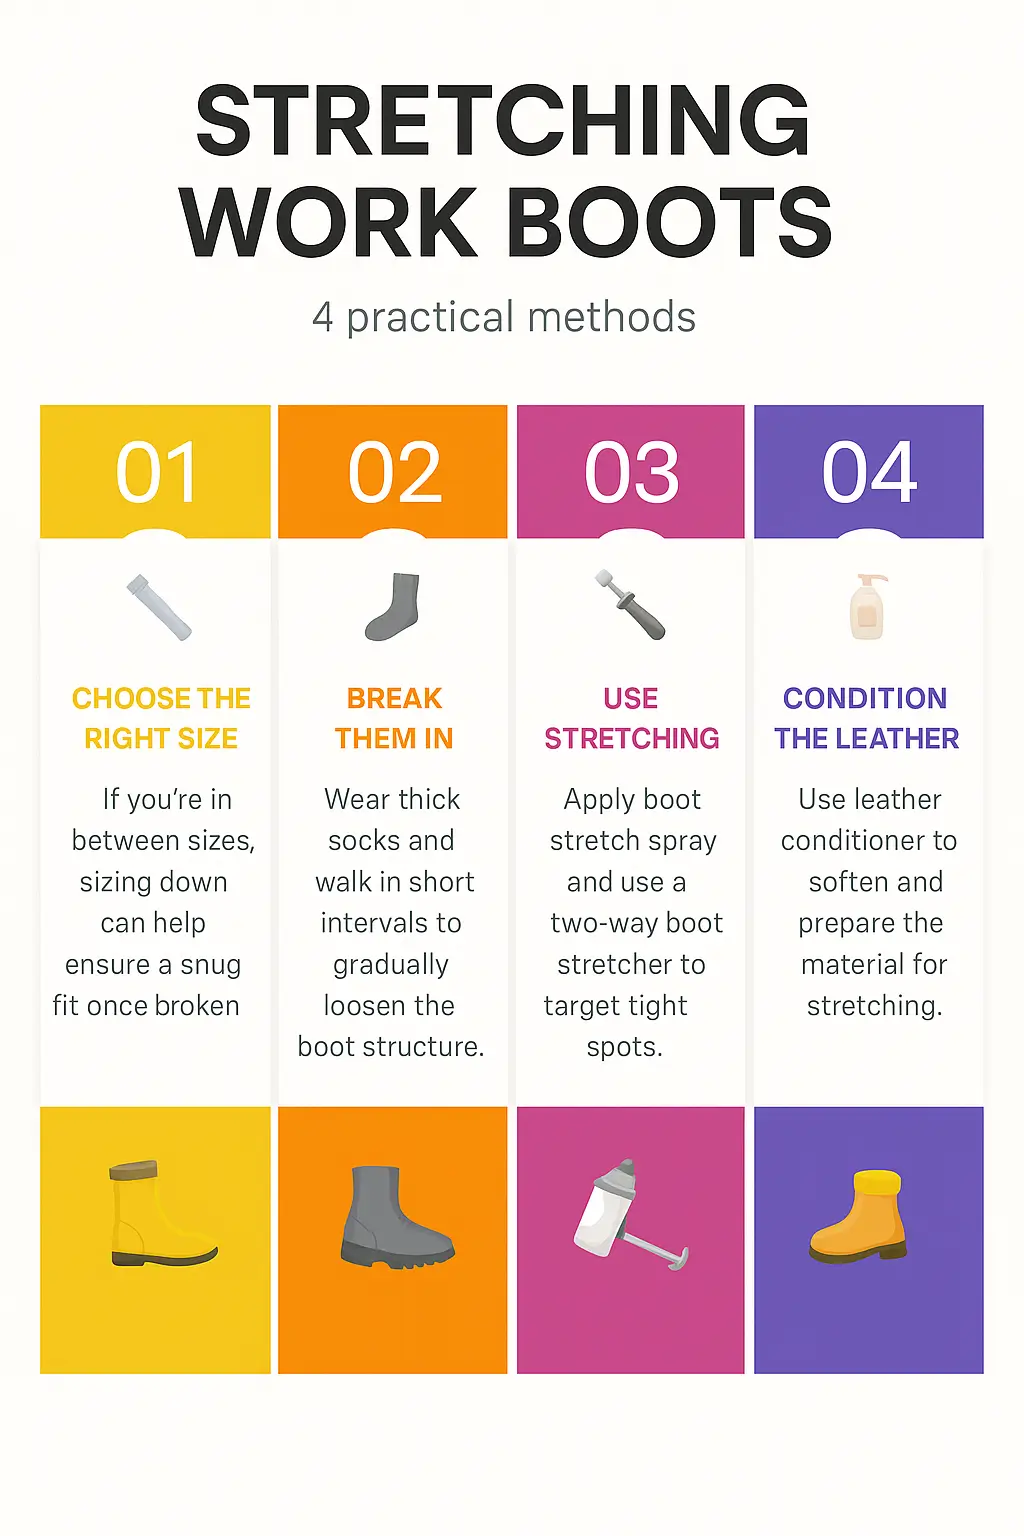
Different tightness levels call for different approaches. Matching the method to your situation saves time and protects your boots.
Assess Your Tightness Level
- Minor snugness: Thick socks or a blow dryer usually do the job.
- Moderate calf pressure: Stretching sprays or the ice method work well.
- Severe tightness or wide calves: A heavy-duty stretcher or professional cobbler is the safest bet.
Match the Method to Your Boot Style
Tall shafts (16 inches or more), rigid leathers, and structured cowboy boots often need mechanical assistance. Flexible fashion boots may respond to passive techniques like stuffing or thick socks. Choosing the wrong method can warp the shaft or crack the leather.
Use Mechanical Stretchers for Significant Calf Expansion
For serious calf tightness, especially in tall or stiff boots, mechanical stretchers provide the most control. These devices apply steady, targeted pressure over hours or days, reshaping the leather without guesswork.
Try a Cast Iron Dual-Action Stretcher
A cast iron dual-action stretcher is the gold standard for wide calves and rigid leather. It expands both the instep and the calf shaft independently, making it ideal for cowboy boots, work boots, and tall fashion boots.
Insert the device into the boot and align the calf expander arms with the tightest part of the shaft. Gently twist the handle until you feel firm pressure. Never force it. Over-tightening can warp the leather or jam the tool.
Leave the stretcher in place for 48 to 72 hours for best results, ideally combined with a stretching spray applied beforehand. The heavy iron base keeps the tool from slipping, ensuring consistent pressure. This type of stretcher can expand boot shafts by up to 2 inches, but proceed in stages and check the fit after each session.
One thing to keep in mind: some users report pins falling out, shafts bending, or the tool jamming inside the boot. In rare cases, stitching has to be removed to extract a stuck stretcher. Prevent this by centering the tool and expanding slowly.
Adjust a Standard Two-Way Expander
Standard two-way stretchers are more affordable and handle moderate calf tightness. They adjust in length and width but lack the vertical power of heavy-duty models.
Insert the stretcher and turn the handle until you feel resistance at the calf or instep. Do not over-expand, since this can create bulges or weaken seams. Leave the tool in for 6 to 8 hours per session, then test the fit and repeat as needed over several days.
These work well for breaking in new boots or fine-tuning fit, though they may struggle with very tall shafts or thick leather alone. For hiking or work boots, combine with heat or extended wear for better results.
Apply Heat and Moisture for Faster Results
Heat and moisture soften leather fibers quickly, making them easier to reshape. These methods work best when paired with wear or mechanical tools and require caution to avoid damage.
Warm Tight Areas with a Blow Dryer
The blow dryer method is one of the fastest ways to stretch calf zones. After applying conditioner or stretching spray, hold a hair dryer on medium heat about 5 inches away from the boot shaft. Warm the area for 1 to 2 minutes until the leather feels pliable.
Immediately put on thick socks and slide into the boots. Walk around, flexing your ankles and calves so the leather molds to your shape. Let the boots cool while still on your feet to set the new shape. Repeat two to three times over a few days for lasting results.
Pro Tip: Do this at night with thick wool socks and wear the boots around the house. You’ll get a custom fit without any special tools.
Soak Boots for Major Expansion
The water soak method delivers dramatic results but carries higher risk. Use only on genuine leather.
Fill a sink with lukewarm water and submerge the lower half or full shaft of the boots for 15 to 20 minutes. Do not soak longer, since excess water can weaken glue or linings. Remove the boots and gently pat them dry with a towel. They should be damp, not dripping.
Put them on with thick socks right away and walk for 2 to 3 hours or until they dry on your legs. This sets the stretched shape to your calf contour. Let them air dry fully before storing, then condition thoroughly to replace lost oils. Use this method only once unless absolutely necessary, since overuse may cause sagging.
Freeze Water for Targeted Spot Stretching
The ice method uses a simple physical principle: water expands roughly 9% when frozen, gently pushing leather outward.
Fill sealable plastic bags with water and place them inside the boot, pressing them against tight calf areas. Make sure the bags are sealed tightly. Put the boots in the freezer overnight. As the water freezes, it stretches the leather from the inside.
Remove the boots and let the ice melt completely before taking out the bags. Test the fit and repeat if needed. This method is ideal for spot stretching, such as just behind the calf muscle. It’s safe, cheap, and avoids heat damage, though results are subtle. Best for minor adjustments rather than wide calves.
Try Manual Techniques for Gradual, Low-Risk Stretching
For the safest approach, manual and passive methods rely on time and consistent pressure instead of tools or heat. They’re perfect for breaking in new boots or maintaining fit.
Wear Thick Socks Daily
The thick sock method is the lowest-risk way to break in tight boots. After conditioning, wear two pairs of thick wool or thermal socks and walk indoors for 2 to 3 hours daily.
Focus on flexing your feet and calves. The friction and pressure encourage leather to expand where it binds. Repeat for 3 to 5 days, and each session loosens the fit slightly. For faster results, warm the calf area with a blow dryer before putting the boots on.
This method molds the boot to your exact shape with no guesswork. Stop immediately if you feel pain or numbness, since tight boots can restrict blood flow.
Stuff Boots with Newspaper
The newspaper stuffing method is a passive, low-cost way to maintain or slightly expand boot volume.
Use crumpled, non-glossy newspaper, since glossy paper can transfer ink. Tightly stuff the shaft, focusing pressure on the calf areas. Replace the paper every few days to maintain firmness as it compacts.
Leave the boots stuffed for 1 to 2 weeks. Results are subtle but effective for preventing shrinkage or slight molding. This method won’t fix severe tightness but helps retain shape after other stretching. Clean cotton socks or cloth bags filled with rice work as reusable alternatives.
Use Moistened Towels for Gentle Pressure
Similar to the ice method, the moistened towel technique uses water swelling to stretch leather.
Dampen a hand towel so it’s moist but not soaking wet. Roll it tightly and stuff it into the top of the boot shaft. The damp cloth swells slightly as it dries, applying steady pressure. Leave it for 8 to 12 hours, then remove and let the boots air dry. Condition afterward and repeat as needed.
This method is excellent for maintaining calf shape or making minor adjustments. It’s safer than soaking, with less risk of oversaturation.
Know When to Visit a Professional Cobbler

Some boots are too valuable, delicate, or stubborn for DIY fixes. Professional cobblers have industrial machines and expertise to stretch leather safely and precisely.
Consider a cobbler if:
– Your boots cost $400 or more or are made of exotic leather.
– Home methods failed after multiple attempts.
– You fear damaging the structure with aggressive tools.
– You need targeted stretching without losing shaft shape.
Cobblers can isolate pressure to the calf, instep, or toe box and reinforce seams afterward. Professional stretching typically costs $20 to $50, a small price for preserving high-end footwear. For wide calves or vintage boots, it’s often the best investment.
Maintain Your Stretched Boots for Long-Term Comfort
Stretching is just the beginning. Leather loses oils during heat, water, or mechanical stretching, and without conditioning, it dries out and cracks.
Always condition after stretching. Apply a high-quality leather balm or oil with a cloth, focusing on stretched areas, and let it absorb overnight. Store boots on shoe trees or forms to maintain the new shape. Avoid stuffing with loose paper that collapses.
Stretch in small increments and test often. Leather can’t shrink back, so over-stretching leaves the boot loose and unstable. Never use a blow dryer on high heat, don’t soak boots longer than 20 minutes, and always dry boots slowly away from heaters or direct sunlight.
Quick Comparison of Stretching Methods

| Method | Best For | Time Required | Risk Level | Cost |
|---|---|---|---|---|
| Cast Iron Stretcher | Severe tightness, wide calves, tall boots | 2–3 days | Medium | $135–$150 |
| Blow Dryer + Socks | Quick adjustment, custom molding | 30–60 minutes | Low | Low |
| Water Soak | Significant overall expansion | 3–4 hours | High | Low |
| Ice Method | Targeted spot stretching | Overnight | Medium | Low |
| Thick Socks Only | Minor tightness, break-in | Several days | Very Low | Low |
| Professional Cobbler | Expensive boots, exotic leathers | 1–2 days | Very Low | $20–$50 |
| Newspaper Stuffing | Maintenance, slight expansion | Weeks | Very Low | Negligible |
Frequently Asked Questions About Stretching Boot Calves
Can all boot materials be stretched?
No. Only genuine leather responds to stretching. Synthetic, faux leather, rubber, and fabric boots will not expand and may be permanently damaged by moisture or heat. Always verify the material before attempting any method.
How much can boot calves actually be stretched?
A heavy-duty cast iron stretcher can expand boot shafts by up to 2 inches. Standard stretchers and passive methods typically deliver smaller adjustments. Stretch gradually and check the fit often to avoid over-stretching.
Is the water soak method safe for leather boots?
Yes, but only for genuine leather and only when done carefully. Submerge boots in lukewarm water for 15 to 20 minutes, then wear them damp with thick socks until dry. Never soak synthetic boots, and always condition afterward to restore lost oils.
How long does it take to stretch tight boot calves?
It depends on the method. Thick socks require several days of wear. A blow dryer session takes 30 to 60 minutes per round. A cast iron stretcher needs 48 to 72 hours in place. Newspaper stuffing can take weeks for noticeable results.
When should I see a professional cobbler instead of stretching at home?
Visit a cobbler if your boots cost $400 or more, are made of exotic leather, or if home methods have failed. Professionals use industrial machines that stretch precisely and reinforce structure, typically charging $20 to $50.
Will stretching damage my boots or change their shape?
Stretching can damage boots if done improperly. Excessive heat, soaking too long, or over-expanding a stretcher can cause cracking, warping, or a distorted shaft. Conditioning before and after, and stretching gradually, keeps the leather safe and the silhouette intact.
Key Takeaways for Stretching Boot Calves Successfully

Start by confirming your boots are genuine leather, then condition them before any stretching attempt. Match the method to your tightness level: thick socks or a blow dryer for minor snugness, stretching spray or ice for moderate pressure, and a cast iron stretcher or cobbler for severe tightness or wide calves. Always condition after stretching and store boots on forms to preserve the new fit. With patience and the right technique, you can transform uncomfortable boots into a custom-fit favorite that lasts for years.