How to Repair Hiking Boots: Quick Fix Guide
If your hiking boots are peeling, cracking, or losing grip on the trail, you don’t need to replace them—you can repair hiking boots and extend their life for hundreds more miles. Whether it’s a separating sole, torn upper, or worn heel, most damage can be fixed with the right tools and techniques. This comprehensive guide walks you through every common repair—from quick field fixes to professional resoling—so you can keep hiking longer, save money, and reduce waste. A well-loved boot is worth fixing, and with the right knowledge, repairing hiking boots becomes not just possible, but practical.
Diagnose the Damage: Is Your Boot Worth Repairing?
Before grabbing glue or calling a cobbler, assess whether repair is viable. The key question: Can this boot be saved?
Repair Only If the Upper Is Intact
The upper—the part covering your foot—must be in good condition. If it’s cracked, frayed, or leaking water, no amount of glue will restore its integrity. However, if only the sole, heel, or hardware is failing, your boot is likely a perfect candidate for repair.
Test the Midsole for Compression
Squeeze the midsole between your fingers. If it feels flat or hard, the cushioning foam (usually EVA or PU) has compressed and won’t rebound. EVA midsoles typically last around 500 miles, while PU lasts 1,000–2,000. Once compressed, the midsole can’t be restored—only supplemented with an aftermarket insole like Superfeet or Sorbothane.
Watch for Hydrolysis: The Hidden Killer
Boots older than 5–10 years may suffer hydrolysis—a chemical breakdown of rubber that occurs even when unused. The outsole crumbles or detaches unexpectedly, often after a failed glue repair. If this happens, re-gluing won’t help; only the manufacturer can replace the rubber components at a deep level.
Bottom Line: Repair if the upper is solid and the issue is isolated. Replace if multiple parts are failing or the midsole is dead.
Fix a Separating or Delaminated Sole
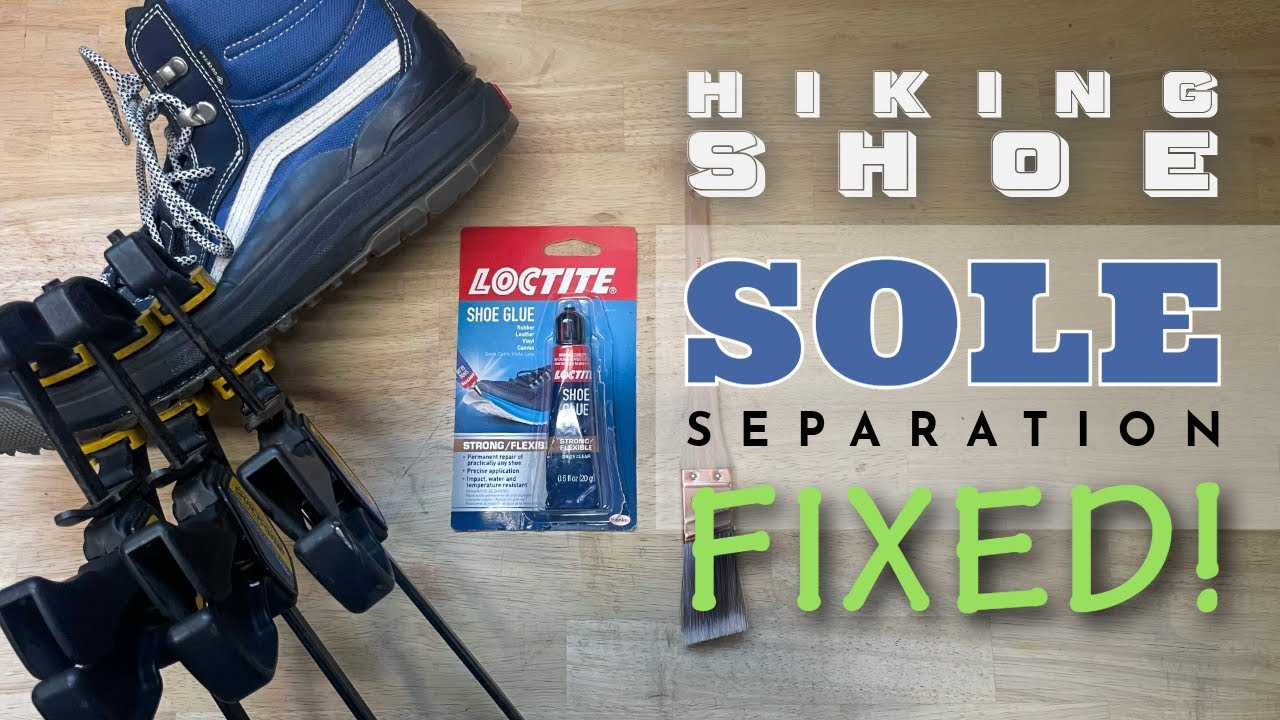
A lifting sole is one of the most common hiking boot problems—especially near the heel or toe where flex and moisture weaken the bond.
Clean and Prepare the Surfaces
Start by removing all dirt, debris, and old glue. Wipe both the midsole and outsole edge with isopropyl alcohol or acetone to remove oils and ensure adhesion. Let the area dry completely—any moisture weakens the bond.
Sand for Better Grip
Use medium-grit sandpaper to lightly roughen the surfaces. Don’t sand into the foam—just remove the glossy finish. This step increases surface area for the glue to grip.
Apply the Right Adhesive
Use a flexible, waterproof, polyurethane-based glue such as Stormsure, Aquaseal SR, or Foss. Apply a zigzag pattern across the midsole and a continuous bead around the edge to prevent air pockets.
Reattach and Clamp Firmly
Align the heel cup first, then press the toe into place. Wrap the boot tightly with duct tape in a crisscross pattern. Add zip ties or place a water bottle inside to press the sole from within. Maintain firm pressure during curing.
Cure for 24–48 Hours
Let the glue cure undisturbed. Longer cure times result in stronger bonds. Avoid heat sources—don’t place near radiators or in direct sun, as this can degrade the adhesive.
Pro Tip: After curing, twist the sole gently. If it holds, test it on a 10-mile wet trail hike before trusting it on a long trek.
Rebuild a Worn or Damaged Heel
Heels wear fast due to constant impact. If it’s uneven, you risk ankle rolls or instability.
DIY Heel Rebuild with Adhesive
For minor wear, rebuild the heel using Aquaseal SR or Shoe Goo.
- Clean and sand the heel surface.
- Use duct tape to form a dam around the edge.
- Layer in the adhesive, curing upside down on a flat surface for 8–12 hours.
- Once dry, sand to match the original angle.
Reality Check: A rebuilt heel isn’t as durable as factory-molded rubber. Best for light hikes or temporary fixes.
Reattach a Peeling or Torn Rand
The rand—the rubber bumper around the toe and sides—protects against rocks and scuffs.
Fix a Lifting Rand
- Clean the gap with alcohol.
- Inject Aquaseal SR into the space.
- Press the rand down with tape and a pen for pressure.
- Cure for 8–12 hours.
Reinforce a Torn Rand
Cut a small rubber or fabric patch, glue it behind the tear, and seal the edges. This adds structural support and prevents further tearing.
Pro Move: Reinforce rands every few years as preventive maintenance.
Patch a Torn Boot Upper
A tear in the upper isn’t always a death sentence—if it’s not in a high-stress zone.
Step-by-Step Repair
- Clean both sides with alcohol wipes.
- Apply Aquaseal SR or Shoe Goo to both sides.
- Press the edges together and tape in place overnight.
- Reinforce from the inside with a fabric or rubber patch.
Warning: Never stitch Gore-Tex uppers—punctures break the waterproof membrane.
Replace Broken Eyelets or Hooks
Lace hardware fails from repeated strain, especially if laced too tightly.
Use a Rivet Kit
- Remove the damaged eyelet with pliers.
- Insert the new one from the outside.
- Use a rivet tool to hammer the back flange and lock it in place.
Field Workaround: Skip Lacing
Skip the broken eyelet and lace around it to reduce pressure. Carry spare laces or paracord for emergencies.
Prevention: Use reinforced laces and avoid over-tightening.
Choose the Right Adhesive for the Job

Not all glues work for hiking boots. Use only flexible, waterproof, polyurethane-based adhesives.
| Glue | Best For | Flexibility | Cure Time |
|---|---|---|---|
| Stormsure | Soles, rands | High | 10–12 hrs |
| Aquaseal SR | Tears, leaks | High | 8–12 hrs |
| Foss | Professional rebonding | High | 24+ hrs |
| Shoe Goo | Heel rebuilds | Moderate | 24 hrs |
| McNett Freesole | Emergency sole fix | High | 24 hrs |
Avoid: Super glue (brittle), Gorilla Glue (expands), and expired adhesives.
Pro Tip: Store glue in the freezer to extend shelf life.
DIY vs. Professional Repair: What’s Best?
Choose Professional for:
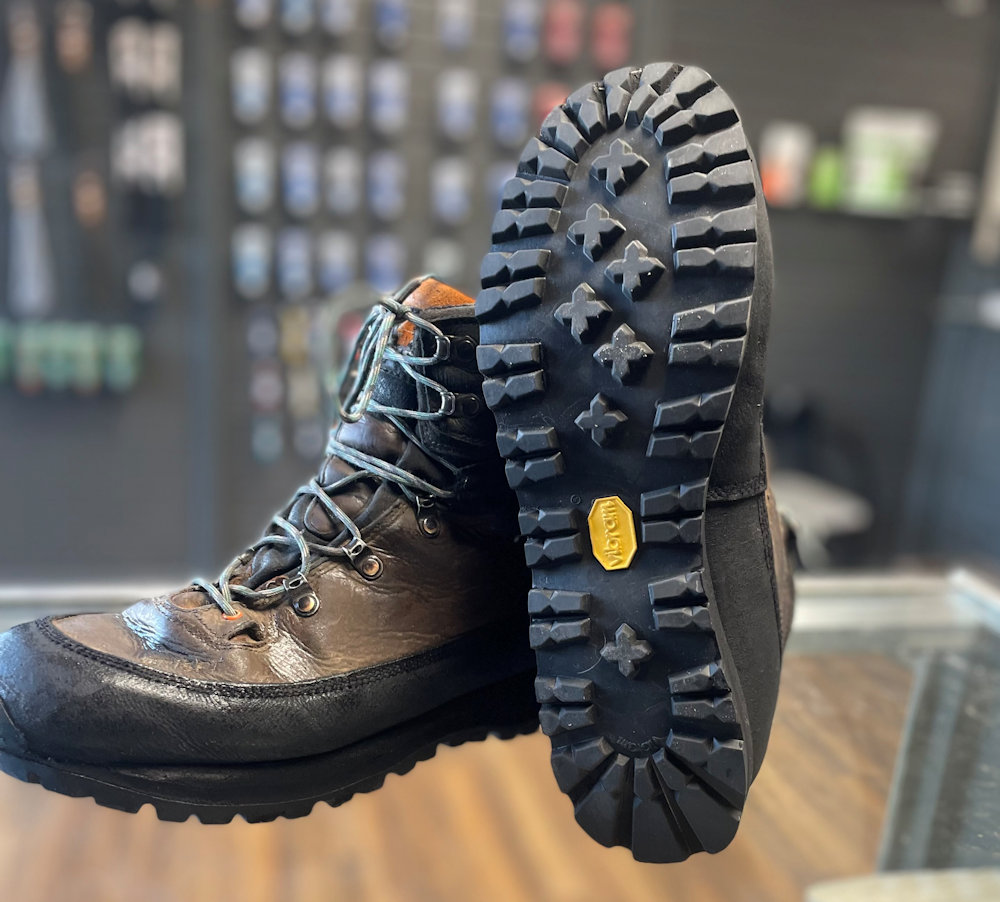
- Full resoling (especially with Vibram soles)
- Soft-soled leather boots
- Boots used for long-distance hiking
Result: Can add 500+ miles of reliable performance.
Choose DIY for:
- Minor delamination
- Field emergencies
- Low-use or backup boots
Risk: Poor cleaning, clamping, or curing leads to early failure.
User Story: One hiker saved €95 with DIY glue—but failed due to old adhesive. A cobbler fixed it with Foss and proper clamping.
Prevent Damage with Regular Care
Extend your boot’s life with simple habits.
Clean After Every Hike
Brush off mud and grit. Wash with mild soap, rinse, and clean insoles separately.
Dry Properly
Dry in shade, upside down. Never use heat. Stuff with rolled socks to absorb moisture.
Waterproof Annually
Use Nikwax Wax for leather or spray-on DWR for synthetics. Avoid over-applying—it can clog breathable membranes.
Store Smart
Keep in a cool, dry place. Use shoe trees or socks to hold shape. Avoid stacking heavy items on them.
Field Repairs: Fix It on the Trail
Sole Starts Peeling?
- Clean with alcohol wipe.
- Apply McNett Freesole or Seam Grip.
- Wrap with duct tape.
- Insert a pen or tent stake inside for pressure.
Tear in the Upper?
Apply Aquaseal SR, tape over it, and finish the hike. Do a proper repair later.
Hack: Carry a mini repair kit with glue, tape, wipes, and spare laces.
Test Every Repair Before Trusting It
Even a perfect-looking fix needs validation.
- Inspect for gaps.
- Twist and flex the sole.
- Start with short walks on dry ground.
- Graduate to tough terrain.
- Monitor after each use.
Golden Rule: If it fails once, reassess the method.
When Glue Won’t Work: Advanced Failures
Hydrolysis: Rubber Breaks Down Over Time
- Signs: Sole crumbles, detaches suddenly.
- Fix: Only the manufacturer can replace all rubber parts.
Case: A $300 boot failed twice after resoling. Manufacturer replaced rubber for $100.
Midsole Compression: Cushioning Is Gone
- Symptoms: Sore feet, knees, or back.
- Fix: Add aftermarket insoles.
- Limitation: Can’t restore original comfort.
Is Repair Worth the Cost?
| Option | Cost | Lifespan Gain |
|---|---|---|
| New boots | €260–€320 | 500–1,000 miles |
| Resole | €95 | 300–500 miles |
| DIY Fix | £5–$15 | 50–200 miles |
Break-Even Rule: If repair gives over 20% more life, it’s worth it.
Emotional Value: A perfectly fitting boot is rare. Repairing it saves comfort and memories.
Build a Boot Repair Kit
Essentials:
- Aquaseal SR
- Isopropyl alcohol wipes
- Duct tape
- Sandpaper
- Zip ties
- Spare laces
- Gloves
Storage Tip: Keep glue in a sealed bag in the freezer.
Final Tips for Long-Lasting Boots
- Repair early—don’t wait for big gaps.
- Use the right glue—never super glue.
- Clean and clamp—90% of success depends on prep.
- Resole for performance—invest in Vibram if you hike weekly.
- Honor your gear: “If something is worth loving, it’s worth fixing.”
Whether you’re trekking the Appalachian Trail, scrambling the West Coast Trail, or hiking rocky paths in Pennsylvania, a repaired boot can go the distance. With the right knowledge, you can keep your favorite pair on your feet—and out of the landfill—for years to come.