How to Walk in a Walking Boot
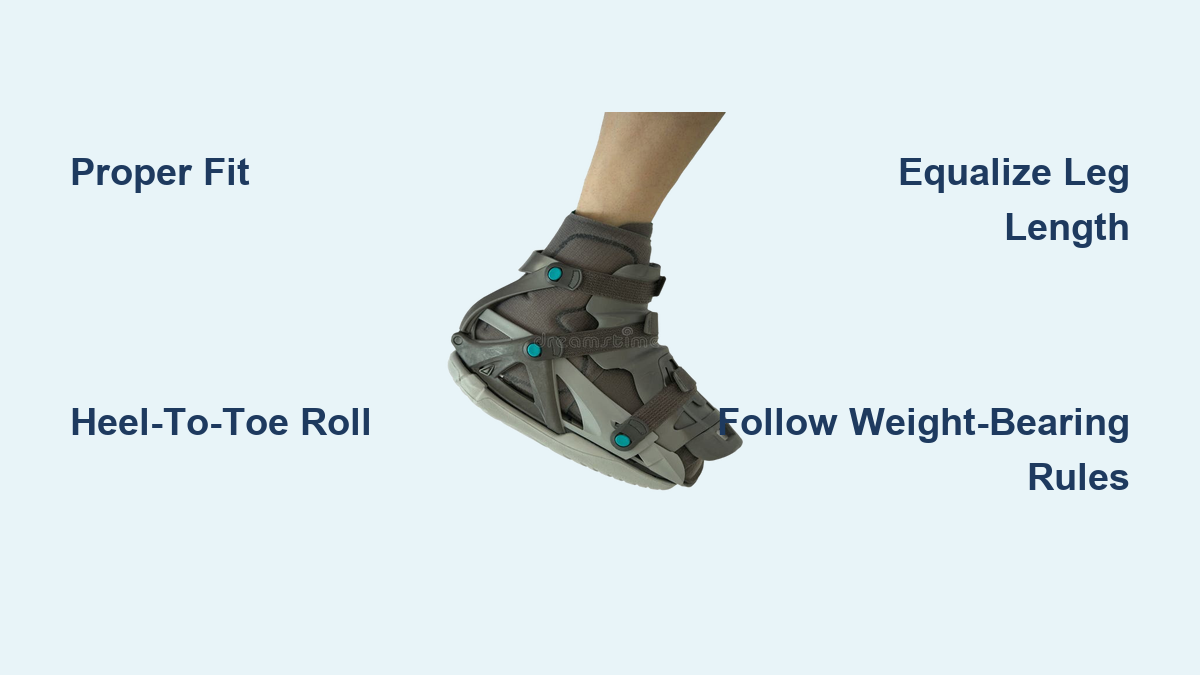
If you’ve recently fractured, sprained, or had surgery on your foot or ankle, your doctor likely prescribed a walking boot to protect the area during recovery. Also called a CAM walker, this device immobilizes the injury while still allowing you to move around. But simply strapping it on isn’t enough. Learning how to walk in a walking boot correctly prevents secondary injuries, reduces joint strain, and speeds up healing. Many patients develop poor gait habits that cause knee, hip, or back pain without realizing it.
This guide walks you through every step, from proper fitting to navigating stairs and managing daily discomfort. Whether you’re using crutches or walking unassisted, you’ll gain practical techniques to stay mobile and safe throughout your recovery.
Proper Boot Fitting and Setup
A poorly fitted walking boot can delay healing and cause new problems. Getting the setup right before your first step protects your injury and your overall posture.
Choose the Right Size and Wear Proper Socks
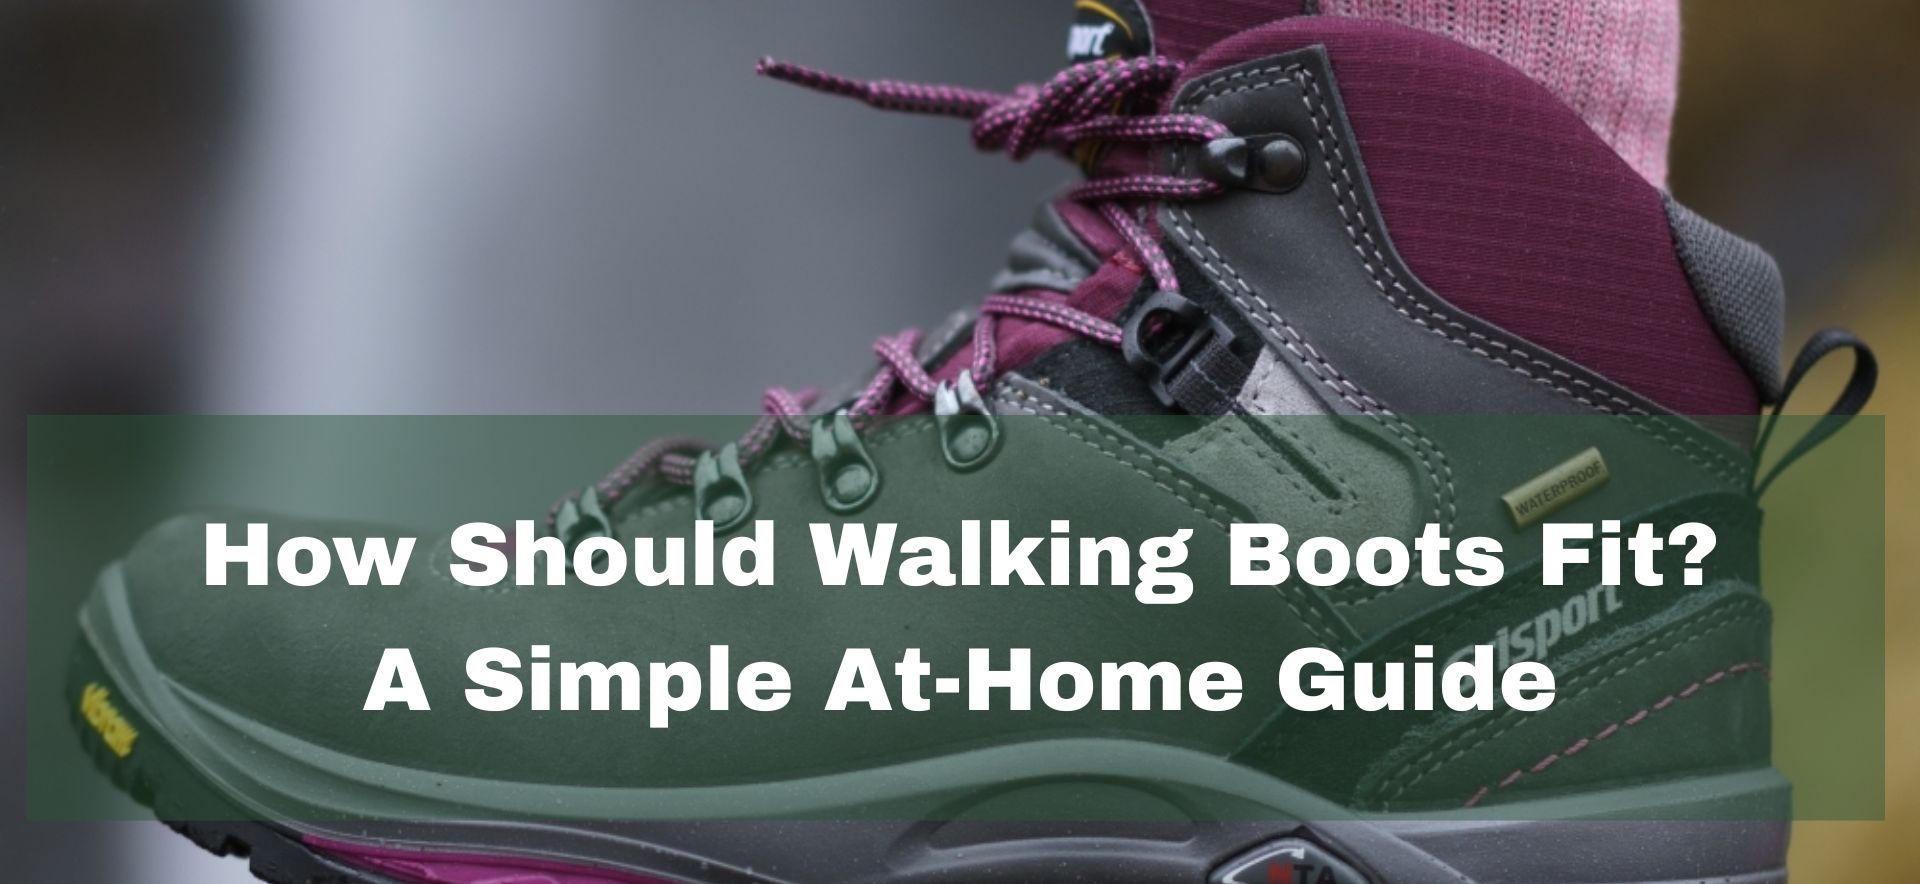
Your boot should fit snugly without cramping your toes. Aim for about a finger’s width of space between your longest toe and the front of the boot. Always wear a thin, moisture-wicking sock underneath. Thick or wrinkled socks create pressure points that lead to blisters or sores. Smooth the fabric evenly before securing the boot.
Secure Your Heel in the Boot Cup
Slide your foot in and push your heel firmly into the back of the boot. This step is critical. If your heel lifts or floats inside the cup, the boot loses stability and your walking motion becomes inefficient. Test it by tapping the back of the boot. If your heel moves, readjust until it sits flat against the base.
Fasten Straps in the Correct Order
Most boots have 3–5 straps. Tighten them from bottom to top, applying even pressure across your foot and ankle. The fit should feel snug but never constricting. You should be able to slip a fingertip under the top strap. Over-tightening restricts circulation and causes numbness. Never loosen straps to make walking easier, as this compromises the boot’s protective function.
Balance Leg Length with an Equalizer
The thick sole of a walking boot adds 1 to 1.5 inches of height, making your injured leg longer than the other. This imbalance tilts your pelvis and strains your lower back, hips, and knees. To correct it, wear a shoe lift or thick-soled shoe on your uninjured side. This equalizes leg length and keeps your posture aligned during every step.
Mastering Walking Technique in the Boot
Once your boot fits properly, focus on how you move. Your natural gait is disrupted, so conscious retraining prevents injury and promotes smoother healing.
Use a Heel-to-Toe Rolling Motion
Even in a rigid boot, aim for a heel-to-toe roll with each step. Land on the heel first, then roll forward through the midfoot and push off with your toes. This mimics natural walking mechanics and reduces joint impact. Avoid flat-footed steps or toe-first strikes, which increase stress on the healing area.
Maintain Upright Posture and Core Stability
Stand tall with your shoulders aligned over your hips and your gaze forward. Don’t hunch or lean to one side to compensate for discomfort. Engage your core muscles slightly with each step to stabilize your pelvis and support your shifted center of gravity. Think “walking tall,” not limping.
Walk Slowly with Full Control
Speed is the enemy of safety in a walking boot. Move at a slow, controlled pace to reduce the risk of tripping, especially on uneven surfaces. Take shorter strides if needed, and keep your weight centered over your body. Look ahead rather than down at your feet to maintain proper alignment.
Follow Weight-Bearing Instructions Exactly
Your doctor will specify one of three weight-bearing levels:
- Non-weight bearing (NWB): Place zero weight on the injured foot. Use crutches or a walker at all times.
- Partial weight bearing (PWB): Apply only a portion of your body weight, often supported by crutches.
- Weight bearing as tolerated (WBAT): Gradually increase weight as comfort allows.
Never guess or self-adjust your weight-bearing status. Doing so can re-injure bones or delay healing. If crutches are prescribed, hold them on the side opposite your injury to shift weight away from the healing foot.
Navigating Stairs and Uneven Terrain
Stairs, curbs, and slippery floors pose higher risks when wearing a walking boot. Using the wrong technique can lead to falls or overload the injured limb.
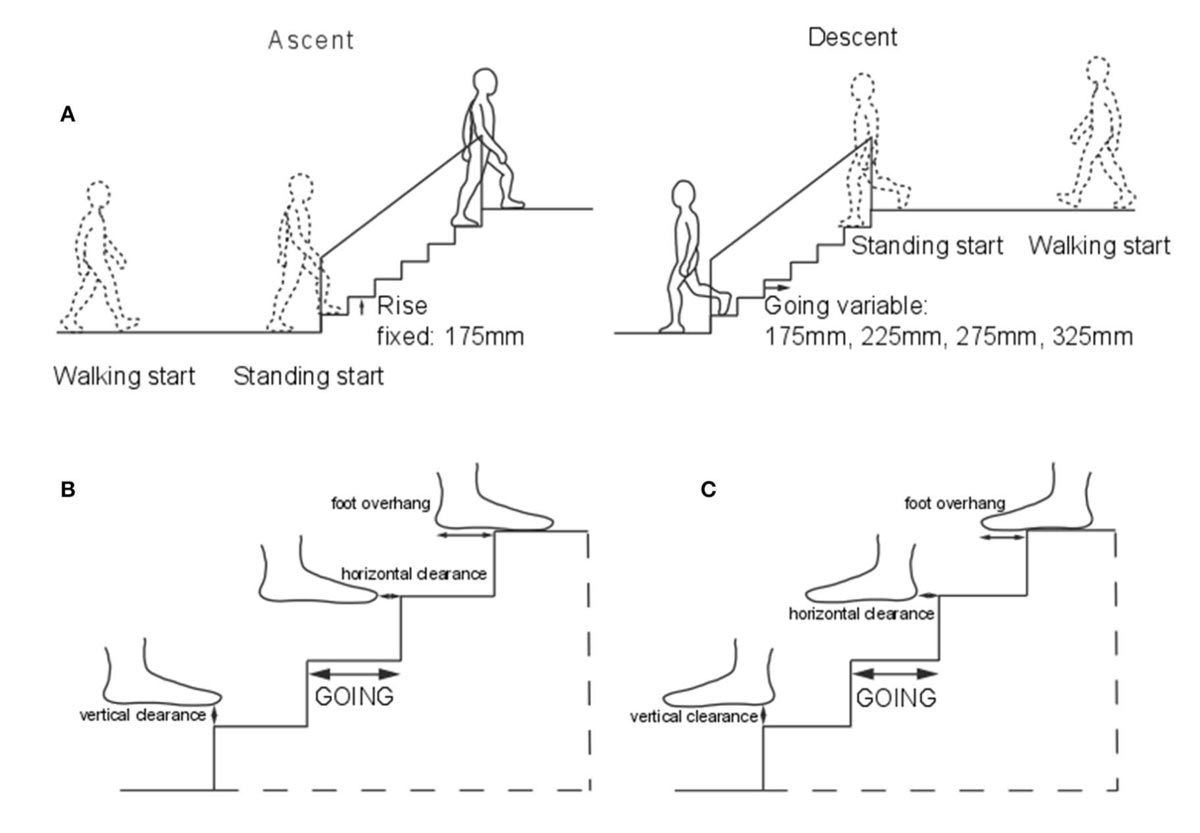
Going Up Stairs: Lead with the Uninjured Leg
When climbing stairs:
- Grip the handrail firmly for support.
- Step up with your uninjured leg first.
- Bring the crutches (if used) and the booted leg up together.
- Push through your strong leg to lift your body.
This sequence places minimal stress on the healing foot and maximizes balance.
Going Down Stairs: Lead with the Injured Leg
When descending:
- Hold the handrail and position yourself at the edge of the step.
- Lower the booted leg first, followed by the crutches.
- Step down with your uninjured leg last.
Leading with the injured leg lets you control the descent and prevents sudden weight shifts. If your doctor has restricted weight-bearing, use crutches to offload completely.
Handling Curbs and Slopes Safely
Approach curbs head-on rather than at an angle. When stepping up, lead with your uninjured foot. When stepping down, lower the booted foot first. On slopes, take small, deliberate steps and lean slightly forward when going downhill to maintain balance. Avoid icy, wet, or loose surfaces whenever possible.
Managing Discomfort and Skin Health

Itching, sweating, and pressure sores are common complaints. Managing them safely prevents complications and keeps your recovery on track.
Never Insert Objects to Scratch
Itching under the boot is normal, but never use pencils, coat hangers, or tools to scratch. These can break the skin and introduce infection, especially after surgery. Instead, use a hair dryer on the cool air setting to blow air into the boot. The airflow relieves itching without risk.
Keep the Boot and Skin Dry
Moisture causes skin breakdown and odor. If you must shower with the boot on, seal it in a plastic bag taped securely above the calf. After showering, remove the boot (if allowed) and dry your skin thoroughly. If the boot liner gets damp, air-dry it completely. Never use heat, which damages boot materials.
Check Skin Daily for Problems
Inspect your skin every day. Look for:
- Redness or bruising around the heel, ankle, or calf
- Blisters or open sores
- Hot, tender spots
Pad high-pressure areas with moleskin or adhesive felt if approved by your doctor. If you notice persistent redness, swelling, or pain, contact your provider. These could signal pressure sores or poor fit.
Maintaining Circulation and Reducing Swelling

Swelling is common after injury and can worsen with inactivity. Simple daily habits improve circulation and comfort.
Elevate the Leg Above Heart Level
For the first few days (or as directed), prop your leg on pillows when sitting or lying down. The top of your foot should be higher than your heart. This reduces swelling and speeds healing. Aim for 20–30 minutes every 1–2 hours while awake.
Apply Ice Safely
Use ice packs for 10–20 minutes at a time, wrapped in a thin towel to protect your skin. Never apply ice directly. Confirm with your doctor whether to remove the boot for icing, as some injuries require it to stay on.
Move Toes and Engage Muscles
If your toes aren’t injured, wiggle them frequently to stimulate blood flow. Gently tighten and release the muscles in your calf and thigh (if allowed) to prevent stiffness and reduce clot risk. These small movements keep circulation healthy during limited mobility.
Transitioning Out of the Boot
Removing the boot too soon is a common mistake. Healing isn’t complete just because pain has decreased.
Wait for Medical Clearance
Only stop using the boot when your doctor confirms it’s safe. Premature removal can re-injure bones or ligaments. X-rays or physical tests determine readiness, not how you feel.
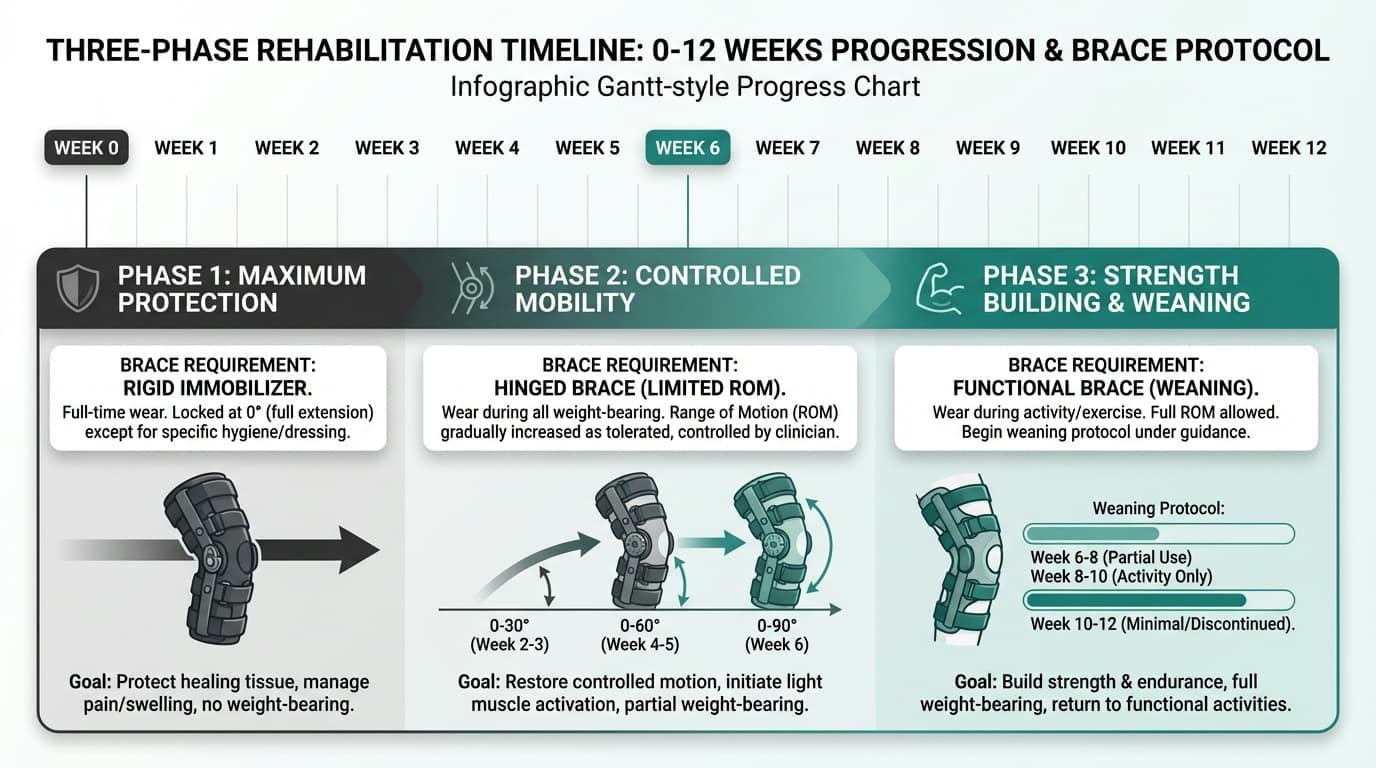
Wean Gradually
Your doctor may recommend a step-down plan, such as:
- Wearing the boot only during activity
- Switching to a supportive brace
- Using it only at night
Follow this progression exactly. Sudden changes can overload the healing area.
Recognizing Warning Signs
Your body signals when something is wrong. Don’t ignore these red flags.
Seek Immediate Help If You Experience:
- Severe or worsening pain in the foot or leg
- Numbness or tingling that doesn’t improve after loosening straps
- Burning or stinging under the boot
- Fever, foul odor, or drainage, which are signs of infection
- Excessive swelling or redness in the calf or groin
- Pain in the calf or thigh, which could indicate deep vein thrombosis (DVT)
Also contact your doctor if the boot breaks, won’t stay secure, or causes persistent discomfort despite adjustments.
Frequently Asked Questions About Walking in a Walking Boot
Can I walk without crutches in a walking boot?
Yes, but only if your doctor has cleared you for weight bearing as tolerated. Many patients use crutches initially and gradually transition to walking without them as healing progresses. Always follow your doctor’s specific instructions.
How long do I need to wear a walking boot?
The duration varies based on injury severity, typically ranging from 1 to 6 weeks. Your doctor will determine the timeline based on follow-up exams and imaging.
Should I wear the boot while sleeping?
In most cases, you can remove the boot at night unless your doctor instructs otherwise. Elevating your leg while sleeping helps reduce swelling.
What should I do if my boot gets wet?
If the liner gets damp, air-dry it completely using a hair dryer on the cool air setting. Never use heat, which can damage boot materials or burn your skin.
When can I stop using the walking boot?
Only stop when your doctor provides explicit clearance. Removing the boot too early can re-injure the area and delay full recovery. A gradual weaning plan is often recommended.
Key Takeaways for Walking Safely in a Walking Boot
Walking in a walking boot is about more than mobility. It’s an active part of your healing process. Start with proper fitting, including correct sock choice, heel placement, and leg-length equalization. Master the heel-to-toe rolling motion, maintain upright posture, and walk slowly with full control. Follow your doctor’s weight-bearing instructions exactly, and use the correct stair technique to avoid falls.
Monitor your skin daily, manage swelling with elevation and ice, and never ignore warning signs like severe pain, numbness, or signs of infection. Stick to your medical guidance, move with control, and prioritize safety over speed. With the right approach, you’ll protect your injury, prevent new problems, and return to normal activity faster and safer.