How to Repair Steel Toe Boots
If your steel toe boots are showing cracked leather, frayed seams, or a worn-down toe, you’re not alone. For workers in construction, manufacturing, and industrial environments, the toe box is often the first part to fail. But replacing a $175 pair every few months isn’t sustainable. The good news? Steel toe boot repair isn’t just possible; it’s cost-effective and long-lasting when done right. With the right materials and methods, you can triple the life of your work boots using industrial-grade solutions. This guide walks you through proven repair techniques, compares costs, and helps you decide when to fix versus replace so you keep your feet protected and your wallet intact.
Tuff Toe: The Longest-Lasting Fix

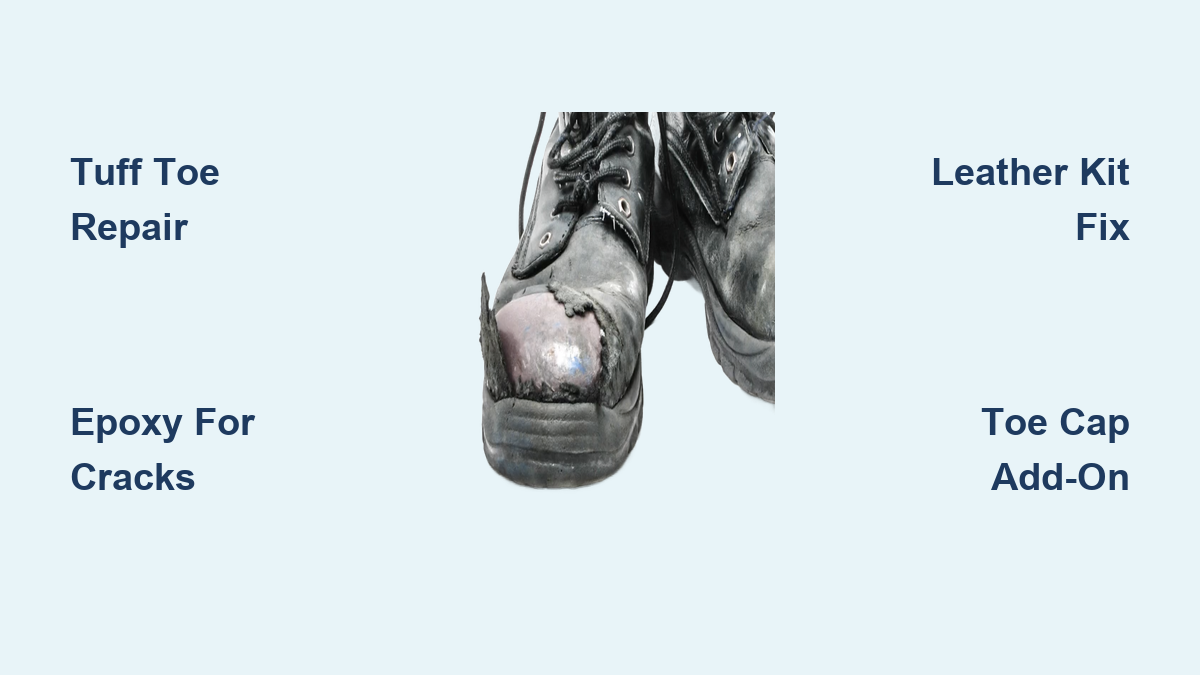
The most effective steel toe boot repair solution on the market is Tuff Toe, a 2-part polyurethane adhesive system designed specifically for heavy-duty footwear. Unlike standard shoe glues, Tuff Toe bonds permanently to leather, rubber, and seams, forming a protective shield over the toe area that resists abrasion, chemicals, and water.
Why Tuff Toe Outperforms Regular Glue
Standard shoe adhesives fail under constant stress. Tuff Toe uses industrial-grade polyurethane, the same technology found in NASA and ballistic applications, making it flexible yet incredibly durable. It’s 100% leather compatible, non-marking, and tested to meet ANSI standards for heat, electrical, and chemical resistance. This isn’t a temporary patch; it’s a permanent upgrade.
Users report their boots lasting three times longer after a single application. One kit covers a full pair and sets in just 30 minutes, fully curing in 24 hours. It’s also versatile: use it on soles, heels, and seams, eliminating the need for multiple repair products.
How to Apply Tuff Toe Correctly
Applying Tuff Toe is a straightforward DIY process, but proper prep is critical.
- Clean the toe area thoroughly with alcohol or degreaser to remove oil, dirt, and grease.
- Dry completely, as any moisture will weaken the bond.
- Mix the two-part adhesive as directed (equal parts A and B).
- Use the included applicator to spread a thick, even layer over the toe, covering leather, seams, and the sole edge.
- Let set for 30 minutes, then allow 24 hours of undisturbed curing before wearing.
For best results, avoid walking or flexing the boot during cure time. The finished layer dries clear-black, blends with most work boots, and won’t stain floors.
Professional Application and Boot-Life Guarantee
If you want a flawless finish or are repairing high-value boots, consider a Tuff Toe Certified Application Pro (TCAP). These professionals are trained to apply the product with precision and offer a Boot-Life Guarantee, meaning if the repair fails under normal use, it’s covered.
While DIY kits cost $32.98, professional application may add a fee, but it ensures maximum durability and peace of mind. TCAPs are available nationwide and can often complete the job while you wait.
Epoxy Resin: Strong Bond for Metal and Leather

When the steel toe cap is exposed or the leather is deeply cracked, two-part epoxy resin offers a rigid, permanent fix. This method is ideal for structural repairs where flexibility is less important than strength.
Choosing the Right Epoxy
Not all epoxies work on boots. Use a metal-to-leather epoxy rated for high impact and temperature resistance. Look for products labeled for automotive or industrial use, as they handle grease, oil, and constant flexing better than consumer-grade options.
Avoid quick-setting epoxies. Opt for a 24-hour cure formula to ensure maximum bond strength.
Step-by-Step Epoxy Repair
- Clean the damaged area with isopropyl alcohol. Remove all dust and oil.
- Roughen smooth surfaces lightly with sandpaper to improve adhesion.
- Mix equal parts of resin and hardener.
- Apply with a plastic tool or toothpick, filling cracks and covering exposed edges.
- Clamp or tape the area if needed to hold shape.
- Let cure for 24 hours in a warm, dry place.
Once cured, the epoxy forms a hard shell that protects the toe cap and prevents further leather splitting. It’s not as flexible as polyurethane, so avoid applying thick layers on high-flex zones like the ball of the foot.
Rubberized Leather Repair Kits: Budget-Friendly Fix
For minor cracks and surface wear, when the steel toe is still intact but the leather is drying out, a heavy-duty leather repair kit with rubberized compound is a smart, low-cost option.
When to Use a Leather Kit
These kits are best for:
– Superficial cracks in the toe cap leather
– Dry, flaking leather on the upper
– Preventing small splits from worsening
They won’t rebuild a worn-down toe or reattach a separated sole, but they seal and reinforce existing material.
Application Tips for Lasting Results
- Clean and dry the boot overnight, as moisture is the enemy of adhesion.
- Apply the rubberized compound with a brush or spatula, pressing it into cracks.
- Let dry 12–24 hours before buffing with a cloth.
- Condition the surrounding leather to prevent future cracking.
Most kits cost under $15 and are easy to use. Brands like Fiebing’s and Tarrago offer durable, flexible finishes that move with the boot.
Aftermarket Toe Caps: Add-On Protection
If your boots are still functional but the toe area is thinning, aftermarket steel or plastic toe caps can extend their life without adhesive work.
Types of Replacement Caps
- Plastic toe guards: Lightweight, easy to install with adhesive or screws.
- Reinforced rubber caps: Flexible, slip-resistant, and ideal for frequent kneeling.
- Metal overlays: Durable but may alter boot fit or set off metal detectors.
These caps act like armor, shielding the original toe from further abrasion. Some models are designed to snap or screw on, while others use industrial tape.
Installation Do’s and Don’ts
- Do clean the boot surface before applying adhesive.
- Do align the cap properly to avoid pressure points.
- Don’t use on severely damaged boots; this is a preventive measure, not a fix.
- Don’t assume it maintains safety ratings; check with the manufacturer.
Aftermarket caps are a quick fix, but they don’t bond with the boot structure. For long-term reliability, combine with a sealant like Tuff Toe.
Heat Gun Method: Advanced DIY (Use With Caution)
For skilled users, molding a new toe cap from scrap material using a heat gun is a last-resort repair. This method is not recommended for beginners and carries safety risks.
What You’ll Need
- Heat gun (600°F+)
- Scrap steel or thermoplastic toe cap
- Pliers, gloves, and eye protection
- Mold (optional, like a spare boot)
Process Overview
- Heat the scrap material until pliable.
- Shape it over the worn toe using gloves and tools.
- Cool slowly to avoid warping.
- Seal edges with epoxy or polyurethane.
Critical Safety Warning
This method can compromise the boot’s safety rating. If the new cap doesn’t meet ASTM or ANSI impact and resistance standards, it’s not safe for hazardous environments. Never use this repair in place of certified safety footwear. It’s best suited for non-work boots or temporary fixes.
When to Replace Instead of Repair
Not every boot can be saved. Know when repair isn’t worth it.
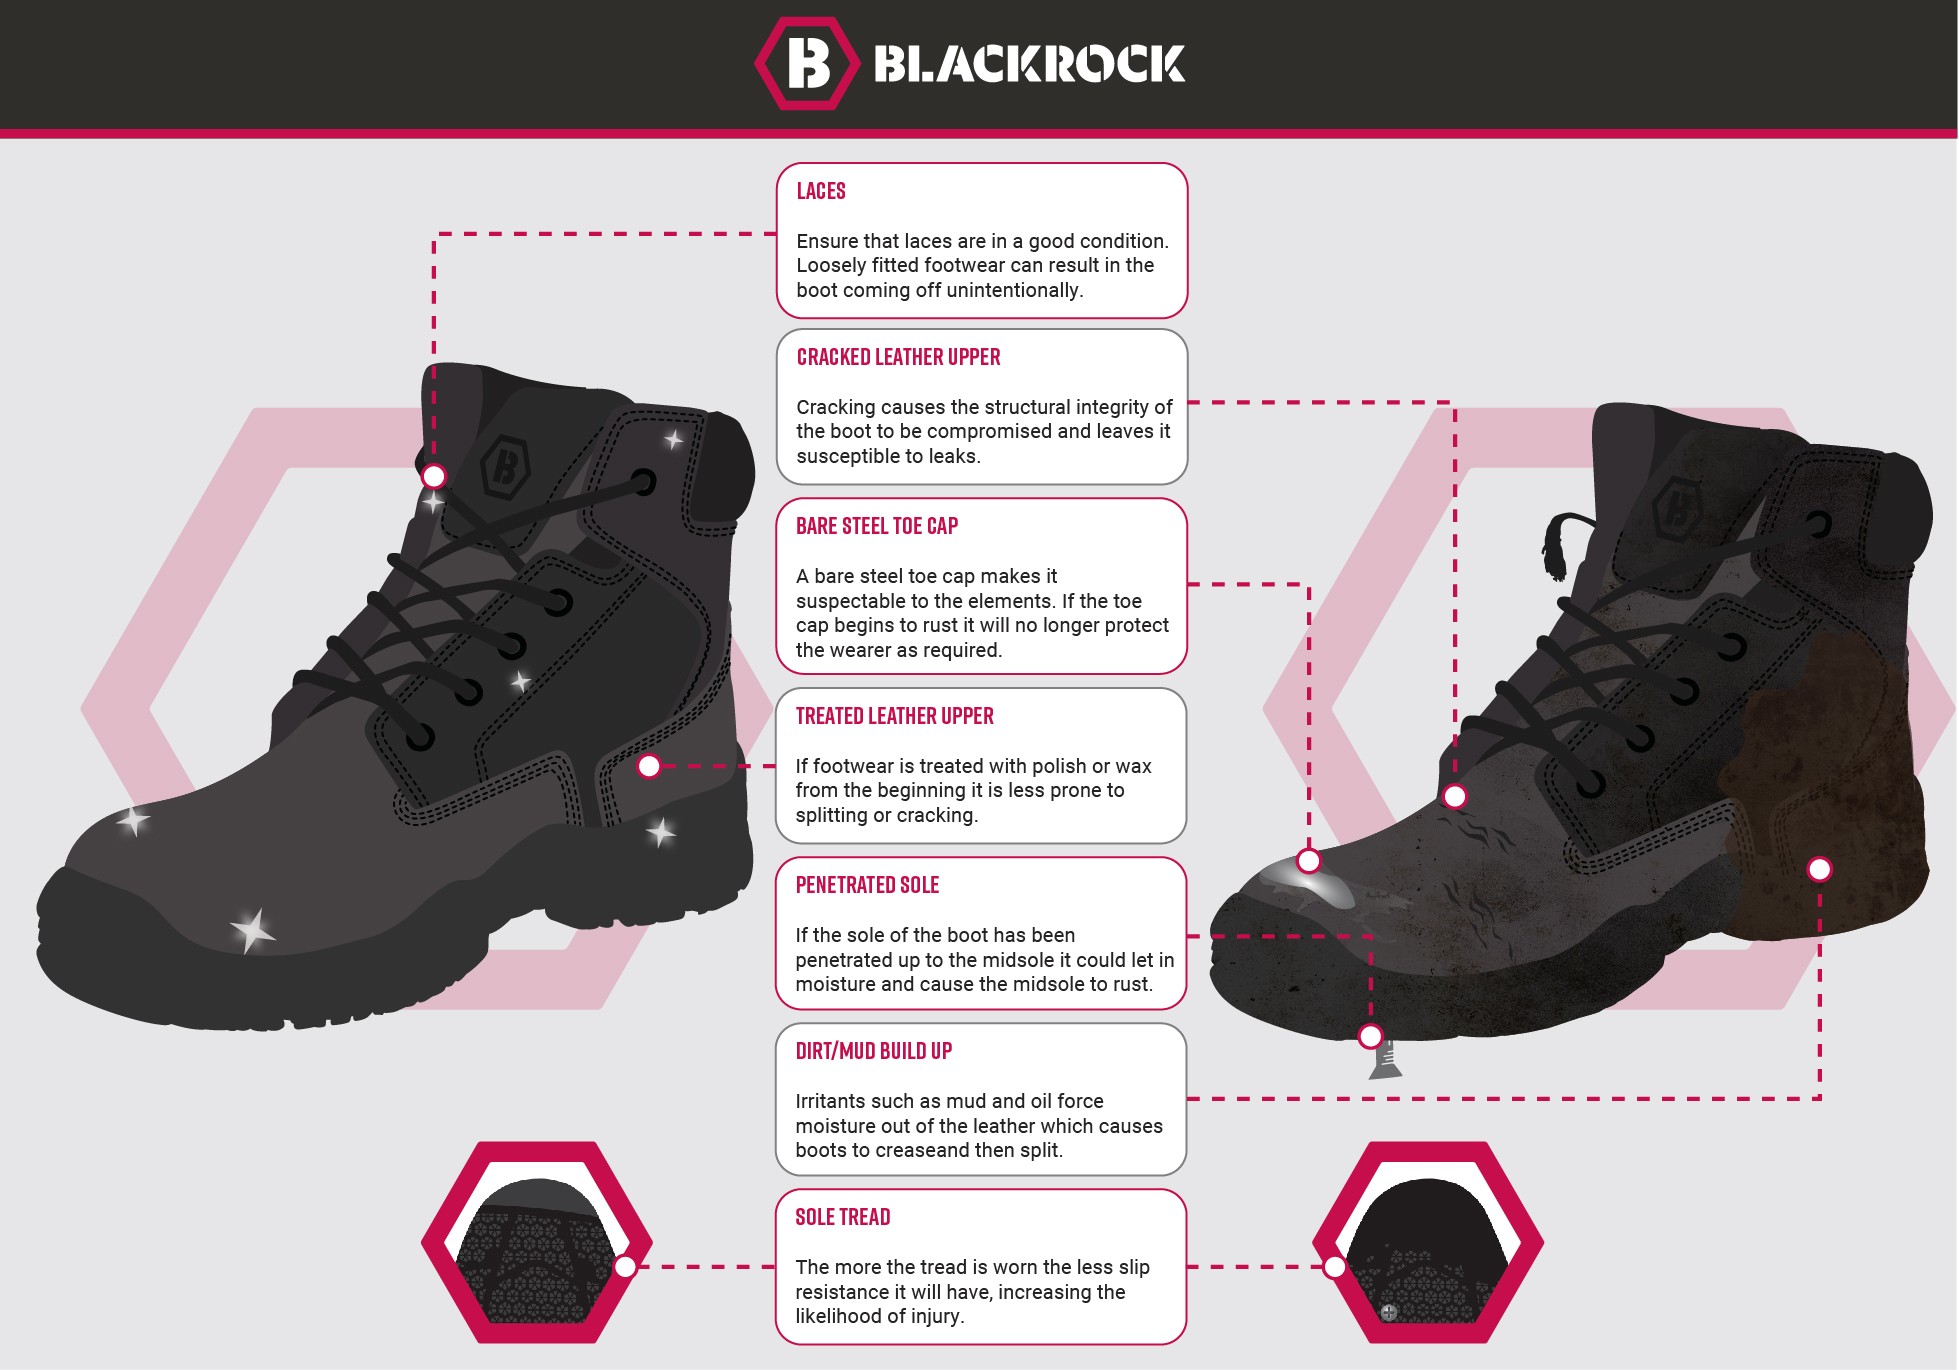
Signs It’s Time for New Boots
- Sole is separating from the upper beyond the toe
- Steel toe is dented, cracked, or no longer protective
- Leather is rotting or has large holes
- Multiple failed repair attempts
- Cost of repairs exceeds $95 (price of entry-level replacements)
For example, a Bates JumpStart Mid Safety Toe costs $94.95, while high-end Georgia Boots run $170–$175. If your repair costs (materials + labor) approach these prices, replacement is smarter.
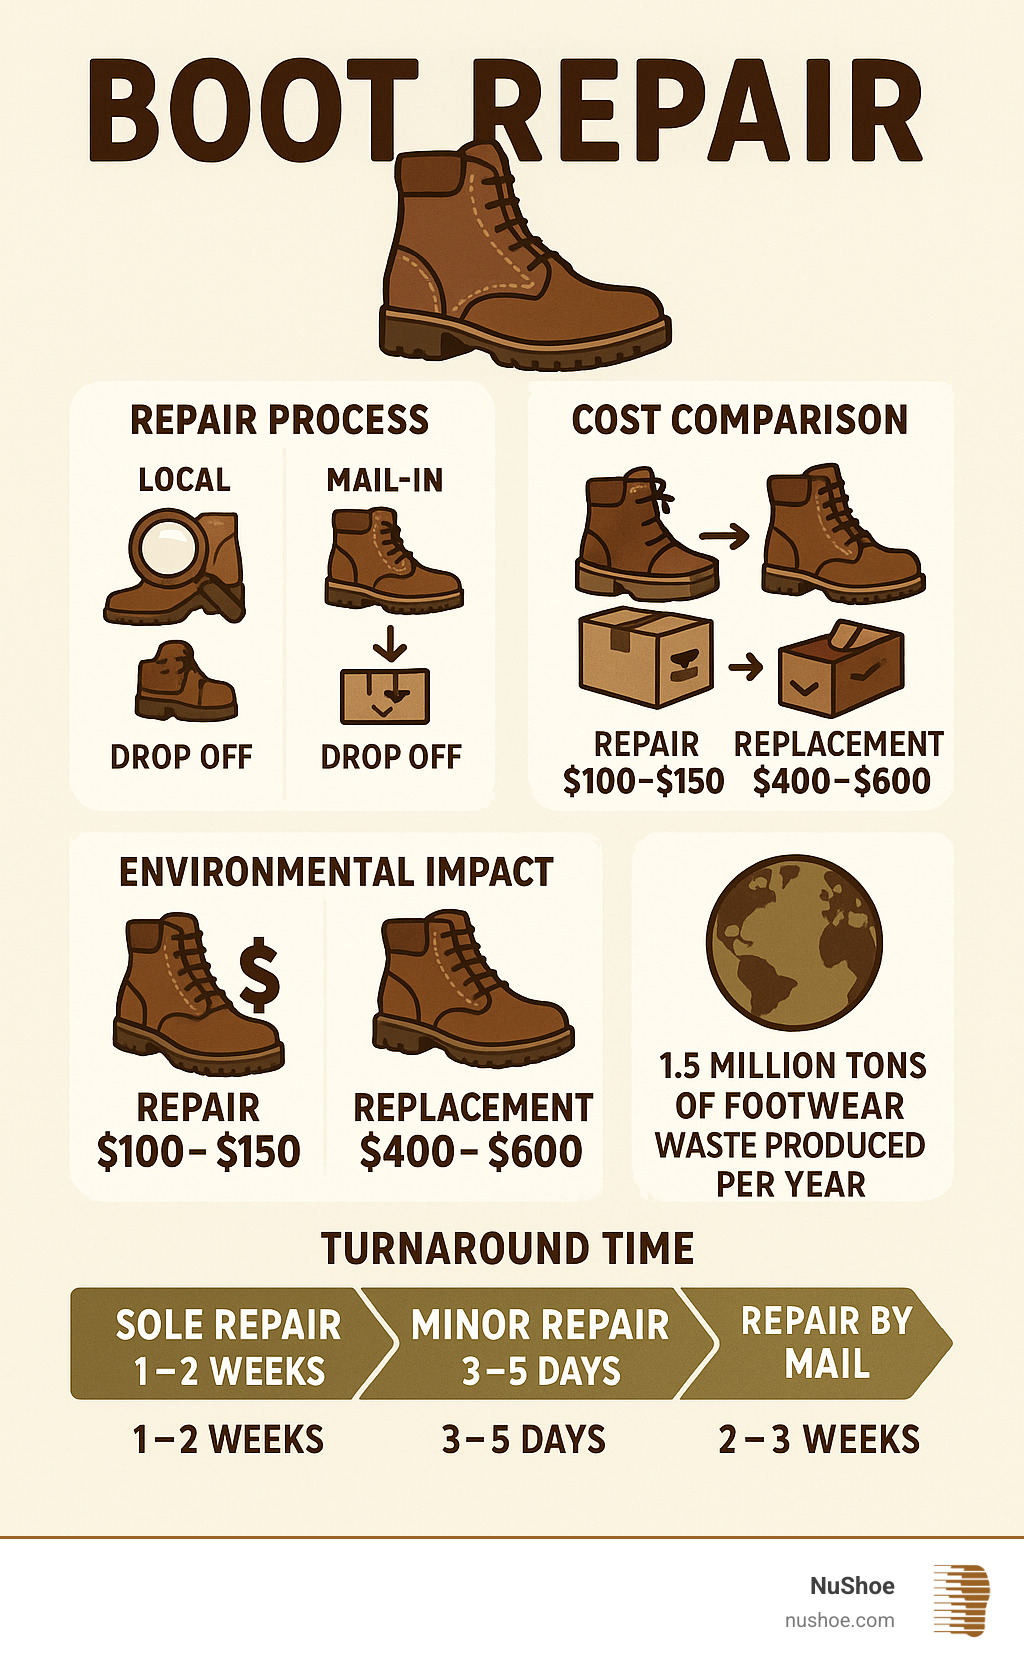
Cost-Benefit Comparison
| Repair Type | Cost | Lifespan Extension | Best For |
|---|---|---|---|
| Tuff Toe | $33 | Triples boot life | All-around protection |
| Epoxy Resin | $12 | 1–2 years | Structural cracks |
| Leather Kit | $10 | 6–12 months | Surface wear |
| Professional App | $50–$75 (est.) | Guaranteed | High-value boots |
| New Boots | $95–$175 | Full lifespan | Extensive damage |
If your boots are still structurally sound, $33 for triple the life is a smart investment.
Safety and Compliance: Don’t Risk It
No repair method replaces OSHA-compliant safety footwear. Always ensure your boots meet ANSI/ASTM standards for your job site.
Key Safety Rules
- Never modify steel toe caps unless you can verify impact resistance.
- Avoid conductive materials in electrical hazard zones.
- Check waterproofing after repairs, since holes or cracks let water in.
- Follow manufacturer guidelines for chemical and heat exposure.
Tuff Toe is tested for chemical, heat, and electrical resistance, so it doesn’t compromise safety. Epoxy and DIY methods may not offer the same certification.
Final Tips for Long-Lasting Boots
Maximize your investment with these pro maintenance habits:
- Clean boots weekly with a damp cloth and leather conditioner.
- Rotate between two pairs to reduce wear.
- Store in a dry place, and never leave wet boots in a garage or truck.
- Reapply Tuff Toe every 6–12 months on high-wear jobsites.
- Inspect toes monthly for early signs of wear.
Small habits prevent big repairs.
Frequently Asked Questions About Steel Toe Boot Repair
Can You Repair a Steel Toe Cap Without Replacing the Entire Boot?
Yes, you can repair a steel toe cap without replacing the entire boot. Methods include applying Tuff Toe polyurethane adhesive, using two-part epoxy resin, or installing aftermarket toe caps. These solutions work when the steel toe is still structurally intact but the surrounding leather is worn or cracked.
How Much Does Steel Toe Boot Repair Cost?
Steel toe boot repair costs range from $10 to $75 depending on the method. Leather repair kits cost under $15, epoxy resin runs about $12, and Tuff Toe kits are $32.98. Professional application through a TCAP may add $50–$75 but includes a Boot-Life Guarantee.
Does Tuff Toe Really Triple the Life of Work Boots?
Yes, Tuff Toe claims to triple the life of work boots based on 30 years of product use. The 2-part polyurethane adhesive creates a permanent barrier over the toe area that resists abrasion, chemicals, and water, extending the functional lifespan of the original boot significantly.
When Should You Replace Steel Toe Boots Instead of Repairing Them?
Replace steel toe boots when the steel toe is dented or cracked, the sole is separating beyond the toe, the leather is rotting, or repair costs exceed $95. If you’ve had multiple failed repair attempts or the boot no longer meets safety standards, replacement is the safer choice.
Is It Safe to Use Epoxy on Steel Toe Boots?
Epoxy is safe for steel toe boots when used correctly on minor cracks and exposed metal edges. However, it creates a rigid bond that isn’t flexible, so avoid thick applications on high-flex zones. For comprehensive safety certification, Tuff Toe is tested to ANSI standards for heat, electrical, and chemical resistance.
Can You Use a Heat Gun to Reshape a Steel Toe Cap?
Yes, but only as a last resort and never on certified safety footwear. Heating and reshaping a steel toe cap can compromise its impact resistance and void its safety rating. This method is best reserved for non-work boots or temporary fixes by skilled users with proper safety equipment.
Key Takeaways for Steel Toe Boot Repair Success
Steel toe boot repair is a practical way to extend the life of expensive safety footwear without sacrificing protection. The Tuff Toe system stands out as the most comprehensive solution, offering industrial-grade polyurethane that triples boot life for just $33. For minor surface wear, leather repair kits under $15 provide a quick fix, while epoxy resin handles structural cracks at around $12.
The most important step is acting early. Inspect your boots monthly, address small cracks before they spread, and choose the repair method that matches the damage level. If repair costs approach the $95 price of entry-level replacements, invest in new boots instead. Start by assessing your current boots today and grab a Tuff Toe kit or leather repair compound before the next wear cycle begins.