How to Make Boots Smaller: Quick Steps
Nothing ruins the confidence of a great outfit like boots that are too big. Whether your heel slips with every step, your foot slides forward in the toe box, or the shaft gapes around your calf, an ill-fitting boot causes blisters, fatigue, and even long-term foot problems. The good news is that you do not need to throw out boots that are slightly too large. With the right techniques, you can make a boot smaller without damaging it.
Most people search online for ways to shrink their boots, but true shrinking rarely works and often ruins the leather. Experts agree that the safest, most reliable way to make a boot smaller is by reducing internal volume or getting professional structural adjustments. This guide covers every proven method, from simple DIY fixes to expert cobbler services, so you can fix loose boots quickly, safely, and permanently.
Use Thick Socks for an Instant Fit Improvement
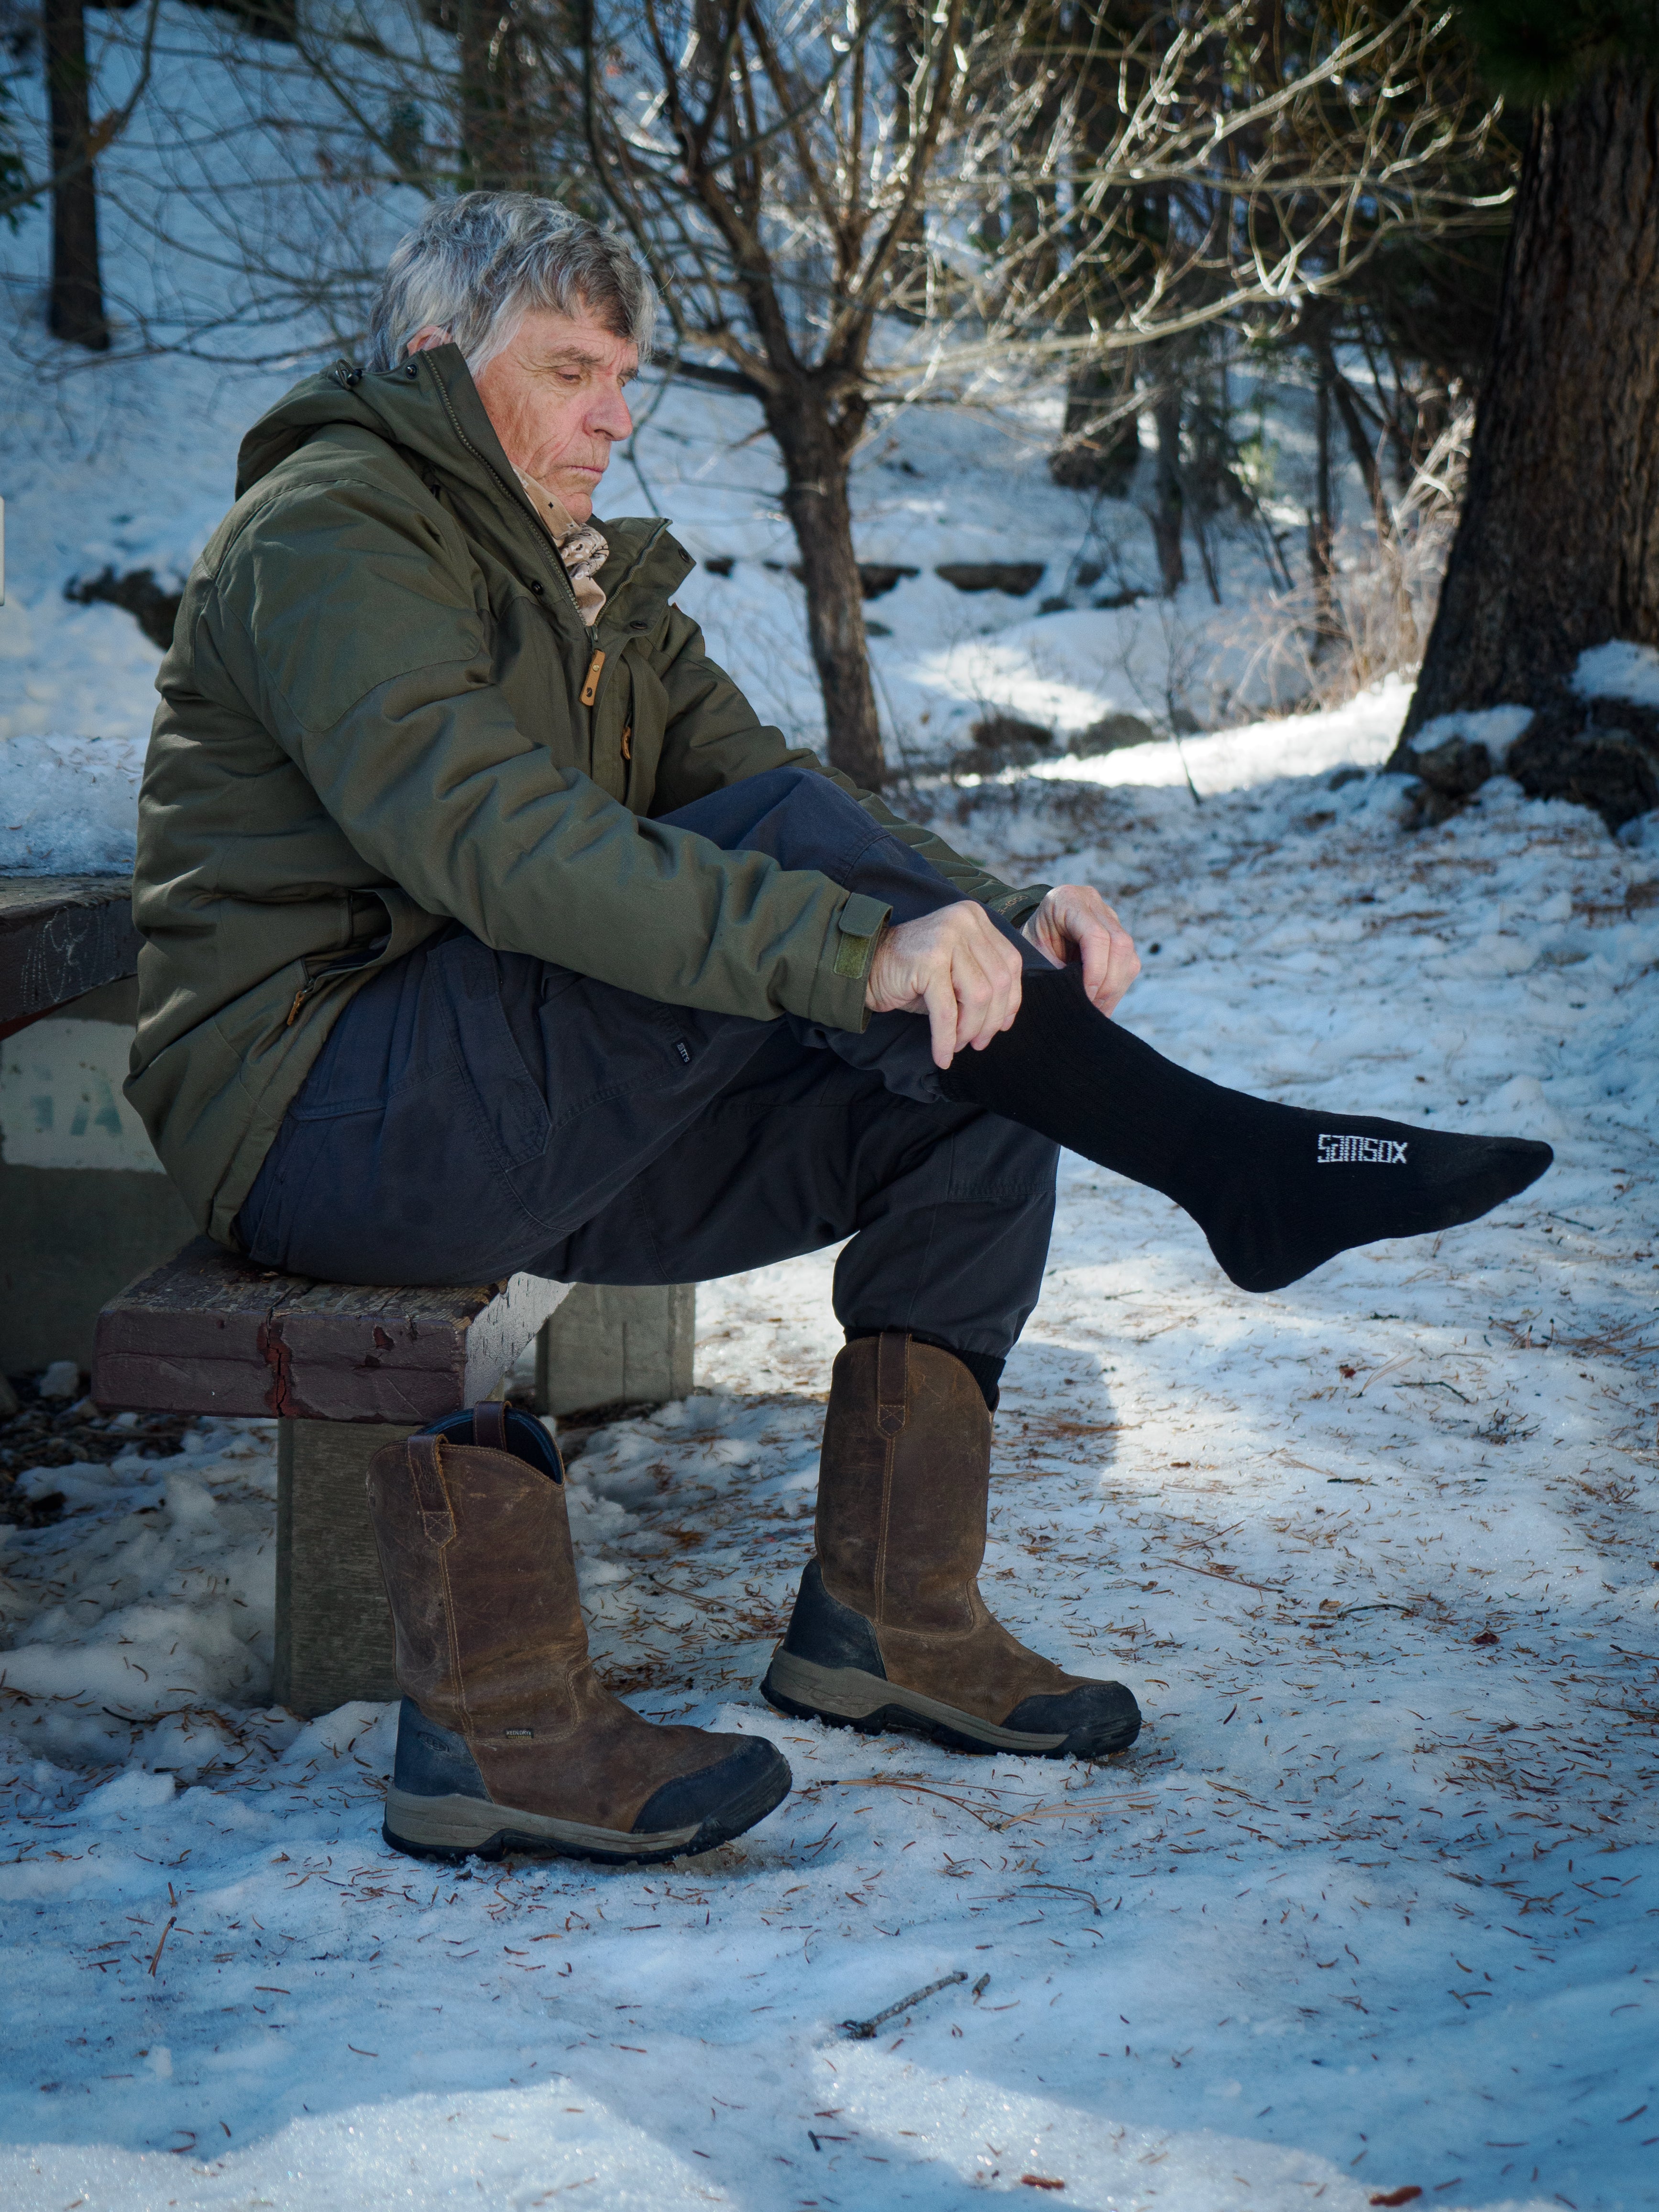
If your boots are only slightly too big, about half a size, thick socks are the fastest, cheapest, and safest fix available.
How Thick Socks Solve Loose Boots
Thick socks fill the extra space between your foot and the boot interior, especially in length and overall volume. They prevent forward sliding and add friction to reduce heel slip.
- Best Materials: Wool or synthetic blends like merino wool offer cushioning without excessive bulk.
- Layering Trick: Wear a thin sock under a thick one to avoid compression and maximize padding.
- Ideal For: Winter boots, work boots, or casual styles where breathability is not critical.
⚠️ Limitation: Thick socks will not fix wide shafts or severe heel slippage. They also increase heat, so avoid them in warm weather.
Install Insoles to Reduce Interior Space

A half-size too big can often be fixed by replacing the stock insole with a thicker aftermarket footbed. This lifts your foot and eliminates excess room inside the boot.
Choosing the Right Insole
- Full-Length Insoles: Brands like Superfeet, Dr. Scholl’s, or Spenco add 1/8″ to 3/16″ of thickness.
- Cost: Durable options start as low as $15.
- Effect: Raises your arch and heel, locking your foot in place and reducing forward movement.
Pro Tips for Insole Installation
- Remove the original insole before inserting a new one.
- Trim if needed to fit snugly without bunching.
- Use firm-density insoles for better support and less compression over time.
This method works especially well for hiking boots, chukkas, or any boot where heel slippage is the main issue.
Apply Targeted Padding Inserts for Specific Problem Areas

When only certain areas feel loose, targeted inserts solve the problem precisely without affecting the whole fit.
Fix Instep Gaps with Tongue Pads
If there is too much space over the top of your foot, tongue pads push your foot down and back into the heel cup.
- Use self-adhesive tongue pads (1/8″ thick) on the underside of the tongue.
- Double them up for a tighter fit if needed.
✅ Pro Tip: Place pads just behind the toe box to avoid pressure on the instep.
Stop Heel Slippage with Heel Grips
Heel movement causes blisters and instability. Gel or leather heel liners stick inside the heel cup to lock your foot in place.
- Layer two grips for a snugger hold.
- Dr. Scholl’s gel grips are top-rated for comfort and grip.
These are perfect for dress boots or new boots still in the break-in phase.
Support the Arch with Cookies or ¾ Insoles
An unsupported arch lets your foot slide forward. Arch cookies glue into the arch cavity, or you can use a ¾-length insole that lifts the arch without extending to the toes. Both reduce forward drift and improve overall stability.
Cushion the Ball of the Foot
For toe-box looseness, metatarsal pads sit just behind the ball of the foot. Originally designed for pain relief, they distribute pressure and fill voids in the forefoot area to tighten the fit.
Tighten the Shaft with Kilties
If your ankle or lower leg feels loose, especially in work or military-style boots, kilties offer a simple solution. These leather flaps tuck under the laces to reduce the opening circumference and block debris. They also add a vintage aesthetic to lace-up boots with open throat designs.
Get Boots Professionally Altered for Wide Shafts
When volume tricks are not enough, especially with wide calf shafts, professional alteration is the gold standard.
What Is “Taking-In”?
A cobbler cuts the boot shaft vertically, removes a wedge of material, and restitches it to reduce circumference. The result is a slim, seamless fit that looks custom-made.
Who Should Consider Professional Alteration?
- Women with narrow calves
- Riders needing snug equestrian boots
- Anyone with expensive boots that fit everywhere except the shaft
Boot Types That Qualify for Taking-In
- Knee-high fashion boots
- Cowboy boots
- Riding boots
- Leather dress or work boots
✅ Works on real leather and synthetics including pleather.
How the Professional Process Works
1. Consultation and Measurement
Visit a cobbler in person or send photos plus measurements. Precise calf and shaft measurements ensure accuracy. Video guides help remote customers measure correctly.
2. Alteration Timeframe
- Standard: 3–5 business days
- Same-day service available at some shops for an additional fee of around $20.
3. Logistics
Mail-in services accept boots nationwide. Use sturdy packaging and include return shipping labels.
4. Satisfaction Guarantee
Top shops offer 100% satisfaction guarantees and will decline work if a perfect fit is not possible.
🌟 Customer Feedback: 4.8 out of 5 stars across more than 100 reviews. Praise includes “fits like a glove,” “seamless finish,” and success with high-end brands like Stuart Weitzman.
Avoid Dangerous Shrinking Methods That Damage Leather
Despite online myths, you cannot safely shrink leather boots significantly using heat or water. Rubber soles do not shrink, creating stress that damages the boot.
Why Shrinking Fails
- Leather may tighten by only 1/4 size, not enough for real improvement.
- Heat and moisture strip natural oils, making leather brittle and prone to cracking.
- Soles can delaminate as the upper shrinks unevenly.
Methods to Avoid
1. Soaking Boots in Water
Submerging boots in water strips protective oils and waxes. The leather becomes stiff and cracked after drying, and wet socks combined with friction create blisters and infection risk.
❌ Verdict: Ruins leather for minimal gain.
2. Using a Hair Dryer on Wet Boots
Applying heat accelerates damage to leather fibers. If attempted against expert advice, use low heat only, hold the dryer at least 6 inches away, and condition immediately after with a quality leather conditioner.
❌ Verdict: A lot of work for not much gain.
3. Alcohol-Water Spray
A mixture of 25% alcohol and 75% water speeds drying but strips oils from leather fast. It causes premature aging and surface cracks and requires heavy conditioning afterward.
❌ Verdict: Not worth the risk. Discouraged by Red Wing and North Star Leather experts.
4. Sewing in Elastic Bands
Puncturing leather to stitch elastic compromises water resistance and structure. It creates permanent holes that can lead to tears or seam failure.
❌ Verdict: Avoid. Use heel grips or professional taking-in instead.
Know When to Replace or Resell Ill-Fitting Boots
If none of the above methods work, do not force a fit. Wearing poorly fitting boots leads to pain and injury over time.
Better Alternatives When Boots Cannot Be Fixed
- Sell on eBay, Grailed, or Poshmark
- Donate to friends or charities
- Exchange for the correct size if possible
- Invest in proper fit because boots should feel snug from day one
✅ Fit Checklist:
– Toes: Not cramped, but no sliding forward
– Heel: Minimal to no lift when walking
– Instep: Snug with laces tied
– Calf: No gaping or pinching
Maintain Boots After Any Adjustment
Any exposure to moisture or heat, even during attempted fixes, requires immediate care to preserve the leather.
Essential Maintenance Steps
- Condition Regularly: Use leather conditioner after any dampness or cleaning.
- Dry Properly: Never use radiators or heaters. Insert shoe trees and air-dry at room temperature.
- Store Correctly: Keep boots in a cool, dry place with boot shapers to maintain shape.
🔁 Natural Break-In Tip: Most leather boots mold to your foot over 5–10 wears. Avoid aggressive shrinking because you might ruin them before they conform naturally.
Expert Recommendations at a Glance

| Method | Effectiveness | Risk | Recommendation |
|---|---|---|---|
| Thick Socks | Moderate | None | Highly Recommended |
| Aftermarket Insoles | High | None | Highly Recommended |
| Heel and Tongue Pads | High | None | Highly Recommended |
| Arch Cookies | High | None | Recommended |
| Professional Taking-In | High | Low | For Wide Shafts |
| Water Soaking | Low | Very High | Strongly Discouraged |
| Heat Shrinking | Low | Very High | Strongly Discouraged |
| Alcohol Spray | Low | High | Discouraged |
| DIY Elastic Stitching | Variable | High | Avoid |
Frequently Asked Questions About Making Boots Smaller
Can you actually shrink leather boots?
Leather can shrink by about 1/4 size at most, but the process strips natural oils and risks cracking. The rubber sole does not shrink, which causes structural stress. Experts strongly discourage water and heat methods.
What is the fastest way to make boots fit tighter?
Wearing thick socks or adding a thicker insole provides immediate improvement for boots that are about half a size too large. Both methods fill internal volume without any risk to the leather.
How do professionals make boots smaller?
Cobblers perform a “taking-in” service by cutting the shaft vertically, removing a strip of material, and restitching the seam. This reduces circumference for a custom fit on boots that are too wide around the calf.
Are heel grips effective for loose boots?
Yes, gel or leather heel grips are highly effective for reducing heel slippage. They stick inside the heel cup and can be layered for a snugger hold, which prevents blisters and improves stability.
Will thick socks damage my boots?
Thick socks do not damage boots, but they increase heat and moisture inside the leather. In warm weather or with non-breathable boots, this can cause discomfort and odor.
When should I give up and replace my boots?
If volume reduction methods and professional alteration cannot fix the fit, it is time to resell, donate, or replace. Forcing a fit leads to pain, blisters, and long-term foot problems.
Key Takeaways for Making Boots Fit Perfectly
There is no magic trick to shrink boots safely. The smartest way to make a boot smaller is to fill the space, not fight the material. Start with thick socks and aftermarket insoles for quick, risk-free fixes. Add targeted pads like heel grips, tongue pads, and arch cookies to address specific problem areas. For wide shafts that no insert can fix, trust a professional cobbler to take in the boot properly. Avoid water, heat, and alcohol because these methods destroy more value than they create.
Your next step is simple: identify where your boot feels loose, then choose the matching solution from this guide. With the right approach, your too-big boots can feel custom-fitted, comfortable, and ready to wear.