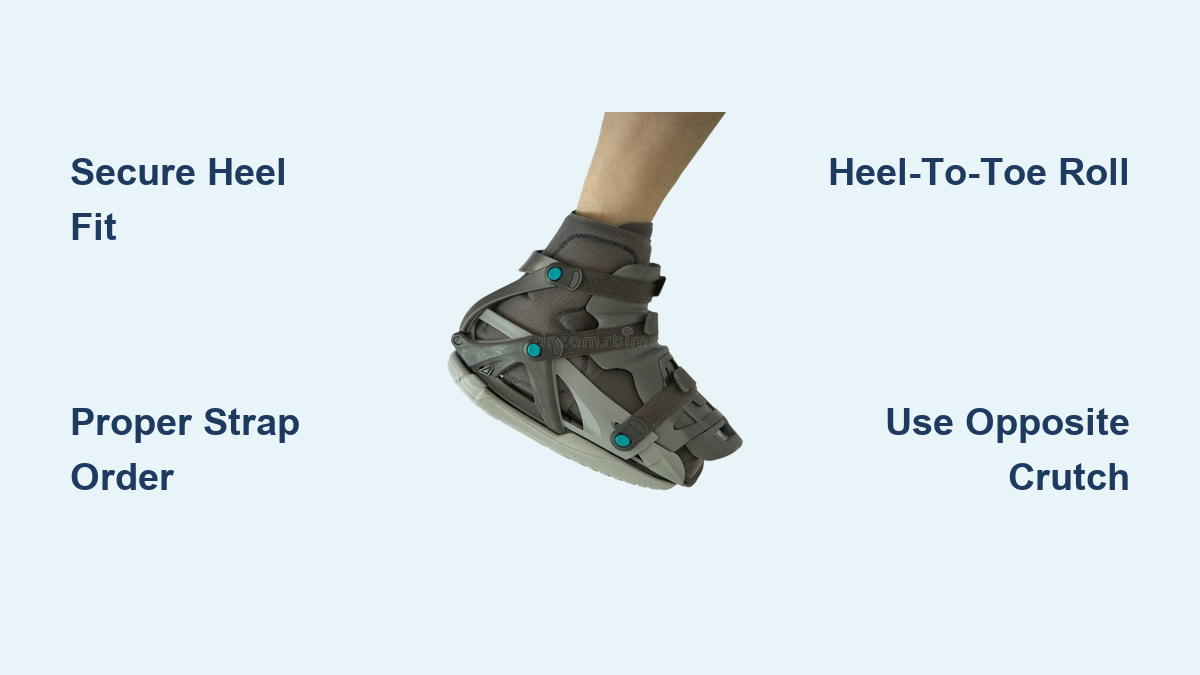
How to Walk in a Boot: Quick Steps
Walking in a boot after a foot or ankle injury can feel awkward, unbalanced, and even painful at first. Whether you’re recovering from a fracture, surgery, or a severe sprain, knowing how to walk in a boot correctly is essential for healing, stability, and preventing secondary strain. A walking boot, also called a CAM (Controlled Ankle Motion) walker, provides support and protection, but only if used properly. Incorrect fit, poor gait, or skipping assistive devices can delay recovery or lead to hip, back, or knee pain.
You’ll learn how to fit your boot correctly, walk with proper form, climb stairs safely, and stay comfortable throughout recovery. Follow these evidence-based techniques to stay mobile, reduce pain, and heal faster without risking re-injury.
Secure Proper Boot Fit

A poorly fitted boot causes instability, pressure sores, and misalignment. Getting the fit right is the first step to walking safely and protecting your healing injury.
Check Size and Sock Choice
Ensure your boot matches your foot and calf measurements. Your toes should have slight wiggle room but not slide forward. Wear a single thin, moisture-wicking sock and avoid thick or layered socks. Uneven fabric creates pressure points and increases friction, raising the risk of skin irritation.
Position the Heel Correctly
Sit with your knee bent at a 90-degree angle to relax the calf muscles. Slide your foot into the boot and push your heel all the way back into the heel cup. The heel must sit flush and never float above the cup. A loose heel causes your foot to shift, reducing support and increasing fall risk.
Fasten Straps in the Correct Order
Loosen all Velcro straps and open the foam liner before inserting your foot. After placing your heel, close the inner foam liner snugly around the shin and ankle. Then secure the outer straps from foot to shin in this sequence:
- Start with the instep strap
- Move to the mid-calf
- Finish at the top strap
Pull each strap snug but not tight. You should fit one finger under each strap. Over-tightening restricts circulation and causes numbness or tingling.
Adjust Air Bladders Carefully
If your boot features inflatable air cells, pump gently until you feel even pressure around the ankle. Do not overinflate and never force the valve open. Overfilling can damage the system and increase pressure on healing tissues.
Master Walking With a Boot
Once your boot is secure, focus on gait mechanics. The goal is to walk as naturally as possible while protecting the injury.
Use Heel-to-Toe Motion
Even with a rigid sole, aim for a heel-to-toe roll. Step down on your heel first, then allow your body weight to roll forward through the foot to the toes. This mimics natural gait, reduces joint stress, and prevents limping. Avoid walking flat-footed or toe-first, which strains the calf and knee.
Maintain Upright Posture
Stand tall with shoulders aligned over hips and eyes forward. Do not lean forward or favor the uninjured side. Poor posture increases lower back strain and throws off balance. Engage your core slightly with each step to stabilize your pelvis.
Walk Slowly and Deliberately
Take short, controlled steps at a moderate pace. Rushing increases fall risk, especially on uneven surfaces. Practice indoors on flat, non-slip flooring before moving to sidewalks or carpeted areas. Prioritize control over speed.
Balance Leg Length Discrepancy
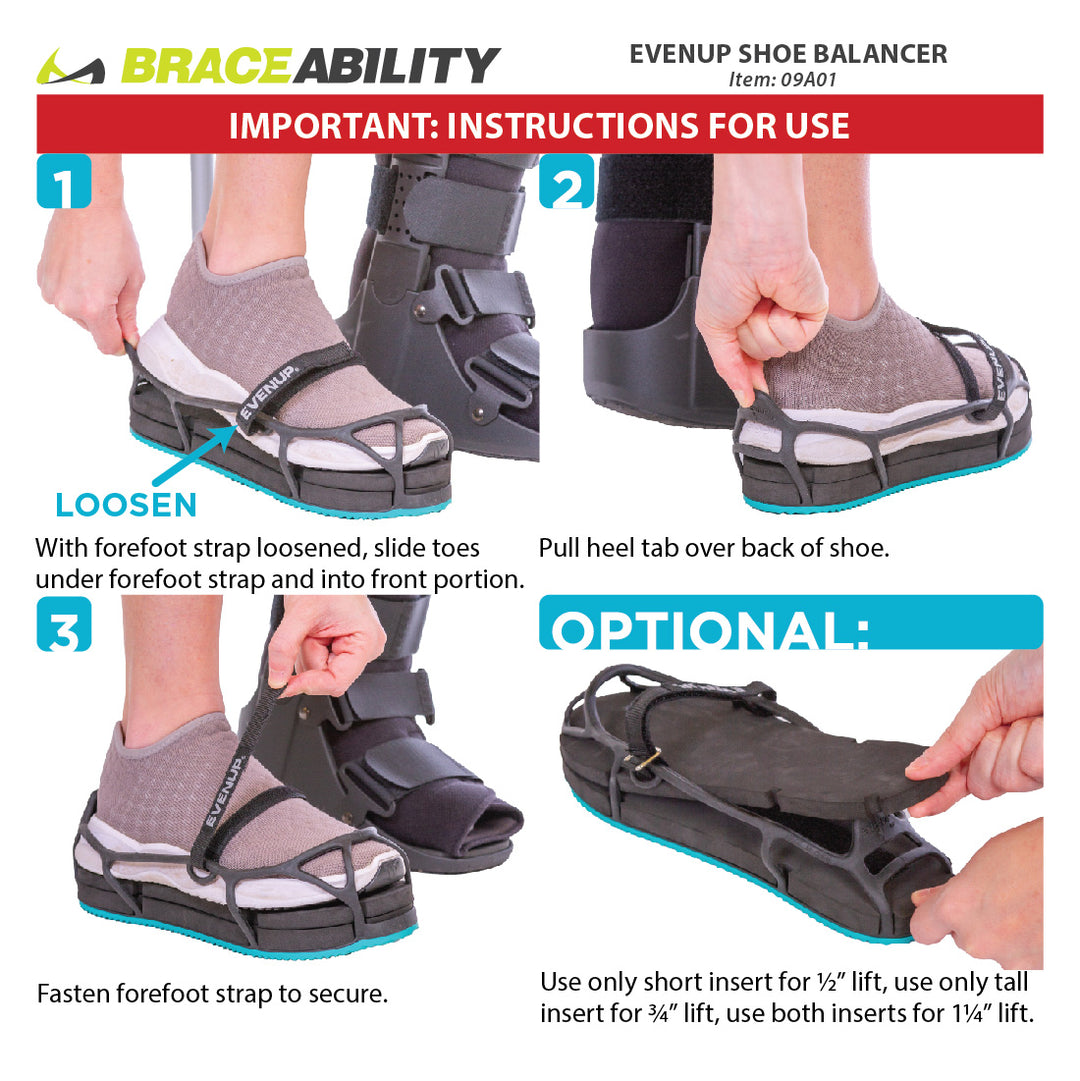
The thick sole of a walking boot makes the injured leg longer, causing pelvic tilt, limping, and hip or back pain.
Wear a Matching Shoe on the Uninjured Foot
Always wear a shoe on your uninjured foot with a similar heel height. This reduces imbalance. Avoid walking barefoot or in slippers on the good side.
Try an Even-Up Device
If discomfort persists, ask your doctor about an Even-Up shoe insert or external lift. This device attaches to the sole of your uninjured shoe and mechanically balances leg length. Users report significant improvement in gait symmetry and reduced back strain.
Use Assistive Devices Correctly

Crutches or a cane improve stability, especially during early recovery or partial weight-bearing phases.
Hold Device on the Opposite Side
Use crutches or a cane in the hand opposite your injured leg. This shifts weight away from the healing foot and improves balance.
Follow Weight-Bearing Rules
Adhere strictly to your doctor’s weight-bearing instructions:
- Non-weight-bearing: Keep the injured foot off the ground
- Partial weight-bearing: Apply only a percentage of body weight, such as toe-touch
- Full weight-bearing: You may bear full weight as tolerated
Using the wrong level too soon can re-injure bones or soft tissues.
Climb Stairs Safely
Stairs are high-risk areas. Always use a handrail and move slowly.
Ascend: Up With the Good Leg
- Stand close to the first step, holding the rail
- Step up with your uninjured leg first
- Bring the boot up to meet it
- Shift weight fully before advancing
Remember the mnemonic: “Up with the Good.”
Descend: Down With the Bad Leg
- Face forward, hold the rail, and shift weight to the good leg
- Lower the injured leg and boot to the step below
- Bring the good leg down to join it
- Pause and stabilize before the next step
Remember the mnemonic: “Down with the Bad.” Keep movements slow and controlled, and never carry items that block your view.
Monitor for Warning Signs
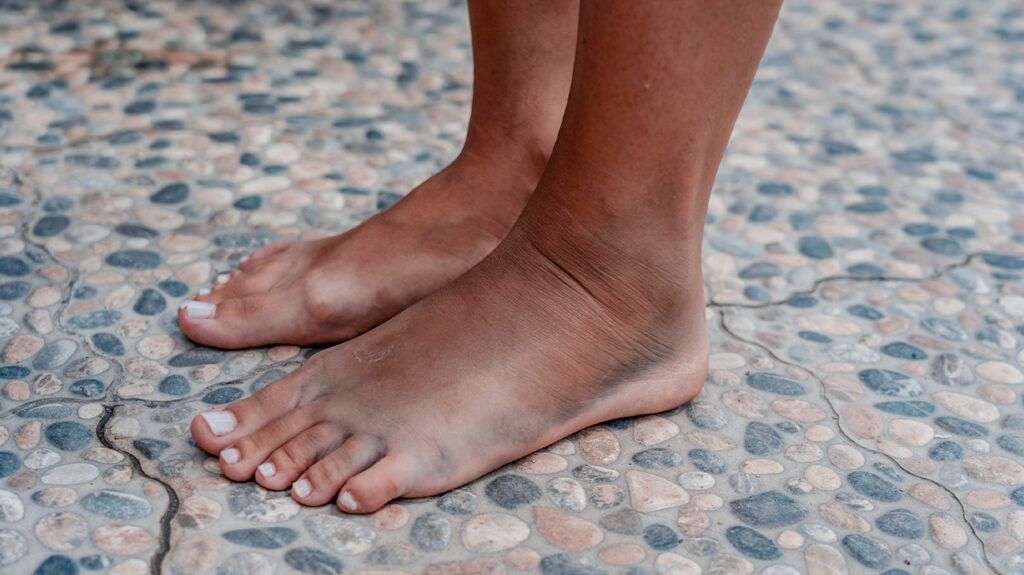
Even with proper technique, problems can arise. Act quickly if you notice any of the following issues.
Circulation Issues
Check toes regularly for numbness, tingling, coldness, or discoloration such as blue, pale, or dark coloring. These signs may indicate straps are too tight. Loosen and recheck. If symptoms persist, contact your doctor.
Skin Irritation or Sores
Remove the boot daily to inspect skin. Look for redness, blisters, or raw areas, especially over bony prominences like the heel or ankle. Change socks if damp and ensure no wrinkles in the liner.
Increased Pain or Swelling
New or worsening pain, swelling, or throbbing could signal improper fit, overuse, or complications. Stop using the boot and consult your provider.
Maintain Boot and Skin Health
Proper care extends healing and comfort throughout your recovery.
Clean and Inspect Regularly
Wipe the boot’s interior with a damp cloth weekly. Check Velcro for wear and ensure the sole is flat and debris-free. A warped or worn sole affects gait and balance.
Keep Skin Dry
Moisture under the boot causes maceration and infection. Use moisture-wicking socks and change them if sweaty. Consider a boot liner or sock sleeve designed for airflow.
Sleep With the Boot Only If Approved
Some doctors recommend wearing the boot at night to prevent ankle flexion. If approved, loosen straps slightly for comfort but keep the heel secure. Never sleep in a tightly strapped boot.
Know Your Recovery Timeline
Most patients wear a walking boot for 4 to 8 weeks, depending on injury severity.
Follow Medical Advice
Do not remove the boot early, even if pain decreases. Bones and ligaments need full immobilization to heal. Attend all follow-ups so your doctor can assess progress and adjust treatment.
Transition Gradually
When it’s time to wean off the boot, your provider may recommend:
- Short periods without it
- Switching to a supportive brace
- Physical therapy for strength and balance
Rushing this phase increases re-injury risk.
Prevent Common Mistakes
Avoid these frequent errors that delay healing.
Skipping the Boot Indoors
Even at home, wear the boot unless instructed otherwise. Stepping barefoot can cause re-injury during unexpected movements.
Wearing Incompatible Footwear
Avoid flip-flops, flats, or loose shoes on the uninjured foot. Always wear supportive, stable footwear to maintain balance.
Ignoring Gait Drift
Over time, poor walking habits become automatic. Regularly check your stride in a mirror or ask someone to observe. Correct limping early.
Frequently Asked Questions About Walking in a Boot
How long does it take to get used to walking in a boot?
Most people need a few days to a week to adjust to the boot’s weight and altered gait. Practicing indoors on flat surfaces helps build confidence before moving to uneven terrain.
Can I walk without crutches in a walking boot?
You can walk without crutches only if your doctor has cleared you for full weight-bearing. Otherwise, use crutches or a cane on the opposite side to avoid placing too much weight on the healing foot.
Should I wear a sock under my walking boot?
Yes, wear a single thin, moisture-wicking sock to reduce friction and manage sweat. Avoid thick or layered socks that create pressure points.
How do I prevent my leg length discrepancy from causing back pain?
Wear a shoe with a similar sole height on your uninjured foot or ask your doctor about an Even-Up device. These options balance your pelvis and reduce strain on your hips and lower back.
Is it normal for my toes to feel cold or tingly in the boot?
No, cold or tingling toes suggest the straps are too tight and restricting circulation. Loosen the straps and recheck. If symptoms continue, contact your healthcare provider.
Can I sleep in my walking boot?
Some doctors recommend wearing the boot at night to prevent ankle movement. If approved, loosen the straps slightly for comfort while keeping your heel secure in the cup.
Key Takeaways for Walking Safely in a Boot
Walking in a boot protects your injury while keeping you mobile, but only when done correctly. Start with a secure fit by positioning your heel flush in the cup and fastening straps from foot to shin. Practice heel-to-toe motion, maintain upright posture, and walk at a controlled pace to mimic natural gait. Address leg length discrepancy with a matching shoe or Even-Up device to prevent hip and back pain. Use crutches or a cane on the opposite side when needed, and follow your doctor’s weight-bearing instructions exactly. Watch for warning signs like numbness, skin irritation, or increased pain, and contact your provider if anything feels wrong.
Your next step is to schedule a fitting check with your doctor or orthotist if you have any doubts about your boot’s fit or your walking form. A quick adjustment now can prevent setbacks and keep your recovery on track.