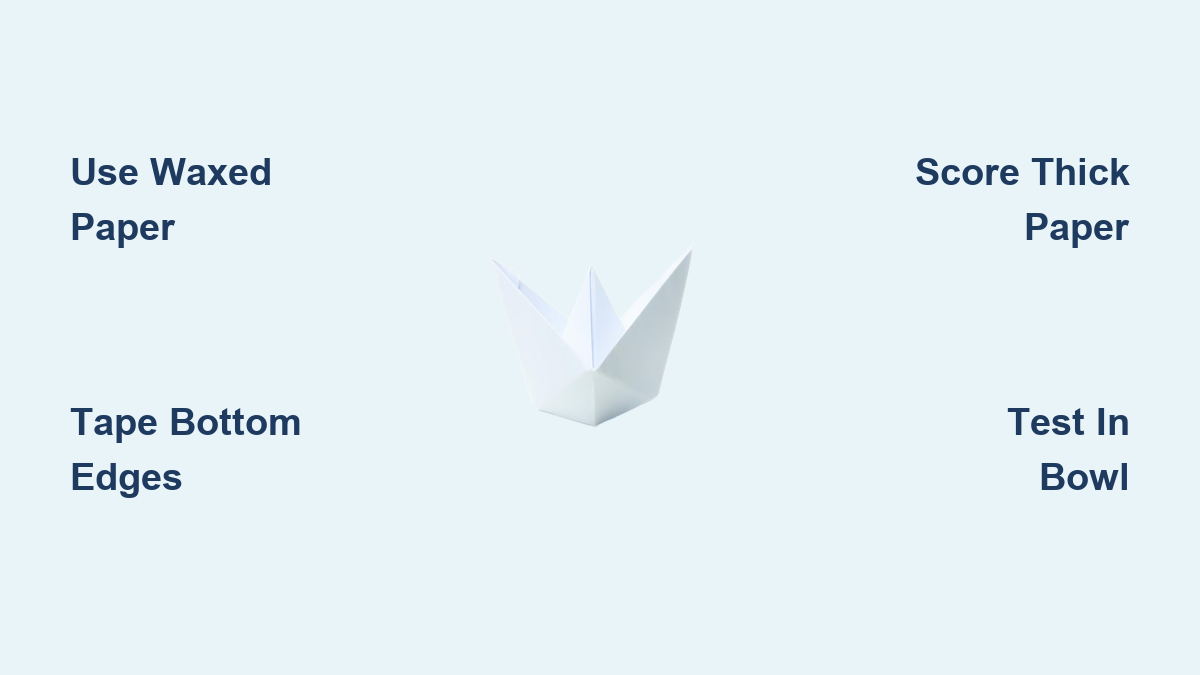
How to Make a Paper Boot: Quick Steps
You’ve probably seen a simple paper boat gliding across a puddle, its crisp folds slicing through the water like a tiny explorer ship. But did you know that with just one sheet of paper and a few precise folds, you can build a vessel that lasts minutes in a creek or holds up as a decorative sailboat? Whether you’re crafting with kids, running a classroom STEM activity, or revisiting childhood memories, learning how to make a paper boat unlocks hours of hands-on creativity.
This guide covers three proven methods plus material tips, troubleshooting, and creative variations. You’ll discover which paper floats longest, how to waterproof your boat with tape, and how to build a display-worthy sailboat with a mast and rigging. Grab a sheet and let’s set sail.
Classic Origami Paper Boat (No Glue, No Tools)

The most iconic way to make a paper boat requires nothing but a rectangular sheet and precise folds. This method transforms paper into a floating vessel through a clever sequence that starts like a paper hat.
Create the Center Crease
Start with a standard A4 or letter-sized sheet of printer or magazine paper. Fold the paper in half horizontally, bringing the short edges together. Crease firmly, then unfold to create your vertical center line.
Rotate the paper so the crease runs top to bottom and the open edges face down. This orientation sets you up for the next steps.
Form the Hat Shape
Fold the paper in half vertically (top to bottom), crease, and reopen. You now have a cross-shaped crease pattern.
Take the top-right corner and fold it down so the edge meets the vertical center crease. Repeat with the top-left corner. The two folds should meet perfectly in the middle, forming a triangle.
Now fold the bottom rectangular flap up over the base of the triangle. Flip the paper over and repeat on the other side. Tuck in the small triangular tabs at the corners to lock the brim. You now have a classic paper hat.
Collapse Into the Boat
Hold the brim of the hat and push the front and back points toward each other. The structure will collapse into a diamond shape.
Flip it so the open pocket faces down. Fold the bottom point up to meet the top. Flip and repeat on the other side.
Push the left and right points together again. This collapses it into a smaller diamond. Now gently pull the two top corners apart and push the center down to form the hull. Your paper boat is ready to launch.
Waterproof Paper Boat Upgrade
A plain paper boat floats, but not for long. With a few smart modifications, you can double or triple its float time and take it from the sink to a creek or rain puddle.
Choose Water-Resistant Paper
Avoid construction paper because it dissolves fast. Instead, use magazine pages (coated finish) or waxed paper for natural water resistance. Printer paper works if sealed properly.
Seal Corners and Bottom
After folding your boat, apply clear tape to the four bottom corners. These are the first points to absorb water and collapse.
Next, run a continuous strip of tape along the entire bottom edge. This seals the paper fibers and slows capillary action that pulls water upward.
Sharpen Every Crease
The tighter the fold, the denser the paper fibers, which helps resist water. Use your fingernail or a ruler to burnish every crease during folding. Loose folds equal quick sinking.
Pro Tip: Test your boat in a bowl first. If it leans or tips, check for uneven folds, especially in the initial hat phase.
Advanced Template Boat With Mast and Sail

For a durable, display-grade paper boat with a mast, sail, and real stability, this method uses heavy paper, a template, and glue. It’s perfect for crafts, gifts, or decorations.
Trace and Score the Hull
Download or draw a boat hull template (a long, curved shape with tabs). Trace it onto 140-pound watercolor paper or cardstock.
Use a ruler and pencil to mark fold lines. Then score them with the back of an X-Acto knife, deep enough to fold cleanly but not cut through.
Assemble the Mast Support
Trace a triangular mast support template, score the fold lines, and glue it into a 3D triangular tube. Clamp with a paper clip until dry.
Poke a small “X” slit in the top. Insert a snipped bamboo skewer (cut the sharp tip first). Add generous glue at the base and let dry upright.
Build the Hull
Fold the hull along scored lines. Glue the front (bow) by bringing the sides together and clamping with clothespins.
For the back (stern), use a 3-layer tab system: fold Tab A up, glue Tab B over it, then glue Tab C over Tab B. Clamp and dry.
Alternative: Punch a hole through all three tabs and sew with thread, finishing with a button knot on the inside.
Attach Sail and Rigging
Cut a diamond or rectangle sail from paper. Punch two holes, top and bottom, and slide it onto the mast.
Cut a 36-inch string (embroidery thread or baker’s twine). Tie a loop in the center.
Glue the top half inch of the mast (above the sail). Wrap the looped string around it and let dry. This creates two hanging lines.
Glue a small flag (like a skull and crossbones) over the strings below the sail.
Secure the Boat
Place the mast support inside the hull. For a permanent fit, glue the base to the floor.
For a removable mast, tie the string ends around buttons glued to the bow and stern. This keeps the mast taut and upright.
Add extra flags by folding small paper strips over the rigging lines with glue.
Best Paper for Floating Boats

Choosing the right paper makes a huge difference in float time and durability.
Printer and Magazine Paper
- Best for: quick, floating boats
- Why: Slightly water-resistant due to coating. Holds creases well.
- Float Time: 5 to 15 minutes in calm water (longer with tape)
Waxed Paper
- Best for: longest float without chemicals
- Why: Naturally repels water
- Float Time: Up to 30 minutes in still water
Construction Paper
- Best for: dry crafts, dioramas, rainbow displays
- Why: Highly absorbent and dissolves fast
- Avoid for: water play
Watercolor or Cardstock
- Best for: advanced builds, painting, durability
- Why: Thick, rigid, holds glue and paint
- Tip: Seal with watercolor wash on both sides before assembly
Troubleshooting Common Paper Boat Problems

Boat Sinks Immediately
Cause: Paper too thin or absorbent
Fix: Use magazine or waxed paper. Add tape to the bottom edge.
Boat Tips Over
Cause: Uneven folds or lopsided load
Fix: Recheck symmetry in the hat phase. Distribute weight (like toys) evenly.
Mast Keeps Falling
Cause: Loose hole or no glue
Fix: Snip the skewer tip for a snug fit. Use plenty of glue at the base. Let dry upright.
Tabs Won’t Stay Closed
Cause: Weak glue or premature handling
Fix: Use Nori paste (not glue stick) for heavy paper. Clamp with clothespins for 10+ minutes.
Paper Won’t Fold Neatly
Cause: No score lines on thick paper
Fix: Score all folds with a dull knife before bending.
Creative Paper Boat Variations
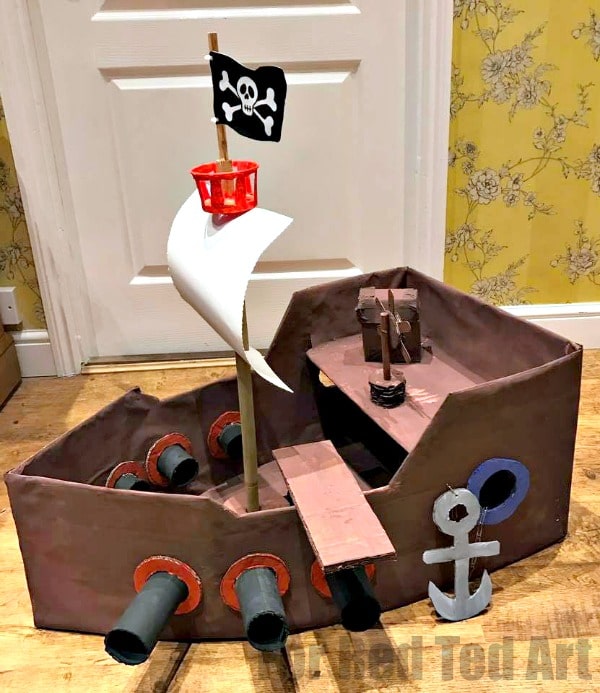
Pirate Ship
Add a toothpick mast and a black flag with a skull. Draw portholes and a name on the hull.
Rainbow Fleet
Use colored construction paper to make a fleet, great for dry displays or art scenes.
Giant Cardboard Boat
Scale up using poster board or cardboard. Make one big enough for a child to sit in, perfect for races.
Floating Gift Boat
Write a message inside the hull. Add a small toy or candy. Float it in a tub as a unique gift.
Frequently Asked Questions About Paper Boats
What type of paper makes the best paper boat?
Magazine paper or waxed paper works best for floating boats because they resist water longer than construction paper. For decorative or display boats, use 140-pound watercolor paper or cardstock for rigidity and durability.
How long does a paper boat float?
A standard printer paper boat floats for about 5 to 15 minutes in calm water. Adding clear tape to the bottom and corners can extend float time significantly. Waxed paper boats can last up to 30 minutes in still water.
How do you keep a paper boat from sinking?
Use less absorbent paper like magazine or waxed paper. Make sharp, tight creases during folding. Apply clear tape to all four bottom corners and along the entire bottom edge to seal out water.
Can you make a paper boat without glue?
Yes. The classic origami method requires no glue, tape, or tools. You only need a rectangular sheet of paper and precise folds. This method creates a functional boat that floats briefly in calm water.
How do you make a paper boat that holds weight?
Use the advanced template method with heavy watercolor paper or cardstock. Glue or stitch the hull seams for structural integrity. Distribute weight evenly across the center of the hull and avoid sharp creases that weaken under load.
Final Tips for a Paper Boat That Floats and Lasts
- Always start with sharp creases because they make the boat sturdier and more water-resistant.
- Test in shallow water first so a bowl or sink lets you fix balance issues before launch.
- Use tape for any water play since it’s the simplest upgrade for longer float time.
- Let glue dry fully, especially on the mast support. Rushing causes collapse.
- Score heavy paper because unscored thick paper will tear instead of folding cleanly.
With these methods, you’re not just folding paper. You’re building buoyancy, balance, and imagination. Whether you fold a quick boat in 60 seconds or craft a detailed sailboat over an afternoon, the joy is in the launch. So grab a sheet, follow the folds, and set sail.