How to Pack Hiking Boots for Travel
Hiking boots are built to conquer rugged terrain—but they can be a nightmare to pack. Bulky, heavy, and awkwardly shaped, they eat up luggage space fast and risk damaging other gear if not secured properly. Whether you’re flying to a remote trailhead in Patagonia or heading out for a weekend backpacking trip, knowing how to pack hiking boots efficiently makes all the difference. The right strategy saves space, protects your investment, and ensures you’re not stranded without proper footwear if your checked bag gets delayed. This guide delivers proven, step-by-step methods—from wearing boots on the plane to stuffing them with socks and securing them in carry-ons—so you travel smarter, hike safer, and arrive trail-ready.
Wear Hiking Boots to Maximize Luggage Space
Avoid Overpacking by Keeping Boots on Your Feet
The most effective way to pack hiking boots is not to pack them at all—wear them during travel. By doing so, you free up valuable suitcase or backpack space for clothes, electronics, and essentials. This approach is especially useful when flying, where carry-on limits are strict and checked luggage can be lost or delayed.
Many hikers wear their boots through airports and switch to lighter shoes—like trail runners or camp slippers—once seated. This hybrid method keeps critical gear accessible while improving in-flight comfort. If your destination involves immediate hiking or remote access, wearing your boots eliminates the risk of arriving without them.
“I wear my hiking boots on the plane, but pack trainers/hut shoes in my carry-on. I put the trainers on after boarding.” — Edgar, Medford, OR
Treat Boots Like Critical Carry-On Gear
When hiking boots are mission-critical—especially in areas where replacements aren’t available—treat them like a passport or medication: keep them with you. Checked baggage can be opened, lost, or delayed, leaving you stranded without proper foot support. Wearing your boots ensures they’re always within reach.
This strategy works best for:
– International trips with immediate hikes
– Expeditions to remote regions like Nepal or Alaska
– Travelers with custom orthotics or hard-to-fit feet
If you have chronic ankle instability or rely on specific arch support, arriving without your trusted boots could ruin your trip before it starts.
Pack Hiking Boots in Your Carry-On Backpack
Use Your Personal Item for Essential Footwear
If you’re not wearing your boots, pack them in your carry-on backpack—especially if it counts as your airline’s personal item. Most airlines allow a backpack in addition to a carry-on bag, making this a smart workaround for bulky footwear. Since your backpack stays with you, your boots remain protected and accessible.
Place boots at the bottom of your pack to maintain balance and lower your center of gravity. This improves comfort during long walks through terminals and reduces back strain. Surround them with soft items like jackets or clothes to prevent shifting and internal damage.
“I either wear them on the plane, or pack them in the bottom of my day pack which counts as my ‘personal item’.” — Lola, Seattle, WA
Optimize Weight Distribution for Comfort
Heavy items like boots should sit close to your back and low in the pack. This keeps your center of gravity stable, especially when navigating crowded airports or train stations.
Do:
– Place boots at the base of your backpack
– Pack soft clothing around them to cushion and stabilize
– Keep other heavy gear (water, food) centered and high
Avoid:
– Top-loading boots (throws off balance)
– Loose placement (causes internal damage)
Stuff Hiking Boots to Save Space and Maintain Shape
Fill Boot Interiors with Soft Essentials
Don’t waste the empty space inside your hiking boots. Stuff each one with lightweight, soft items like:
– Socks
– Underwear
– T-shirts
– Phone chargers
– Flip-flops
This technique prevents boots from collapsing during transit, helps maintain their shape, and frees up suitcase space. It’s a two-for-one packing win: your boots stay protected, and you maximize volume.
“I put one in each corner of my suitcase and stuffed each full of socks and underwear.” — Cynthia, Gig Harbor, WA
Never Pack Metal or Electronics Inside Boots
Avoid placing metal-heavy or electronic items—like power banks, flashlights, or multitools—inside boots. Airport X-ray machines may flag them as suspicious, leading to manual inspections or delays. TSA agents might ask you to remove the contents on the spot, which is awkward and time-consuming.
Safe to pack:
– Clothing
– Toiletries (in sealed bags)
– Soft accessories
Avoid:
– Metal utensils
– Electronics
– Sharp tools
Position Hiking Boots Strategically in Luggage
Place at the Bottom for Stability and Balance
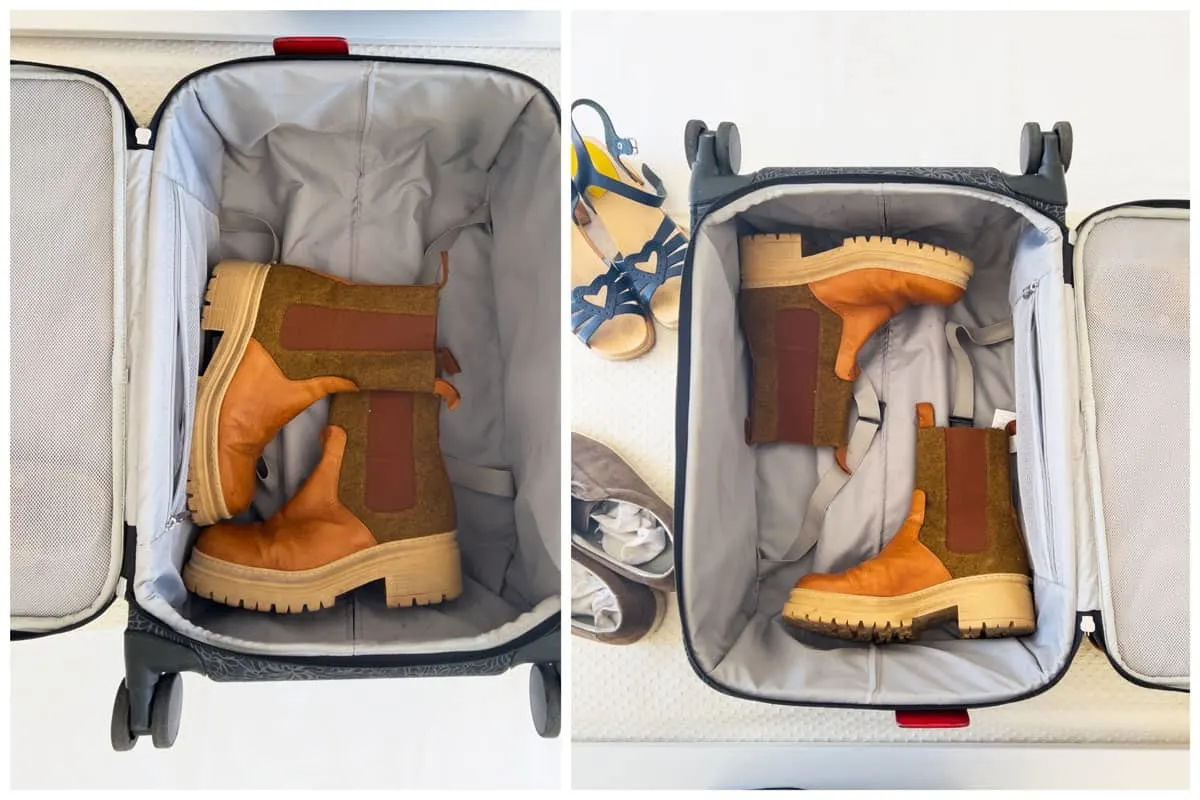
Always position hiking boots at the bottom of your suitcase or duffel. Their weight helps stabilize the bag, preventing it from tipping during handling. Place one boot in each corner to distribute weight evenly and reduce shifting.
Cover boots with soft clothing like jeans or sweaters to cushion them and protect other items from scuffing. If your luggage has a dedicated shoe compartment, use it to isolate boots from clean clothes and minimize odor transfer.
“Place boots at the bottom of your suitcase. This stabilizes the weight and prevents the suitcase from tipping over.” — How to Pack Boots for Travel
Balance Weight in Duffel Bags to Prevent Strain
Duffels lack rigid structure, so weight distribution is crucial. Place boots soles toward the center or at opposite ends to keep the bag balanced when carried. Avoid clustering heavy items on one side, which can make carrying painful.
Use compression straps to secure boots and reduce internal movement. This prevents damage to both boots and other gear.
Protect Hiking Boots with Proper Packaging
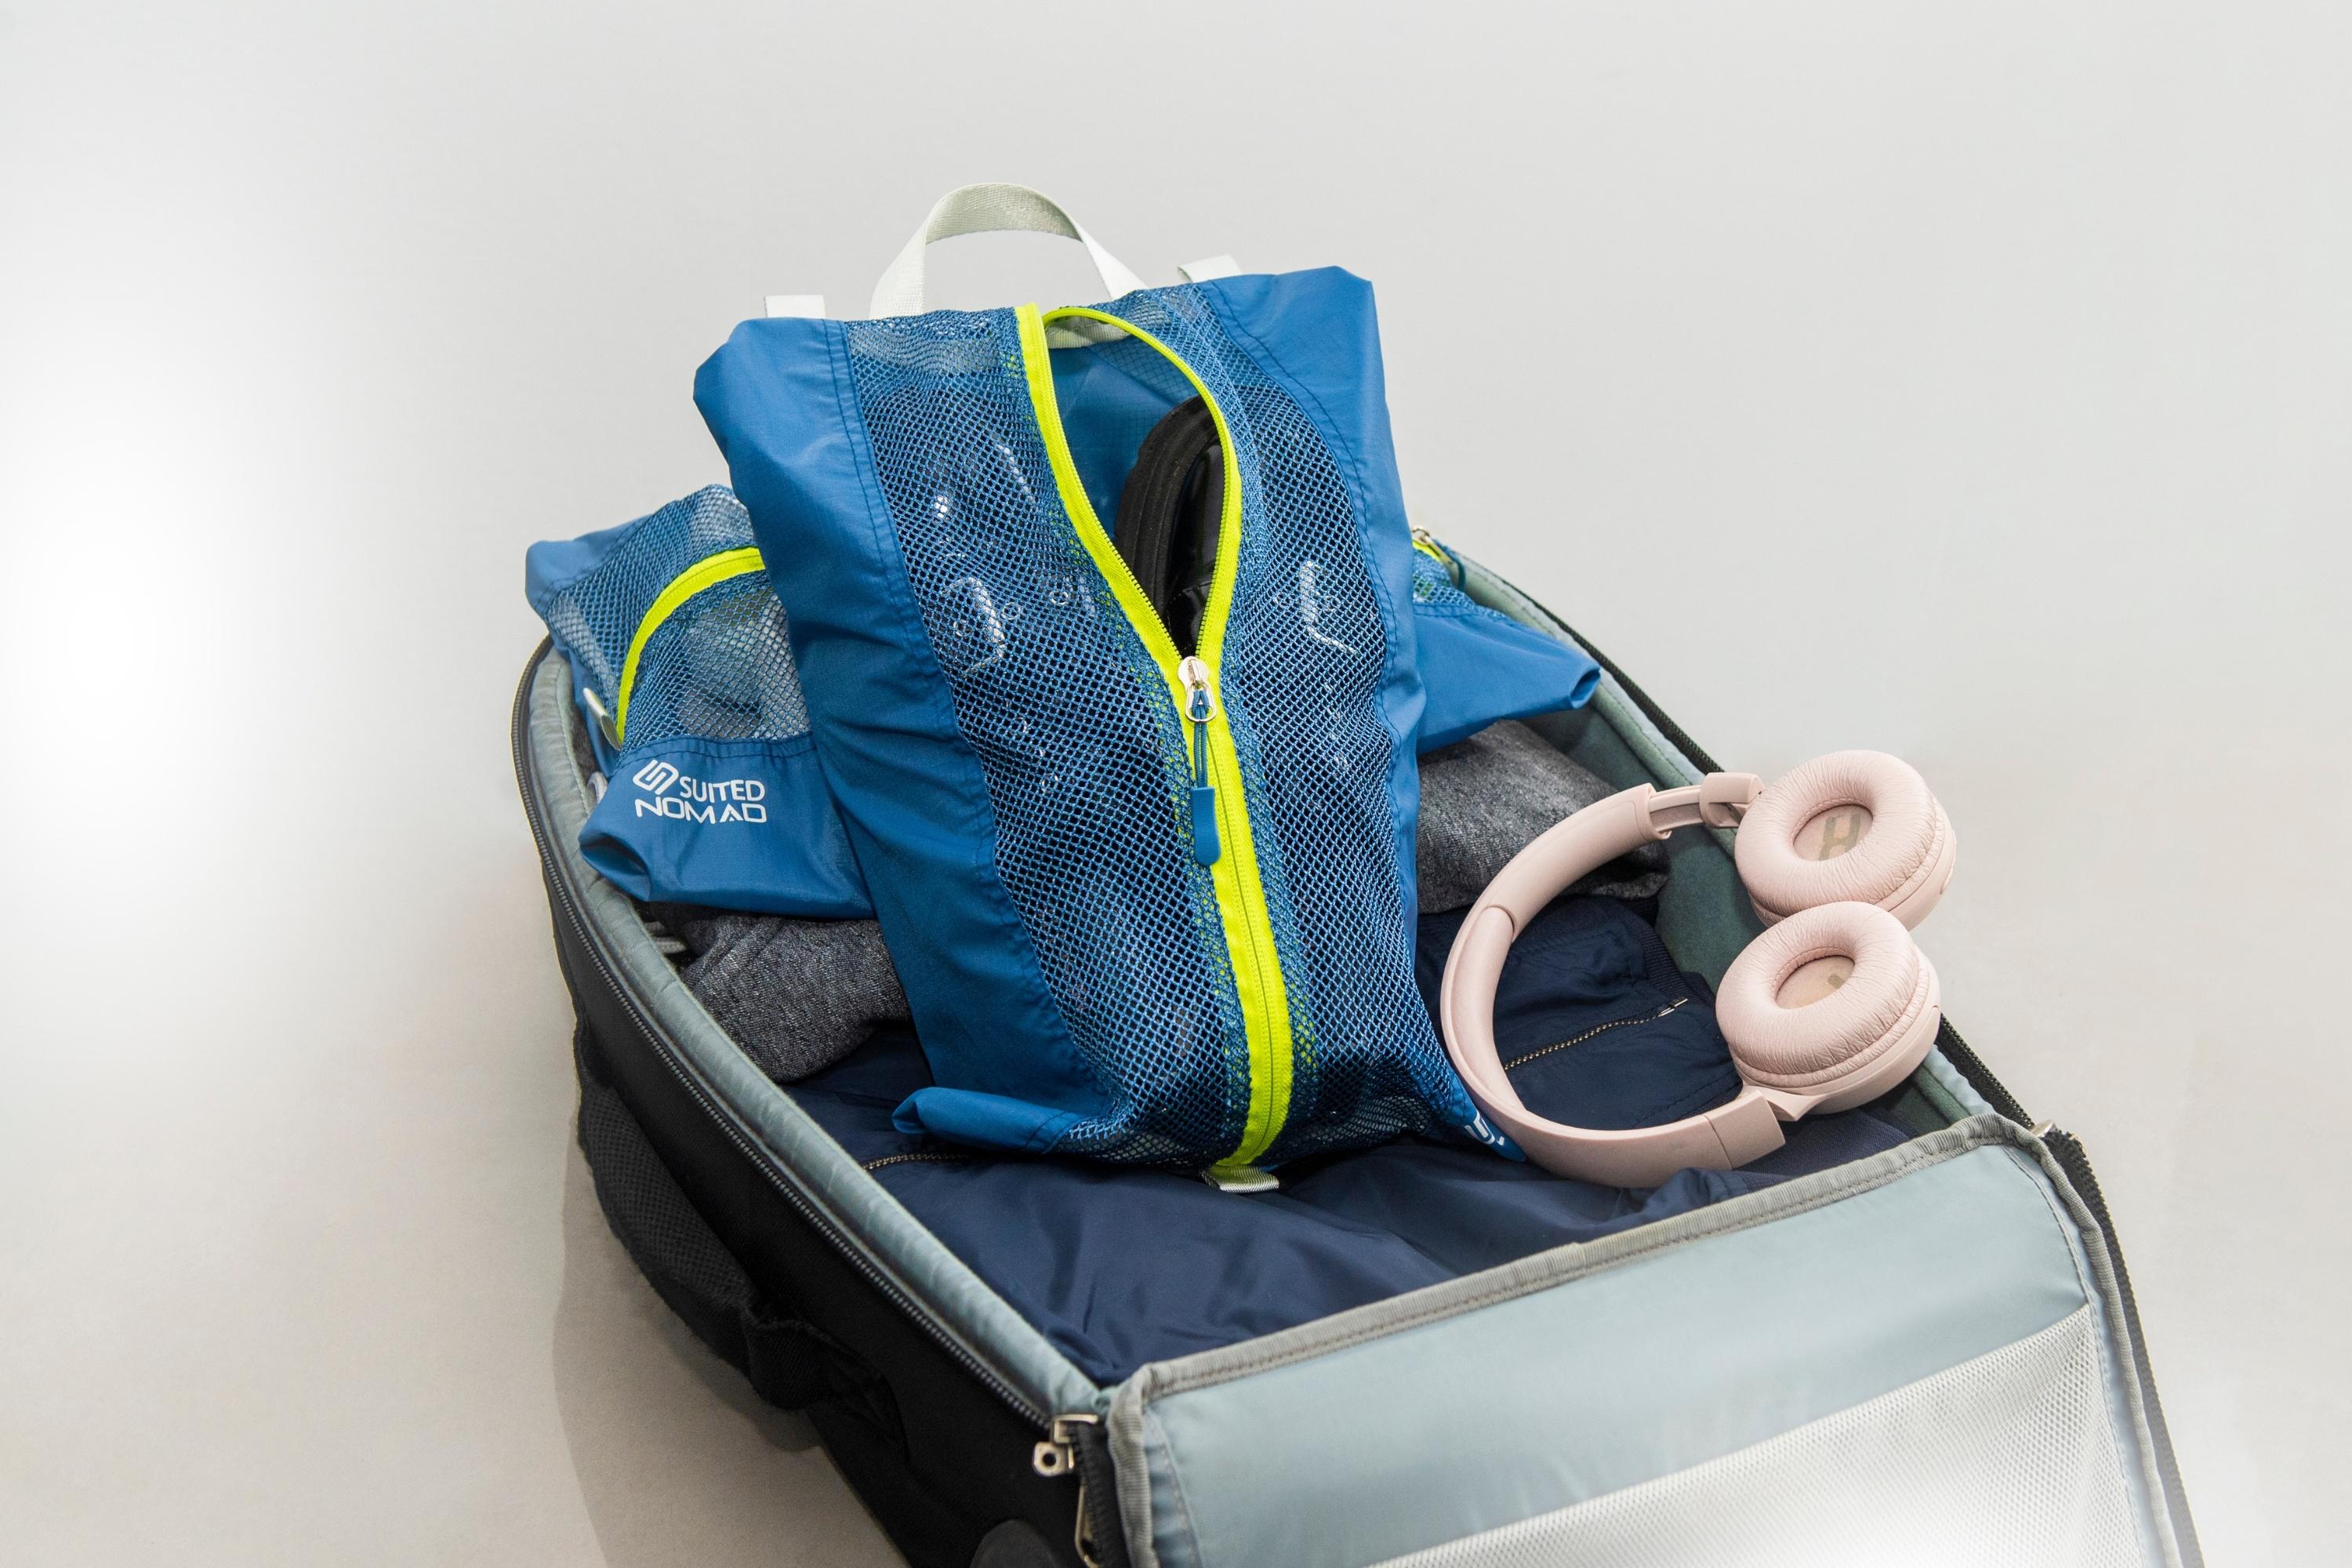
Use Shoe Bags or Plastic Liners to Contain Dirt and Moisture
Protect your clothes—and your boots—with a barrier. A breathable shoe bag or waterproof dry bag keeps dirt, mud, and moisture contained. For a budget option, use a plastic grocery bag or trash compactor bag (more durable than regular plastic).
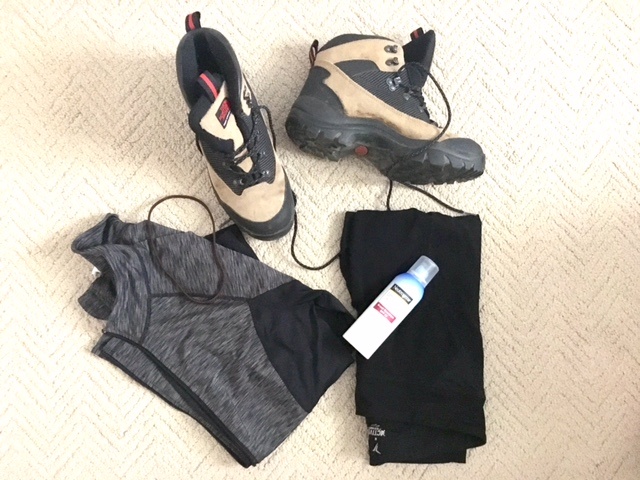
Line the inside of the boot with plastic if damp, especially after last-minute hikes before departure. This prevents mold, odors, and biosecurity issues at international borders.
“Use a protective bag to keep your boots clean and scuff-free. A shoe bag, plastic bag, or travel bag will protect your boots and everything else you’ve packed.” — How to Pack Boots for Travel
Wrap for Scuff Protection During Transit
For added protection, wrap boots in bubble wrap or soft towels, especially if sharing luggage with delicate items. This prevents scratches and scuffing during rough baggage handling.
If you own high-value or steel-toe hiking boots, consider a dedicated boot travel case for maximum protection.
Organize Footwear with Packing Cubes and Cases
Separate Boots from Clothing Using Packing Cubes
Use packing cubes or a shoe organizer to compartmentalize your luggage. Assign one cube for footwear only—this keeps socks, shirts, and electronics clean and odor-free.
Group types together:
– Hiking boots
– Camp shoes
– Dress shoes (if needed)
This system makes unpacking faster and reduces cross-contamination from dirt or moisture.
“Use packing cubes to group footwear separately from clothing.” — Alaska Cruise Packing Tips
Invest in Boot-Specific Travel Cases for Frequent Travelers
For frequent hikers or those with expensive boots, a boot-specific travel case is worth the investment. These rigid or semi-rigid cases:
– Maintain boot shape
– Offer crush protection
– Often include ventilation and storage pockets
Ideal for international trips, gear rotations, or protecting waterproof membranes during long storage.
Attach Boots Externally When Space Is Limited
Secure to Backpack Exteriors for Short-Term Travel
When internal space is full, use external attachment points. Tie hiking boots by their laces to the bottom of your backpack or clip them to compression straps. You can also hang flip-flops or sandals from side loops for quick access.
Ensure boots are:
– Tied tightly (no swinging)
– Balanced (don’t tilt the pack)
– Secured at both ends (prevent loss)
This method works best for short-term travel or when boots won’t be needed until arrival.
“Flip-flops can easily be clipped onto the outside of your bag… use the laces of your hiking boots to tie them onto your bag’s exterior.” — 5 Tips To Better Pack Your Shoes
Avoid Overloading External Straps
Don’t overload external straps with multiple heavy items. This can damage stitching, throw off balance, or cause gear loss. Limit external attachments to one pair of boots or lightweight extras.
Choose the Right Footwear for Your Terrain
Use Hiking Boots for Rugged, Uneven Trails
High-top hiking boots are essential when:
– Trails are rocky, steep, or uneven
– Ankle support is needed (especially with prior injuries)
– Vibram or aggressive tread is required for wet or slippery terrain
– Carrying heavy loads over long distances
“If the trails are uneven or there are rocks to climb, then high-top boots are needed to decrease the risk of ankle sprains.” — Michelle, Boston
Switch to Trail Runners on Groomed or Mixed-Use Paths
For well-maintained trails (e.g., Swiss alpine routes), low-top hiking shoes or trail runners may be sufficient. They’re lighter, pack smaller, and double as urban walking shoes.
“Most of the trails are pretty well groomed… I chose a low-top hiking shoe with a very good tread.” — Jill, Nederland, CO
Navigate Airport Security and Biosecurity Smoothly
Remove Boots During Screening and Avoid Metal Inside
If you wear hiking boots through security, you’ll need to remove them—just like regular shoes. Place them in a bin for X-ray screening.
Pro tip: Choose boots that are easy to slip on/off. Blundstone-style Chelsea boots are popular because of their elastic sides and durable leather.
“Blundstone boots are easy to slip off and on during airport security checks.” — How to Pack Boots for Travel
TSA allows steel-toe hiking boots in both carry-on and checked baggage. If packed, keep them away from other metal objects to avoid confusion during scanning.
Clean Boots Before International Flights to Pass Biosecurity
Agricultural inspectors at borders (e.g., London Heathrow) may stop you if boots contain:
– Soil
– Seeds
– Plant debris
– Moisture
Clean boots thoroughly before departure. Dry them completely to prevent mold and inspection delays.
“Sometimes boots are subjected to an agricultural inspection at airports. I clean them before catching an onward international flight.” — Travel Gear: Packing Hiking Boots – Journeys 3.1
Final Note: Packing hiking boots doesn’t have to be a hassle. Wear them to save space, pack them in carry-ons for safety, stuff them with socks to maximize volume, and protect them with shoe bags. Prioritize balance, cleanliness, and terrain-appropriate footwear. With these strategies, you’ll travel smarter, hike safer, and arrive ready—no matter where the trail begins.